
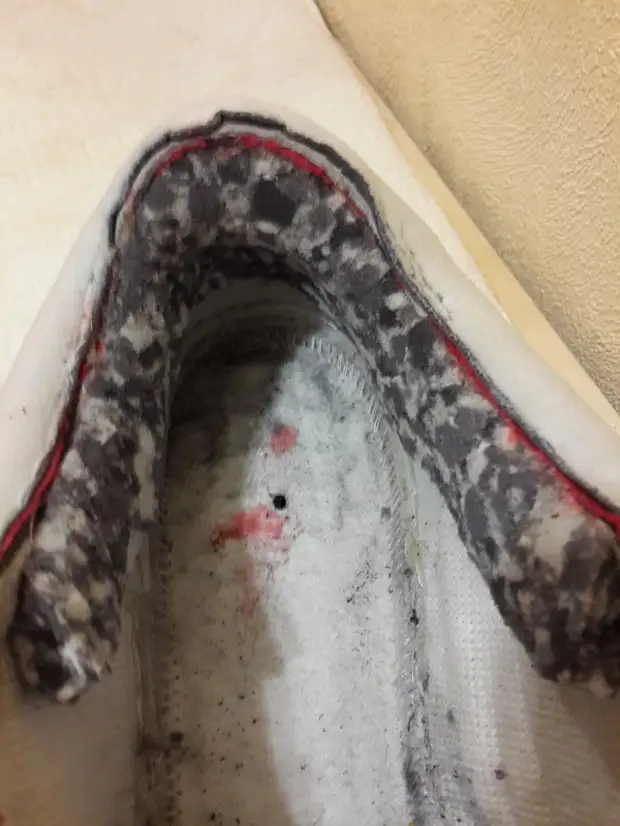
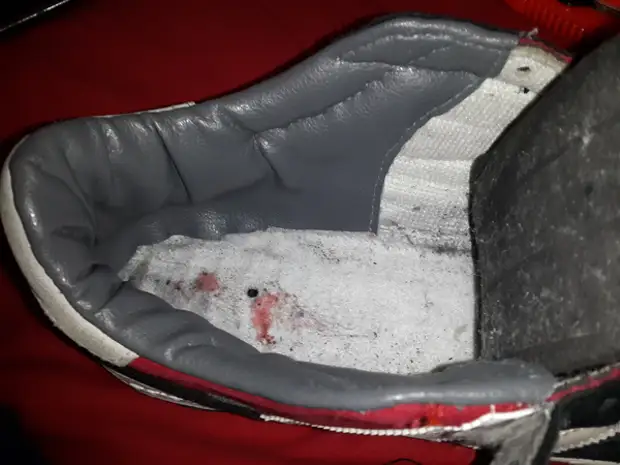
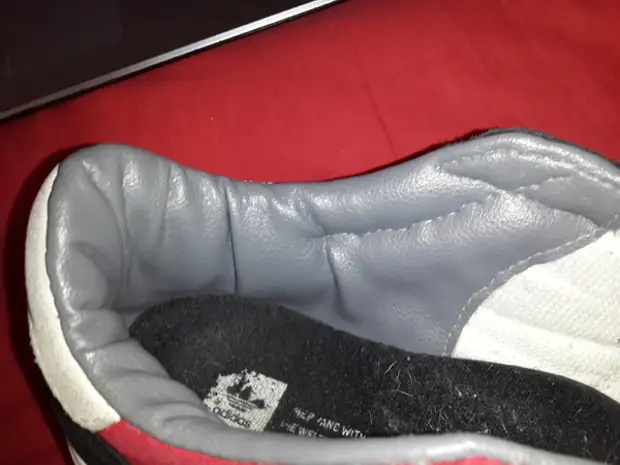
Do not say that I am a whore, but I feel sorry to throw out the old thing and buy a new one, if you still can still disappear, not much fixing it. And with shoes, respectively, the same situation. My shoes wear out very quickly, the backs are mostly erased.
That looks like:
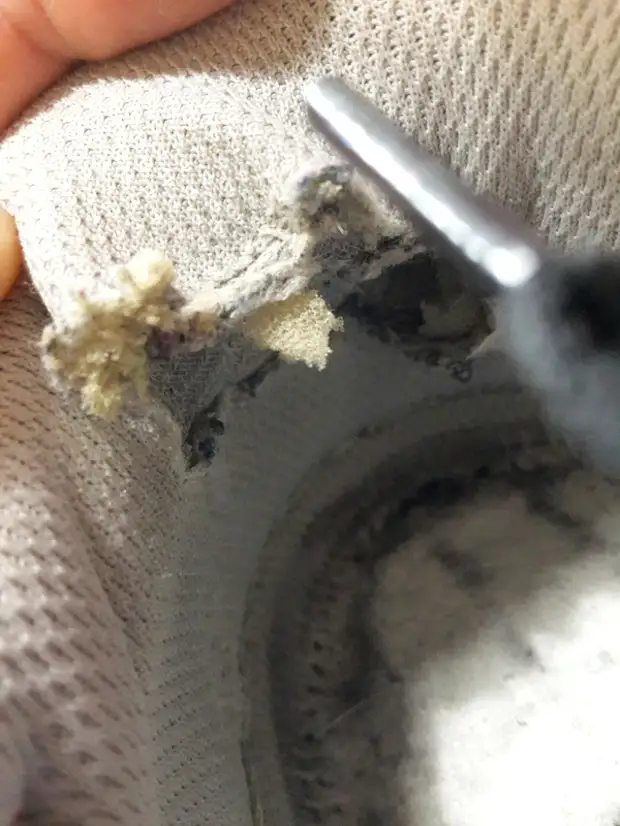
I scored first, no one sees inside. Then it was not comfortable to wear.
Throw out a pity, look like new ones (well, almost), and from the inside rubted.
I decided to try to repair myself, if I spoiled, it would not be very sorry.
So, what we need:
- How to replace the rubbed fabric, I chose leathesum.
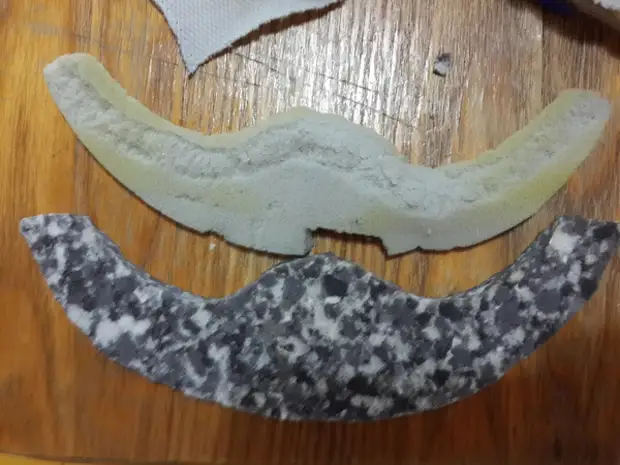
- Porolon (I also go to the bottom) 2 species, thin ((1-1.5 mm) is not necessary), for gasket and thick 8-10mm to replace the back.
- Threads (preferably in color to the product) with a needle.
- Scissors or stationery knife.
- glue. I used the flap for foam rubber, VB - 103, the red one, costs about 250 rubles per liter, dries quickly enough, keeps tight.
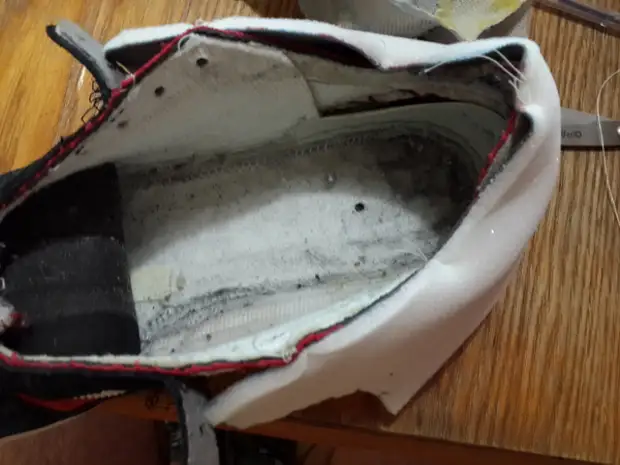
To begin with, we turn off everything on the part.
We get a naked base.
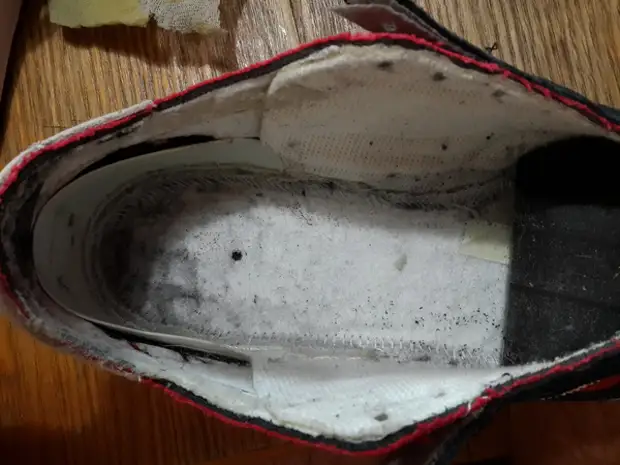
Foambone and had a ribbed life.
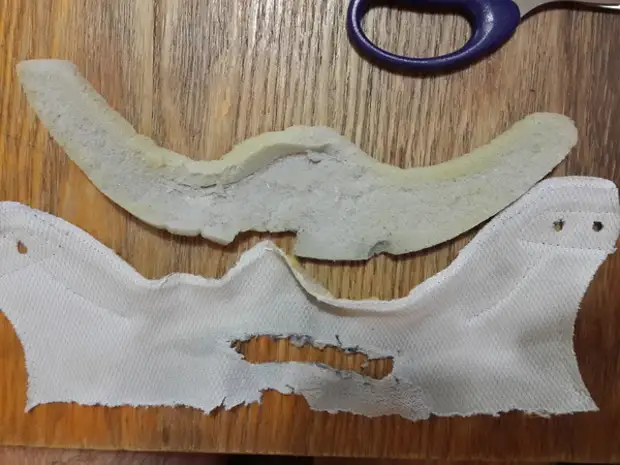
Prepare what, actually we will change them.
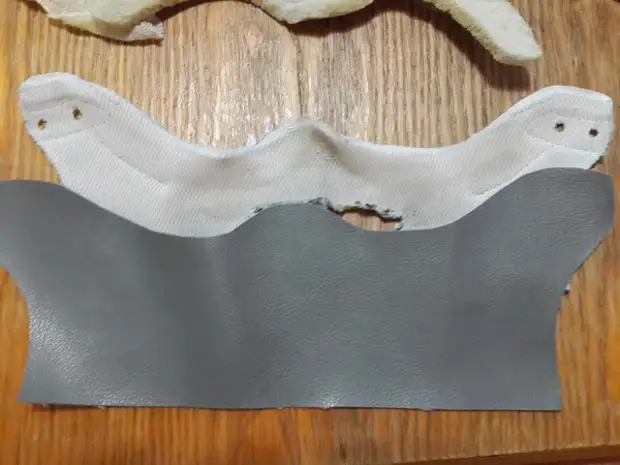
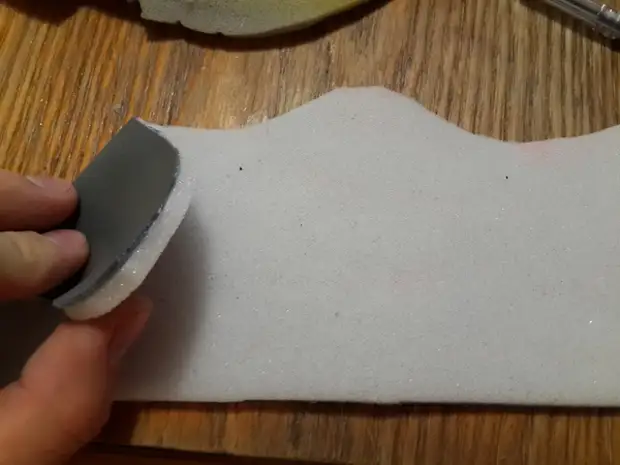
Cut the leatherette in size.
And foam rubber. I took the cooler, secondary, it seems to be called.
I put a thin foam rubber to the leatherette, but it is not fundamentally, it is possible without it. I also stitched threads on the sides, because they will not be covered.
We begin to sew all this matter in place. The leathesum is less elastic than the fabric, if you just start sewing in a circle, you will not comply with the place of the joints (how else to call it?) According to this, align the detail and subdore in several places with threads so as not to go to the skew.
We flash. Sometimes it takes hard, use thimble or passage to the extreme case. There would be a sewing machine, it would be easier. But it is not. My grandmother, health, taught to use. Probably granddaughter wanted =)

I stitched, turn out, we look at what kind of fucking well done. But it is only half of the case.
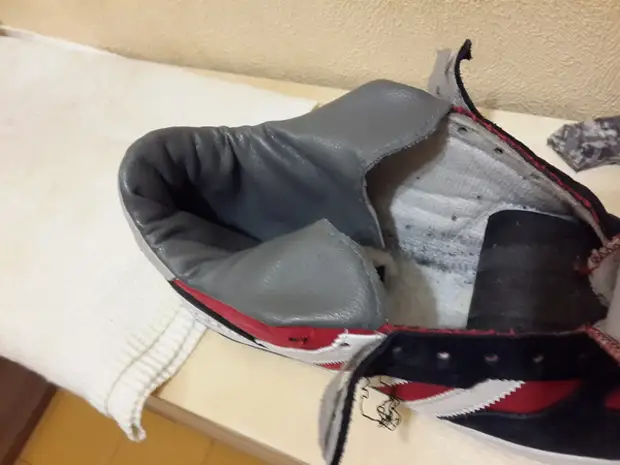
We glue the foam rubber. Previously need to stick it to the end to the top of the back and then lower down and glue. It turns out a small SCOS and bulge for fixing the heel. Something like that:
But this is also not necessary, you can simply glue it, the heel itself will take the form in the process of walking. But so better.
Next, we glue the leathesum to the base, slightly stretching. Do not overdo it with glue.
And we stitched where there were factory seams.
This is in principle and that's it.
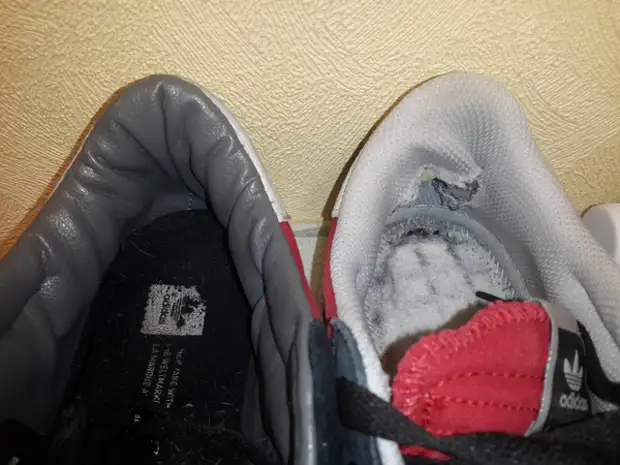
That's how it was and how it became. For one sneakers left the whole evening and the fingers erased from the needle.
Thanks for attention! I hope someone will come in handy.