
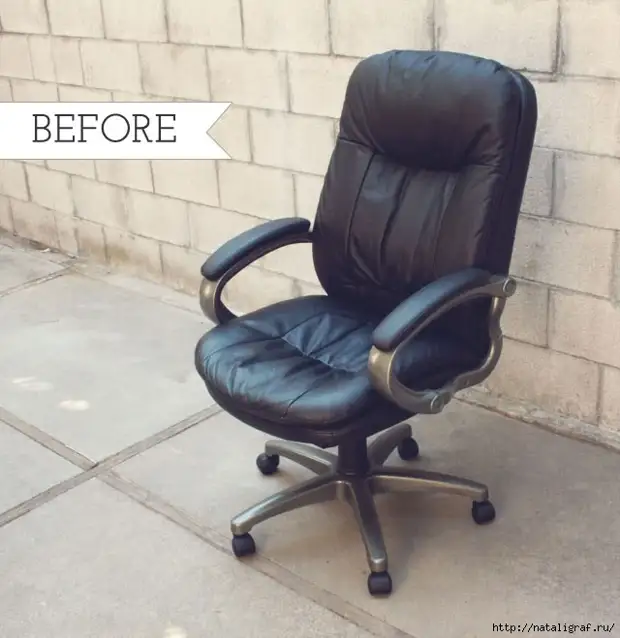
Seeing this chair, I literally shuddered and rushed to look for details. First, because the chair is white, office usually black and house do not decorate. And secondly, because his gray-black chair literally gave his hands in other people's hands, because of black and small breakdowns. The breakdown was random than the cause. Now I sit, I bite elbows. I share the find, so that you do not hurry to part with the chair, if for some reason it does not suit you
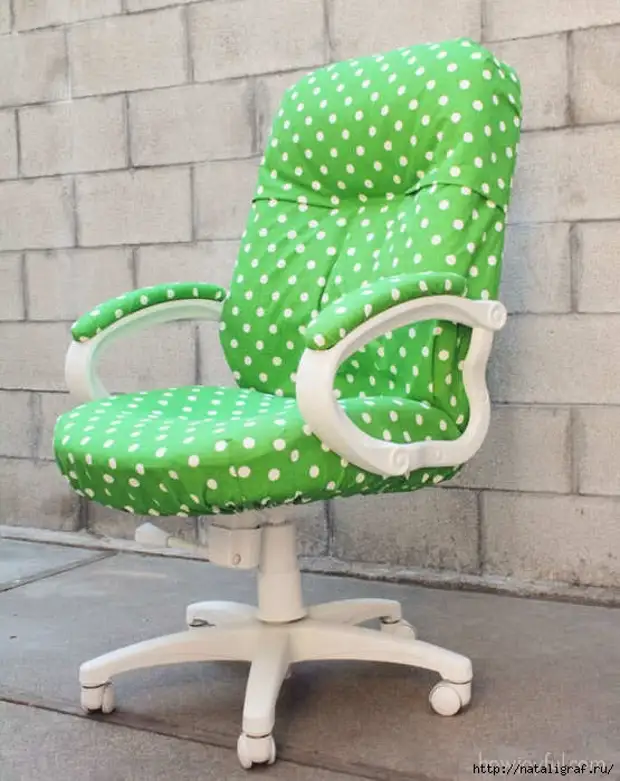
Master Class from Joy Kelly, Chilean Designer

General Instructions: Fabric consumption on the case depends on the height of the back + seat height. (For this chair, it took about 4 meters of fabric). We need a velcro tape. All chairs are usually made of plastic and metal parts. If you want to paint them, it means that the paint spray (ideally) is needed for plastics and metal. Of course, it is possible to suffer, staining the details of the universal acrylic paint and a sponge.
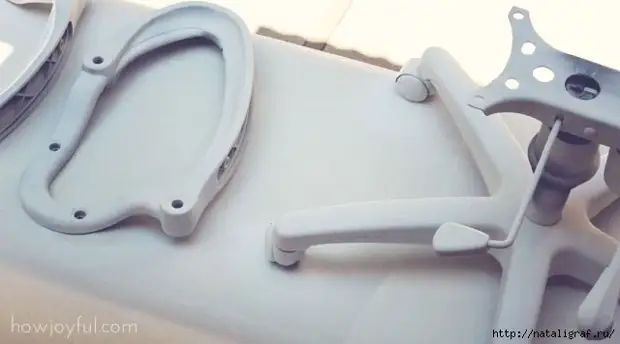
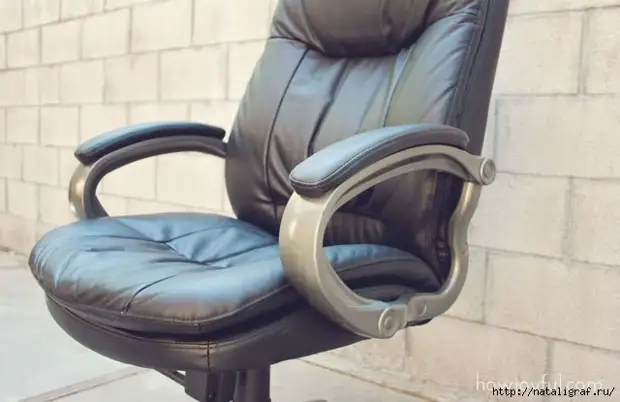
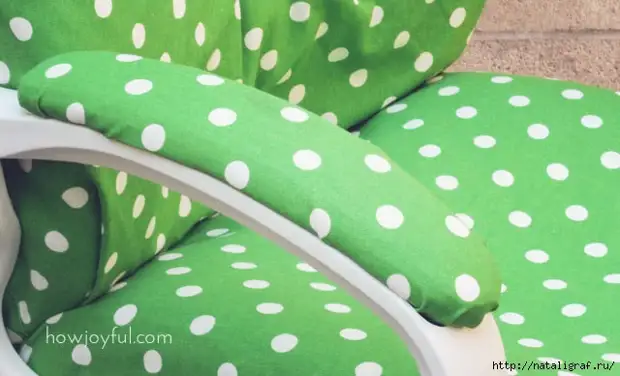
To paint well, the chair is better to disassemble-howjoyful.com- on the components of the parts (remembering the carefully from where). Those parts, in this case, you should not paint the armrests, we cover them with a cloth. As you can see, it's just done: cut out a piece of fabric in the size of the armrest, including the back side, turned out, thoroughly wrapped around and secured, where it turns out the stapler, where - needle and thread
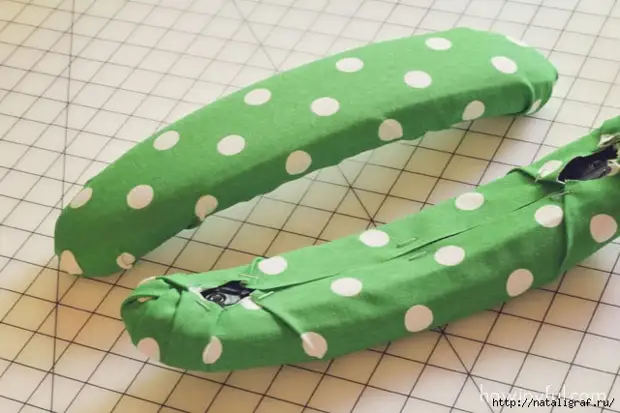
Cutting armrests, you need to remember that we have a fabric that will inevitably get dirty and it will need to wash it. What does it mean to fix the fabric on the armrest so that you can easily remove it for washing and attach back. Own ideas are welcome.
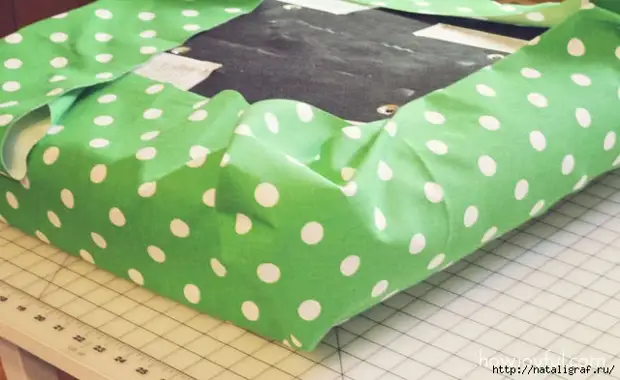
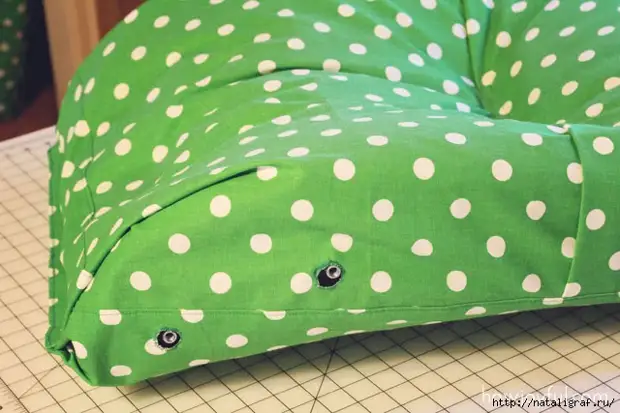
The process begins more comprehensive. We are wearing the seat: first cut a large piece of fabric and form it in the seat, laying neat folds on the corners. Special attention is paid to the place that we will have to connect with the back - there should be no thick folds, because it will not be easy to connect the details. And remember about all the holes for the screws: just cut holes in the tissue for them. Cut out another piece of fabric in size to the bottom of the seat and sew them.
The back is tightening almost the same as the seat. If the back is no additional pillow under the head, then the process is easier.
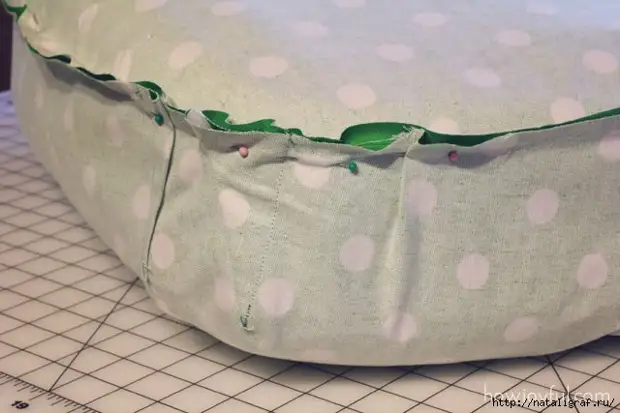
The back is tightening the same as the seat, wrapping the fabric on the corners, make holes for screws, stitch and sew the velcro in those places where you need to close the case.
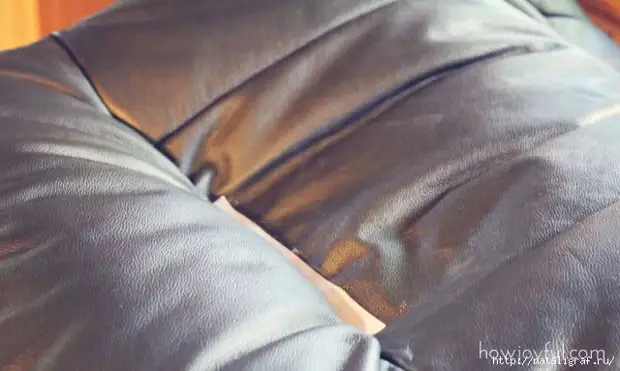
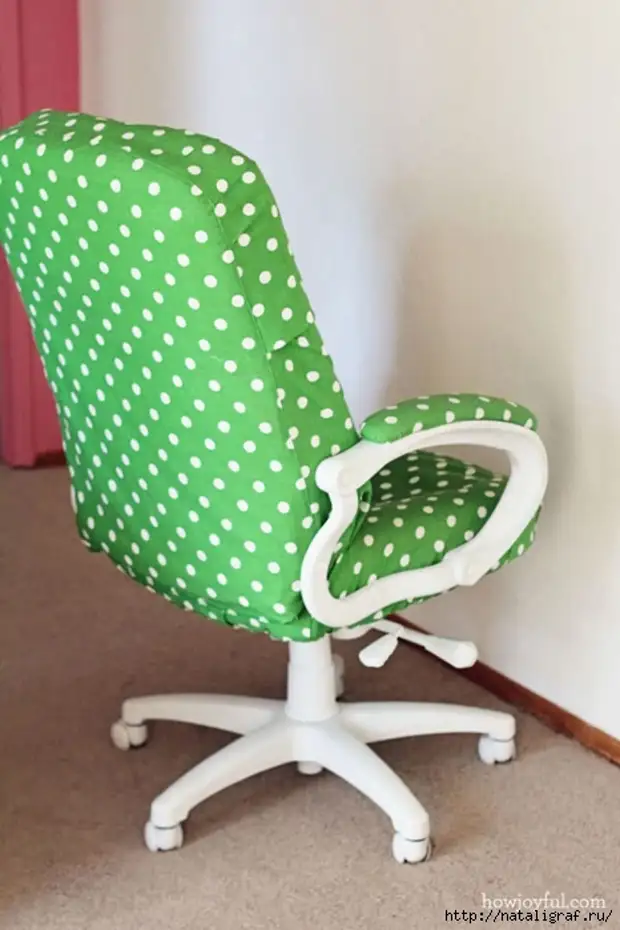
Medium rear side

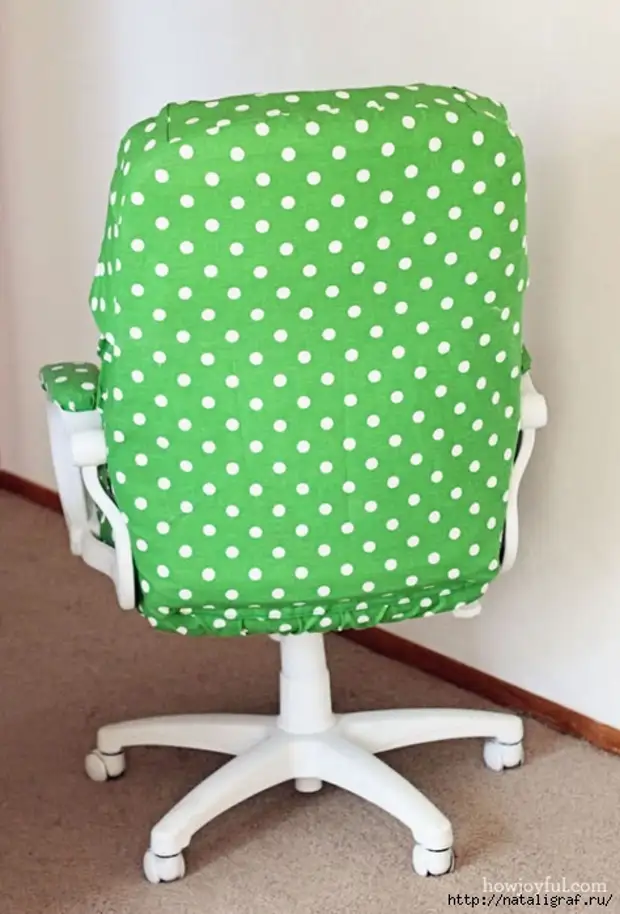
and back: rear view
Good luck in the chairs conversion