I, like many craftsmen, there was a bunch of buttons, buttons and buttons :) I thought for a long time about how it would be convenient to keep them, so that they were neatly, and it was easy to get it easily, not swinging in a bunch of bags. And the method is found! And not only for buttons. I also have accessories for jewelry in such a comedwork. Now I will tell you how to do it :)
My houses began to have such boxes. We choose the same size. For a chest with 5 drawers, I took 6 boxes. These boxes from the purse brought me a mother, scoring the seller in the store :) The sellers throw them away, and they just need them.
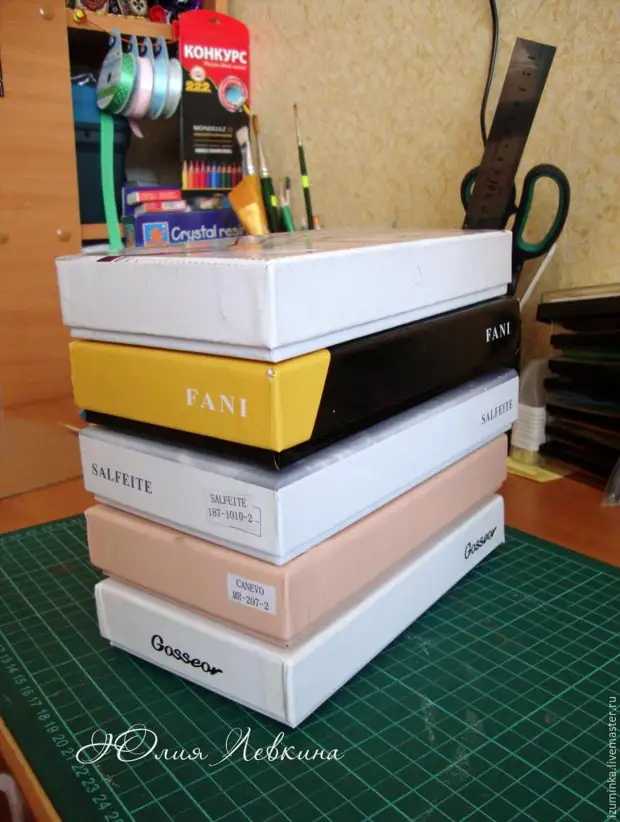
In the covers, on one side, cut off the ends, I will give a little more so that the inner part is a little spoke out of the lid. One box does not touch, we need it for the roof of the chest.
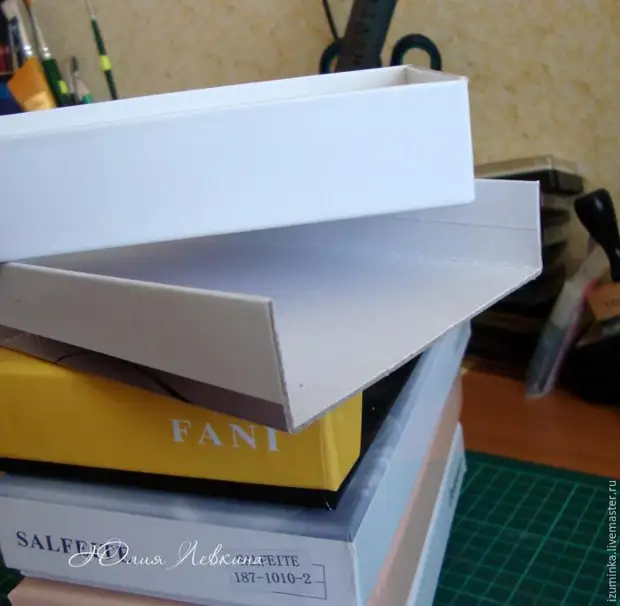
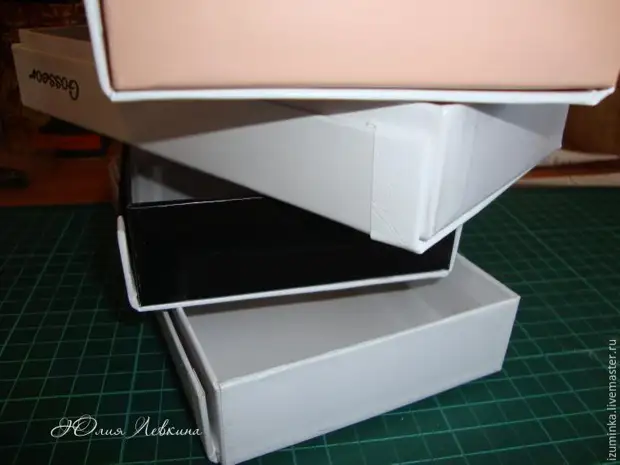
Slices glue self-taking. I have a white embossed under the skin.
We measure the width of the dresser wall and height (i.e. put on each other boxes), add 2 cm to height and cut out from the corrugated cardboard (2 pcs.). I used the box from shoes. Front often glue self-taking.
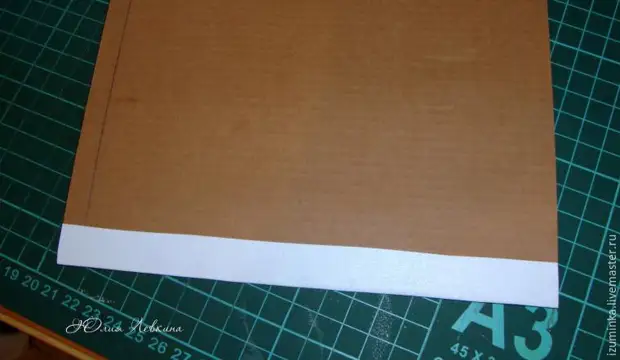
On the glue-gun (or "moment") we glue the boxes (covers) to the cardboard, retreating below 1 cm. I spent the line with a pencil. Without removal. We glue the density.
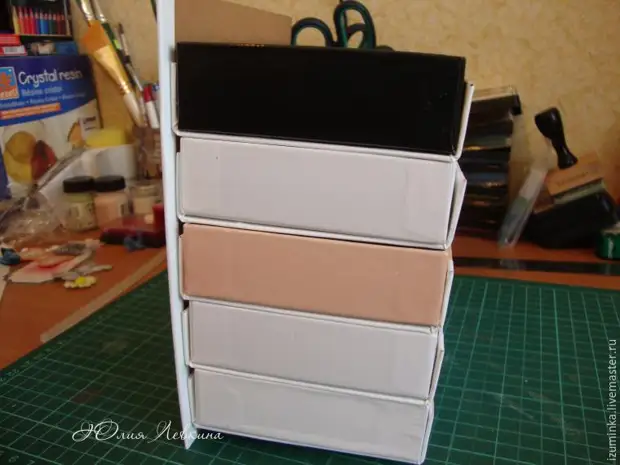
The lids from the boxes become shelves for drawers.
Also glue and the second wall and the back of the comed. That's what we should get. I do not pay attention to the joints, we will crize them later.
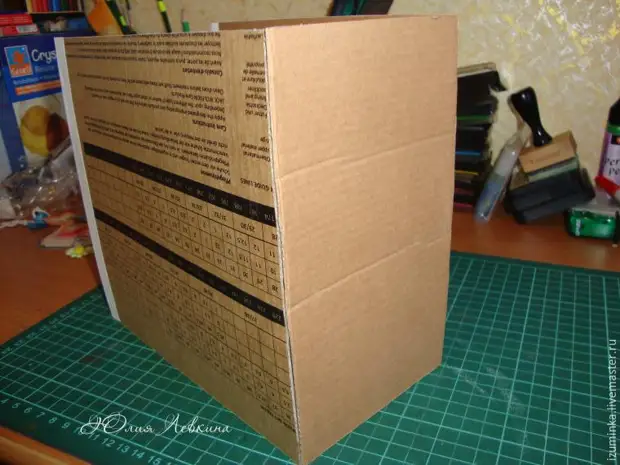
Front view:
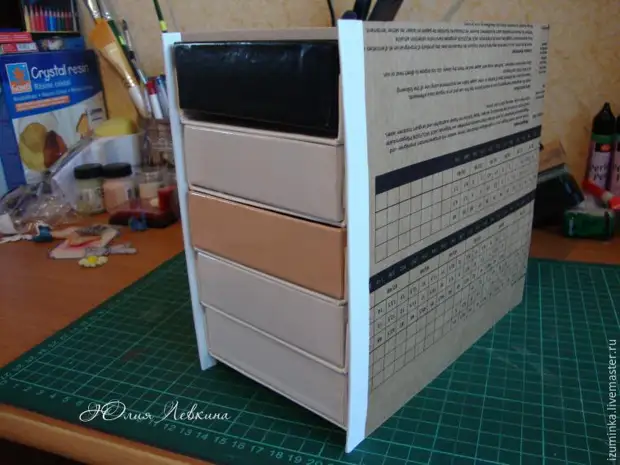
Now, from the same cardboard, cut out the facade of the comedwork and glue our film. The dimensions took to the eye so that when nominating the boxes, they did not cling to each other, but also for the slots.
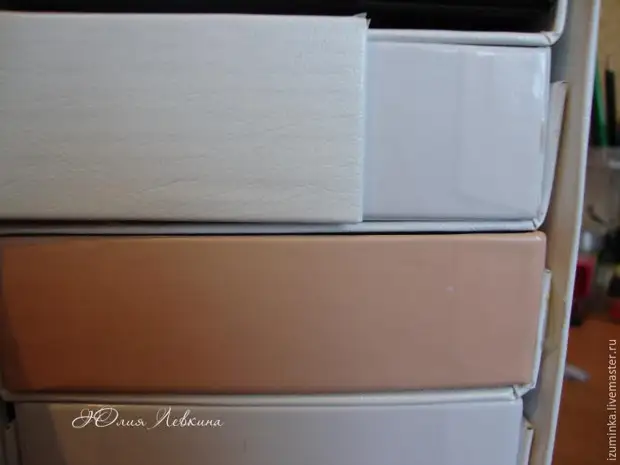
Next, take into the hands of the box that we did not cut. At the lid we glue the film one end.
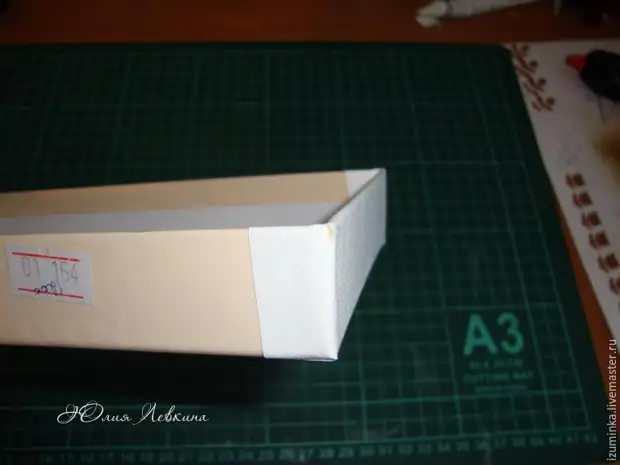
I turn over it upside down and glue from above, like a roof to that centimeter, which remained from above.
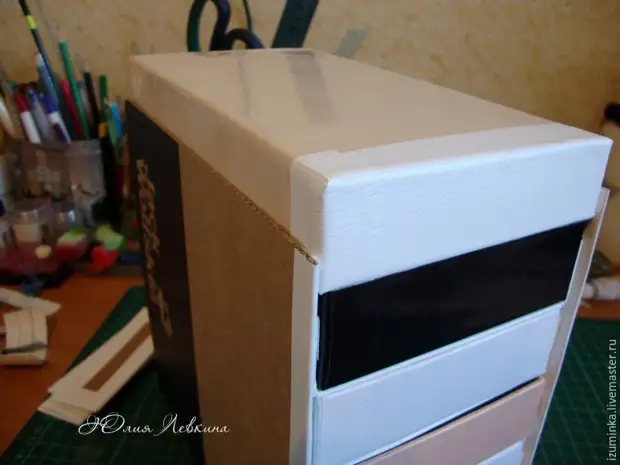
In this place I ruined a little. It hoped that the glue would be good to keep my beads - the handles, but it was not there. After a pair of dresser openings, the handles remained in my hands. Therefore, before gluing the facades to the boxes, make the handles. I attached a piece of chain for 2 brides. But before this I had to tear all the facades. In general, the sequence is this: we attach the handles, we glue the facades to the komorda boxes. Purchase the entire dresser self-kept.
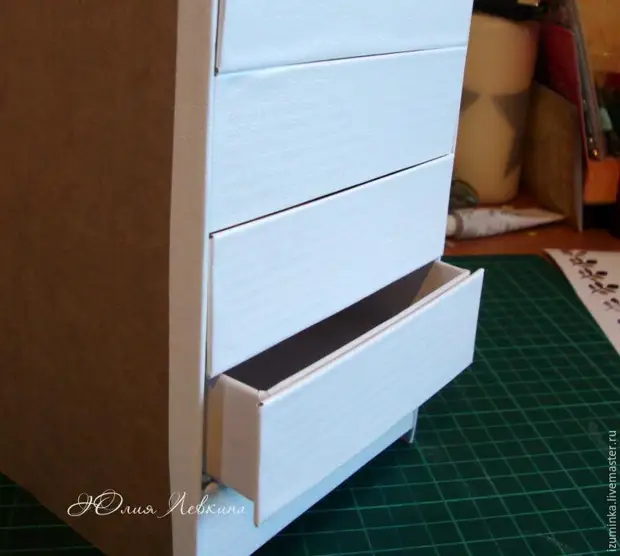
This is how it will be convenient. I blocked like this:
First, the rear wall with the gripping of the top and the side walls is about a couple, see the top, with the seizure of the side walls. At the end pasted the sidewalls. Then went my stupidity - the handles :)
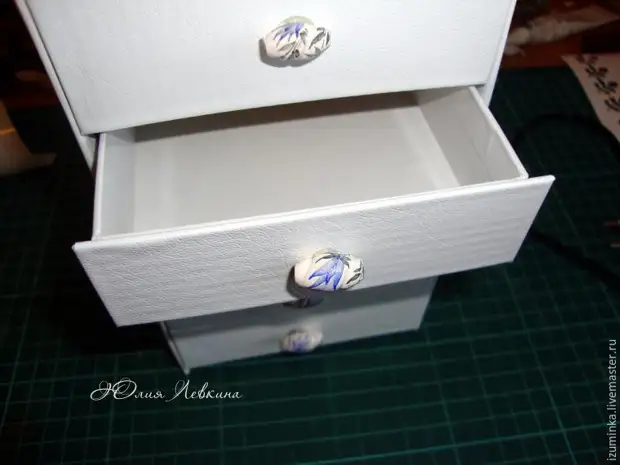
Well, that's all! The chest is done very quickly and easily! And most importantly, a very functional thing! After that, I made myself another one, both stand on the shelving shelter and keep all sorts of butt / pendants from my daughter :) Well, carefully :)
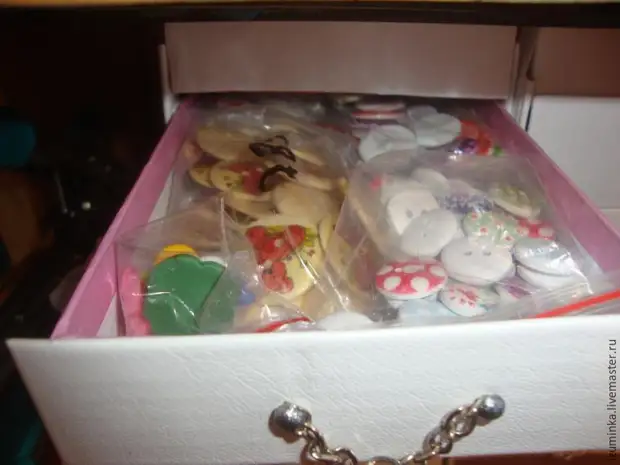
And in the dresser itself, everything is packaged by sachets :)
Thank you for looking at the light :)
a source
