What we need:
- Fabric
- Fleece for inside
- Inner fabric
- Threads in color, well, or not in color, whom it is trapped (I have been lying)
- Rubber in color, well ...
- Contact tape, she is a velcro
- What you need to fill wallets
PREPARATION TIME:
Two and a half hours - five pieces
SO:
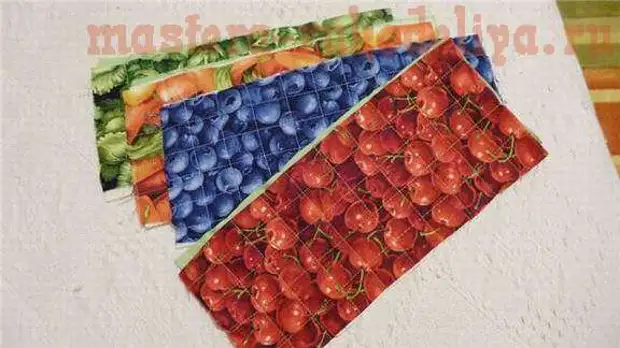
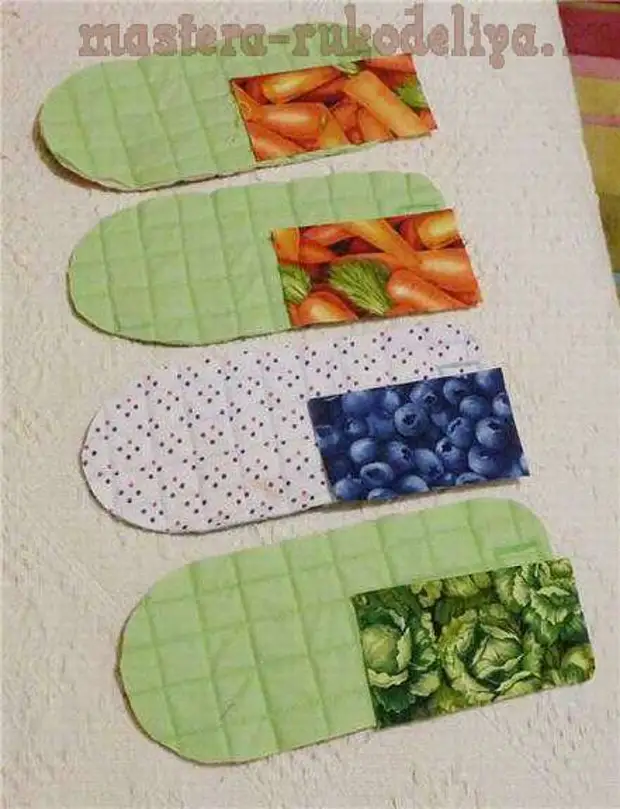
Cut the fabric to rectangles 25 cm by 12 cm. Although it will still depend on what you put inside. I had the size of this. Rectangle face + fleece on the inner drain + rectangle inner side. Such a sandwich)
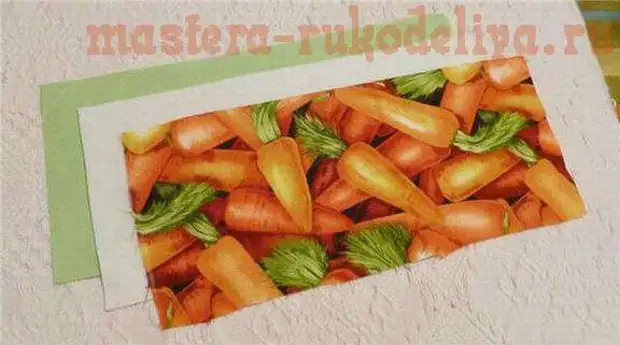
Cut the sets for each wallet. We fold everything together and seek. I do not know how much I do not know how to shoot with squares.
So, respectively, we do with each workpiece.
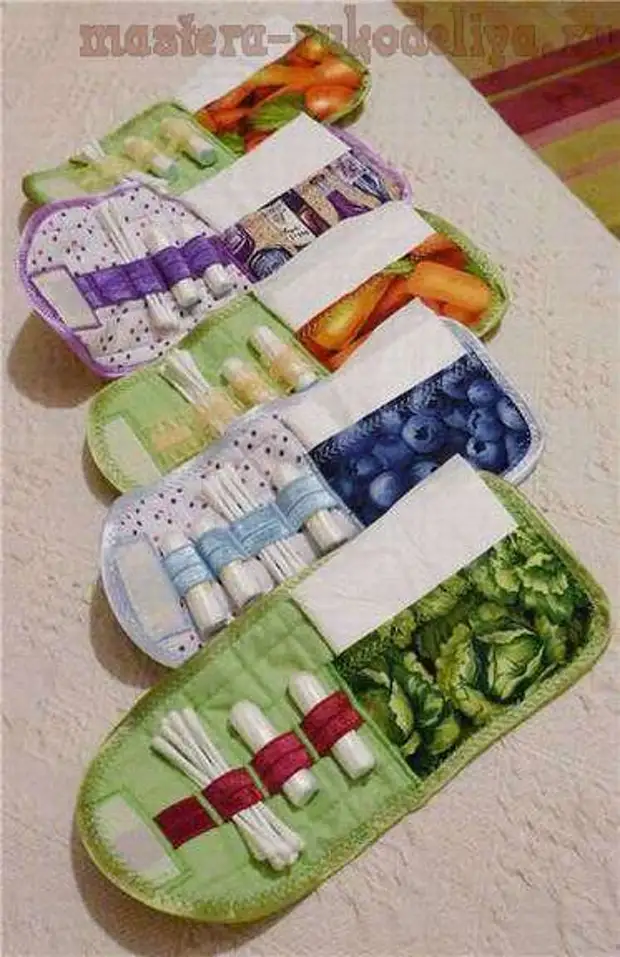
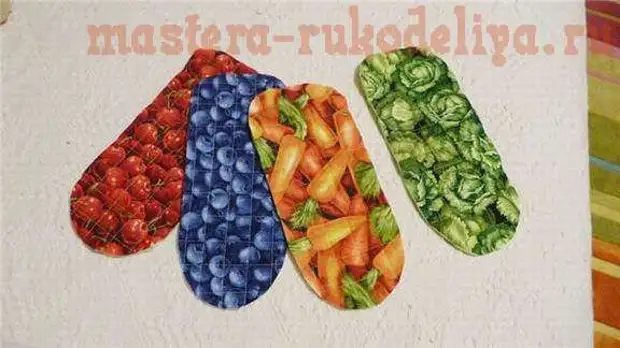
After that, on the one hand, we spin the edge, and with another radially cut off the cloth, getting something like such molds.
Sut off here about such pieces of contact tape.
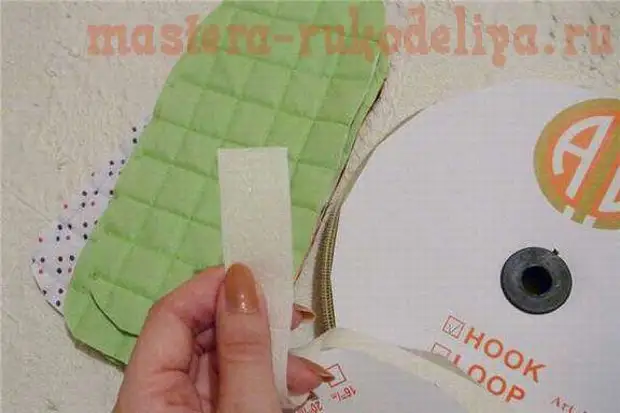
And we sew them on the front side of the workpiece, to that part where the roundings are smaller. I sewed a frequent zigzag.
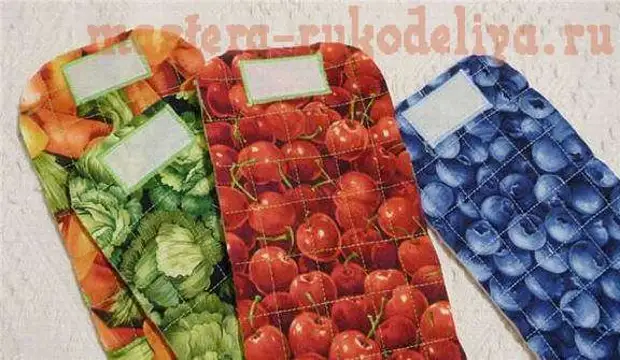
Inside each wallet should be a pocket. Cut it out of the fabric and try on the main billet.
The top edge of the pocket is bending, stroke and pass beautiful line. Is it beautiful? We pass careless! And smoothed.
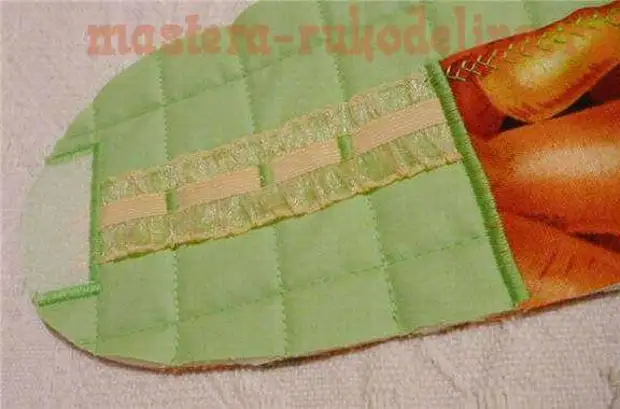
We put on the workpiece itself and cut one edge, twisting it. Also cut off a piece of gum. Not in a latitude.
Send your pocket on one side-in the wallet. In the process of its sewing, we put on this edge and gum, grabping it.
She sewing a gum, grab it in several places, and its edge again hides under the contact tape, which in the last place. An elastic band is not dragging, but as it were, on the contrary, they will sign a few space. The edge of the contact ribbon is cut on the edge of the wallet.
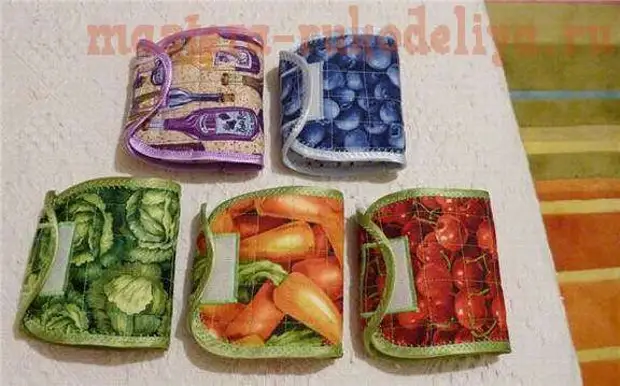
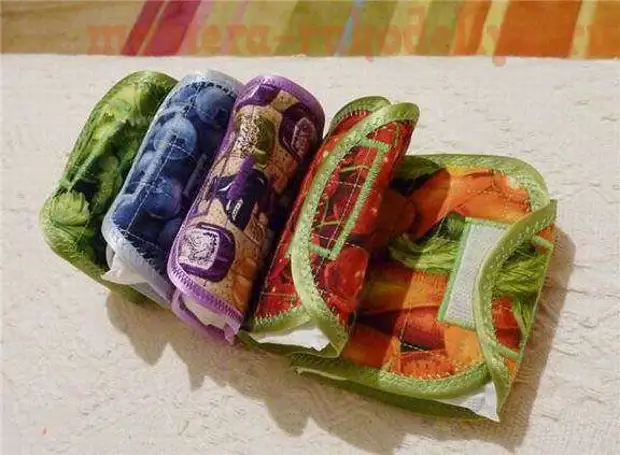
We finish all this beauty around the perimeter oblique baker. I had a factory, but you can also own. Insert content.
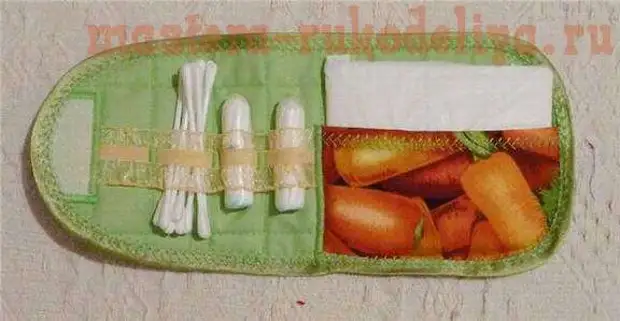
We admire the created beauty. We fold. Button and Darim