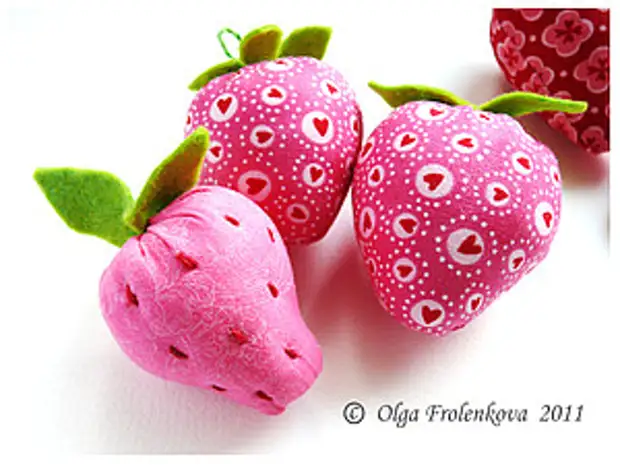
These little bright strawberries are able to sew even beginners. Sust them a few pieces, put in a basket and they will revive your interior and will still remind you of the past summer)
So:
To begin with, select a few trimming of bright, juicy fabrics of red and pink shades (I used American cotton for patchwork). If the fabric smoothly painted, you can revive the strawberry, embroider with Moulin and several simple stitches with small grains.
For the leaves you will need pieces of green felt. If there is no felt, you can sew leaves from green fabric. This is a little more difficult, but the result will also be excellent.
For packing using holofiber or syntputs.
We still need scissors, needle and threads in color, paper, pencil, pins and sewing machine and skillful hands) ...
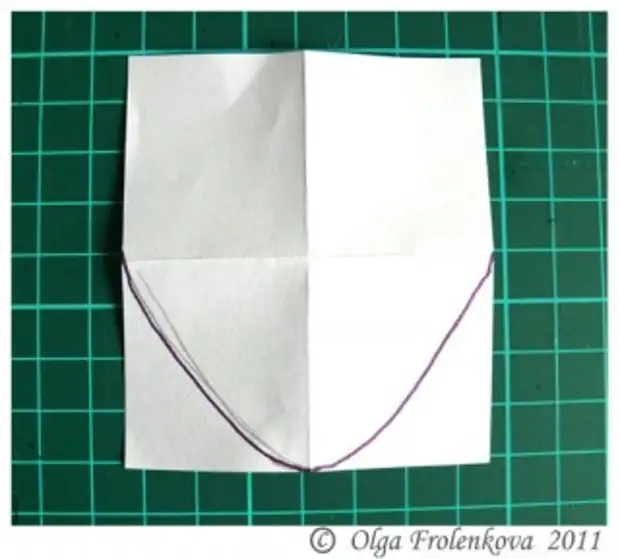
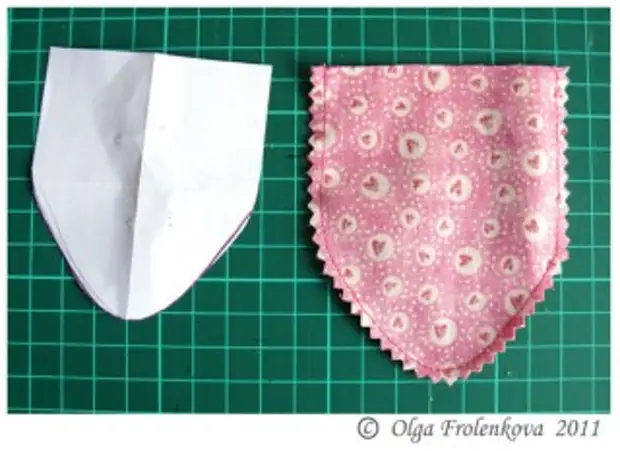
We start with the manufacture of patterns. I tried a lot of options, so I have all the strawberry turned out different. But the basic version - cut the rectangle, for example, 6 to 7 cm. Bend it in half, then once again in half to determine the middle. We draw the bottom of the berries in the form of a rounded cone. Cut. In the future, energizing the first strawberry, you will understand where you want to drop or add and be able to adjust the pattern to your taste))
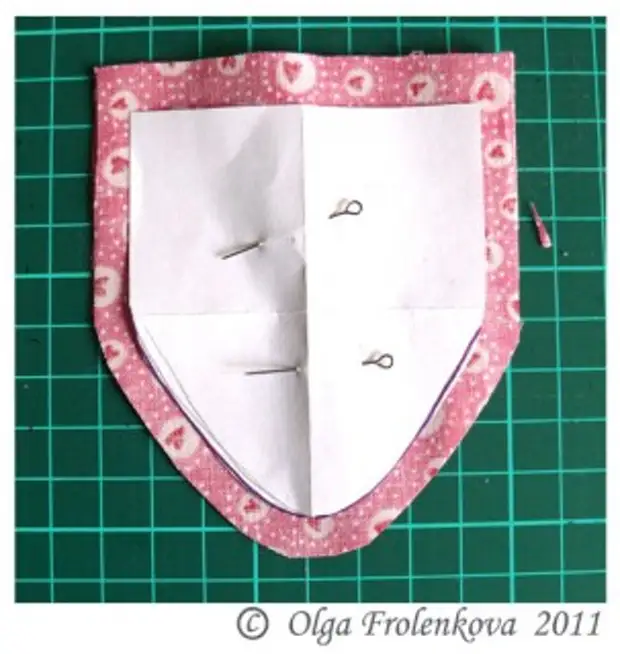
We take a suitable pink or red fabric, we impose our pattern and cut out, taking into account the allowances on the seams. I usually make 0.6 - 0.7 cm.
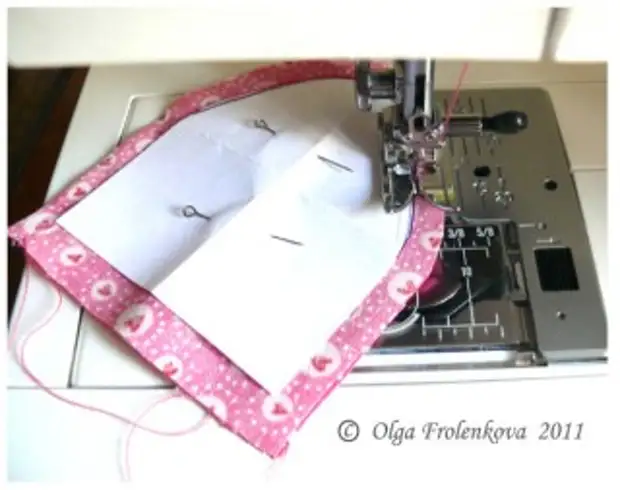
We go to the typewriter and make a line right along the contour of the pattern. At the beginning and end of the line make the fixture stitches, making a couple of stitches back and ahead. Excess threads cut.
When turning the lobster, we raise the paw, leaving the needle in the fabric, so turns will be more smooth, without displacements. I, as a rule, choose 1.5-2 mm. And tension 4.5.
Then we remove the pins and the pattern and make the insane scissors at the outer edge of our strawberry, not reaching 2 mm to the seam or simply cut the excess scissors Zig-knocked. Upper edge we bring to 0.7-1 cm, smooth.
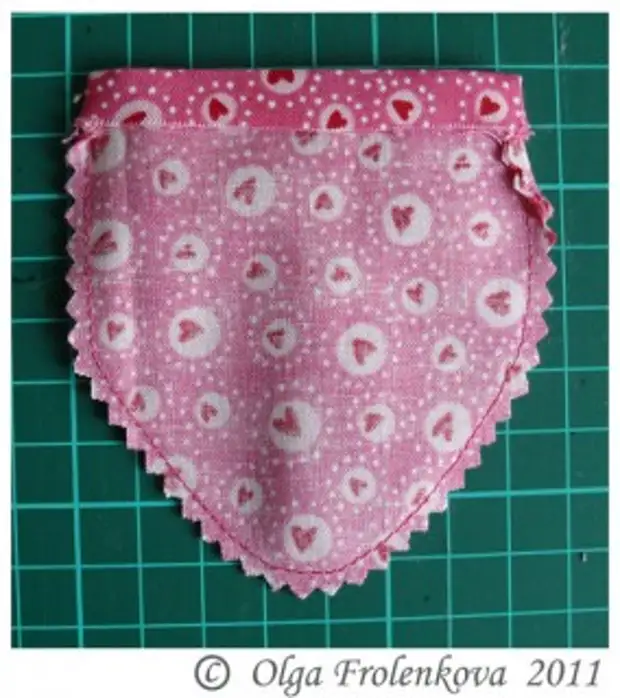
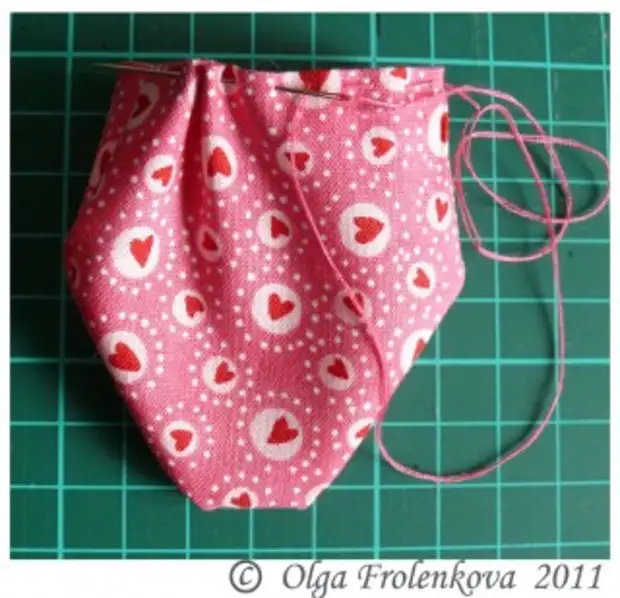
Soak our strawberry, take a thread with a needle and collect on the upper edge with a simple spine neck. It is not necessary to flax, the stitch length is 0.5 cm will be enough. Do not cut a thread !!!
Then you feed our strawberry by what is at hand - synthepuch, syntheps, woolen slurry, hay, sawdresses))) This is me joking)) I prefer to fill with Hollofiber balls and squeeze very tightly, helping myself usually by a Chinese wand for sushi ...
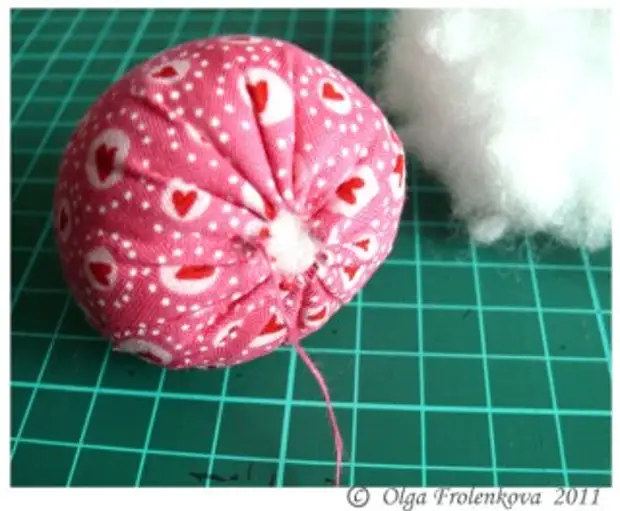
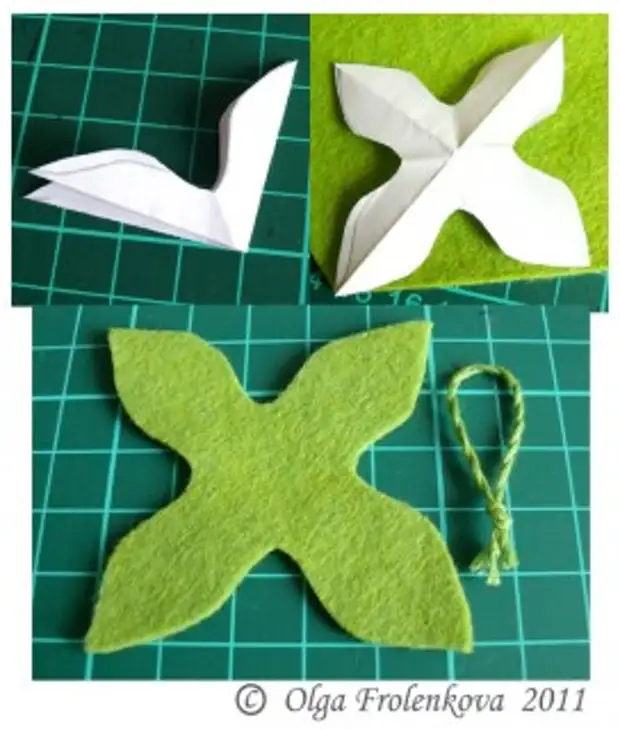
When you make sure the packs are enough, tighten our thread and tie a solid nodule. If you plan to embroider your strawberry with Moulin, now it's time. And I will skip this stage and go to the leaves. To do this, you will need a piece of felt and muuline for the loop. You can cut the felt right away, and you can pre-make a paper pattern cutting out the leaves from the square 5 to 5 cm. From Moulin, I made the rope, folded the loop and tied the knot at the end.
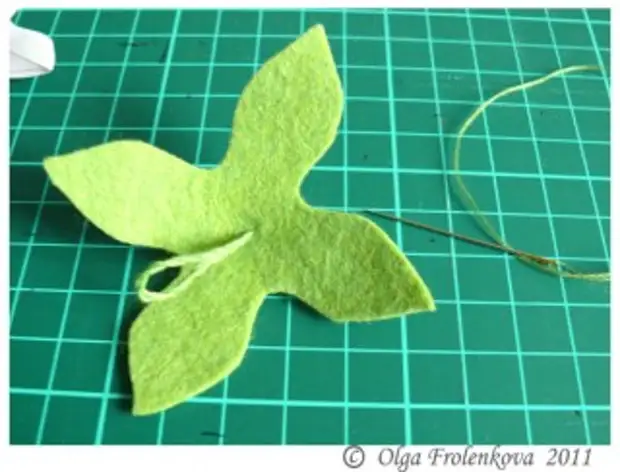
Next, we make a small incision in our fetre and insert a looping there, we collect in the kules and fix our looting pair of stitches, while attaching the form to our cupfeed.
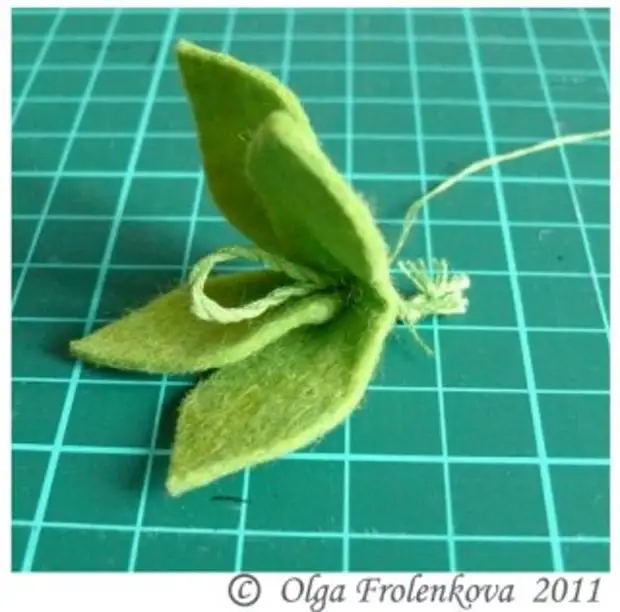
Next, the resulting design is inserted into the upper hole of our strawberry and sewn by hand, pulling up and straightening. Tie the last nodule .... and enjoy the deed !!!!
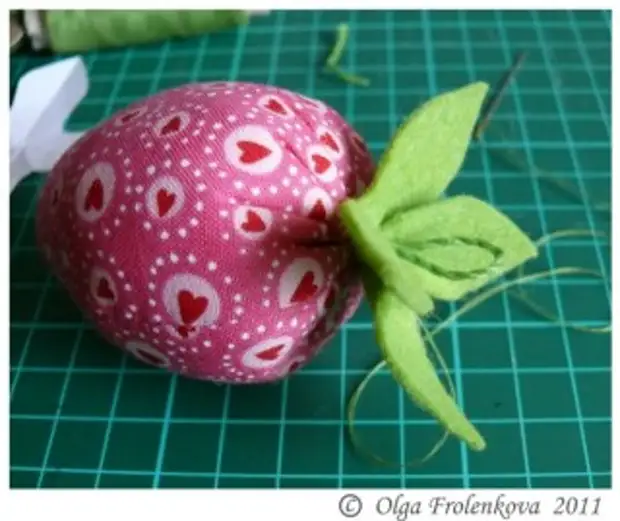
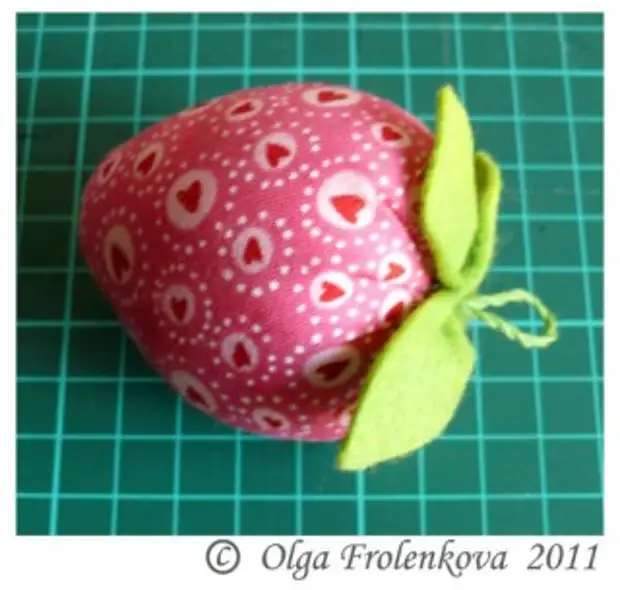
If you repeat this algorithm of action times 50 - we get a bucket of strawberries)))
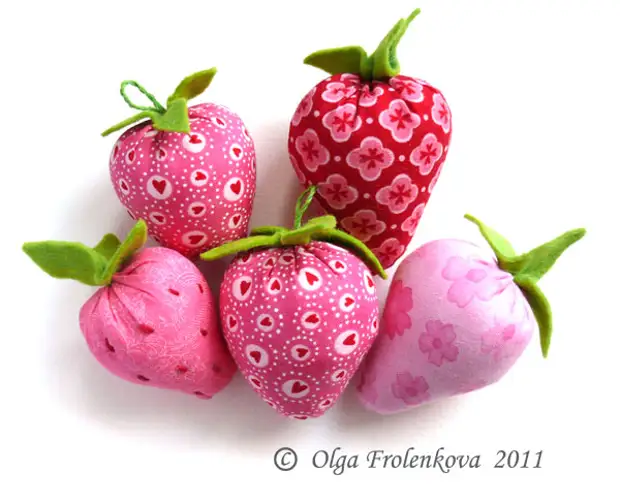
A source
