
Master class Master Prianka
The following tools are needed for work:
1. Actually, the casket itself, I chose an instance of pine. The work is thin and painstaking, so I try to choose the workpiece as much better quality, so that then there is a sorry in vain spent effort.
2. Black acrylic soil "Sonnet". The soil is more shelled than simply acrylic paint, so I choose it.
3. Glossy acrylic "Decola".
4. Contours for painting. I used the contours of different manufacturers, I had four shades: green herbal, blue (tair), yellow (decola) and bronze (idea).
5. Iron line (it most accurates the desired distances, not allowing errors).
6. Gel knob for ornament markup.
7. Prochelle varnish.
8. Ward wands to eliminate misunderstandings and unpredictability.
9. Pins for emissions.
10. Screwdriver.
As well as coating lacquer, skin and several brushes for primer and work with the background. Recently refused to be photographed, referring to butterfly :)

So, the process of work.
First of all, I spent all the roughness and removed the loop from the box - it substantially facilitates the primer and the subsequent painting process.

Then it began to primer, while prudently undermining down the newspaper (the ground is very poorly rubbed from various surfaces).

Then the primed casket left for an hour to dry. After decided to cover with varnish in one layer. The soil is good, but actively clings different dust dirt and actively absorbs the paint. After the coating, the varnish can be safely work, not afraid of surprises (for example, lubricate with hand some complicated fragment). Now everything is fixable!
After using a gel handle, I place an ornament, something like this:

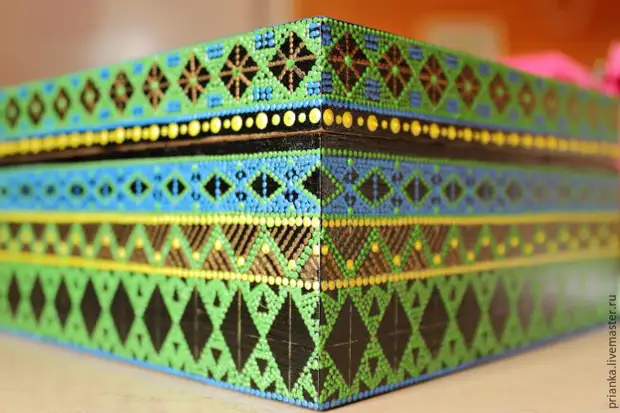
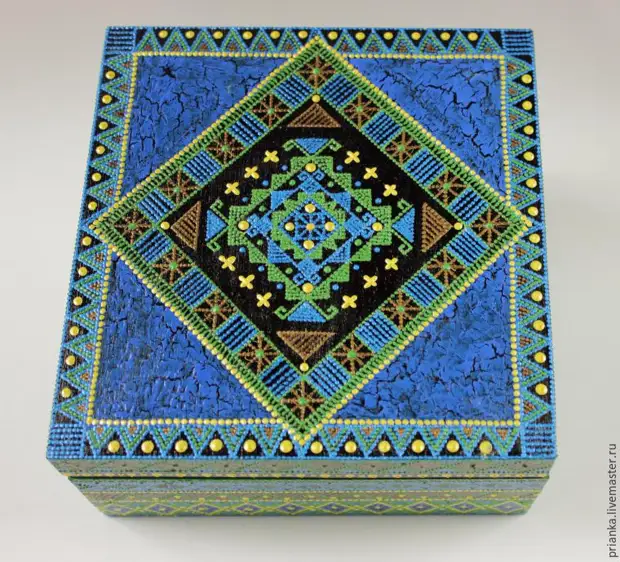
Now, by graduating marking, I began to paint the lid. For Mexican ornaments, bright contrasts and geometric details are characteristic, so I decided to make a thing as much as possible. I enter into work one color so that all shades are harmoniously distributed through the box. First green:


Blue:

In slightly smaller proportions, add yellow and bronze. They already serve as accents.

The casket cover should be bright, because it is the first thing that usually pay attention to. The casket cover is probably like a cover for the book. Therefore, I decided to strengthen contrasts using cracker. The thicker layer of the crockel lacquer, the thicker and the cracks will be expressive. I impose a generous layer on the surface, then leave to sleep for an hour.

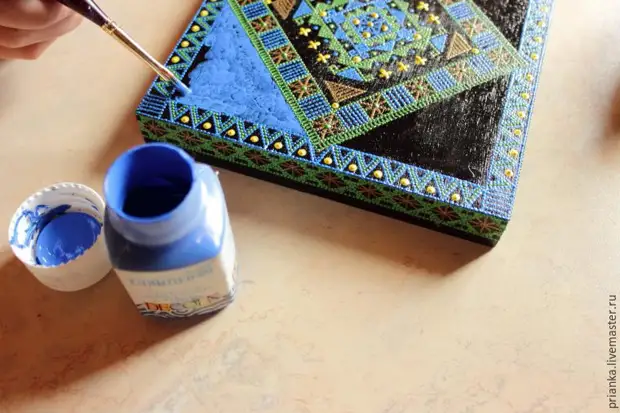
Now the ultramarine acrylic is entering the game, I use a flat brush to work with it. I put it with small strokes, trying not to return to the previously painted place (so as not to damage the cracker). It turns out something like this:
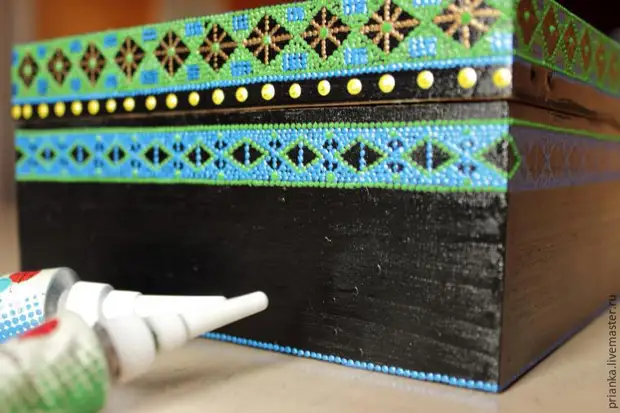
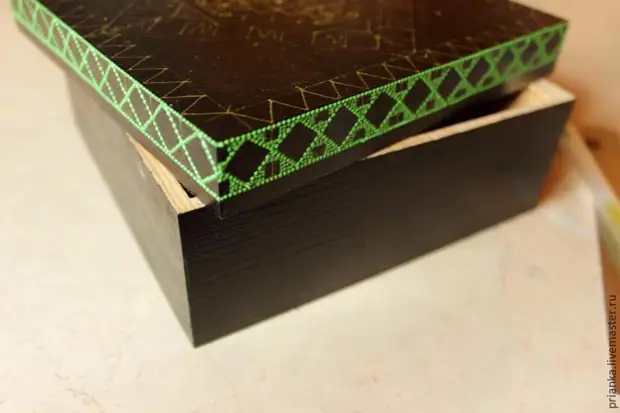
The lid is ready, you can now start for the sidewalls. My box is not a round, it greatly facilitates the work, but it does not mean at all that it is possible to relax and be inattentive. He will be carried away - be sure to lure the pattern with hand. Therefore, we decide to share work on two navigation (two sides, drying out the contour and the next two sides). The sidewalls of the box shall with a gel handle on the "ribbons", in which the ornament will be located:
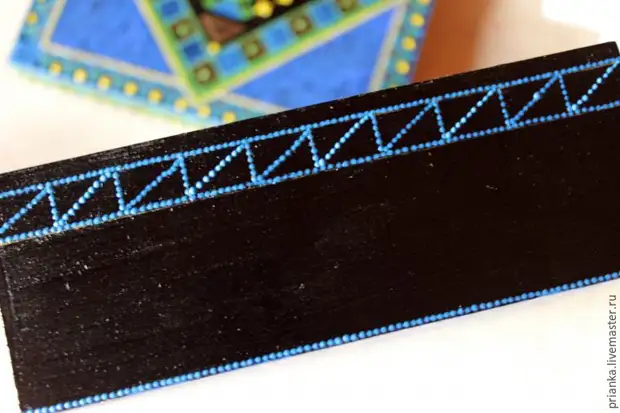
Around the entire perimeter, I spend the line, I begin to mark the markup. The work looks cleaner if you don't try to make all the lines at once, so I add the desired strokes after drying the markup.
The same rule is valid when the introduction of another color to work.
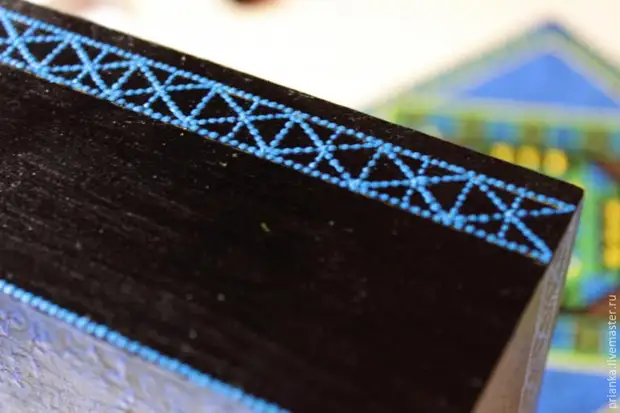
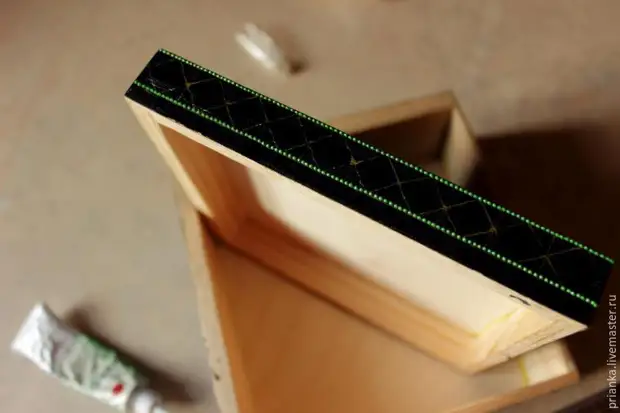
In the same way I made a side of the lid:
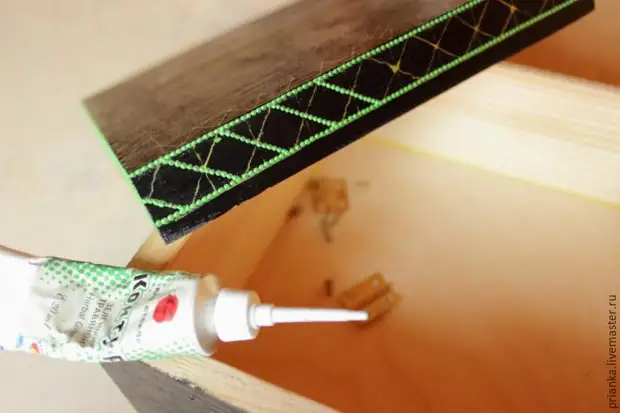
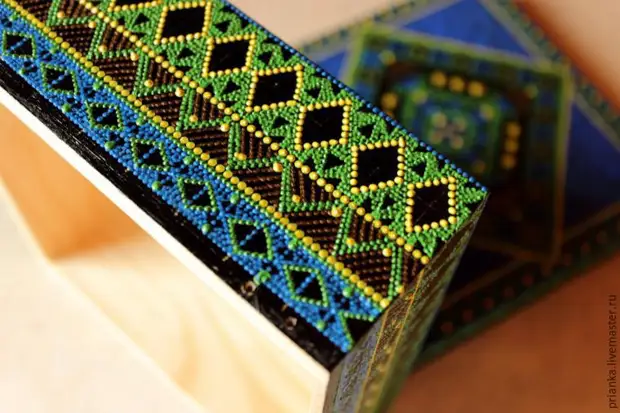
Then I made the second "ribbon", also on all four sides of the box. At the same time, it is important that the rhythms of the ornaments of each "ribbons" coincide with each other.
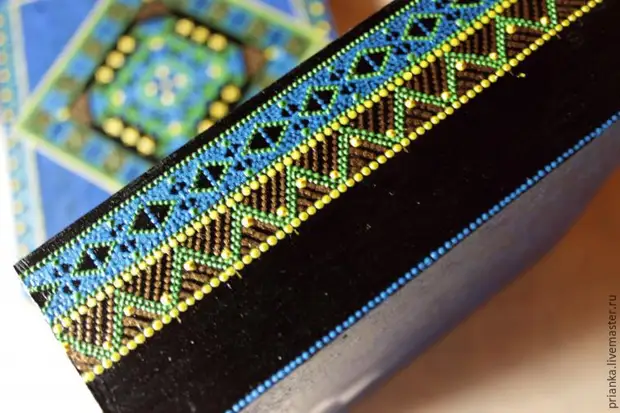
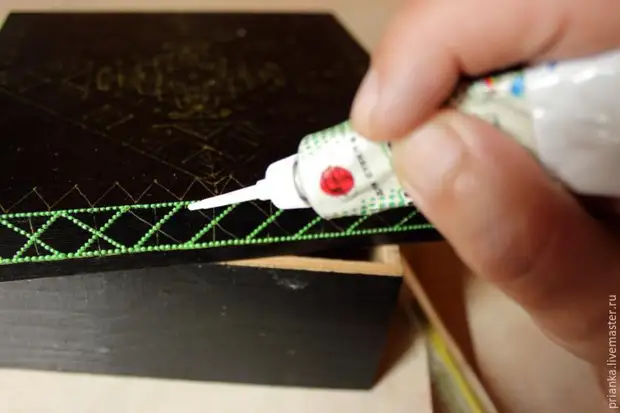
I place the handle the widest ribbon.
Here I decided to emphasize on the green color, so I use it in the markup. Other colors will add after the definite color dosage in this strip.
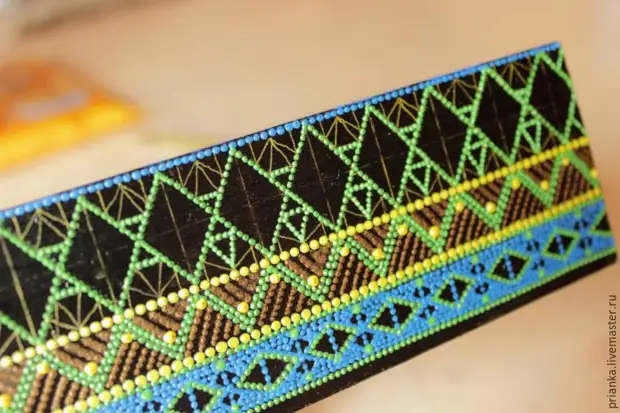
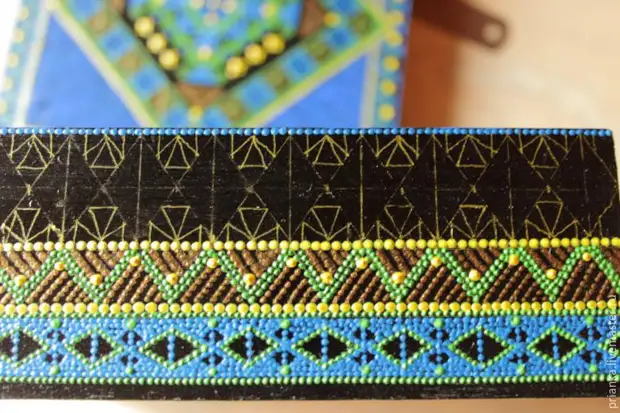
Approximately so I got it:
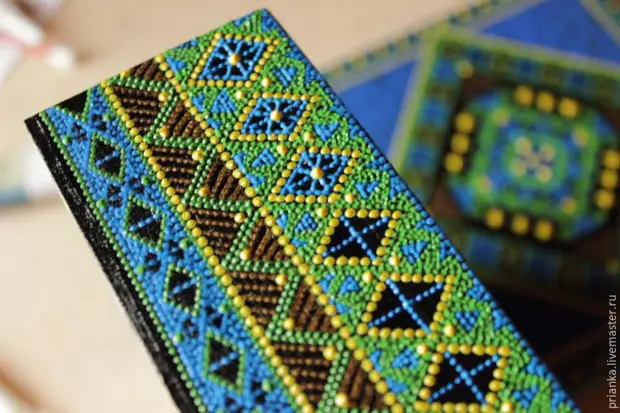
Then add yellow.
Blue's turn: I clog the remaining fragments of the background and make a bright openwork inside the rhombuses.
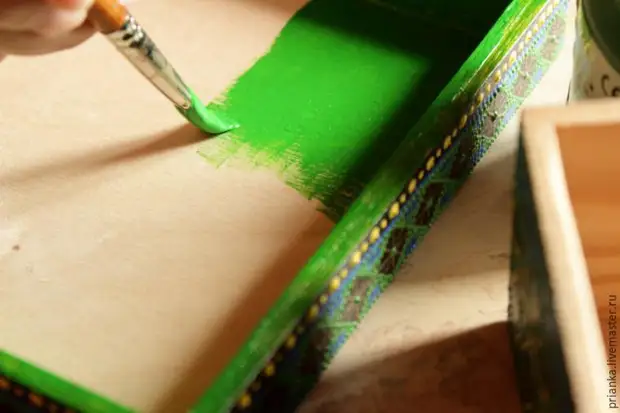
Leave the box to filing for about an hour, then I am engaged in its inner part. I decided to use for this acrylic, close by tone to herbal contour. After the color again, leave the casket to dry for an hour.
It remains to fasten the loops and ...
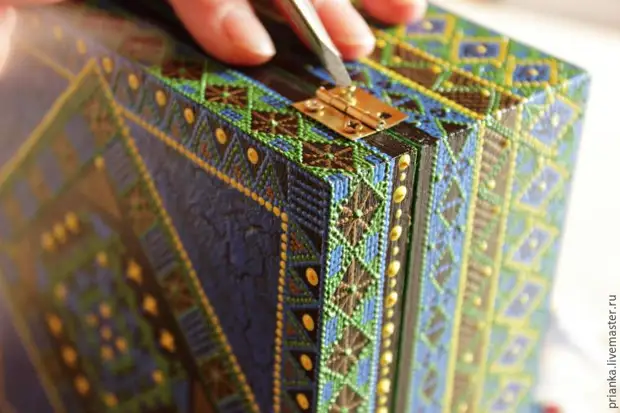
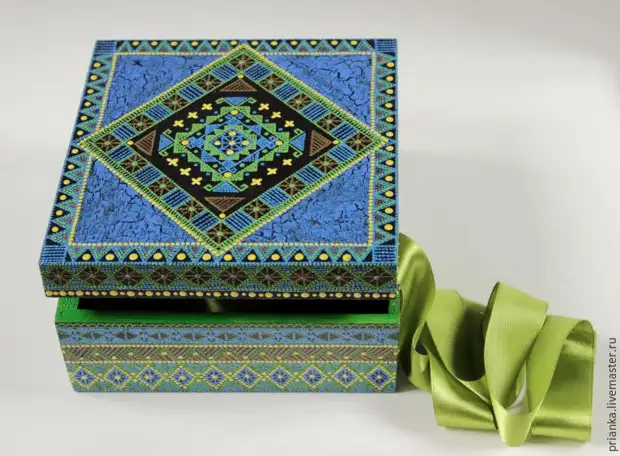
Bright detail of the interior is ready! I admire the result :)

A source