
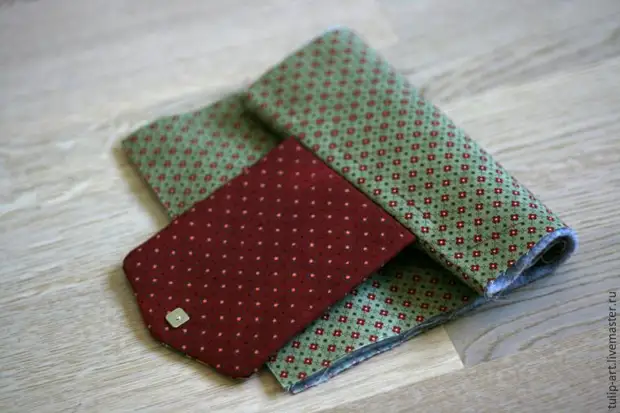
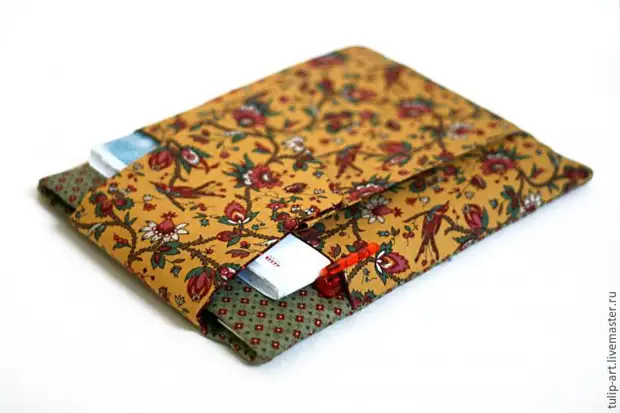
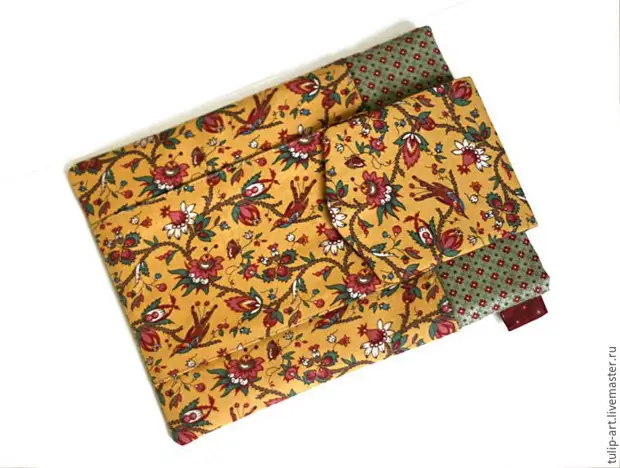
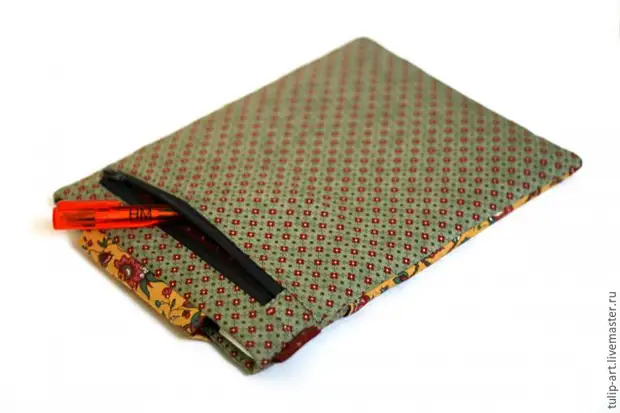
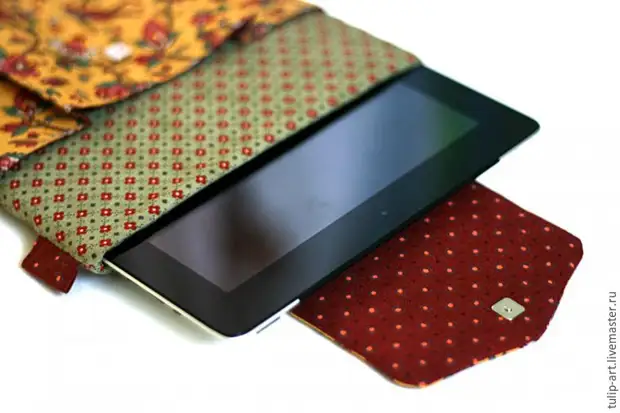
The tablet computer has become an integral part of the life of very many people - light, compact and so "smart." Take it with you everywhere and everywhere, we use often - and all this, of course, can lead to the appearance of scratches and other defects, inseparable from frequent and long-term use of any thing. Equip your favorite device will help a good and soft case, which I suggest to sew yourself, guided by this super-detailed master class. In addition to the tablet itself, you can put a few more things in it - notepad, stationery, even a phone or money - all the additional functional pockets and branches will fit all!
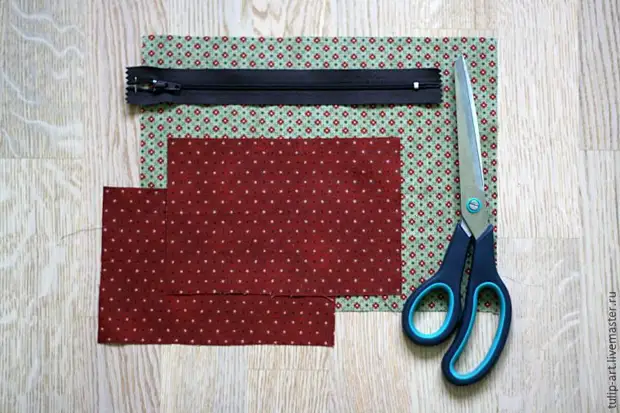
Materials and tools:
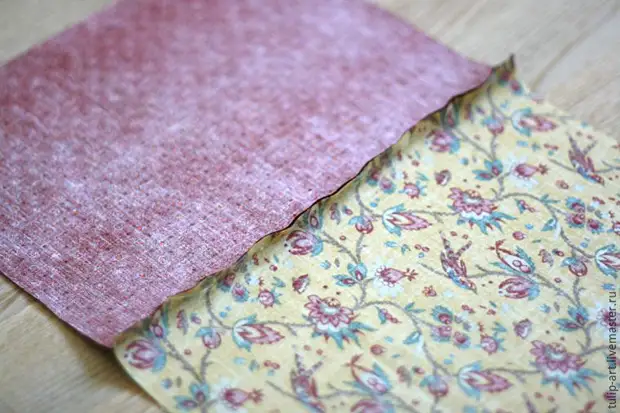
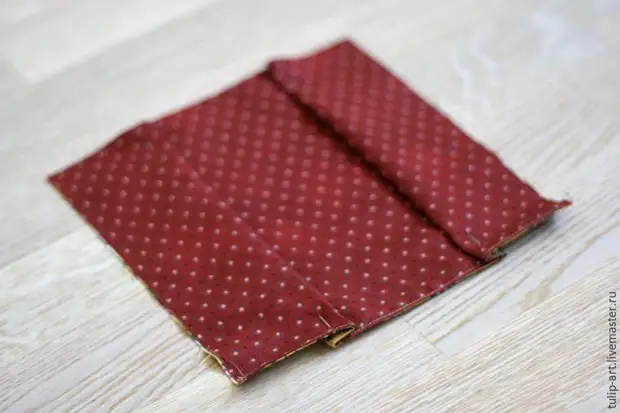
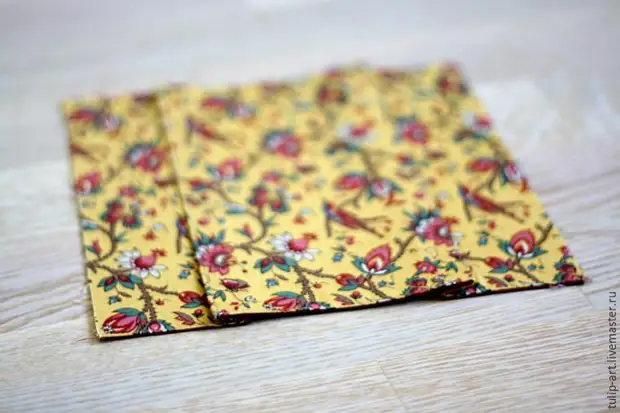
- Cotton of three different combined colors.
- Sealer.
- Magnetic button.
- Lightning.
- Standard set of sewing supplies - threads, scissors, chalk, ruler, pins.
- Sewing machine and iron.
Progress:
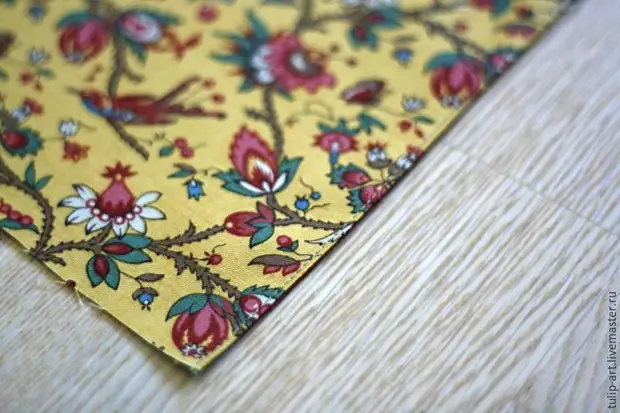
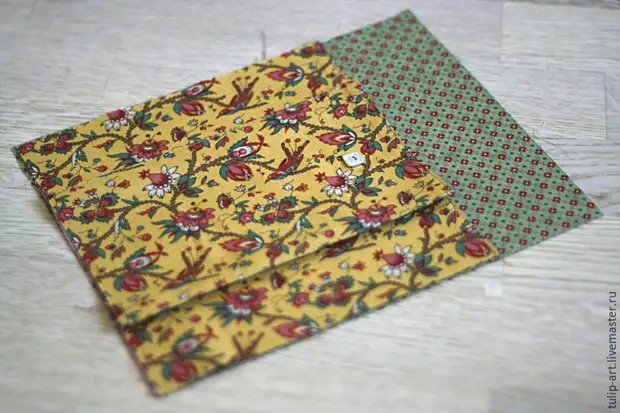
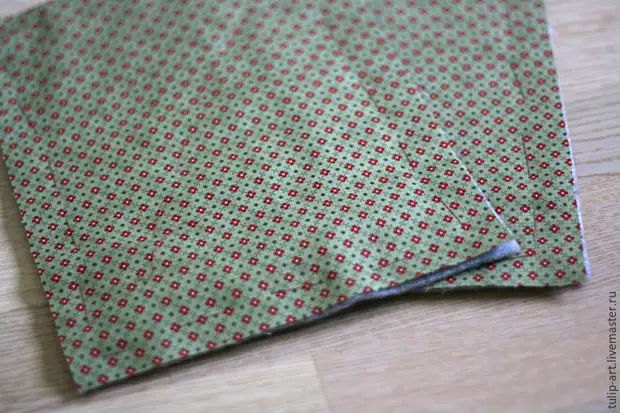
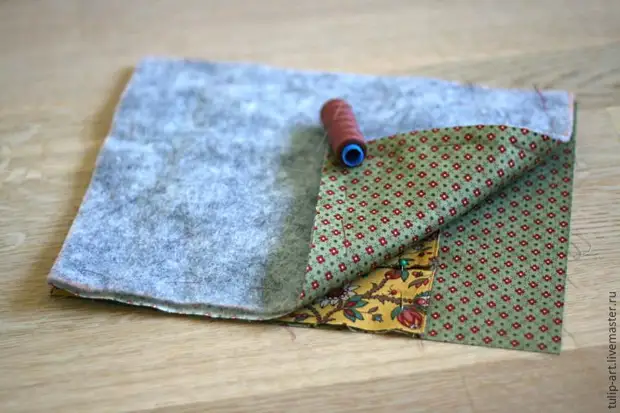
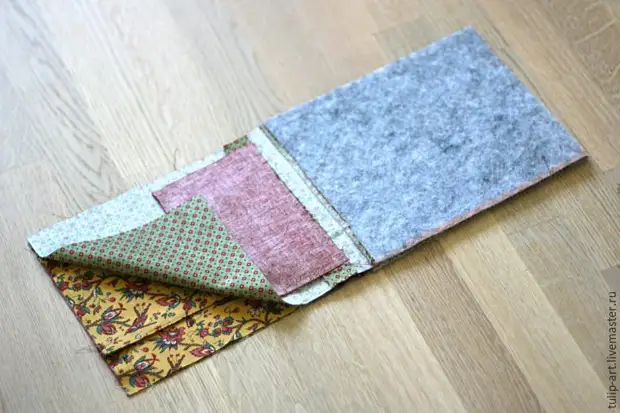
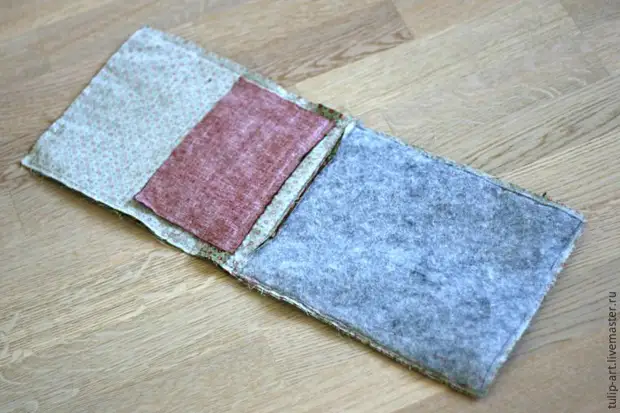
We will need 6 rectangles of their cotton measuring 21 cm by 27 cm and two of the same compactors, 2 cotton parts with a size of 15 cm for 18 cm and the same from the seal, as well as a pair of small rectangles 18 cm for 12 cm for internal pockets and a few more Small rectangles for lightning processing and other small details.

Let's start working from the assembly of the rear wall of the cover, it will be with a pocket with a zipper.
Take one of the large rectangles and with the help of a ruler and marker we will make a marking line at a distance of 4 cm from one of the short sides.
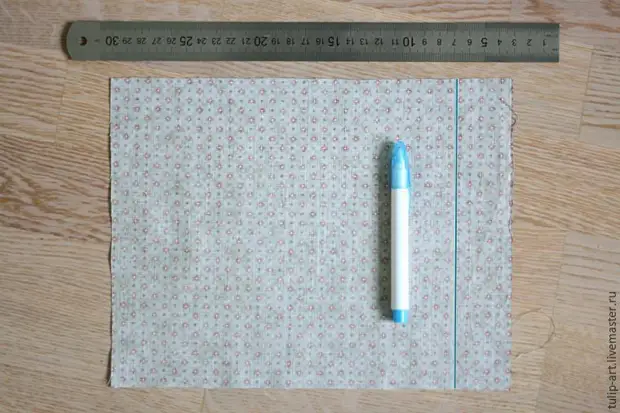
Cut the cloth along this line.
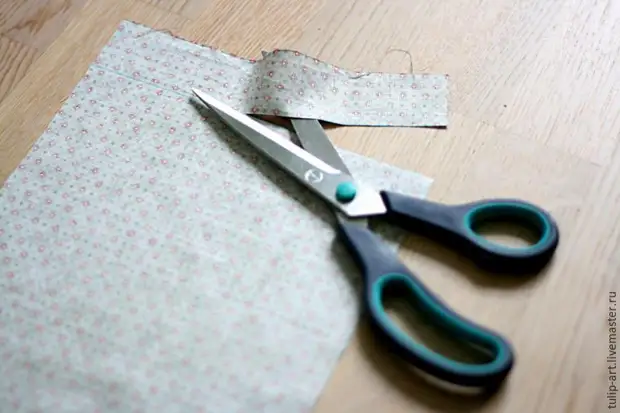
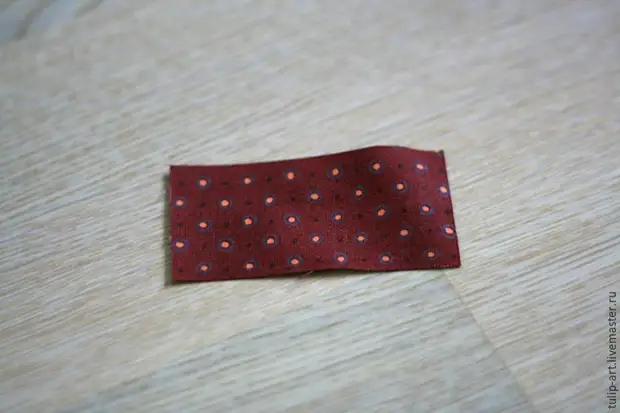
Now we take one of the walls of the pocket and cut the zipper to the length of his long sides. Also, prepare a pair of small rectangles with the sides rooted to the inside for processing the ends of the zipper.
Fix them with pins on the clasp.
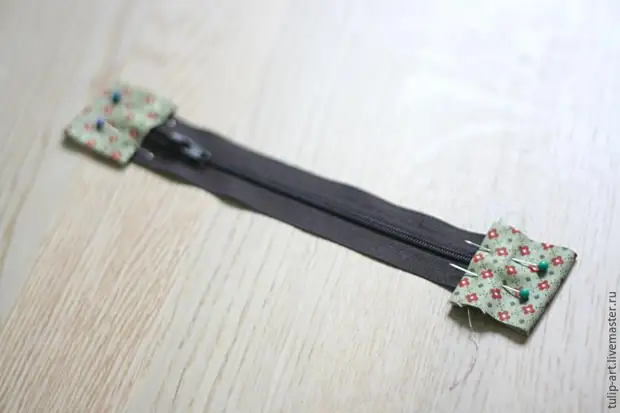
And spend.
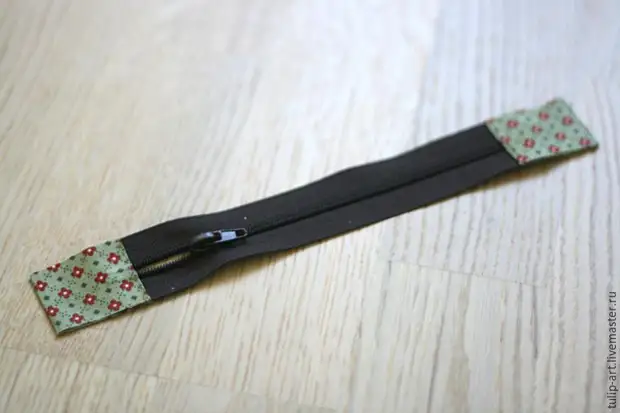
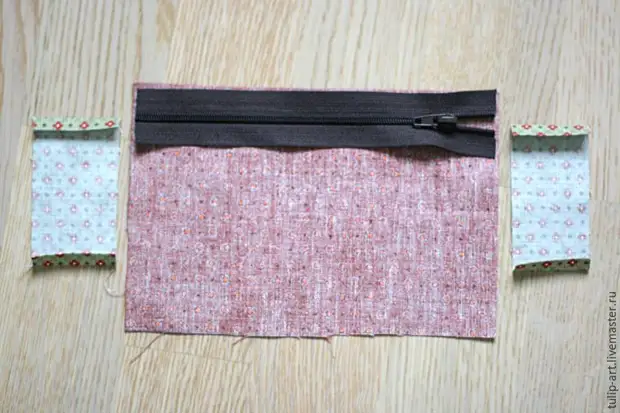
Now we will sew a lightning and pocket. We fold the details as shown in the photo. Pass.
In the same way, we sew the second edge of the zipper.
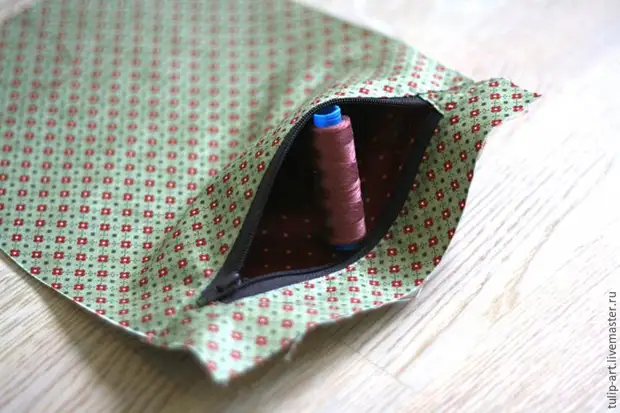
If all the details are deployed and opened, then the embellished lightning will look like this.
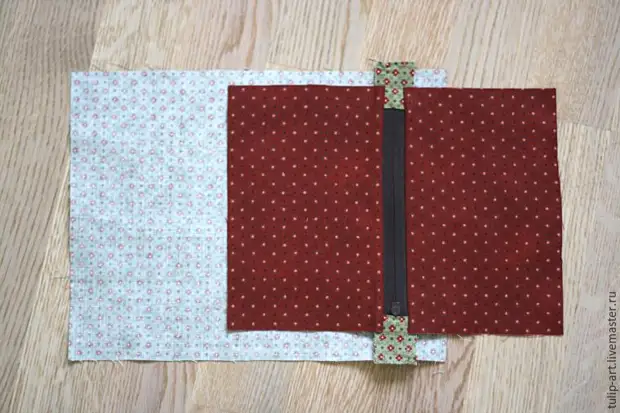
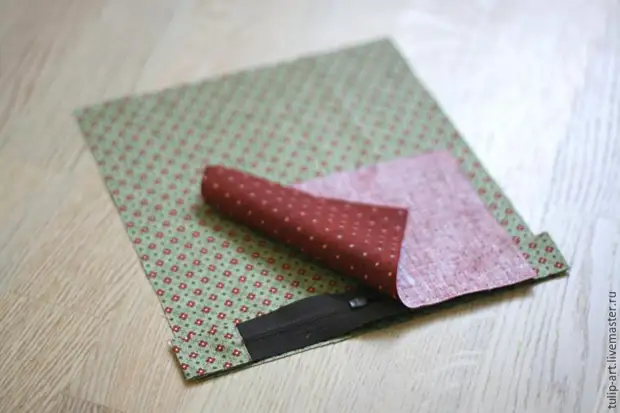
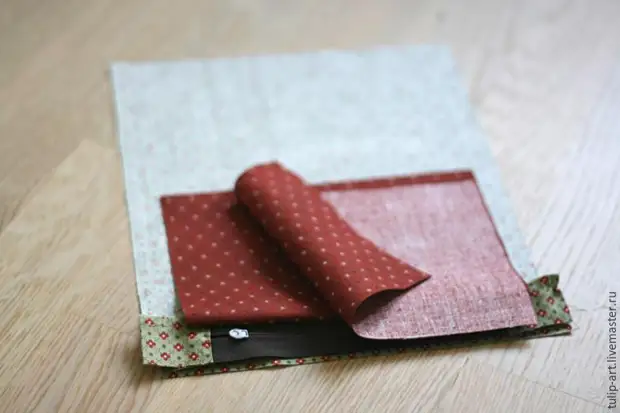
Now we put the details of the pockets face to each other and spend the letter "P" all three of their free edges.
Lightning pocket sews!
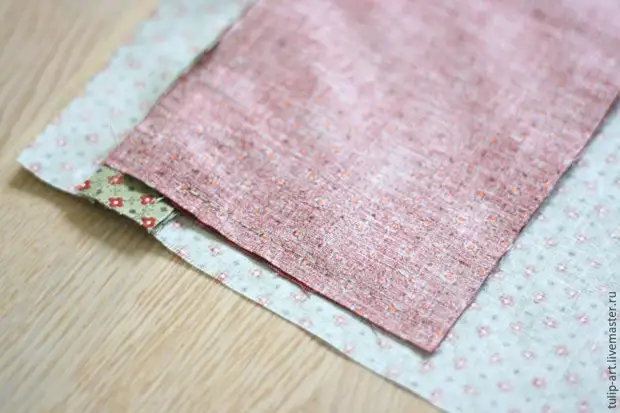
Now we will deal with the front volume pocket. We take two more large rectangles, fold them with the front parties.
Pass.
We deploy the details, we move and lay the decorative line along the seam.
Now, with the help of iron, we fold, as in the photo, the parties of the future pocket. Watch everything to be smooth!
At the root edges, we spend, fixing the bend.
And weeping two more bending, forming volume for pocket.
That's how it turned out from the front side.
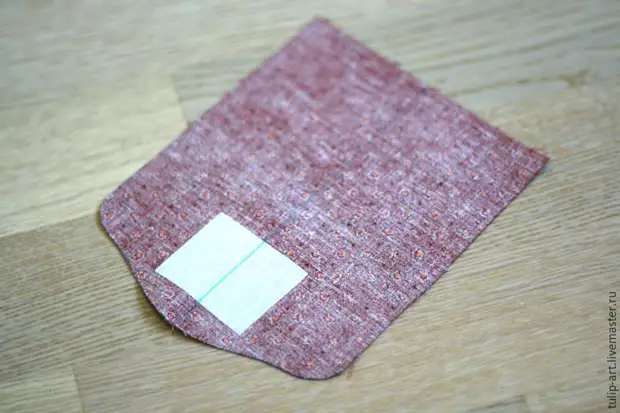
Now we will do the valve. That part of it to which the button will be delivered, duplicate and celebrate the middle so that it is more convenient to insert a button.
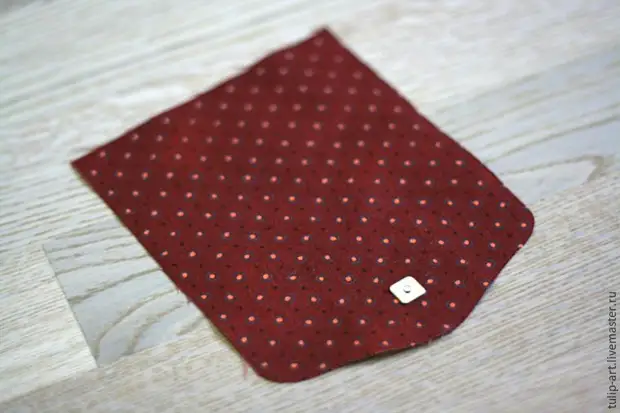
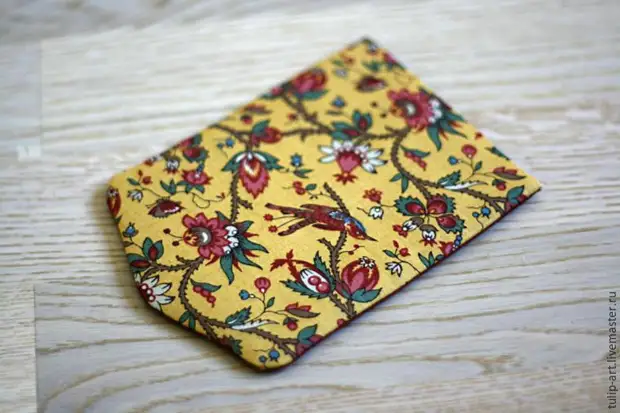
Putting it, admire the front side.
Now we fold the remaining parts for the valve, in the order shown in the photo.
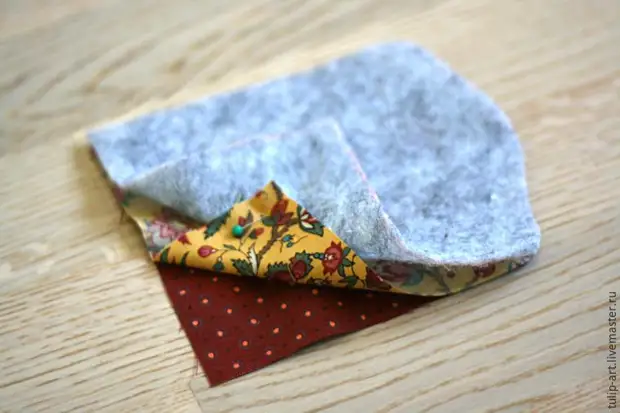
And we spend around the perimeter, leaving a free one of the parties.
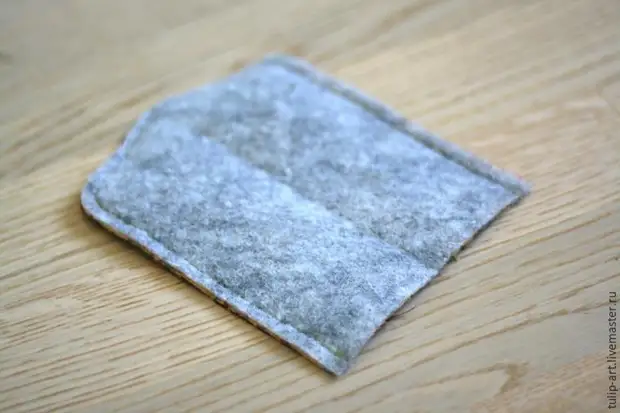
The excess filler will be better trimmed.
Now you can unscrew the valve and sip.
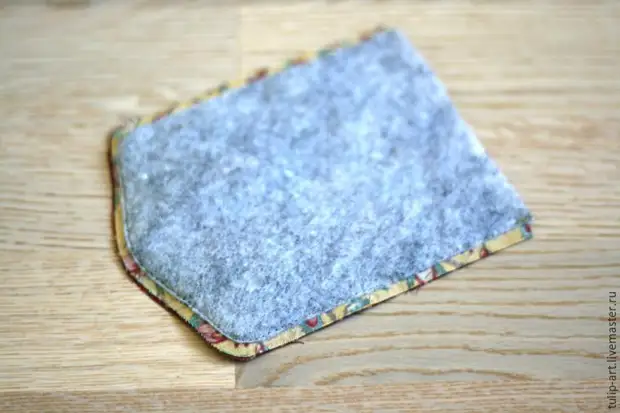
Now put the bottom of the button on the front pocket.
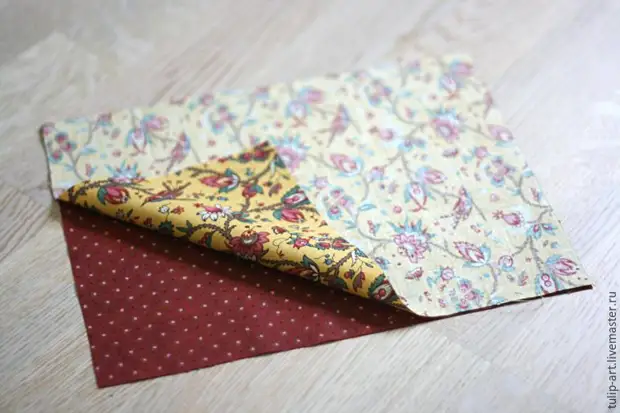
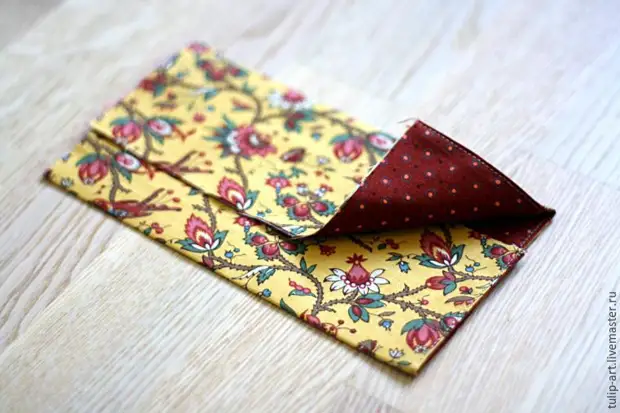
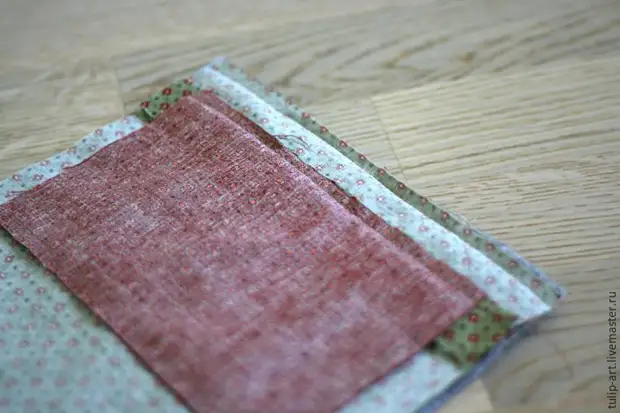
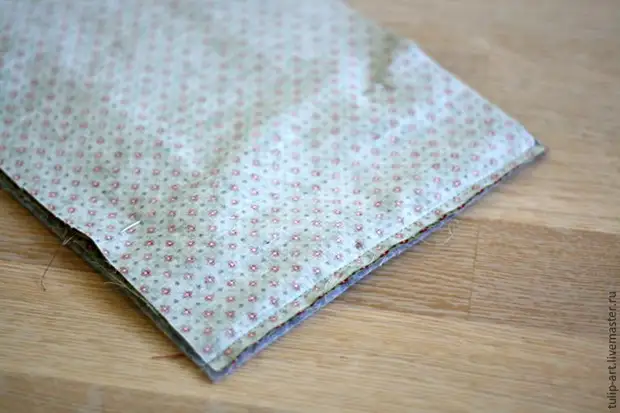
Already close finals, the main work is behind! The remaining large rectangles are desirable with the corresponding parts of the seal.
Now we fold the back of the cover - the inner wall with the seal, the valve and the rear wall with the inner pocket.
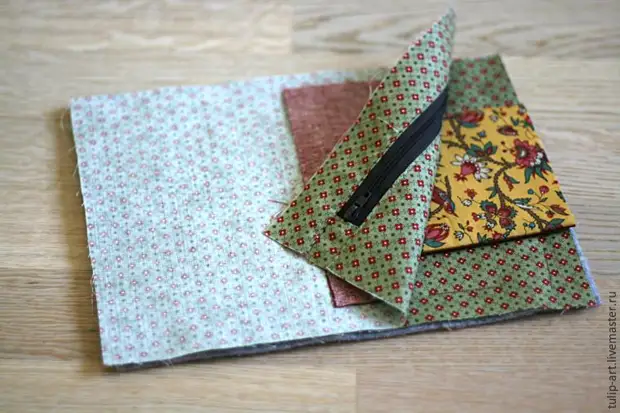
And spend.
Soak and move away.
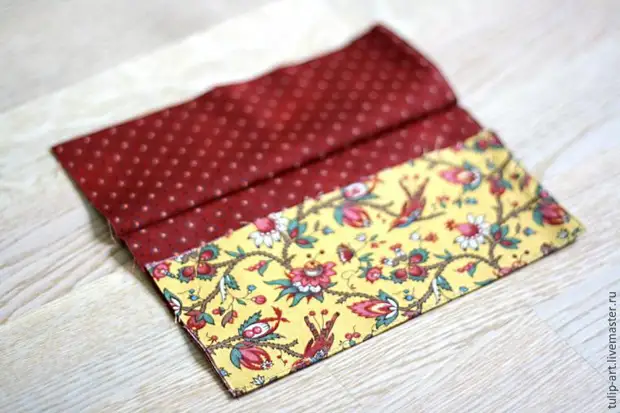
We also collect the front part - the inner wall with the seal, then the front wall with a bulk pocket.
Pass.
We will make a little loop. To do this, take a small rectangle from the remains of one of the used tissues.
Snowly long sides of it.
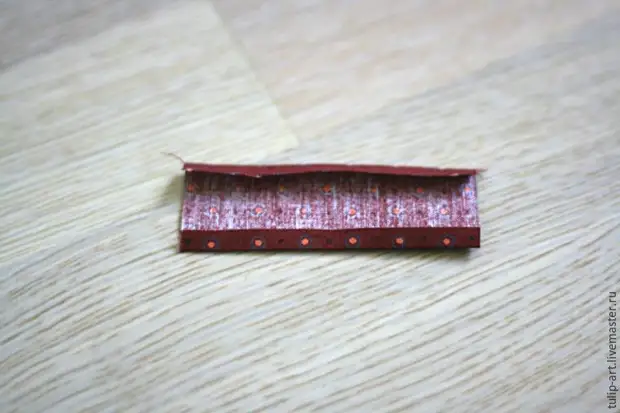
Now weeping it in the bent in half the form.
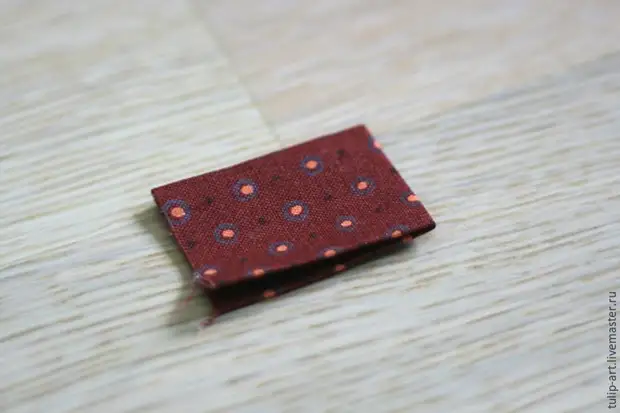
Now we are stitching and irrigine once again in half.
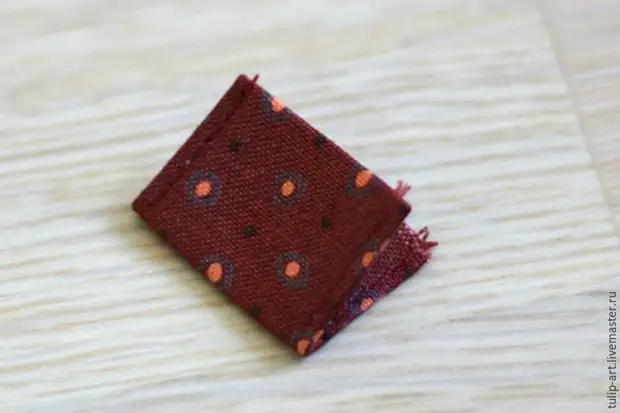
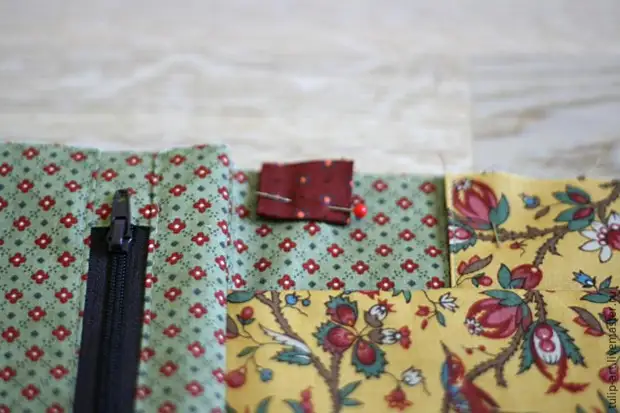
We rude it to large details slightly above the volume pocket.
It remains only to see the perimeter. We combine the rear and front walls of the inner and outer parts.
We spend, leaving a hole for turning on the lining part.
Case ready! The whole design remains to be turned and sipped, and the hole through which turned out is to sew a secret seam.
A source