

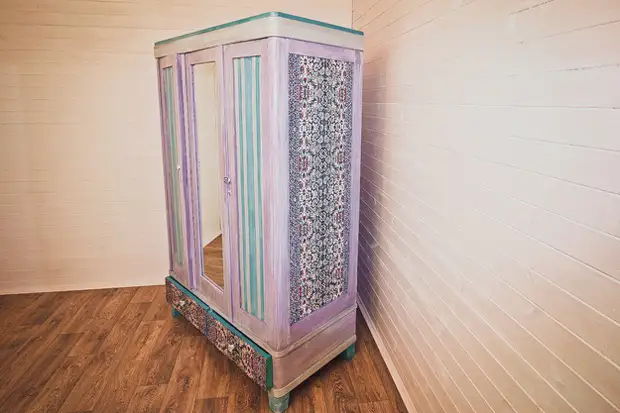
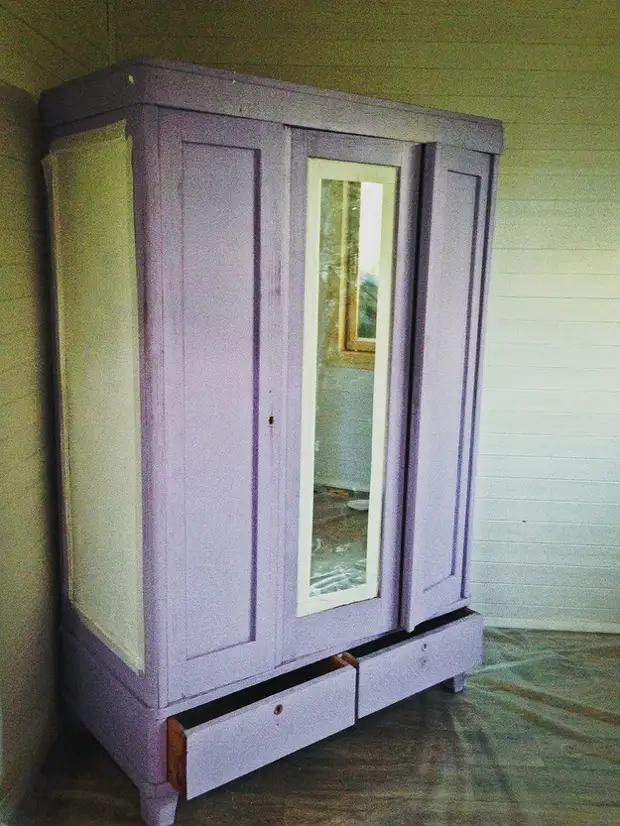
Today we will tell you how, not possessing professional skills, make the original design colorful cabinet from the old bulletiner using the decoupage technique.
Decoupage - decoration technique,
Based on the attachment of a drawing or cut-out ornament to the subject. Decoupage is very popular due to the enormous decorative potential, the availability of materials and the absence of special skills.
Step number 1. Think over concept
Well think out the color gamut, select Style and pick up accessories suitable with decor. Do not forget that the new appearance of furniture must match the overall design of the room.
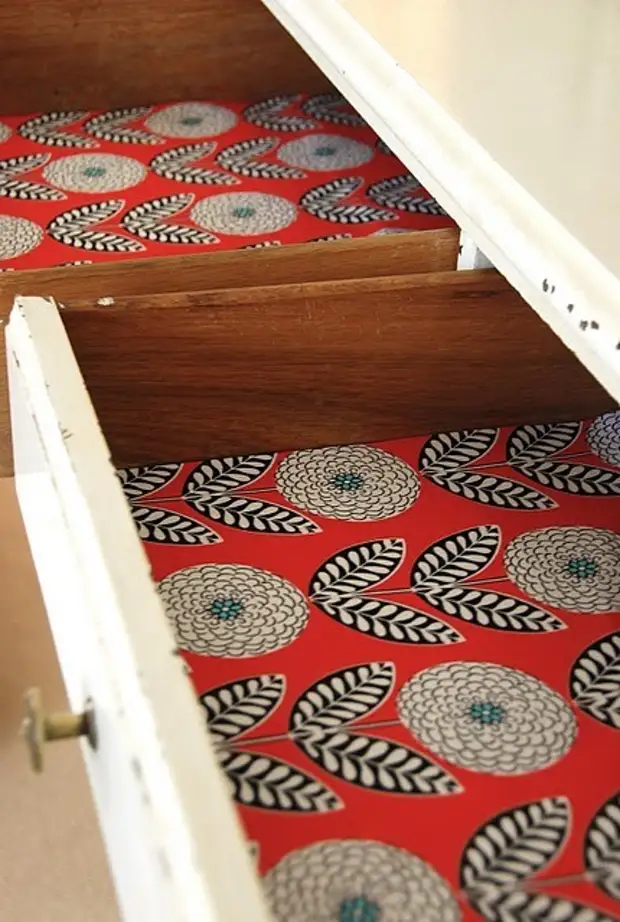
Really appreciate your strength. If the technology, with the help of which you decided to remake the furniture with your own hands, you still unfamiliar, then first work better on smaller items: for example, on the inside of one of the boxes.
For rework you need an imperious set.
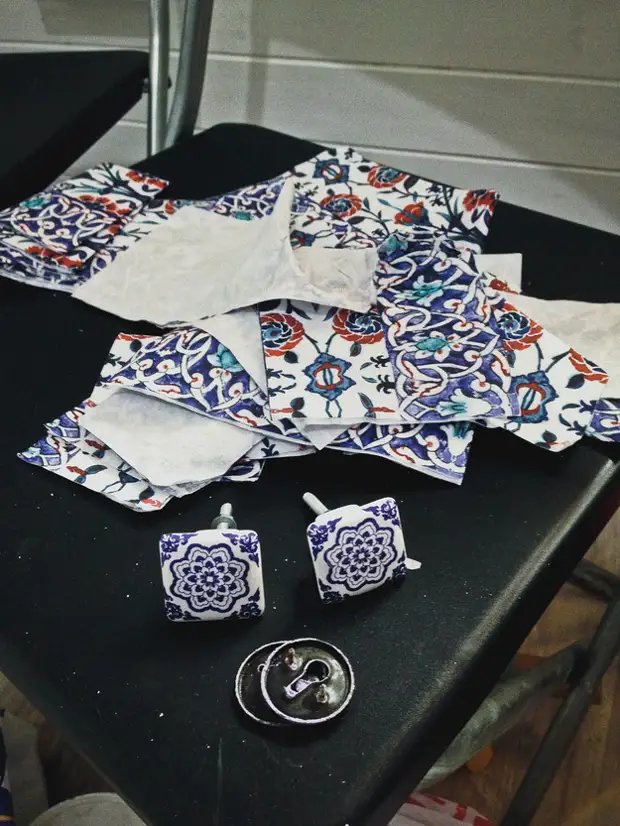
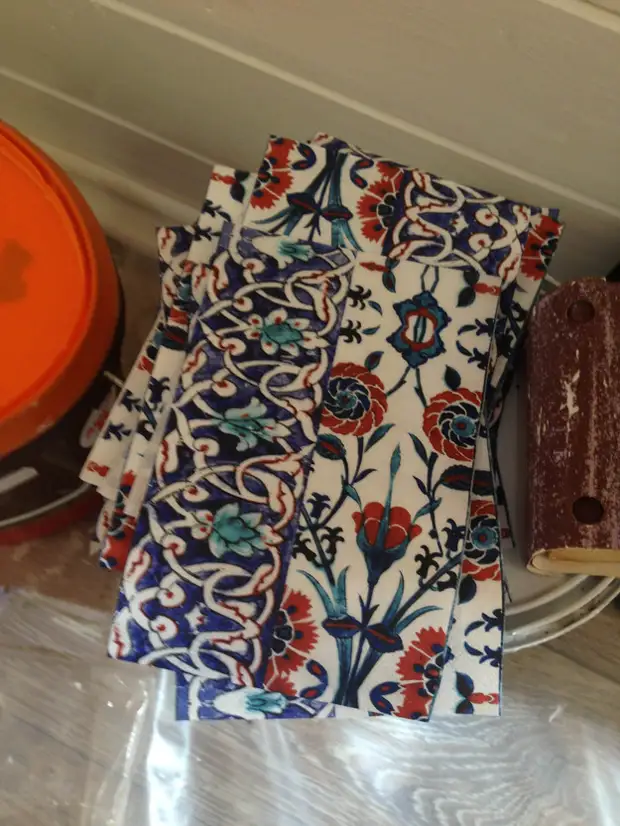
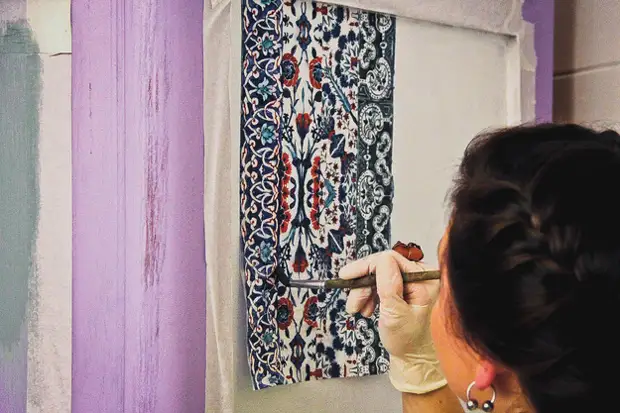
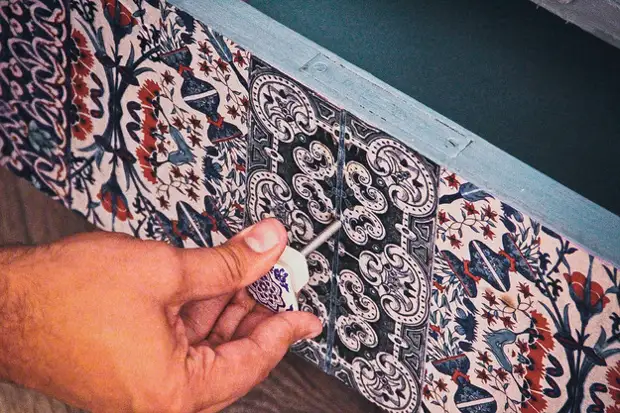
- Paper napkins With an interesting pattern, various printouts on paper - base base!
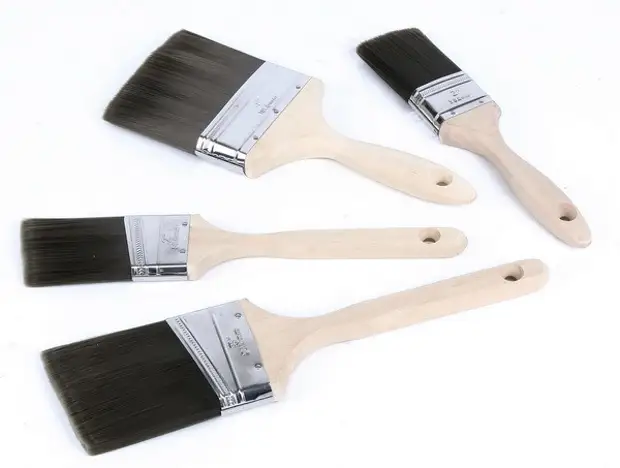
- Paint brushes (for applying varnish and glue). Choose synthetic, medium hardness, different in size, but not less than 2 cm wide.
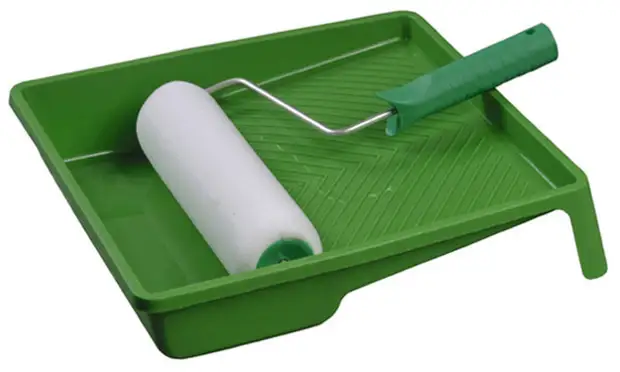
- Painting roller and cuvette. The latter is used for dialing and uniform distribution of paint over the surface.
- Varnish. Now all sorts of varnishes (matte and glossy) are available, there are even special varnishes for decoupage. It is best to use water-based varnish: unlike others, it does not smell.
- PVA glue. Why no other? This is a council from experience. PVA glue thick consistency, does not flow, suitable for any surface. Being initially white, when drying it becomes transparent.

- Acrylic paints. A huge colors of acrylic paints opens a large scope for your imagination. Furniture can be painted in one color or make bright color blocks using glossy or matte paint. Before using paint, mix well in the bank. This must be done because texturing additives in the storage process are lowered to the bottom.
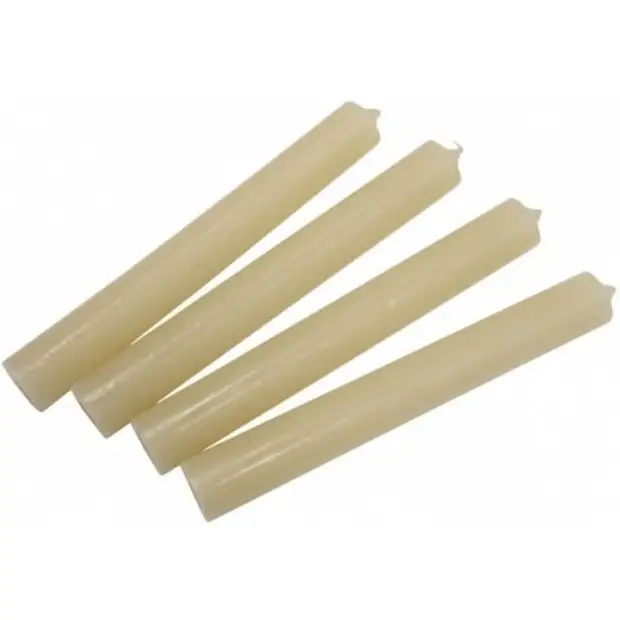
- Paraffin (Candle) will help make surface scuffs and give furniture retro look.
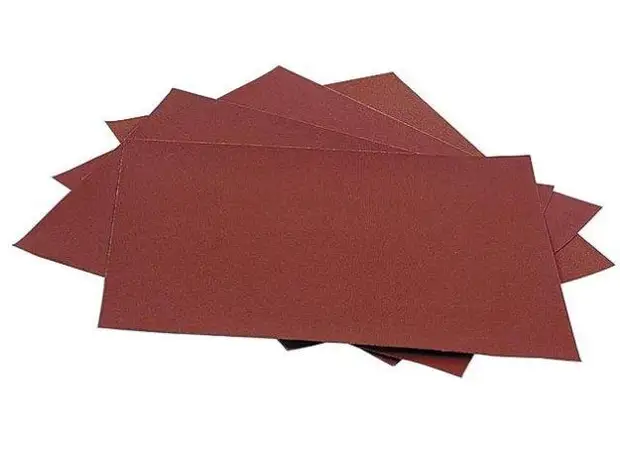
- Small grade sandpaper. She will need to remove the old coating, as well as for the subsequent artificial formation of renewed furniture, giving it an antique value.
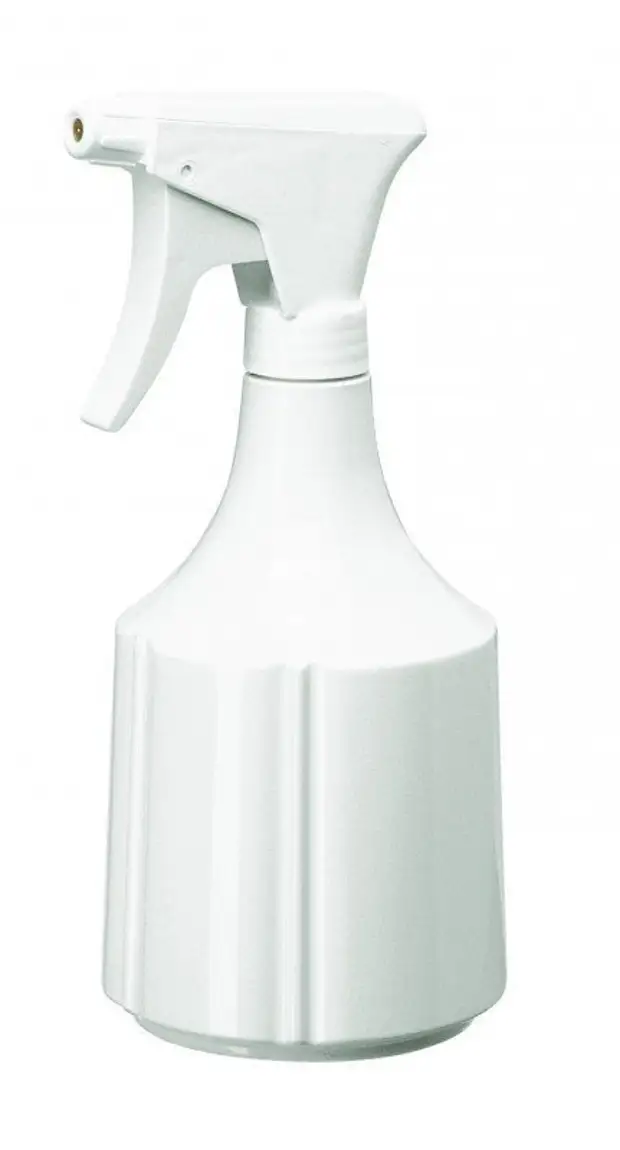
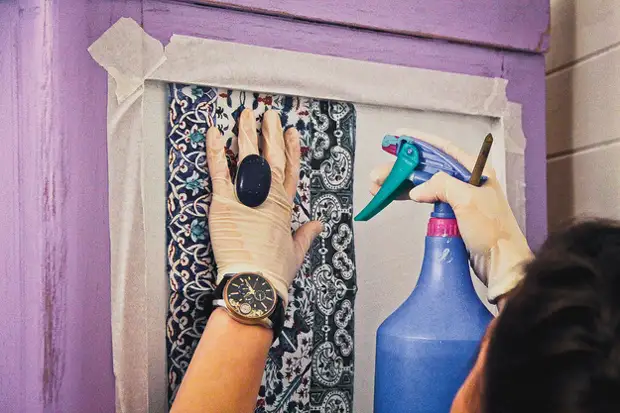
- Pulberizer for water It will make it easy and gently distribute the napkins on the surface of the furniture, smoothing the folds.
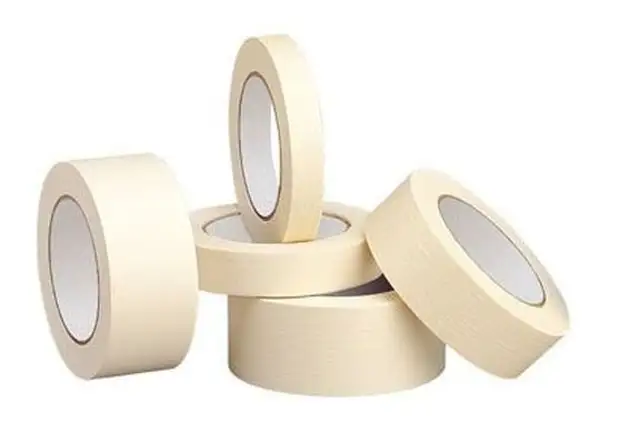
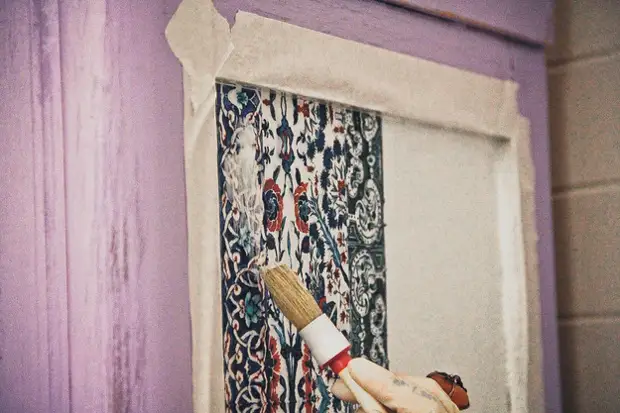
- Malyan Scotch It will help to make the pattern of the pattern, joints of two different colors smooth.
- Primer. Preparation for painting of any surface precedes the processing of primer - the dust is removed, a special binder film is created. In our case, it should be applied not alkyd, but an acrylic primer, this will allow the paint better to lie on the surface of the furniture.
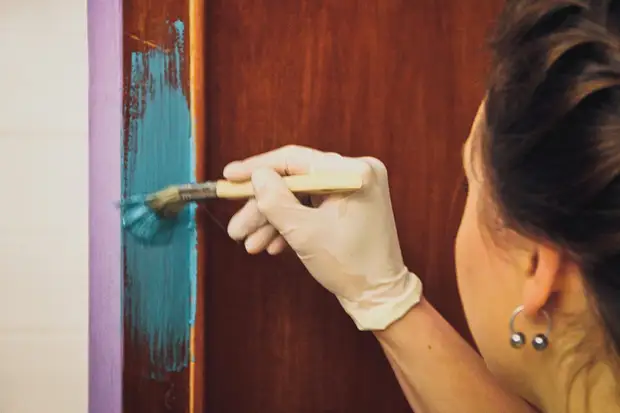
The first thing you need to do before decorating is to completely clean the furniture from the old lacquer using sandpaper. For convenience, you can use an electrical grinding machine. With the help of small sanding, you can also easily eliminate small scratches and minor defects.
Now proceed to the basic actions.
one. Ground all renewed surface. Apply primer to the best brush. We are waiting for drying. As a rule, the manufacturer indicates the packaging time of drying, so it is desirable to adhere to these recommendations. If for some reason on the package does not indicate the technical characteristics of the mixture, then this process may take at least 3 hours. It is easily checked visually and touch.
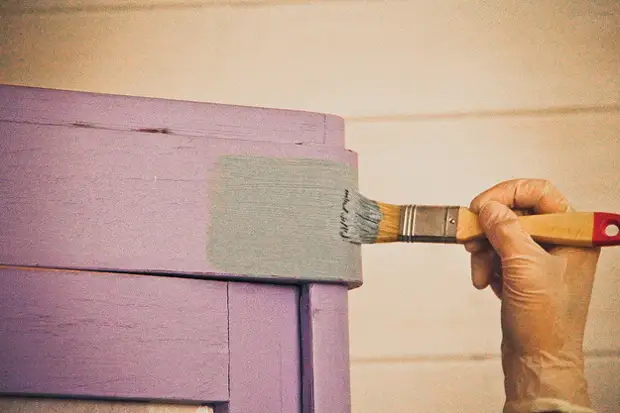
2. After projected and dried, covering the first paint layer. Leave to dry by about 15-20 minutes.
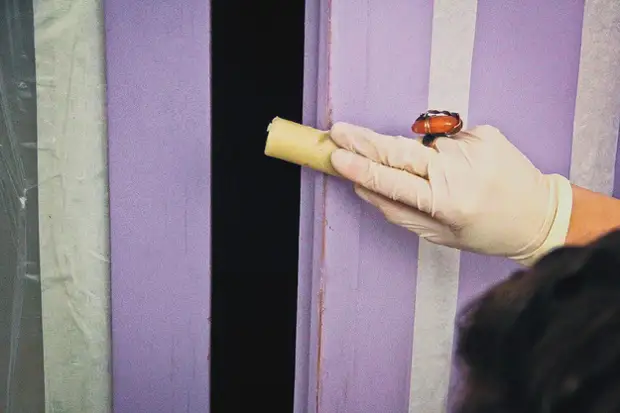
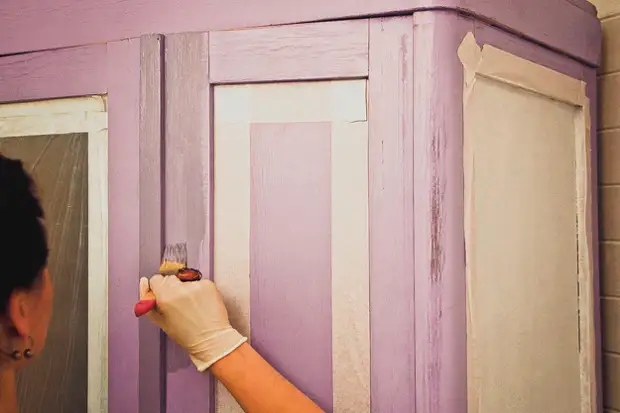
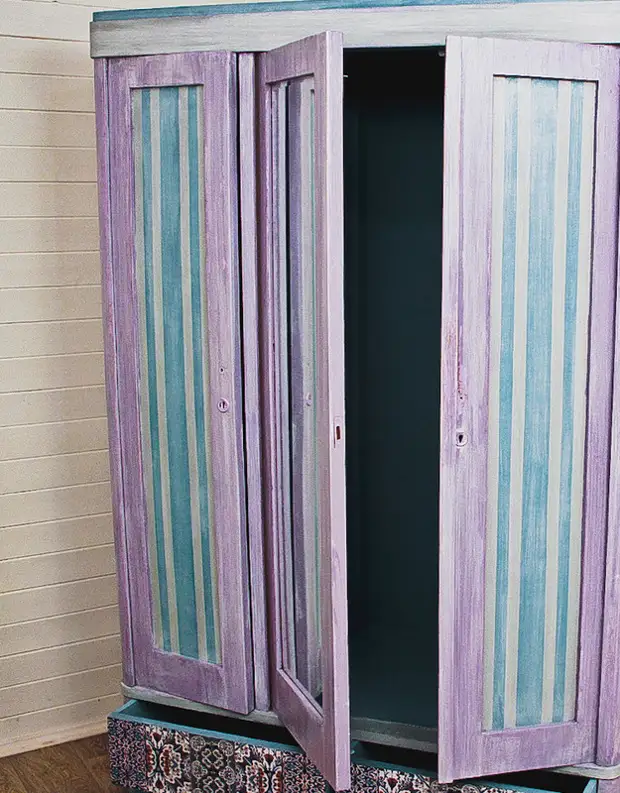
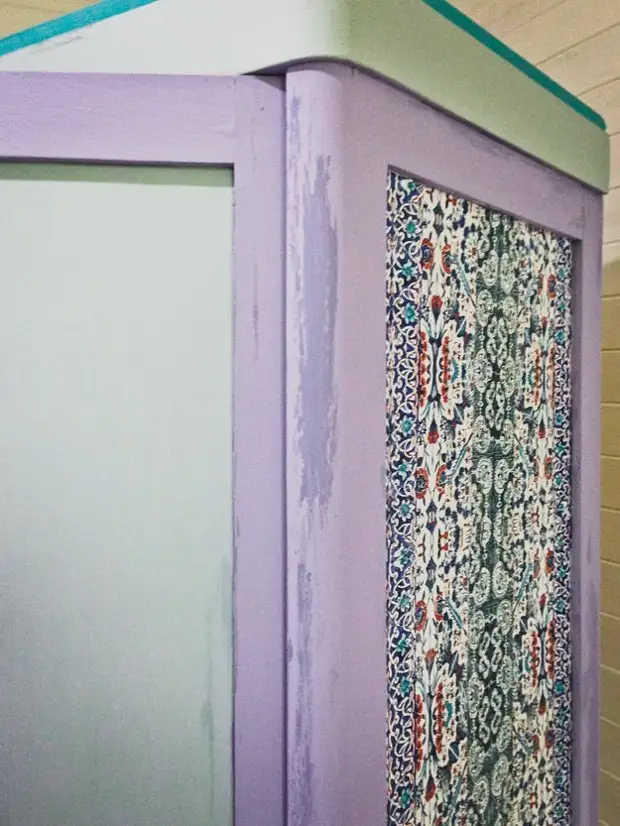
6. Using a painting tape, you can make a pattern. In this case, these are stripes on the cabinet doors. Paint open areas with extra color. 7. After complete drying with shallow sandpaper, we remove part of the paint in places where the surface was graffin graffin.
eight. On top of the paint we apply varnish in several layers. Each of the layers should dry well before applying the subsequent.
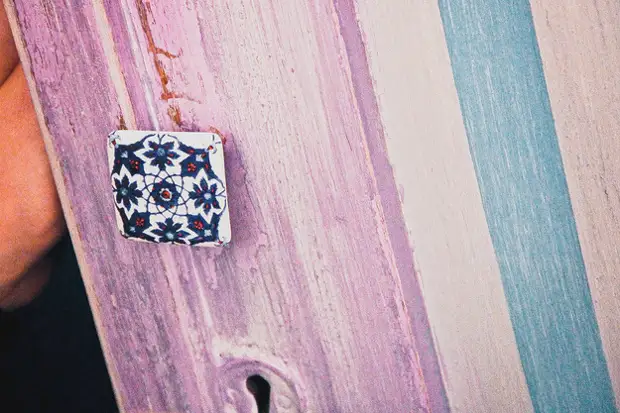
nine. We establish all the necessary accessories.
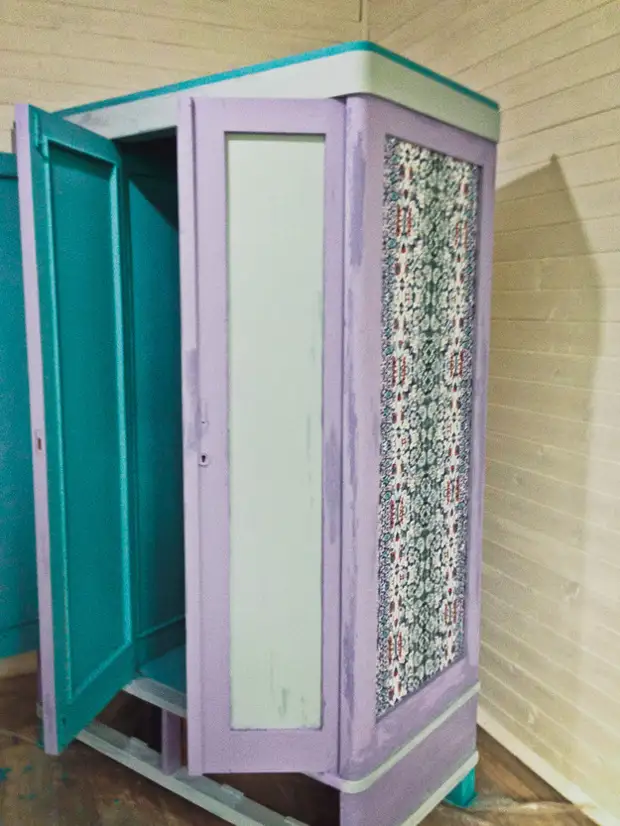
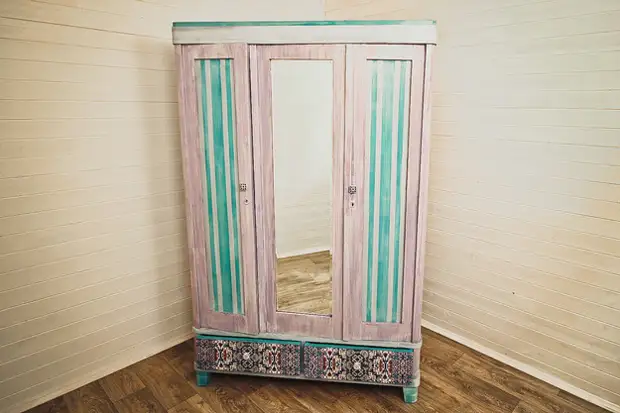
In such a simple way, we breathed life into old furniture and made her designer. Now this furniture will rejoice again!
A SOURCE