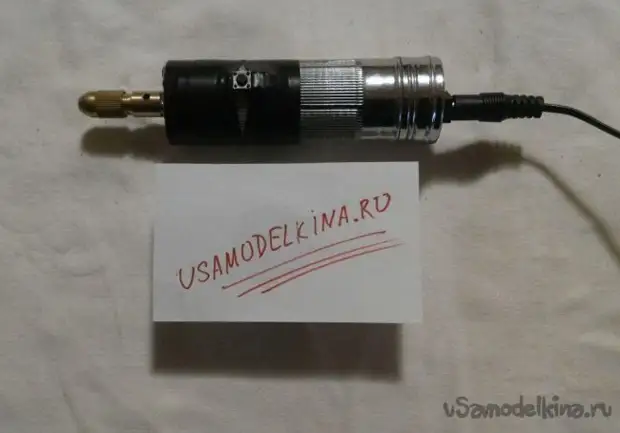
I present an option to make a mini-drill from a flashlight body and electronic components that have accumulated after the analysis of various, failed equipment.
The drill will have two inclusion buttons:
- The first makes the engine inclusion briefly, i.e. not fixed;
- second, fixed, i.e. To turn off, you need to press the second time.
I assume that the option with two buttons will be convenient when operating a mini-drill.
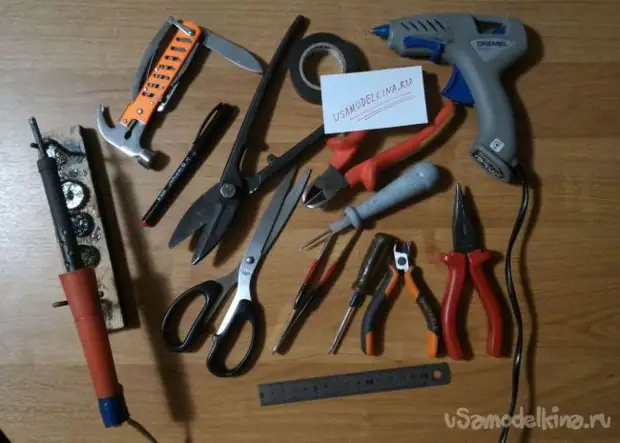
To work, we will need tools:
- line;
- screwdriver;
- nippers;
- scissors for metal;
- knife;
- a hammer;
- marker;
- thermopystole;
- tape;
- tweezers;
- Shilo;
- soldering iron;
- Scissors.
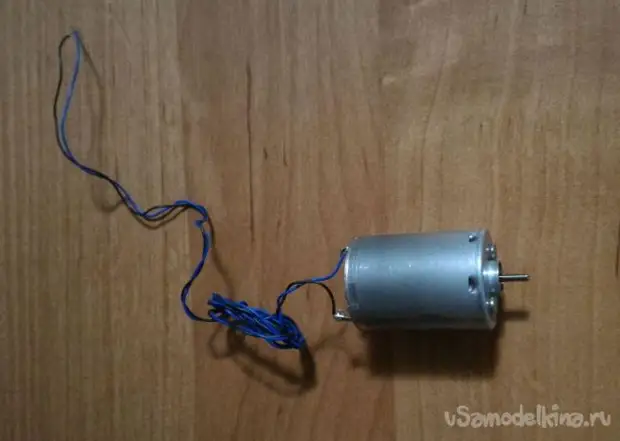
The engine is taken from the broken printer, the supply voltage is 12 V, the diameter of ~ 28 mm.
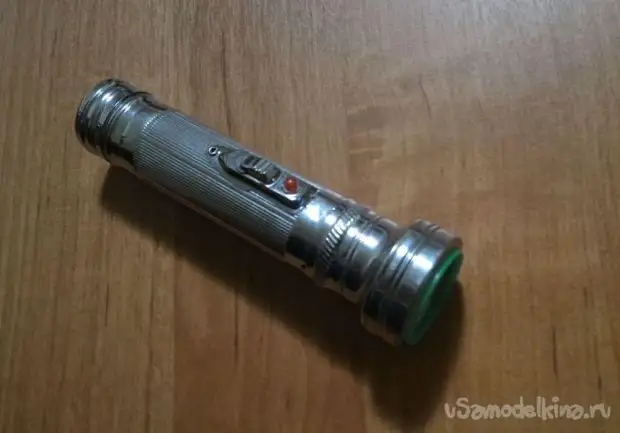
The base of the craft is served by the body of a metal flashlight. Such, for sure, there are many.
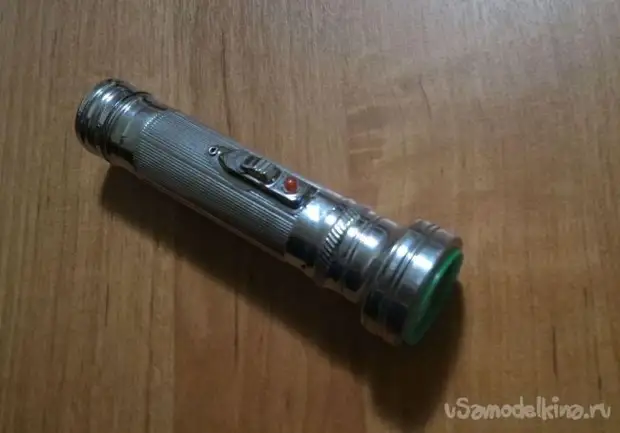
We unscrew the reflector from the flashlight, delete the power button, try using the engine - fits perfectly.
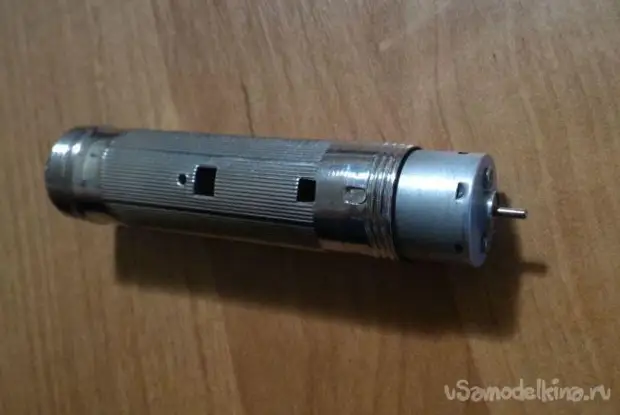
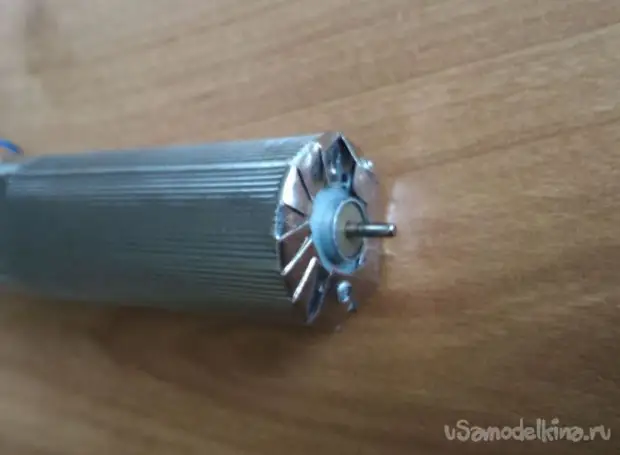
Scissors for metal We produce cuts of the housing (as shown in the photo), and two opposite petals (hereinafter - fastening petals) used in the future for fastening the engine, have a width of ~ 8 mm, and the remaining 5 - 6 mm.
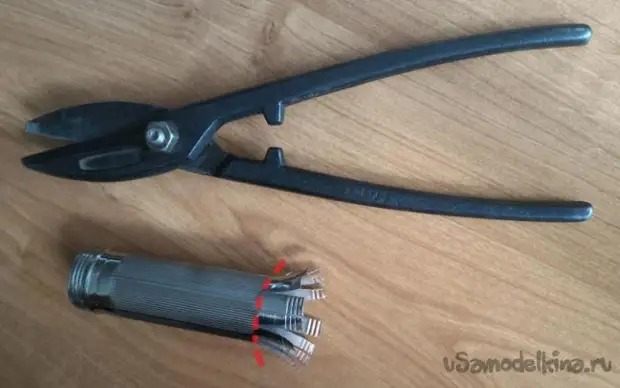
Cut off the petals of threaded parts. On the fastening petals, there are places for the holes in such a way that when flexing the petals of the hole is opposite the carving in the end of the engine.
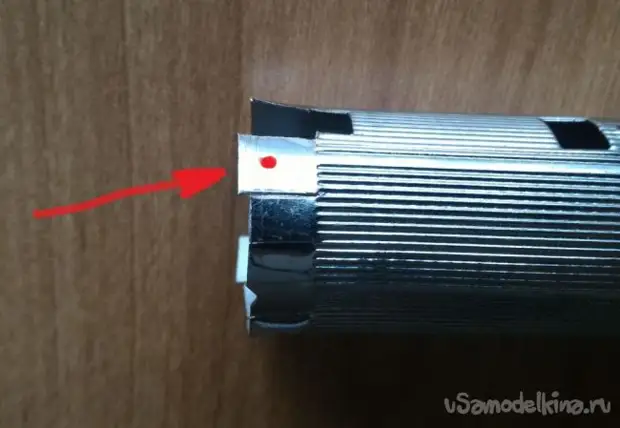
Purify holes with sewing. Bend all the petals to the engine, the fasteners - last.
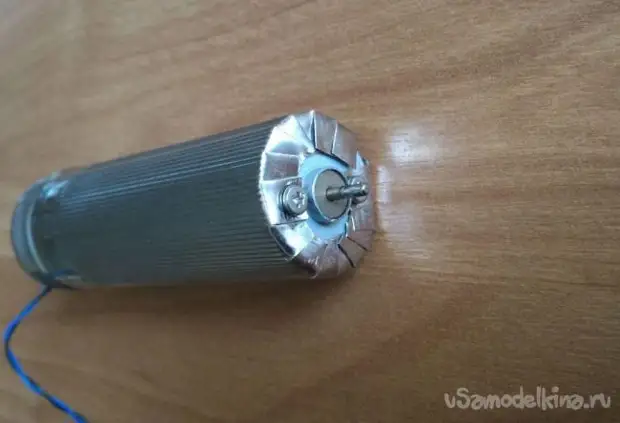
We screw the fastening petals to the engine with bolts.
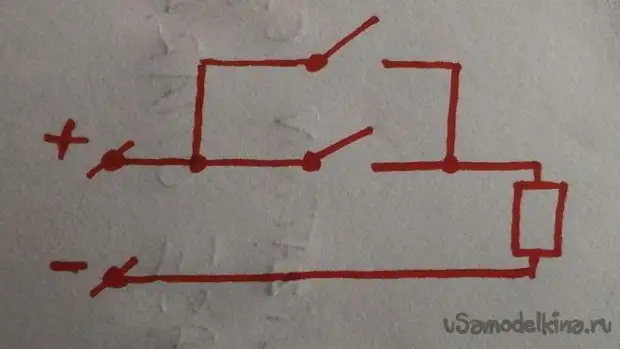
Next, proceed to the assembly of the electrical filling in the following scheme.
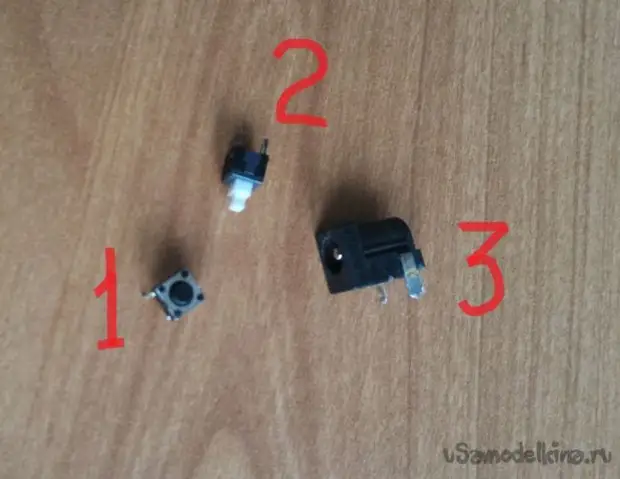
We use items:
№1 - Button without fixation;
№2 - button with fixation;
№3 - Power plug connector.
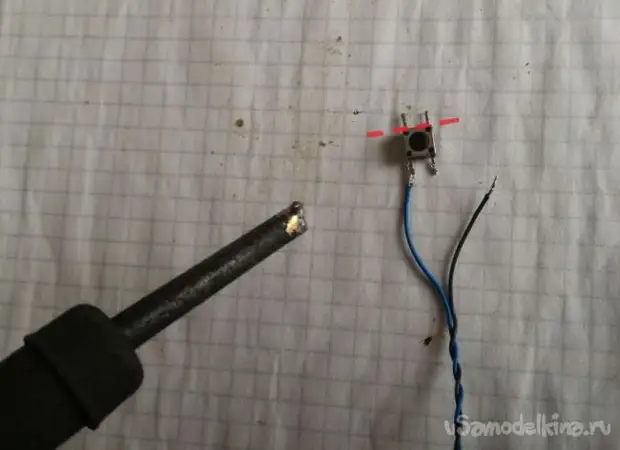
We produce the wires of the wires to the button number 1 (we delete the second pair of contacts).
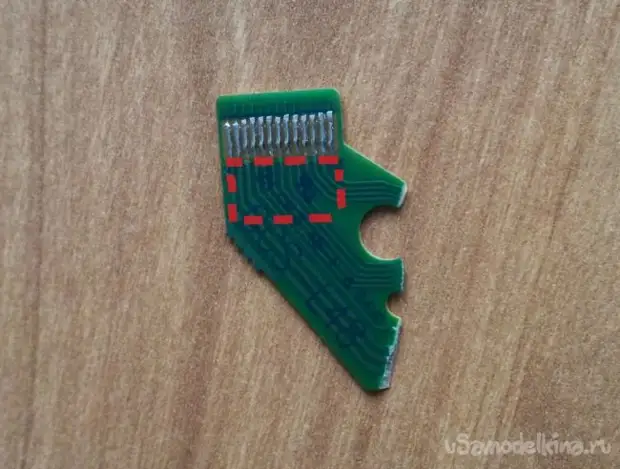
From a piece of fiberglass board, cut the rectangular base for the button number 1.
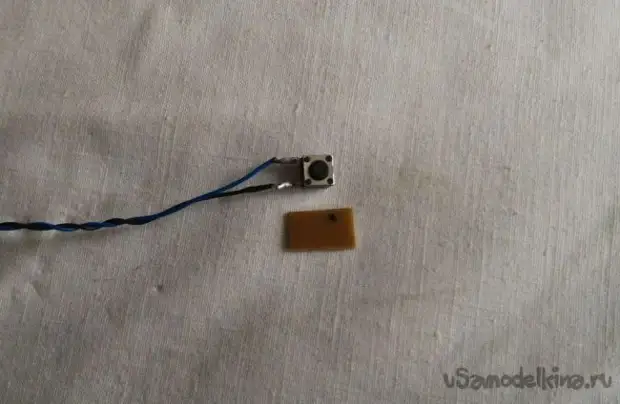
With the help of a thermoclaus, fix the button on the base, then on the drill case, pre-started the wires from the button inside the housing. The result in the photo.
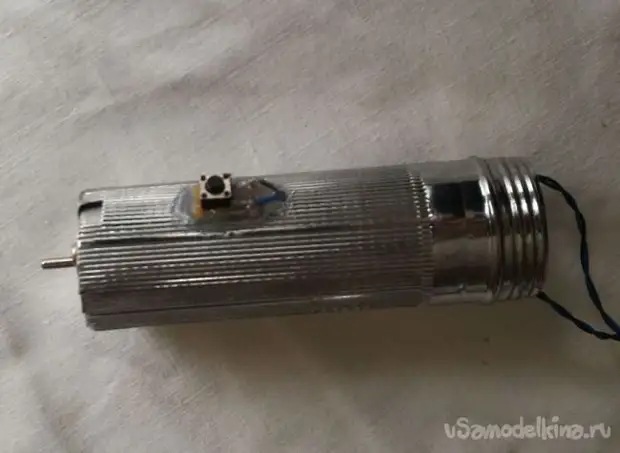
Colelet fix the resulting design. When operating, the winding isol will allow you to maintain the tool.
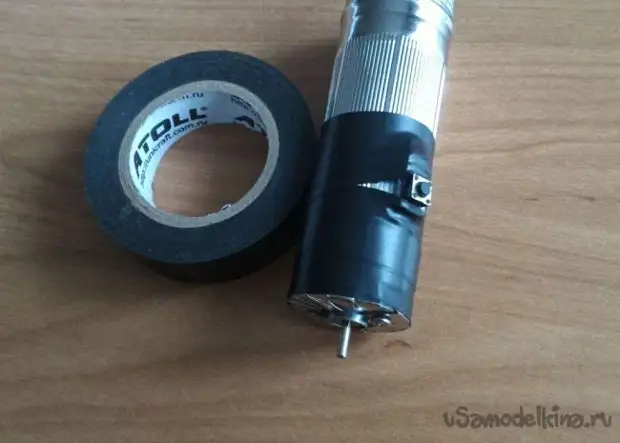
The next step is the revision of the regular lamp cover.
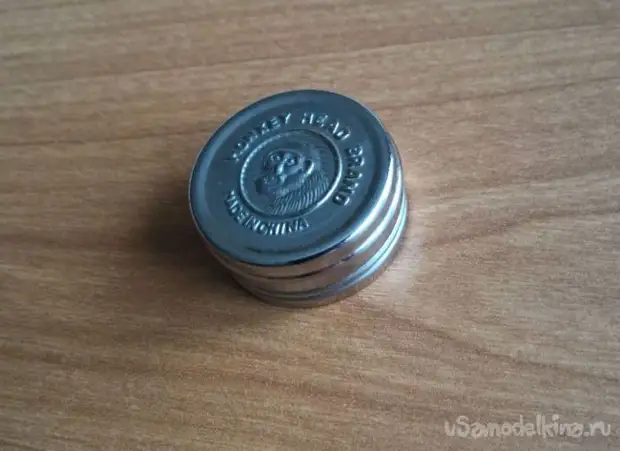
Cut the holes under the elements number 2 and number 3.
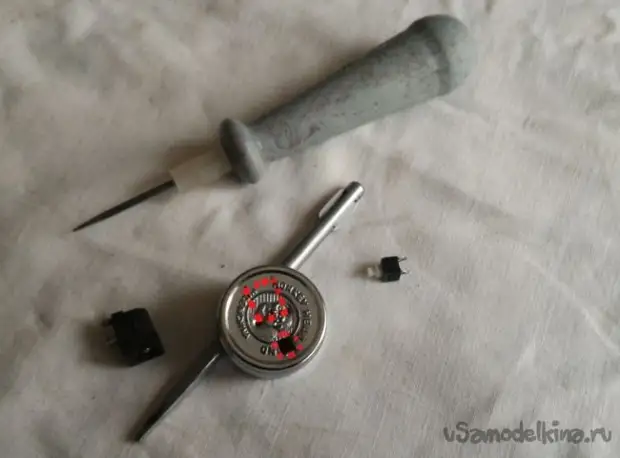
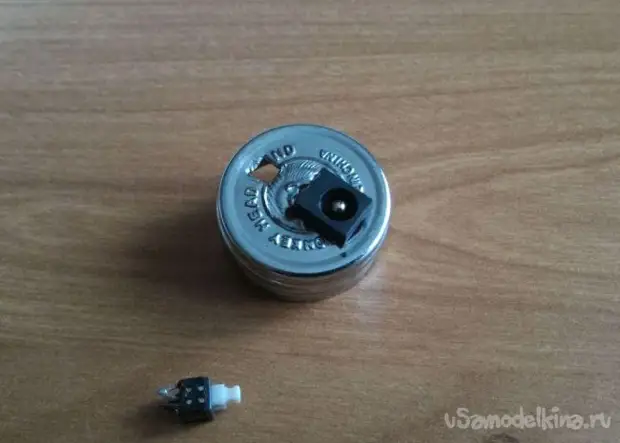
We complete the solder of the electrical filling above the specified scheme.
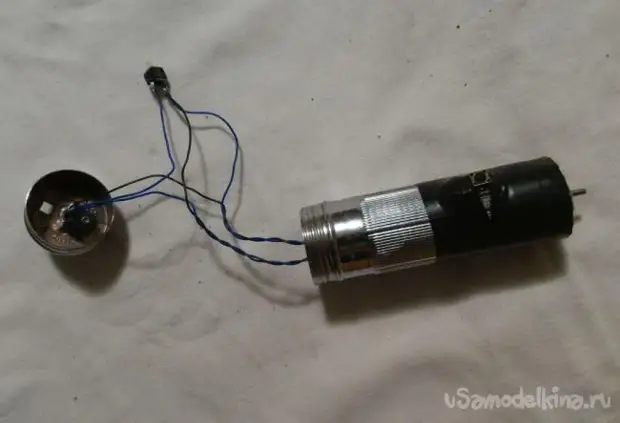
We place the elements number 2 and №3 in the lid and fill with thermoclaim.
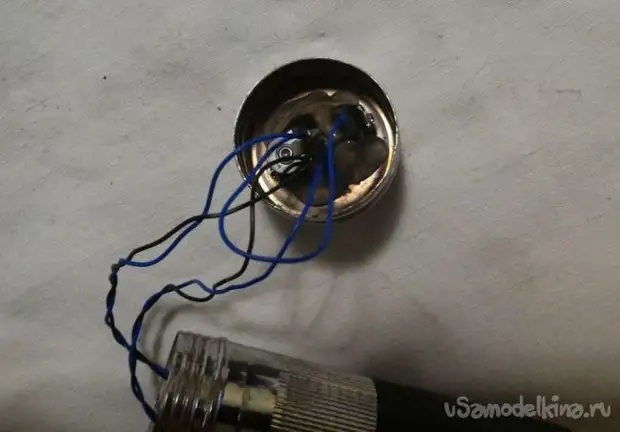
The result in the photo.
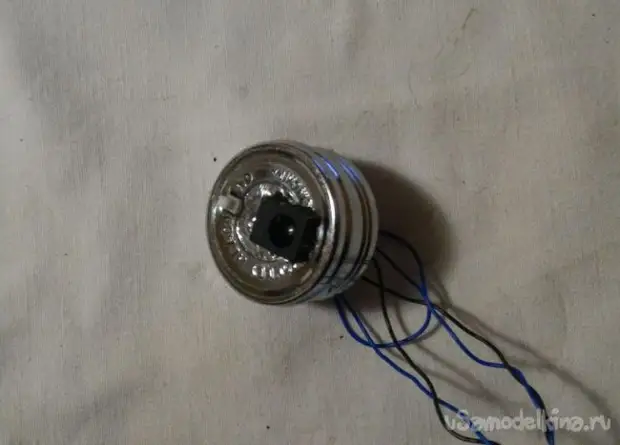
Spin the lid.
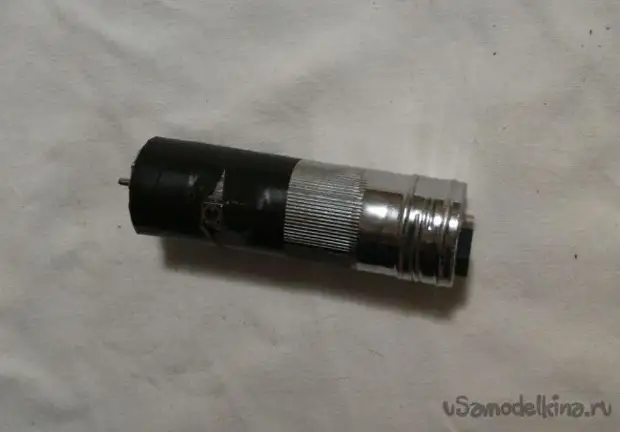
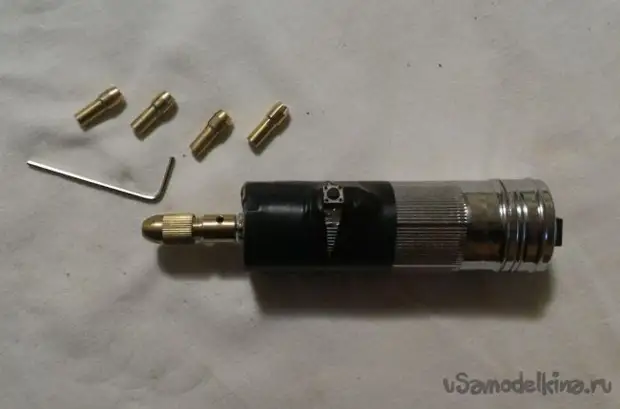
Krepim on the shaft of the engine collet cartridge (ordered with Aliexpress).
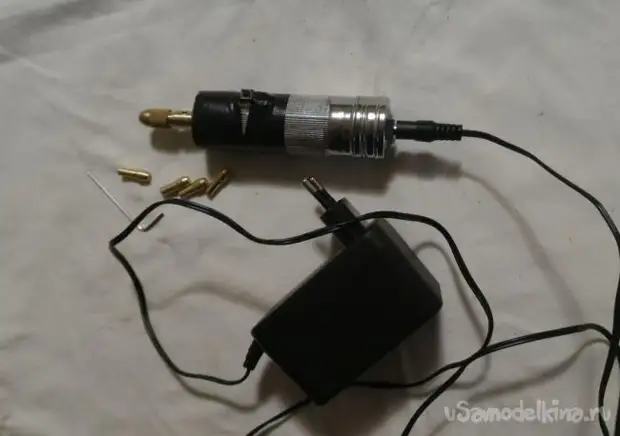
The power supply is used to supply voltage to 12 V.
An option with a plug-in power connector is convenient when operating and storing the tool.
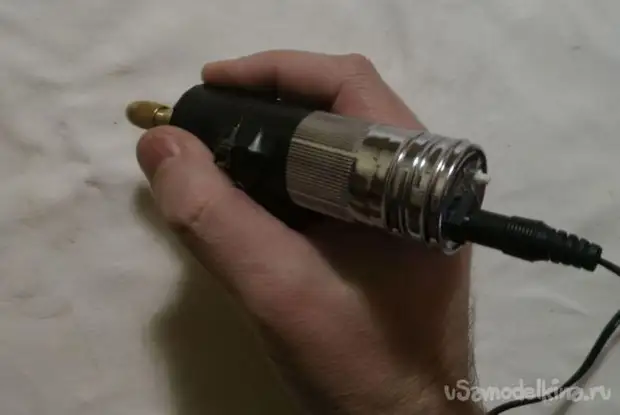
The device in the hand is convenient, the location of the buttons is ergonomically.
The tool is applicable to micro-grinding, micro-drilling and other miniature work.
A source
