The layout of the details of the future product on the fabric is a subtle art that anyone can master. Our guide will help you cope with the most complex aspects!
Preparation for clarity
Before embarking on the layout of the pattern on the tissue, a wet-thermal processing of the material should be carried out. If the WTO does not hold, in the future the finished product can be presented to a number of unpleasant surprises - for example, you can easily pass this step.Fuel thread
For proper layout, the direction of the share thread is of the most important value. The equity (or thread of the base) is always parallel to the edge, however, there are cases when the edge is already cut off, and it is possible to determine the direction of the share only by indirect features.
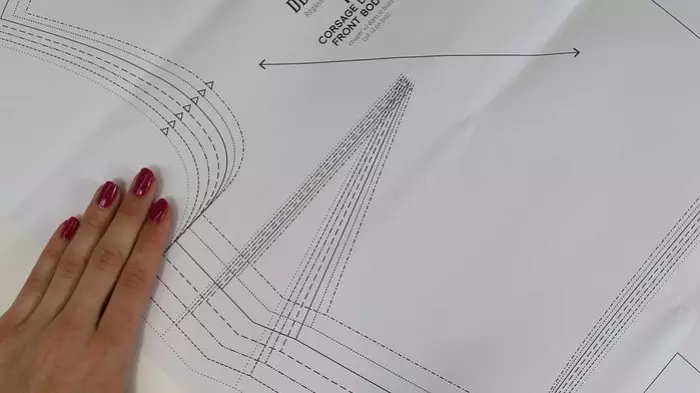
On the patterns of Burda, the direction of the share thread is always indicated, but if you suddenly sew on the pattern, where the direction of the bottom of the base is noted, keep in mind: the equity thread of the fabric when layouting should be strictly parallel to the spine - if only your model does not imply a cut in oblique. In this case, we launch the parts so that they go at an angle of 45 degrees to the equity thread.
Basic rules laying patterns on fabric
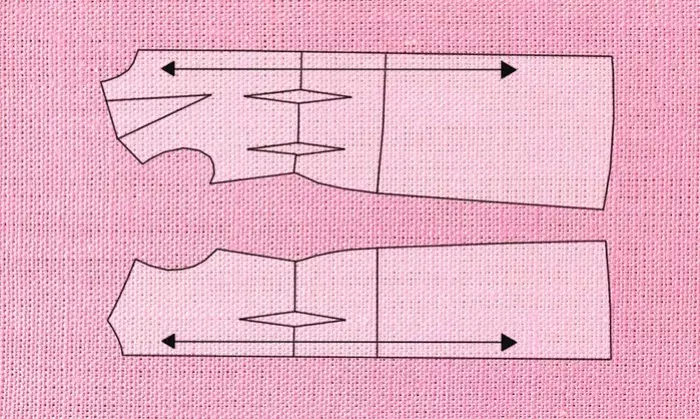
The most important principle - the layout of the pattern on the fabric should be rational. This means that you must find the optimal location of parts on the fabric, leaving the minimum amount of emptiness between them, taking into account points. Such emptiness is called interstoms, and your task is to minimize fabric intercourse loss.
First, large parts are laid out, after which the belt, coquette parts, hopes, valves, etc. are unfolded between the main parts, observing the direction of the equity thread. You can change the location of parts depending on the size of a specific cutting of the tissue.
The next important stage is the analysis of the material on which the part will be laid out. We will have a key value for us: the presence of a pattern, rapport, pile, scenery in different directions.
Monophonic fabrics
If the material is monotonous and does not have a pile, no shade, patterns can be placed as you like, the main thing to observe the direction of the thread of the base indicated on the pattern, not forgetting the main principle of rationality.
Fabrics with drawing
If the drawing is available, it is also necessary to analyze. The drawing can be directed or non-directional.
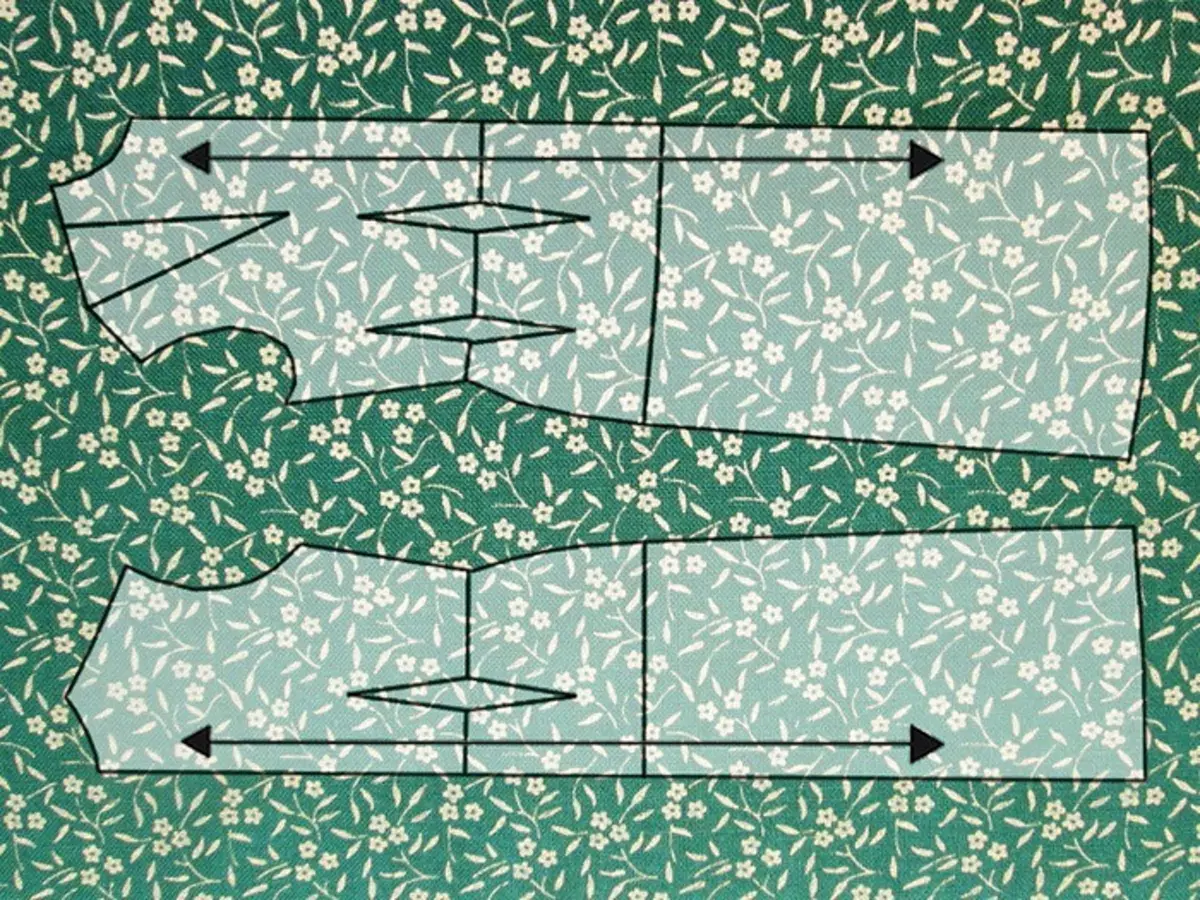
If the figure is unirefier and the fabric does not have a pile and scenery, you can safely fold the details in both the direction and in the other, as well as to save the material with currency.
If the picture is directed, it is necessary first, immediately decide where the pattern will be sent, for example, to the shoulder seam or to the bottom of the product, and, secondly, to comply with this choice when laying.
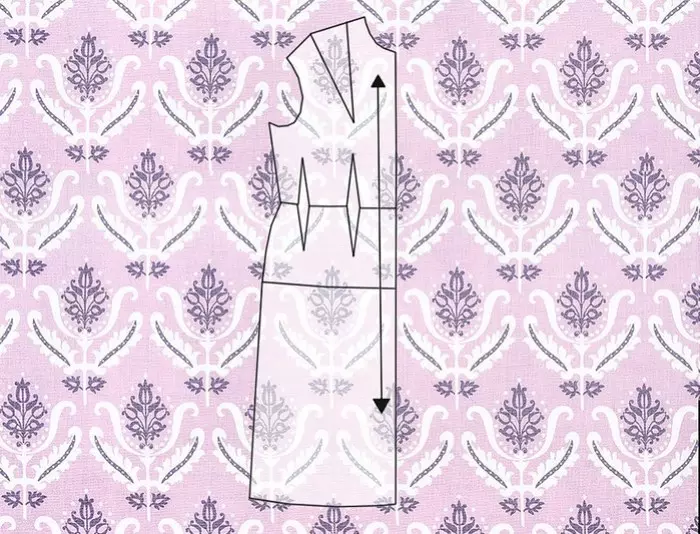
We also analyze drawing size. If it is small, most likely, there is no need to stick the details, but if the drawing is large, you need to think about the competent alignment of parts, for example, if you want the flowers to go strictly along the waist. Fusion consumption in this case for natural reasons increases. Best of all, if you can take a pattern with you to the store, and in place before buying a cloth, estimate the layout.
Fabrics in striped
The strip can be longitudinal (that is, go along the equity edge) or transverse. In the first case, it is necessary to paint the details, in no case deviating from the direction of the base of the base, otherwise you will get marriage at the exit. In this case, you should also think about you to poison the strip on the shoulder seam. Cutting taking into account the combination of tissue.
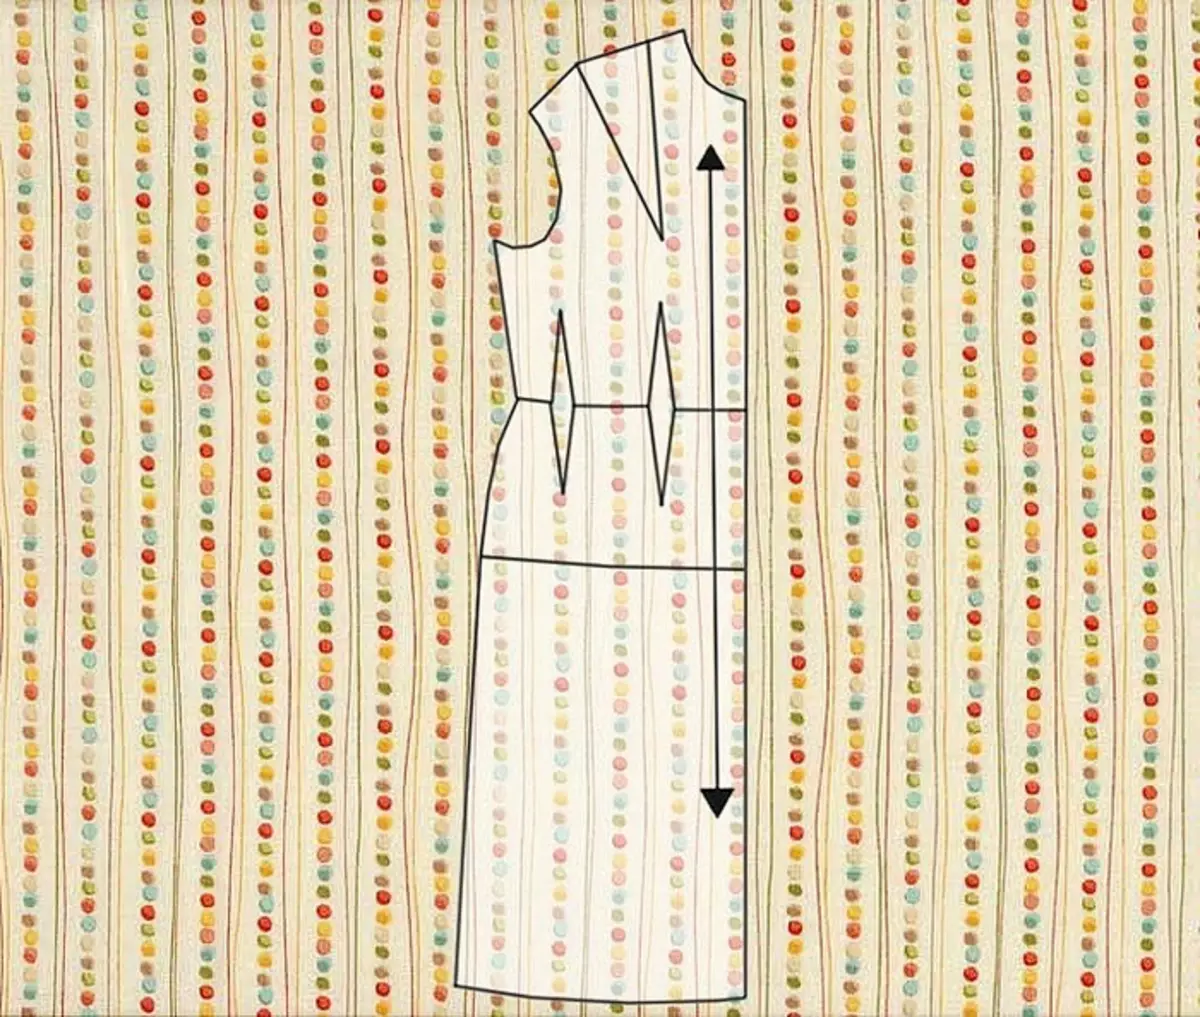
If the strip goes across the filaments of the base, layout and cutting parts must be carried out, taking into account the alignment of the strips in the side and medium seams of the back and the shelf.
Fabrics in a cage
Often combining the shallow cell is irrationally complex, but with some kinds of cells it is still possible. If the cell on your material is clear and clearly visible, then it must be combined.
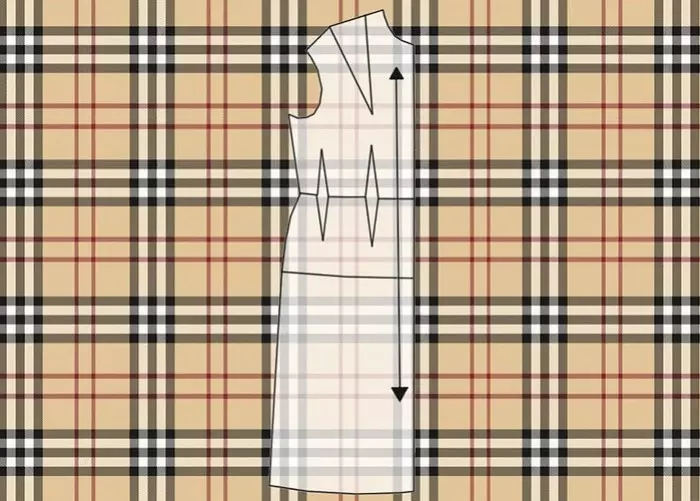
Despite the seeming simplicity, the cell can be a very difficult pattern for cutting.
Fabrics with Vors.
With a different direction of the pile, the same material may look very different! With a velvet or velvet, the parts are lay out in such a way that the pile walks from the bottom up. It is permissible and the opposite direction of the pile, but this question should be solved in private, depending on the quality of the material and the length of the pile: attach the fabric to yourself and, looking into the mirror, appreciate how the pile looks like in one direction or another.
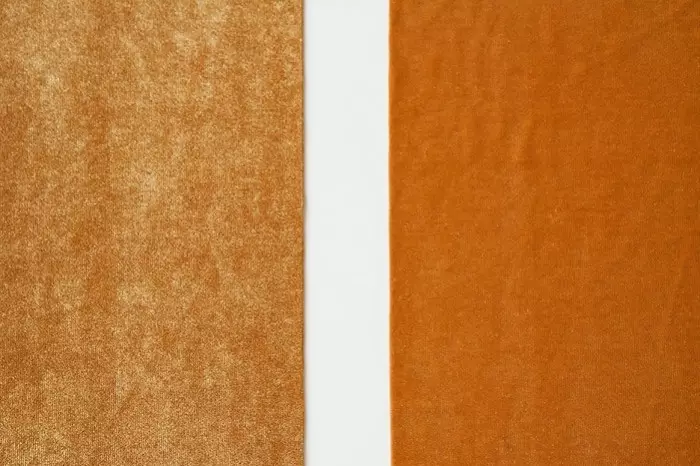
In all other materials of the costume and a finger group that have a pile, the parts are distributed in such a way that the pile should be from the shoulder slice in the direction of the product niza.
The main types of layouts patterns on the fabric
After analyzing the material, proceed to the immediate layout. Deciding, how to decompose the fabric when stating, note that the choice of layout variant is determined based on rationality and efficiency in each case.Longitudinal fold
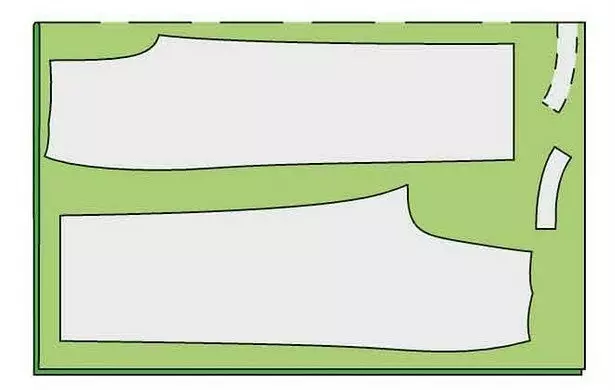
In this case, the fabric folds the edge to the edge, on the equity thread, the front sides inside.
Cross fold
The fabric folds across the equity line, cut to the cut, front sides inside.
Partial fold
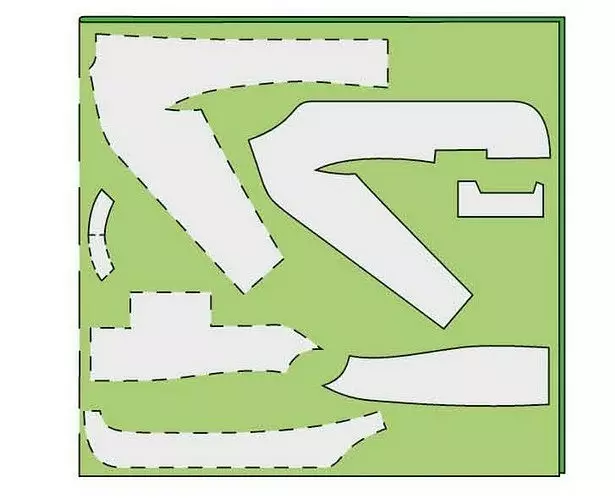
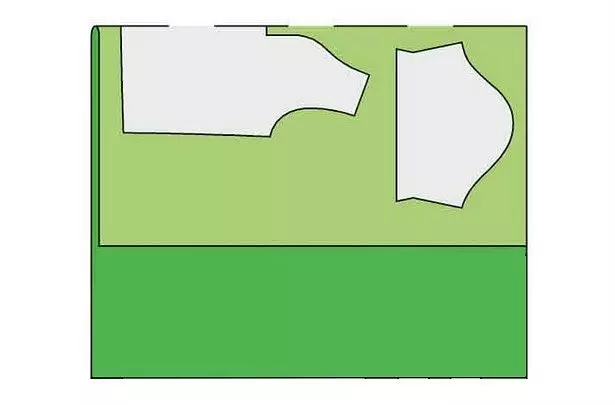
The fabric is developing only on the one side of the equity, the front sides inside. This method allows the most rational to use the cloth for any width.
In two collar
In this embodiment, the edges of the tissue are stacked by the bases to the middle of the canvas, the front sides inside.
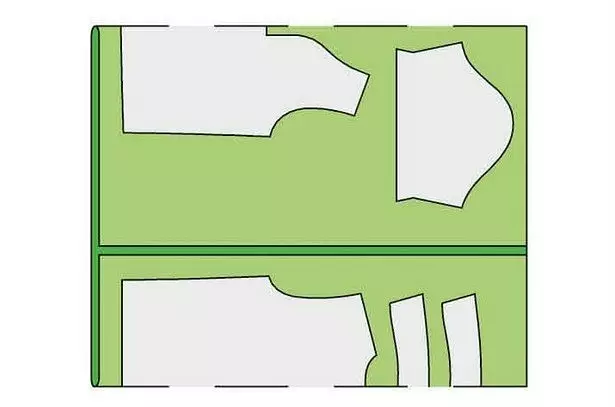
In turn
The fabric is folded into one layer, without bending, facial or invalid side up. This option is suitable if you face the oblique, as well as if your tissue has a picture or pattern that must be combined. This method is convenient for thin tissues (for example, for chiffon) and volumetric, thick. In this case, the details of the patterns are unfolded in the mirror image, if they are stitched, or on the turn, if the one-piece.
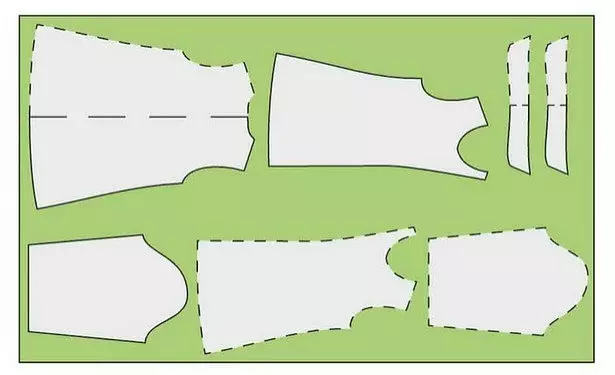
By selecting the layout method, lay parts on the material, leaving free space for machining space. You should not immediately nimble - look for the most rational layout until you are making sure that the tissue loss will be minimal!
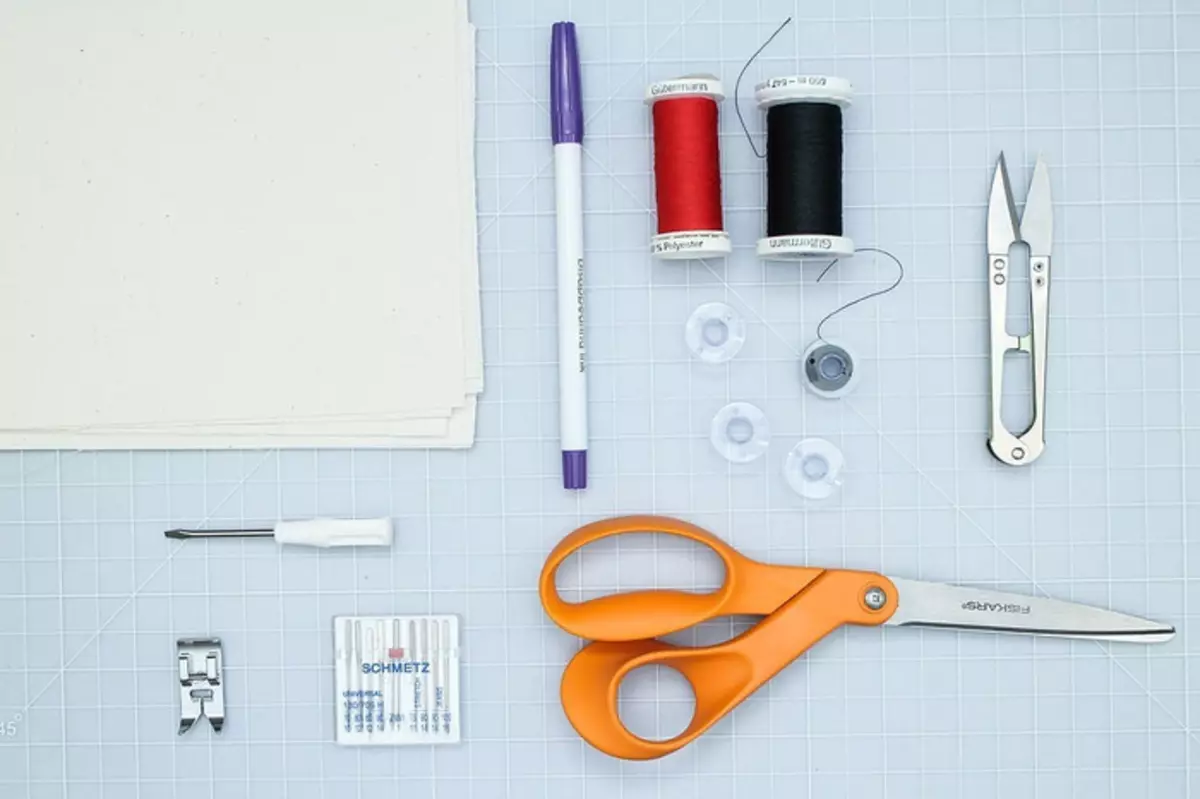
After the final layout on the fabric of all parts, pin them with pins and circle along the contour by the port of a fine or special marker.
Next, apply an allowance for processing - 1.5 cm, on the bottom of the details - 3-4 cm and mark all the control lines.
Answer the question of how to properly decompose the pattern on the fabric, it is not so difficult - much more difficult to understand in each particular case, taking into account the peculiarities of your fabric. But this skill comes with experience!
