The main problem when lining the zipper into the knitted product is the fixation of the canvas. The simple and original way to install zippers using strings to lock you from this complex task.
In order to enhance the lightning in the proposed way, you will need strings for blocking (or thin straight elastic wire) a little longer than the length of the product.
STEP 1
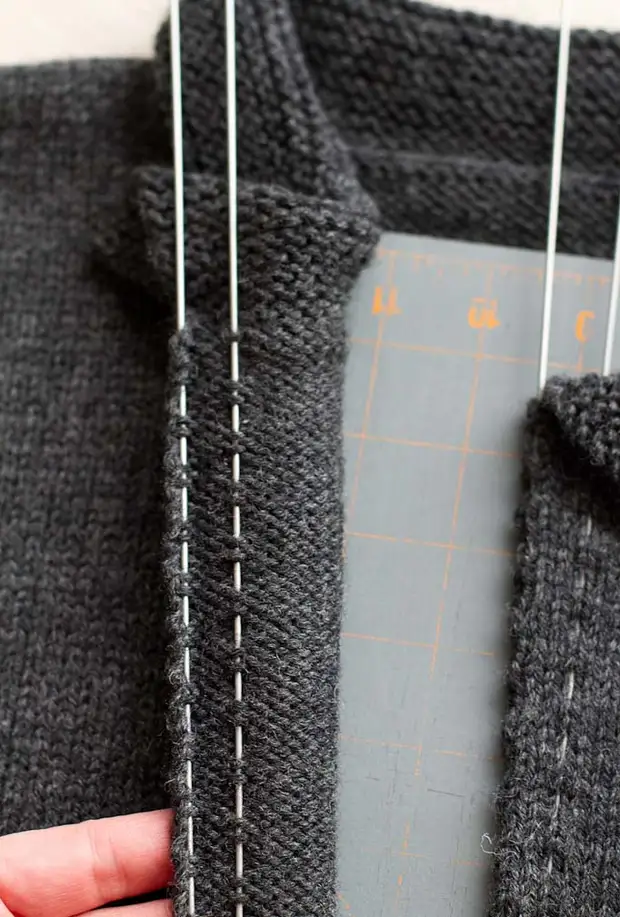
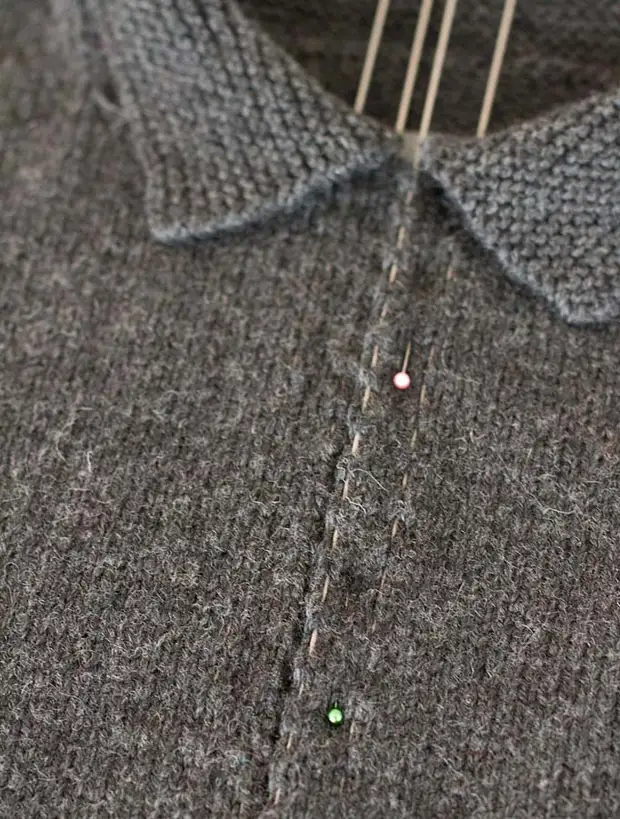
Turn two strings along the edge from the wrong side of the shelf, and one string skip exactly the extreme hinges, and the second - at a distance of 4-5 loops from it. In the same way, install the strings on another shelf. Please note that, rubing strings, loops need to try to distribute the most uniform. Such an arrangement of strings will allow you to stabilize the canvas.
Step 2.
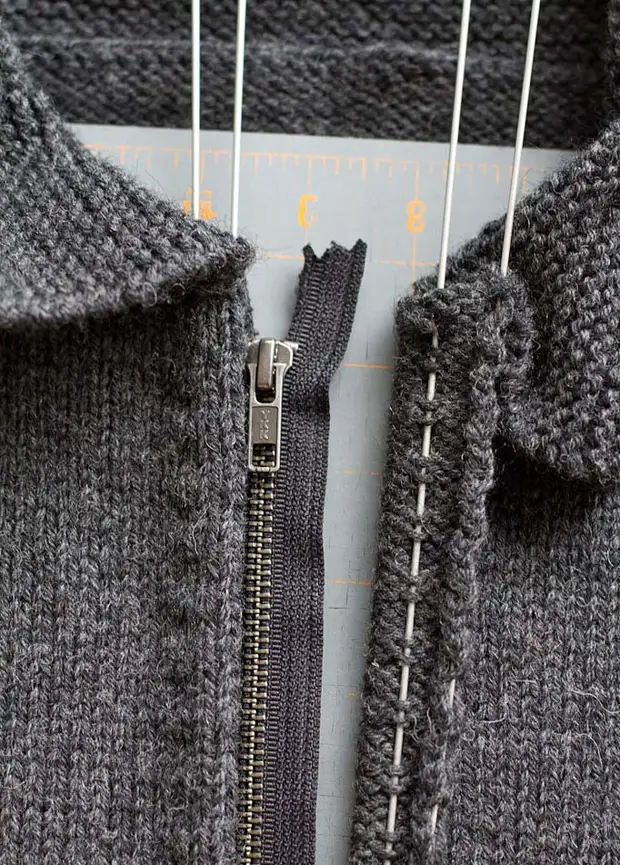
Having placed the face of the face up, position the fastened zipper from the wrong way to completely hide the tissue edges of the zipper knitted web, and the central part of the lock should be accounted for precisely between the edges of the shelves. It will be more convenient for you to cope with this stage if you are firmly found in the product.
Step 3.
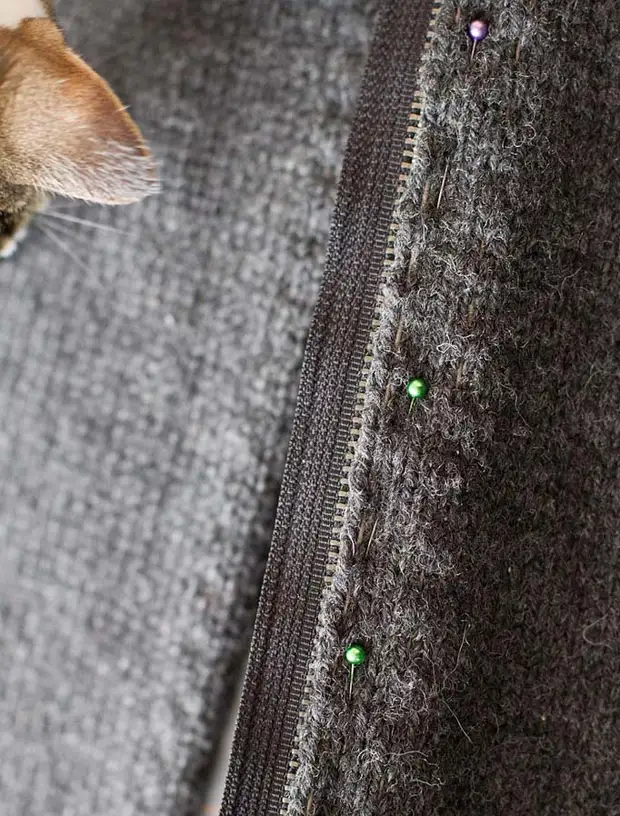
Take the pin, without raising the product, start pinning one of the sides of the zipper to the knitted canvase, having pins between the strings.
Step 4.
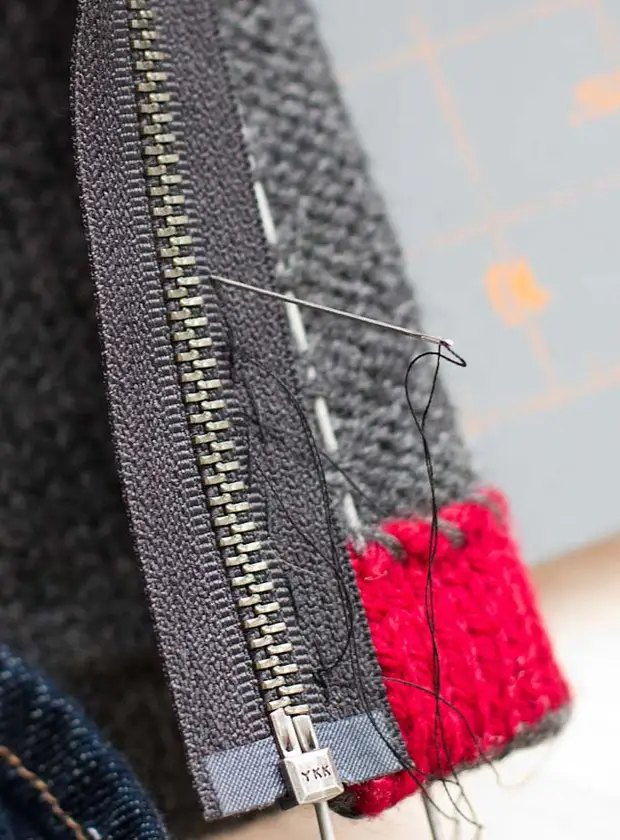
Starting from the bottomside of the product, a lightning in two rows, first along the teeth, and then along the edge of the tissue tape.
Step 5.
In order for threads that lock the zipper, they can be inconsistent, you can do as follows: to bring the needle from the wrong side to the facial between the two loops tracks. Step 6 Then the needle needs to display again on the wrong side, making a stitch length in the same path. This technique will allow you to make stitches invisible from the front side.
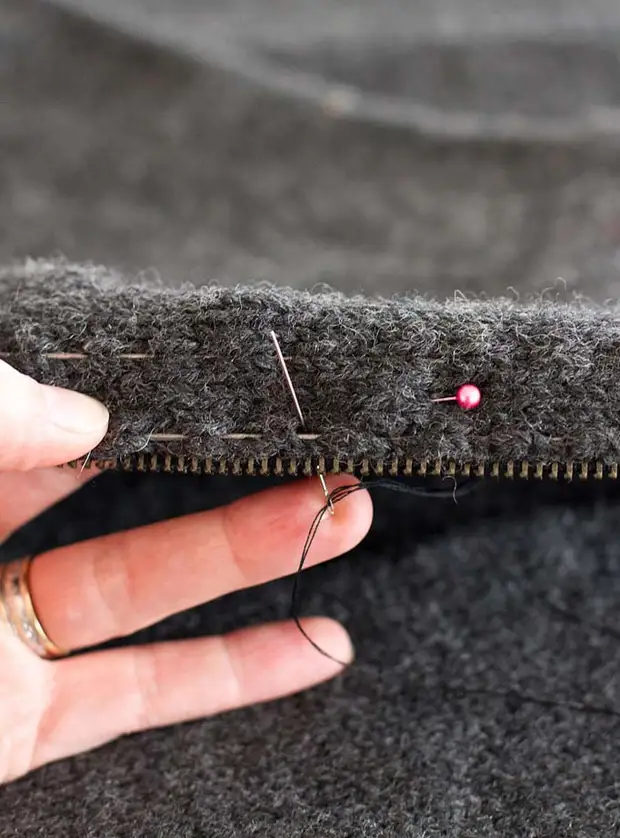
Step 6.
This is what the sewn side of the zipper from the wrong side looks like.
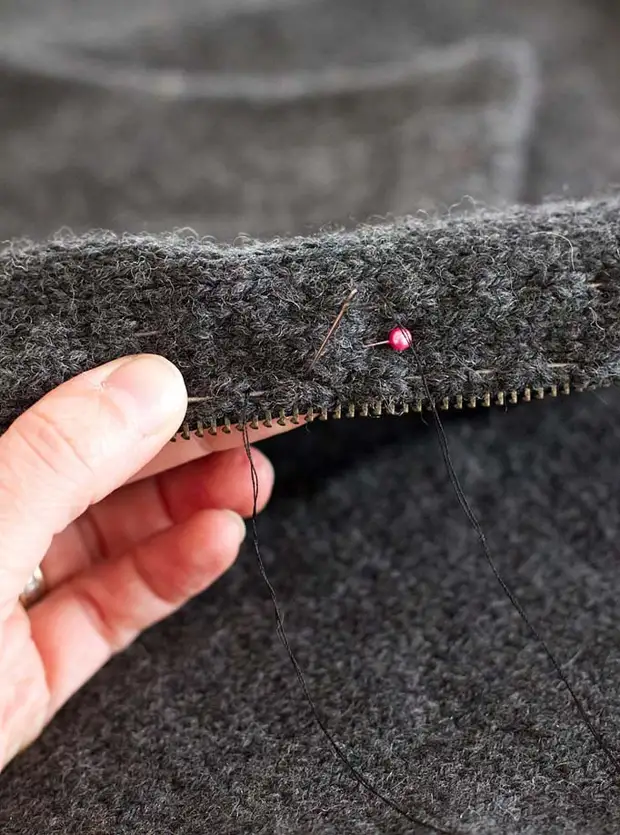
Step 7.
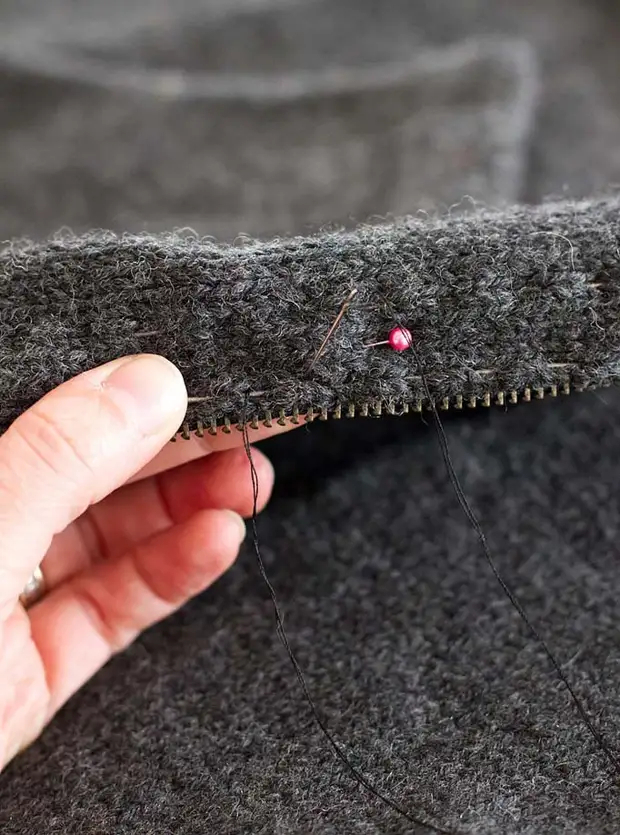
Now you need to do the second side of the zipper. To do this, place the firm base again, stick this side of the castle in the same way as the first time.
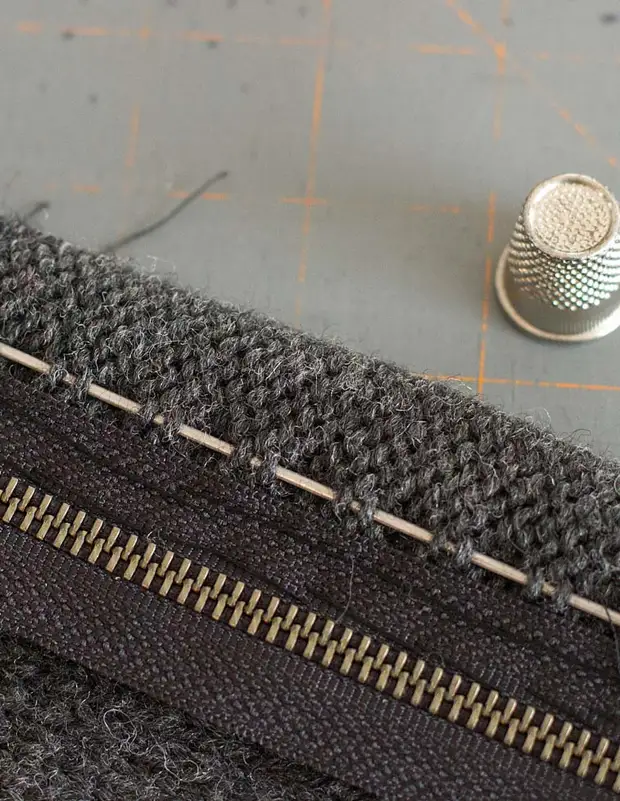
Step 8.
Disconnect the zipper and the second side in the same way as the first.
Step 9.
You can only remove the strings, and work is done!

Step 10.
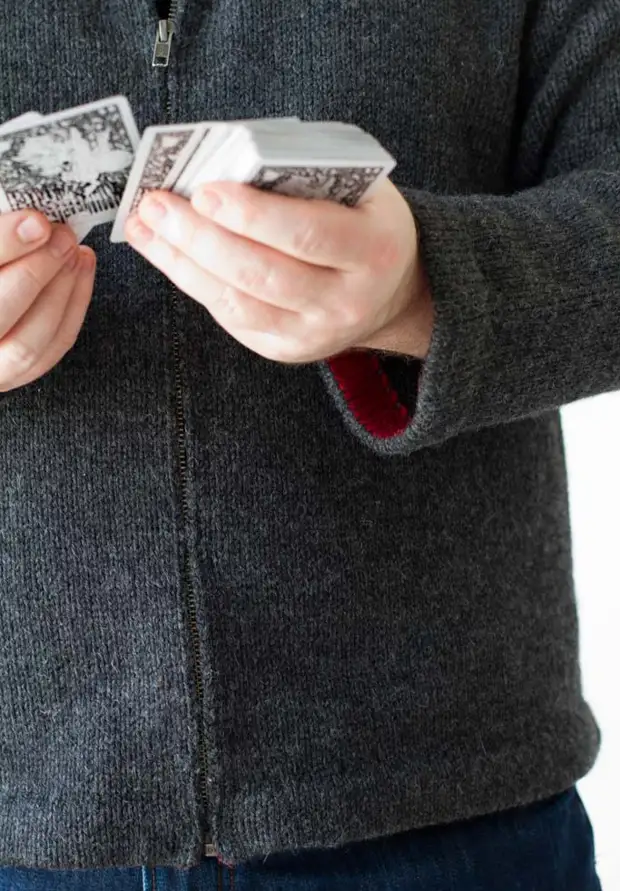
Final type of product.
A source
