
How to create an original interior and decorate the walls in the room without unnecessary costs? One of the easiest and most spectacular ways is a bright accent wall with screen painting, which can be made with your own hands.
Materials and tools for wall decor:
| Name | number |
|---|---|
| Molar ribbon | from the size of the room; |
| Polyethylene | from the size of the room; |
| Paint tray | 1 PC; |
| Pussy | 3 pcs; |
| Roller | 1 PC; |
| Mixer for paint | 1 PC; |
| Sponge | 2 pcs; |
| Bucket | 1 PC; |
| Drill | 1 PC; |
| Lobzik | 1 PC; |
| Slices of fiberboard (for this work 50 × 40cm) | 6pcs; |
| Pencil | 1 PC; |
| Knife stationery | 1 PC; |
| Scissors | 1 PC; |
Stencil painting walls with their own hands
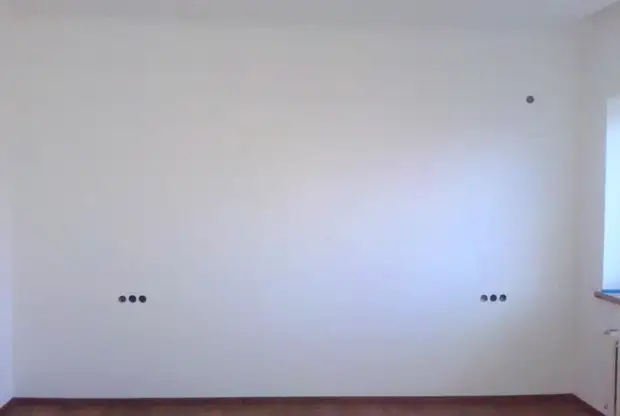
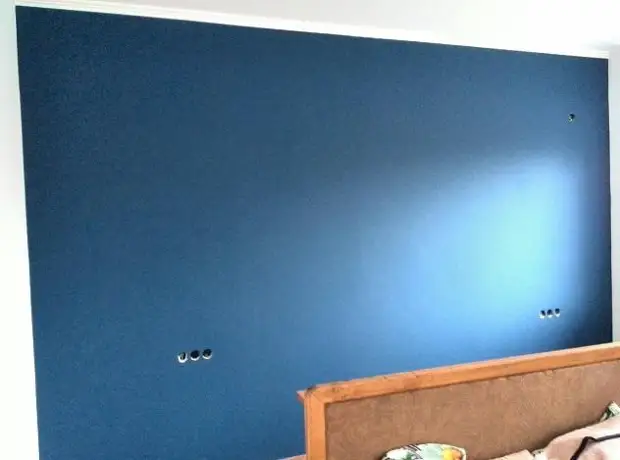
The finished surface under painting must comply with all the standards standards. In our case, the walls are already painted in white. To decorate, we need one wall: for this, with the help of molar ribbons and polyethylene, we glue other walls and plinths so that the paint does not hit them.
After the sections have closed, which should not be painted, proceed to the color. We take paint (in this case, we have a pre-applied in the construction store) at the rate of one layer 7-10m2 per liter of paint (depending on the type of surface) and with the help of a mixer stirring it. After stirred, pour into the paint tray and paints a roller with a long pile. The entire surface coloring process should occupy no more than 10-15 minutes, otherwise spots and drums on the surface may appear. When painting on the roller, it is not possible to press a lot and not give it to "stop".
Memo: On paint packaging there are recommendations for work, strictly stick to them.
After the first layer is trying to apply the second. Drying time depends on the type and manufacturer of paint, the drying time of the first layer is indicated on the package.
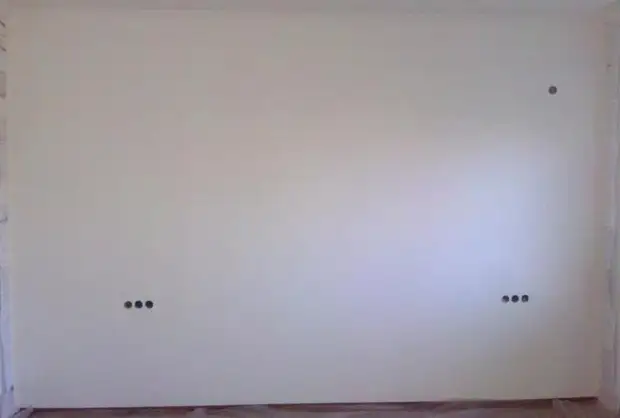
After drying the second layer, we carefully remove the molar ribbon. We get a ready-made painted surface.
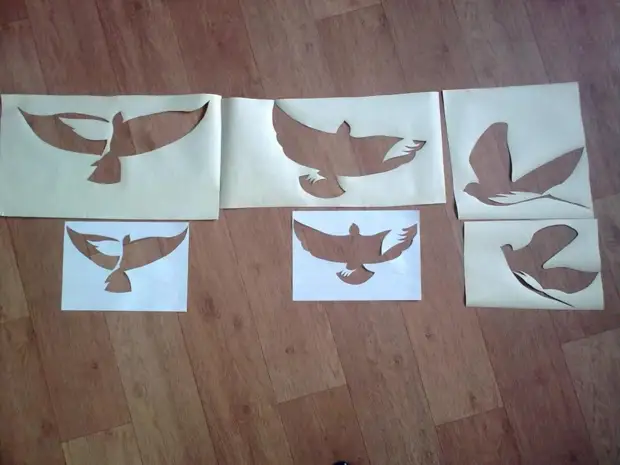
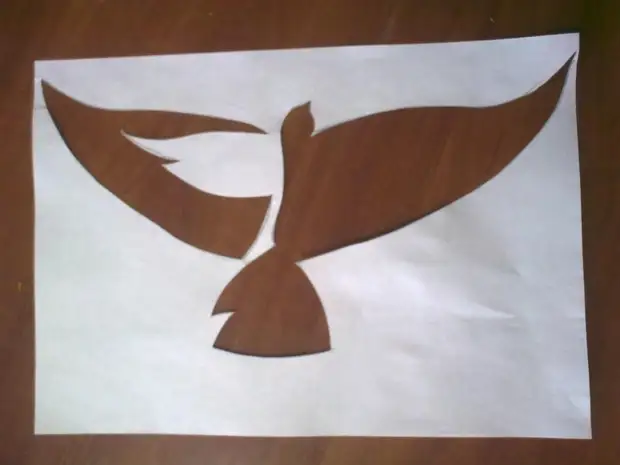
Now, while paint is completely dry (1-3 days), we will make the manufacture of stencils. In building stores, ready-made patterns are sold, but we need an exclusive, so we will make stencils themselves. For a start, take the paper and draw sketches.

We take scissors and cut out.

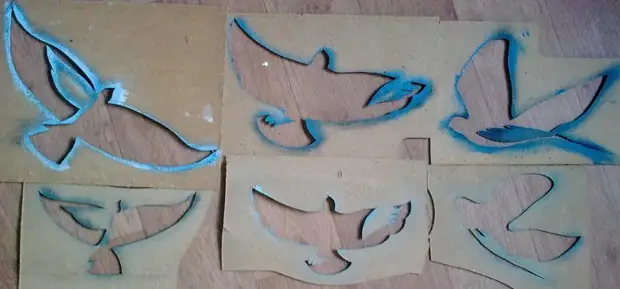
As you can see, it turned out 3 large and 3 small birds. Now we transfer the template to a tighter base from the Fiberboard and with the help of the jigsaw cut out.
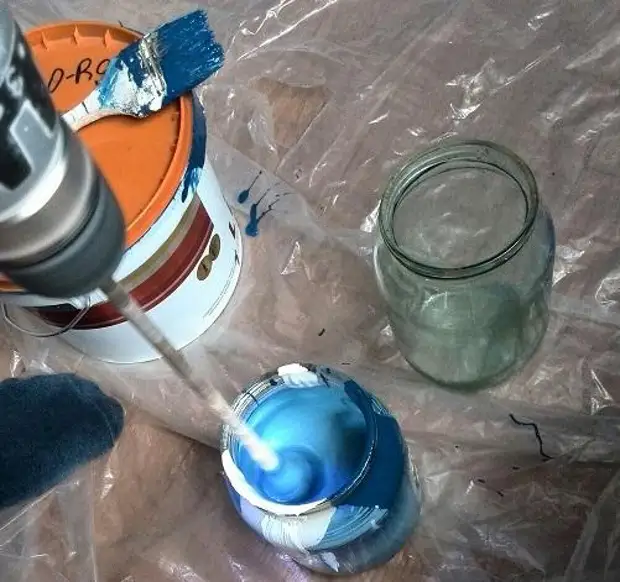
After the templates made, it is necessary to prepare 3 different shades for painting from the remaining paint. To do this, we take 3 containers of 1 liter (can be less) and a mixer.
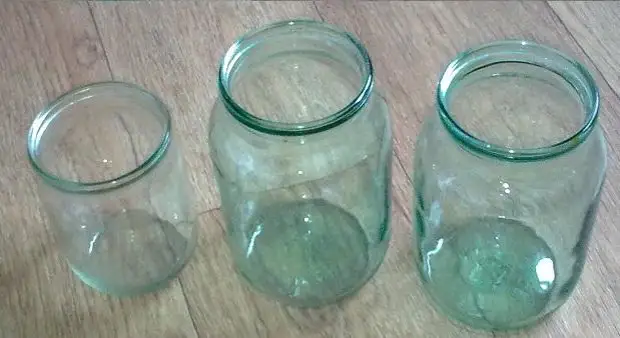
In the first container, pour 5 pieces of white paint and one part of the main one. In the second container - white and basic mixed 1 to 1. In the third container, 300 ml of the main paint mix with 20 ml of black melted paste.
Here I presented the proportions of mixing paint, for which this room was done, you can take the tones that will be like you.
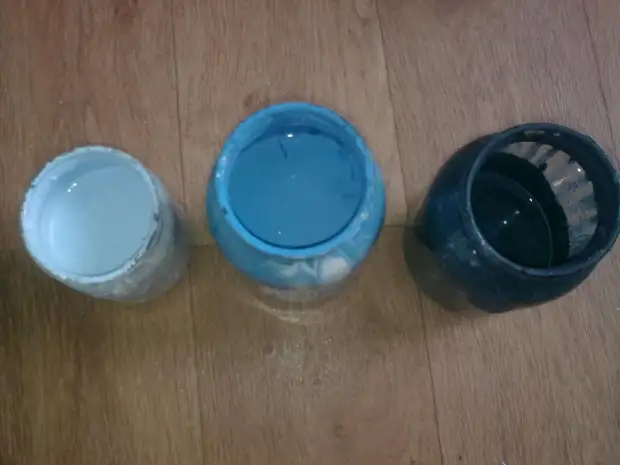
Now mix.
We get three different shades other than the original color.
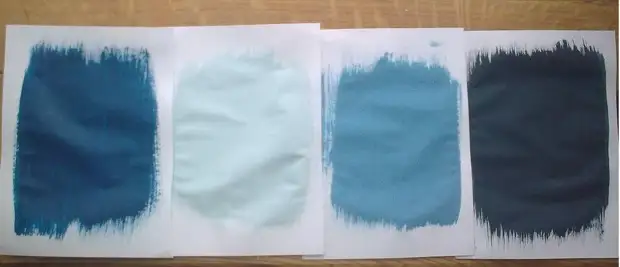
1. - Main color; 2. - color from the first tank; 3. - color from the second container; 4. - Color of the third container
Before painting, prepare a bucket with clean water and sponge to immediately wipe the drips or blots.
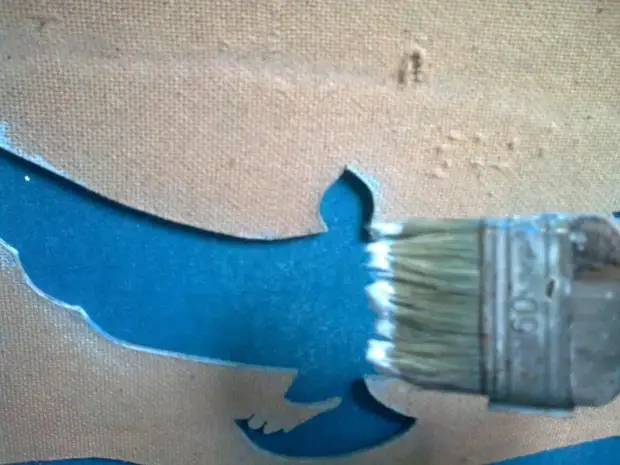
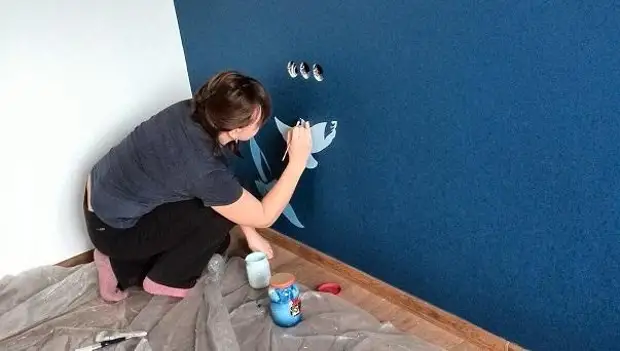
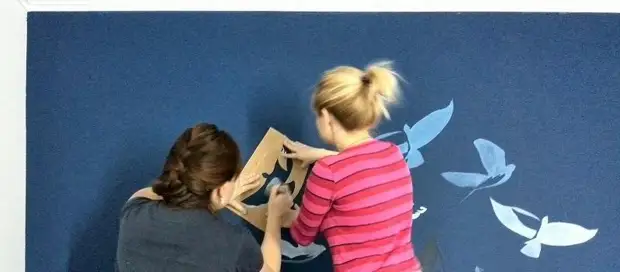
Now that everything is ready, I recommend to take off on some surface. It is best to do together: one holds a template, another puts paint. Do not dip the brush strongly, otherwise there will be drums. Take the paint only at the tip of the brush and stretch it on the surface.
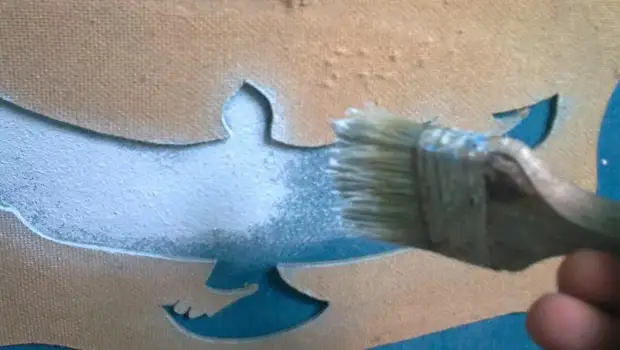


After used stencils, rinse it with water and wipe it dry. If somewhere not added, take a thin brush and gently modify the drawing.
Now you can proceed to decorating the wall.

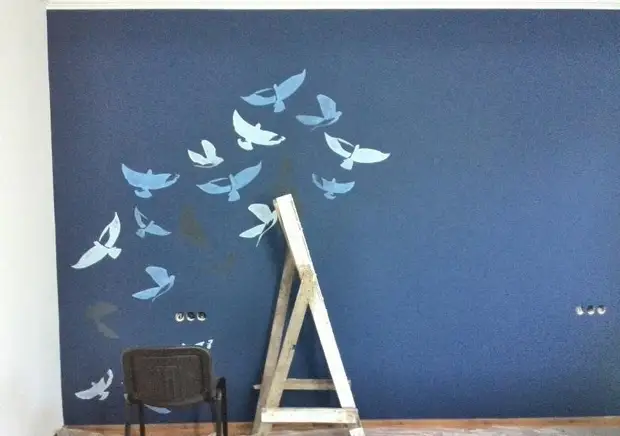

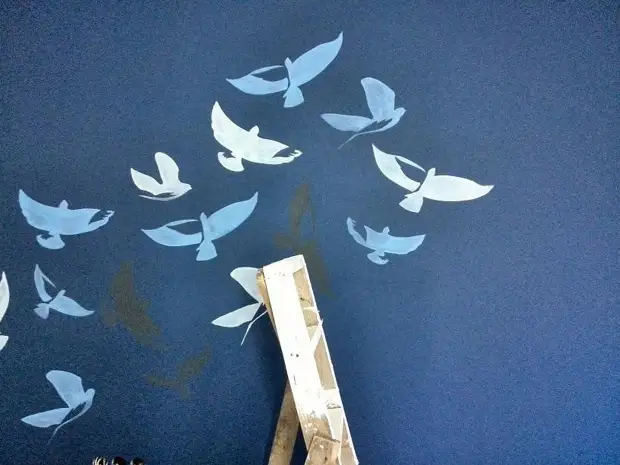
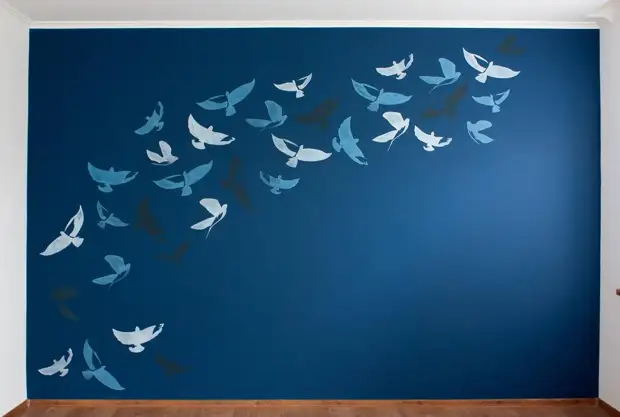
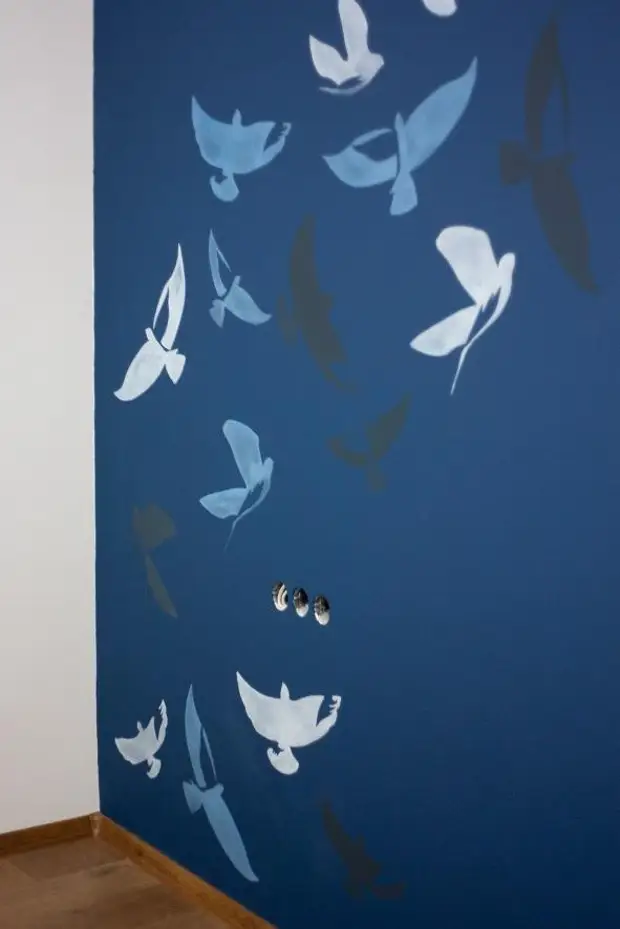
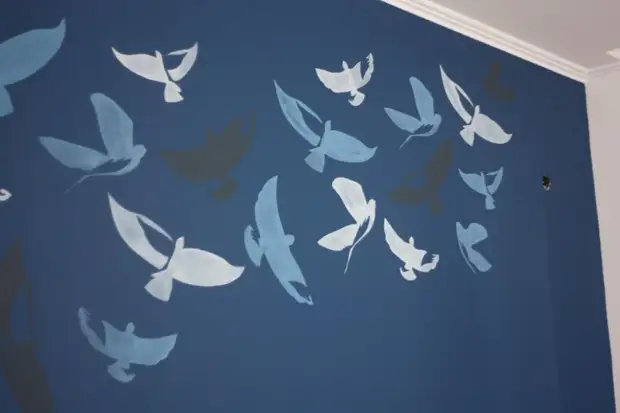
As a result, it turned out such a room!
A source