

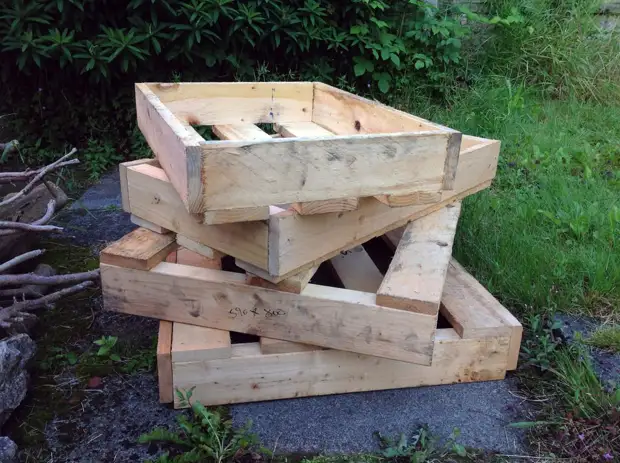
Having in stock high-quality, but unnecessary pallets, you can easily turn them into any piece of furniture. The result of work in this step-by-step instruction will be a comfortable and spacious shelf, and with the help of paint or the simplified shades, you can adjust it to your interior.
Materials:
- pallets;
- a hammer;
- Wooden hammer;
- sandpaper with grain grain 80 - 120;
- crafting table;
- saw;
- drill;
- drill, 4 mm;
- cruciform screwdriver;
- pencil;
- roulette;
- nail holder;
- Selfless
Step 1 . Select the pallets suitable for further work. Their boards must be integer, without signs of damage.
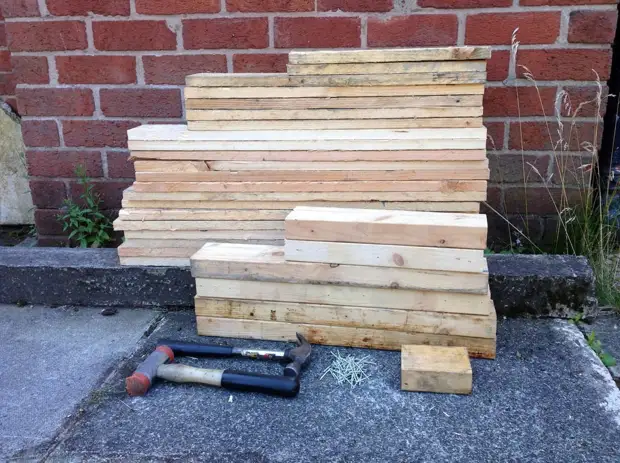
Step 2. . With the help of a wooden and ordinary hammer, as well as a nail to disassemble the pallets on the boards. The resulting parts of the future rack sandpaper sandpaper.
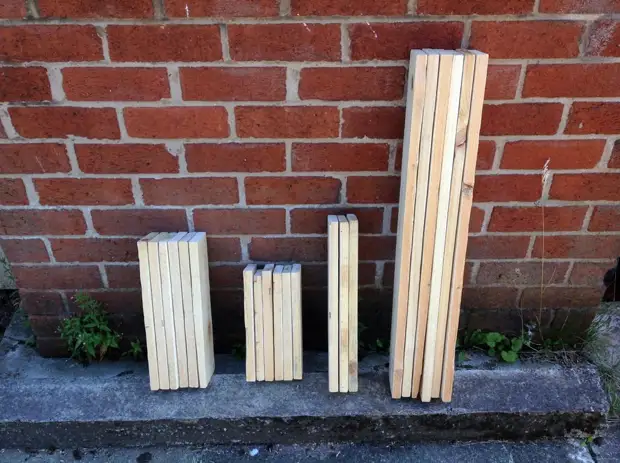
Step 3. . Sort the size boards for convenience in further work. For the shegets you will need:
- Sideboards - 6 pcs. (760 x 95 x 20 mm);
- Boards for the top of the bars - 3 pcs. (400 x 95 x 20 mm);
- Shelves Supports - 6 pcs. (260 x 95 x 20mm);
- Shelves - 6 pcs. (335 x 95 x 20mm)
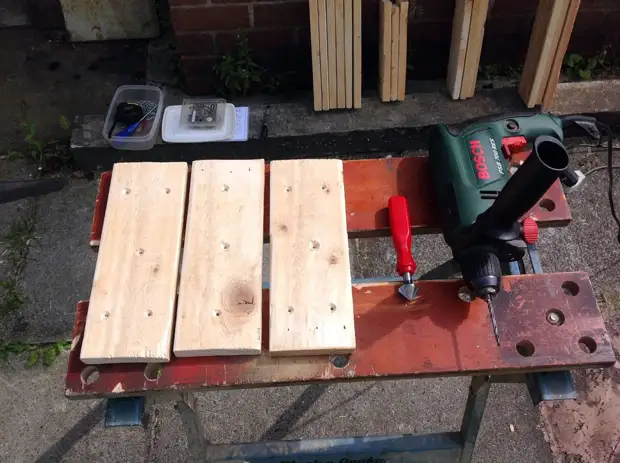
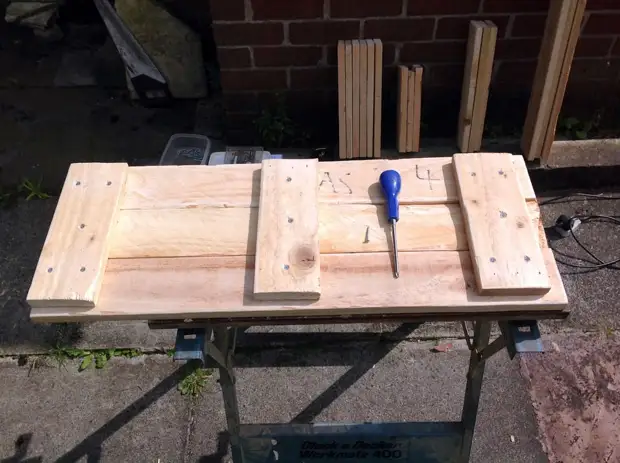
Step 4. . Lay out in one row of boards that will be needed for the top of the shelf. Having retreated 45 mm from each end and 10 mm from the edge of the board, apply labels for holes for outer mounts. Caps back from the edge of another 47 mm and apply points for the holes for inner mounts.
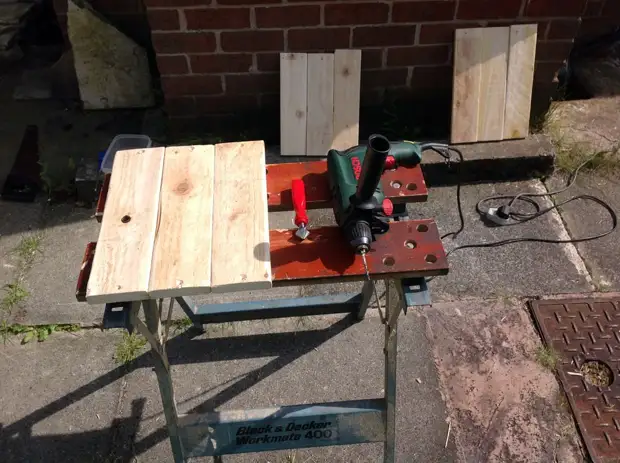
Step 5. . Taking a drill and drill, make holes at the outlined points.
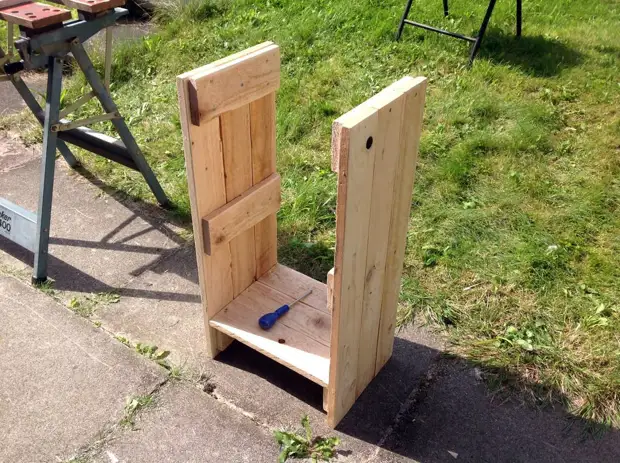
Step 6. . Boards, which will be support for shelves, secure parts of the side walls of the shelf. To create them, use three vertically installed boards. Tear between transverse fasteners, try to make equal.
Step 7. . Shelves also collect out of three boards. Apply labels for holes, making the same indents from the edges of the boards, as well as for the top of the shelf.
Step 8. . Screw the boards to holders located on the side walls of the shelf.
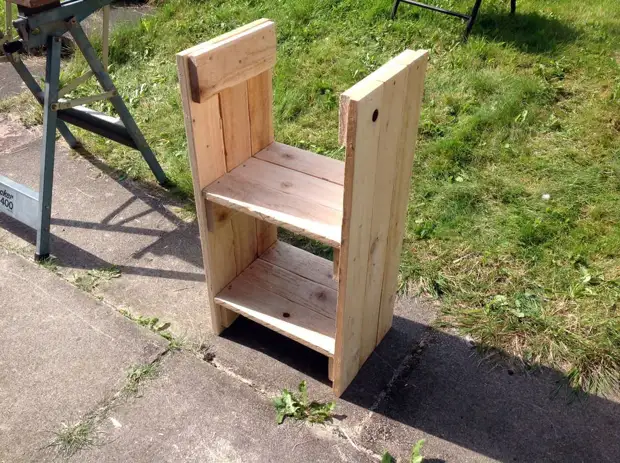
Step 9. . Secure the screws and the top of the shelving.

The shelf from pallet is ready! Optionally, you can paint it or smear it patterns.
A source