
All you need for a small written table - a few boards and a window without a window sill.
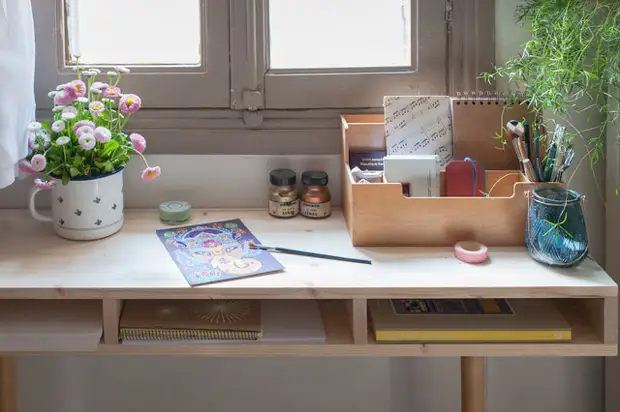
Suppose you have a free space by the window and you like to write or draw. But you do not have a small written table, for which it would be convenient to work at home, enjoying the natural light and view from the window. So why not deliver joy and not make a workplace do it yourself?
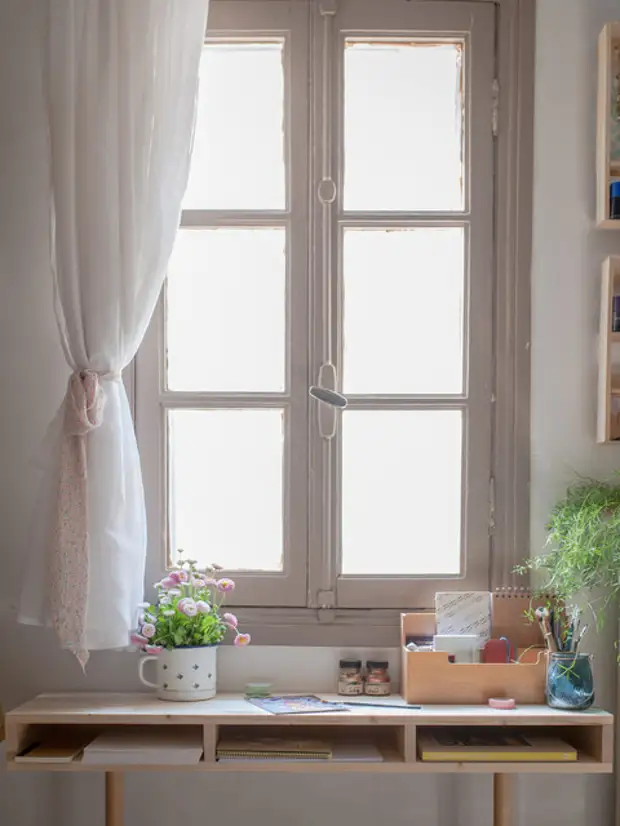
To decide on the size of the table, first of all you need to measure the window. Then you can count how many boards you need, and what they must be size. In our model, we planned open compartments inside the table, where you can put pictures or notebooks.
Add a few centimeters on the sides to make you where to put flowers, a glass with pencils or a desk lamp for work in the evenings.
Written table at the window with your own hands - master class
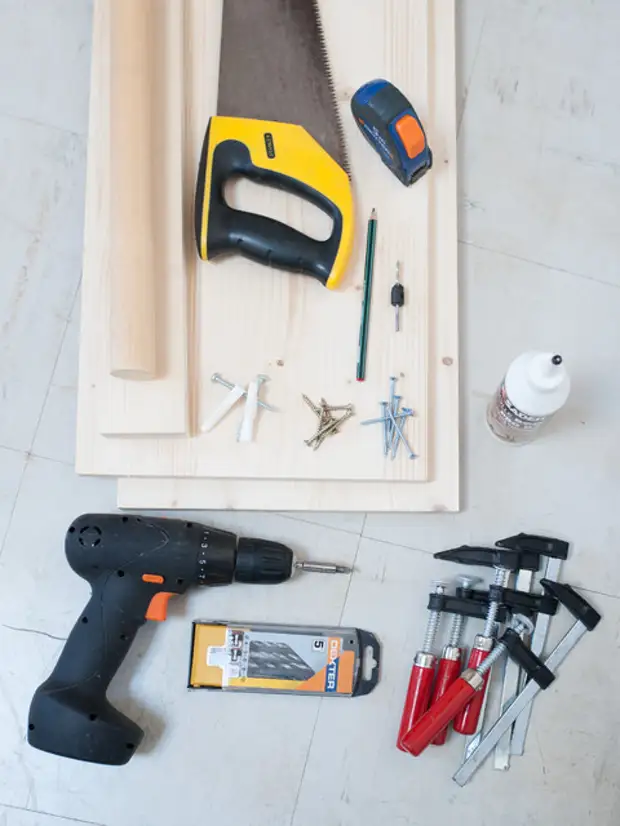
Instruments:
- Drill or screwdriver with drills for work on wood and concrete;
- several clamps;
- hacksaw;
- roulette;
- pencil;
- Drill for drilling holes with a chamfer.
Materials:
- 2 wide pine boards of 1100x300x18 mm;
- 1 Narrow pine board with a size of 2400x70x20 mm;
- Oak rod with a diameter of 35 mm;
- adhesive for wood;
- Several screws 4x50;
- 4 Samores 5x60;
- 2 dowels.
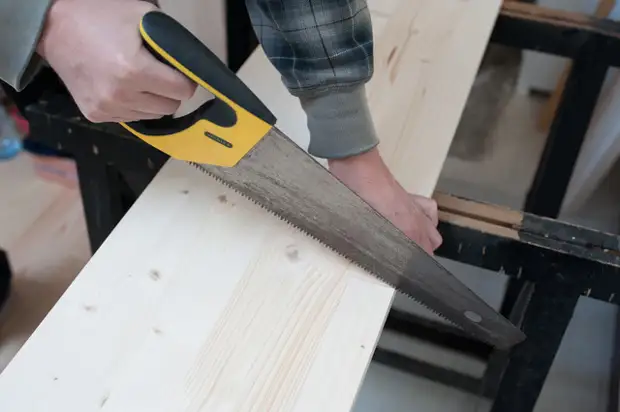
Step 1. Cut the horizontal boards
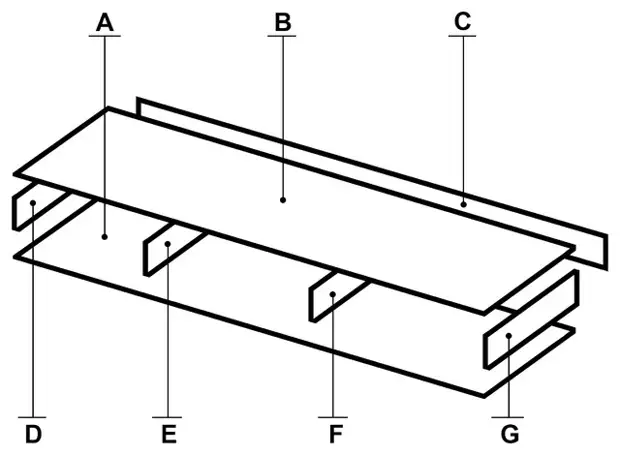
Drink two panels (on the plan they are marked with the letters a and b) a length of 1100 mm from a pine board. Note them.
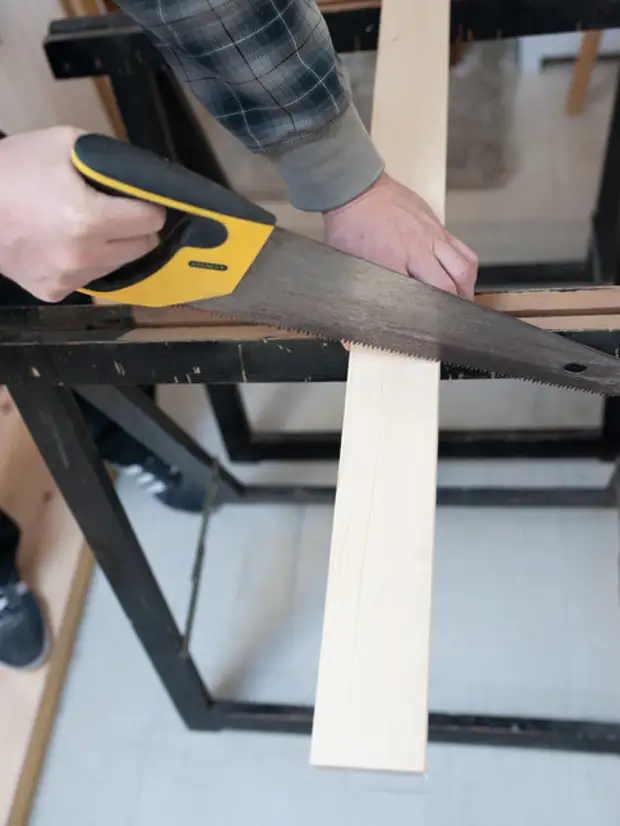
Step 2. Drink Rear I. Side walls
Drink four strips (D, E, F and G on the plan) 280 mm long from a narrow pine board. Now, from the same boards, drink the rear wall (c) with a length of 1100 mm.
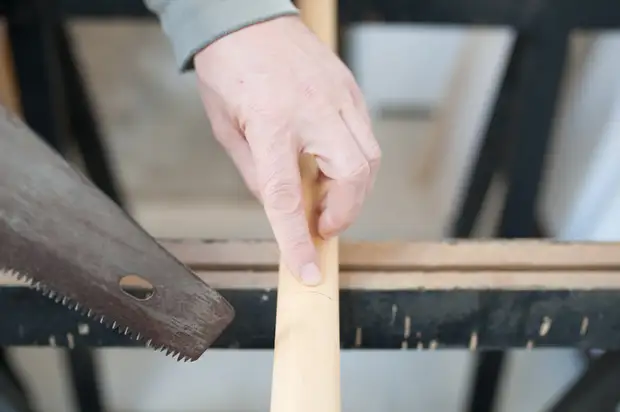
Step 3. Drink legs
Make two legs from the oak bar, each 630 mm long.
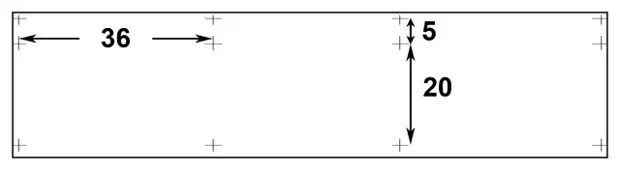
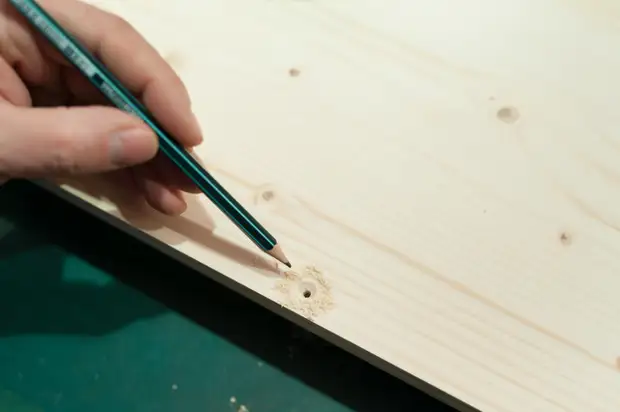
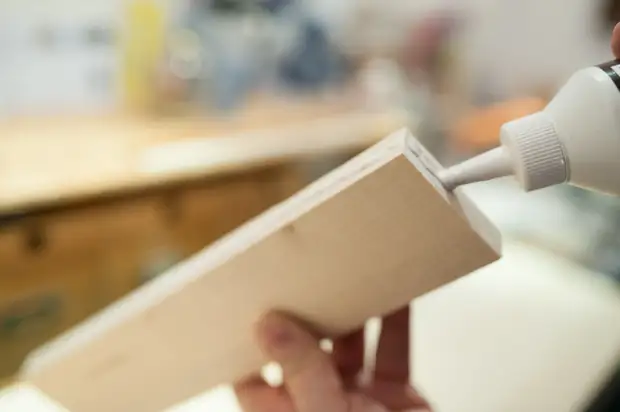
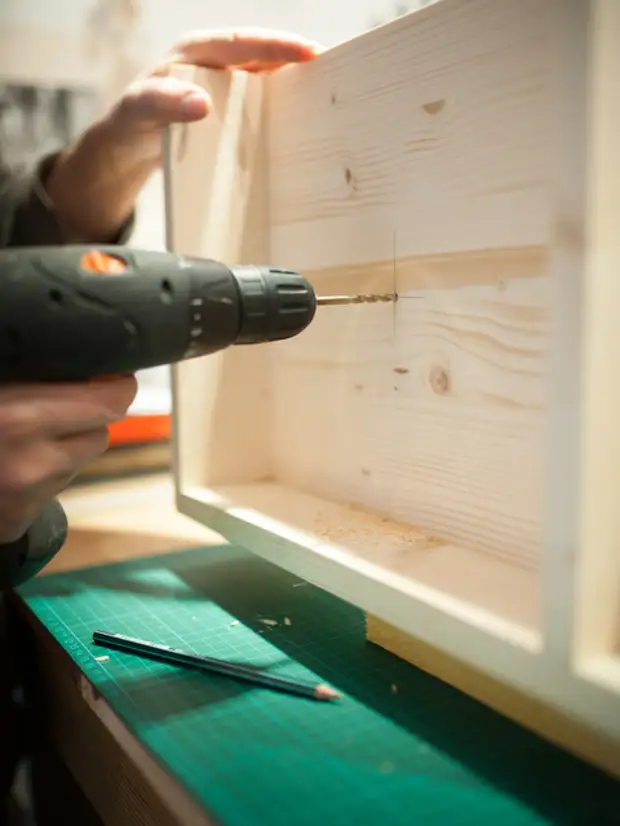
Step 4. We mark the bolt holes
Take the board in and drill holes with a chamfer according to the instructions above. Holes adjacent to the border must be located at a distance of 10 mm from the edge of the board.
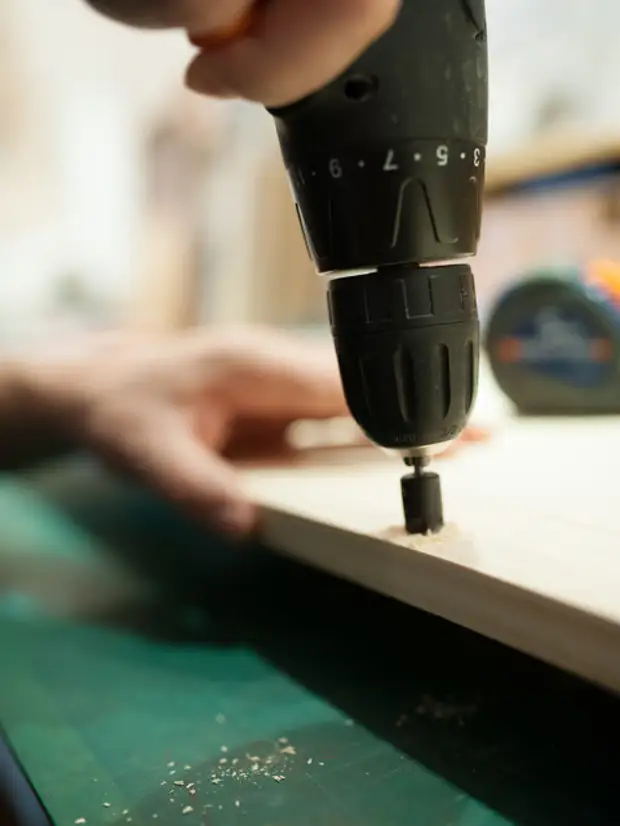
Use a special drill to create a hole with a chamfer, then you will have a beautiful and smooth surface. Saws will go to the end, his head will open into the tree and does not break the fibers.
Step 5. Connect the details
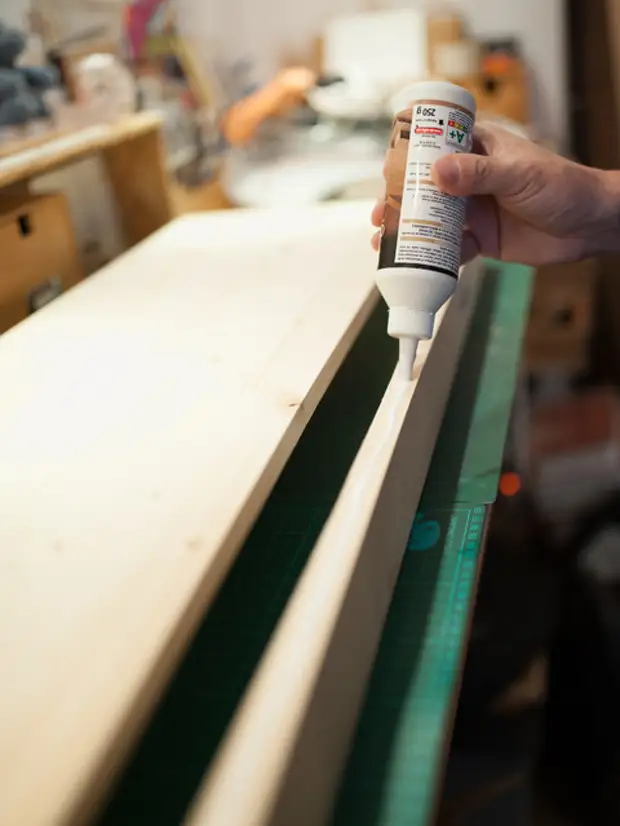
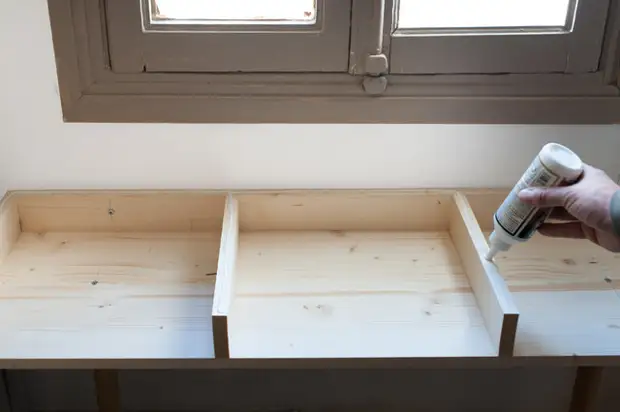
On the top edge of the back wall with apply the glue for the tree.
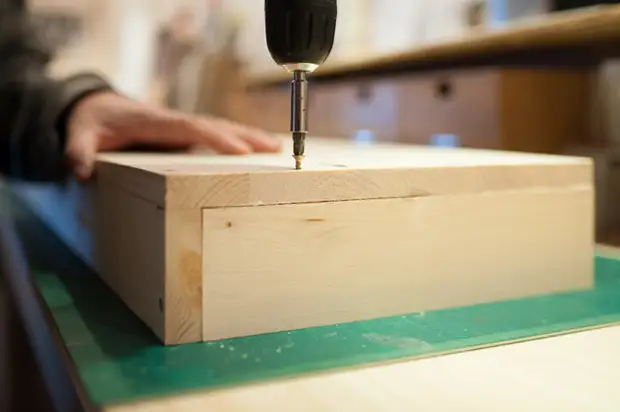
Step 6. Fix the details
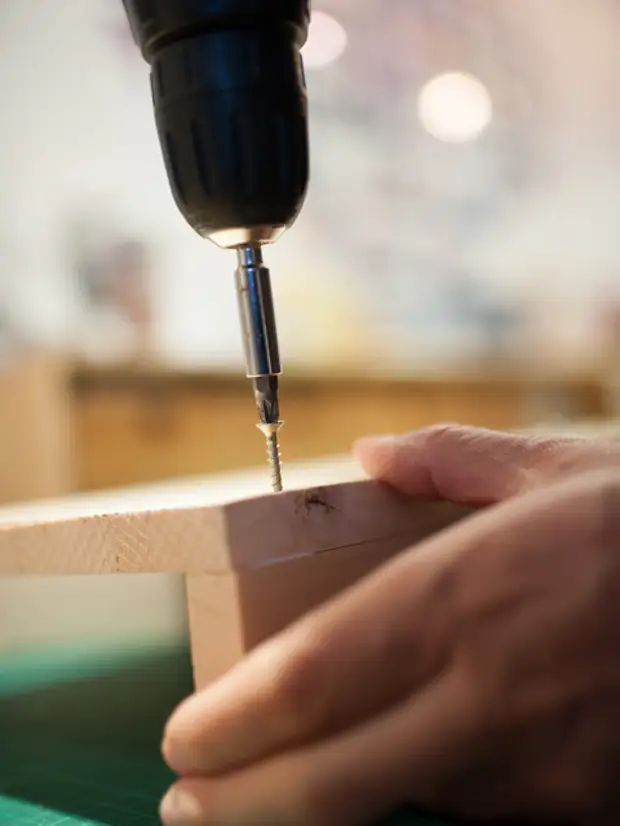
Using four screws, screw the board in to the rear wall of C.
Step 7. Gift all the details
Apply glue into two neighboring parties of parts D, E, F and G.
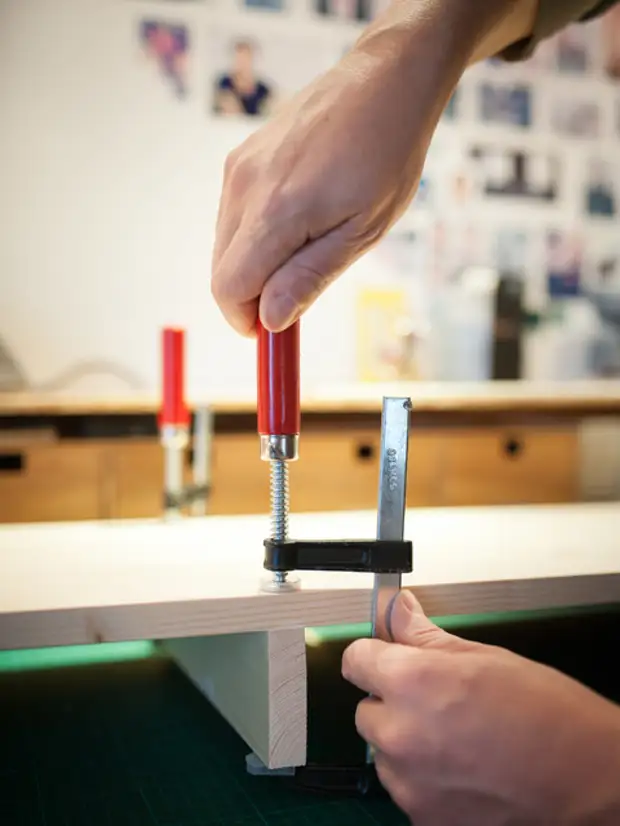
Step 8. We collect furniture
Each of the glued slats, secure with two screws. So that the glued parts were kept hard, before screwing the screws, secure them with small clamps.
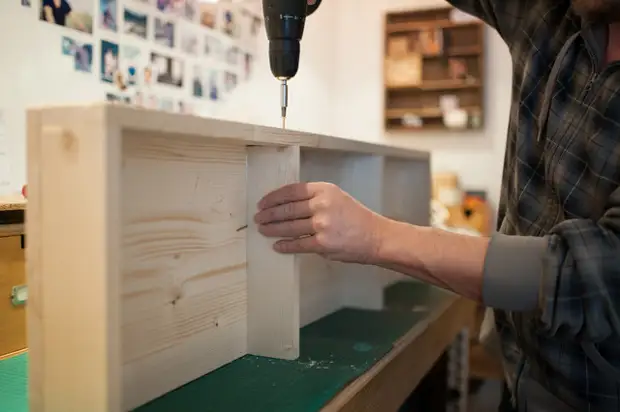
Step 9. Strengthen the design
Secure each line D, E, F and G, screwing up one more screws at the back.
Step 10. Krepim legs
In the center of each lateral compartment, drill a hole with a diameter of 8 mm.
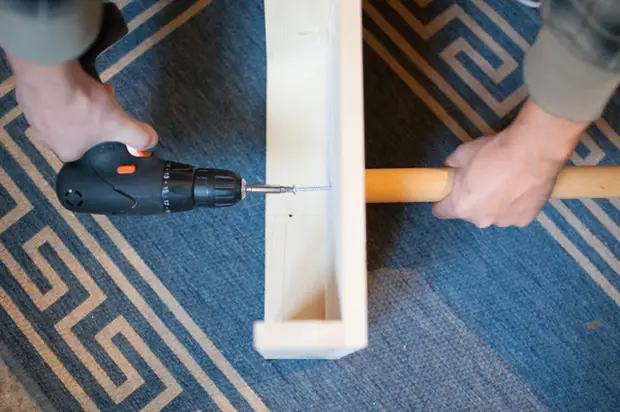
Now with the help of large screws, screw the two legs using the drilled holes for this. While working, hold the legs as hard as possible.
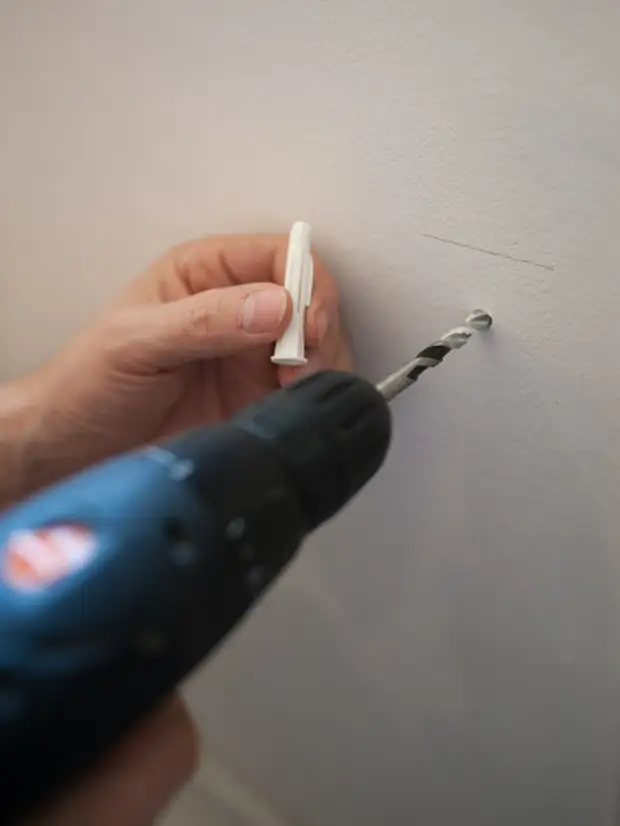
Step 11. Fix a writing desk at the wall
Put the table to the wall and mark it with a pencil. Return from the mark of 40 mm and drill two holes in the wall using the drill on concrete. The horizontal distance between the holes for the dowels should be 800 mm. Insert the dowels into the holes.
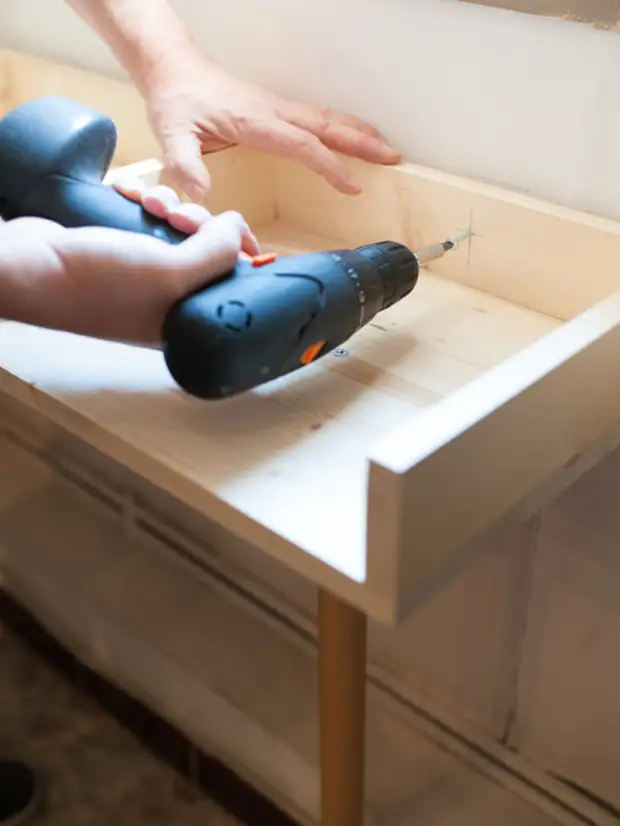
Now move the labels on the inner side of the rear wall from our table. With the help of long screws, attach the table to the wall in such a way that the tapping screw pass through the tree and its end was in a dowel.
Step 12. We glue the top bar
On the upper facets of our parts C, D, E, F and G, apply adhesive for wood and glue the desktop of the desktop.
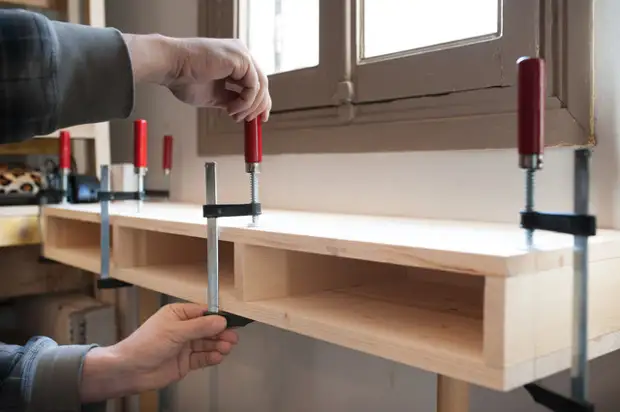
Using the clips, lock the position of the table top. Wait a few hours until the glue gets up and remove the clamps.
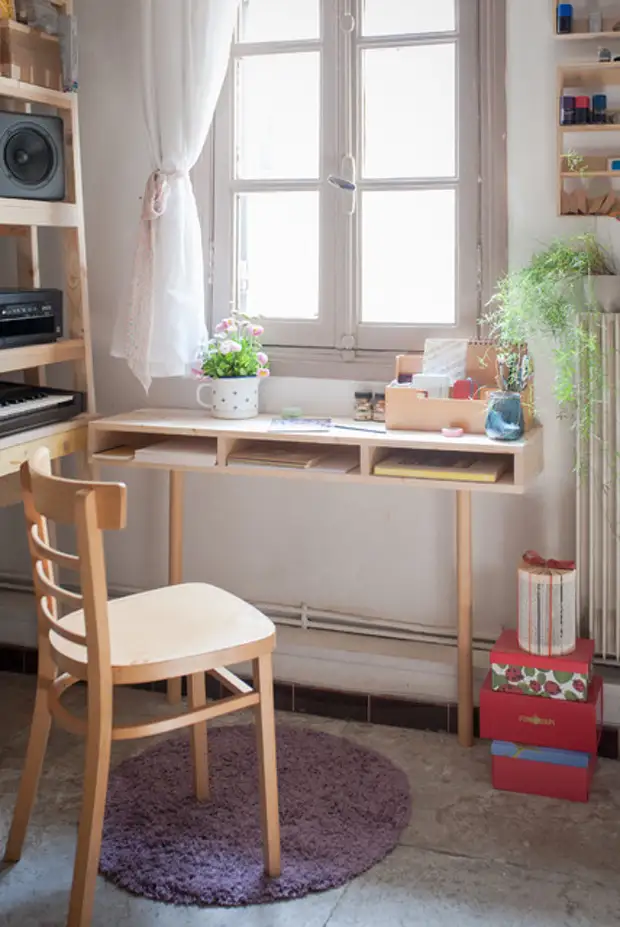
It remains to find a suitable chair, several glasses for pencils and your favorite pot plant. Now you can work with daylight.