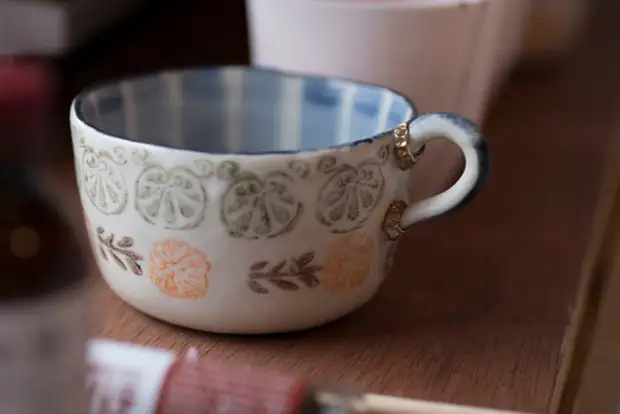
Kintsugi or the "Art of Golden Sew" - a traditional Japanese gluing technique of broken dishes and decorations of seams with gold or silver.
Japanese equipment factory dishes using varnish is known from the IV century BC, and it developed into art called Kintsugi. It is now taken to be that kintsugi increases the value of an antique or modern subject of serving.
Under the drive master class on kintsugi artist Miho Fujita:
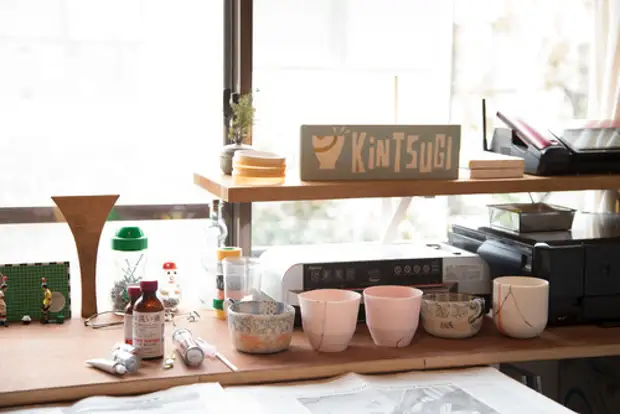
The traditional technique of Kintsugi uses Hon-Urushi varnish or literally "real varnish", but in this master class will be used tire-urushi lacquer or new varnish. Let's deal with what the difference.
Hon-Urushi varnish is a natural paint that the kind of sumphoma is obtained from the poisonous plant, namely from Toxicodendron Vernicifluum, known as a varnished tree. In the varnish obtained in this way, a unique elegant shade. And objects covered with such a varnish are resistant to external influence. The varnish itself can cause an allergic reaction if the subject covered with them is not completely possible. Therefore, it is necessary to use it carefully.
Convenient synthetic substitute was the lacquer tire-urushi. According to the properties, it is very similar to the "real varnish", but it is easier to use it and more convenient.
IMPORTANT: Luck tire-urush can be applied only on decorative dishes, since it is from the dishes covered with them, unsafe! Dishes covered with Hon Urusha and Tire-Urusha varnishes, it is impossible to use in the oven, in the microwave, in a dishwasher or brushing abrasive detergent.
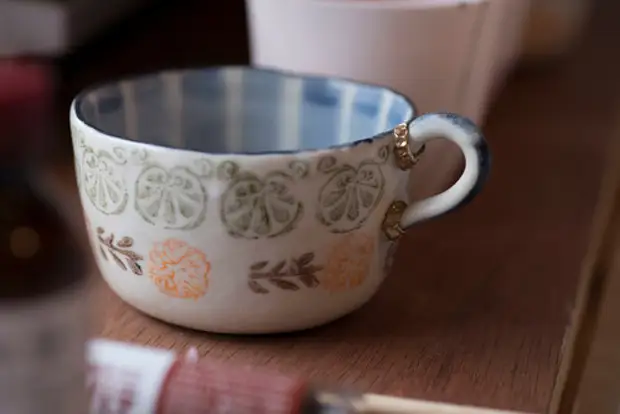
In this photo, a cup is represented, which Micah Fujita glued a handle in the technique of Kintsugi.
Please note: Before use, familiarize yourself with the composition of the ingredients used. Remember the necessary precautions and always follow the instructions.
You will need:
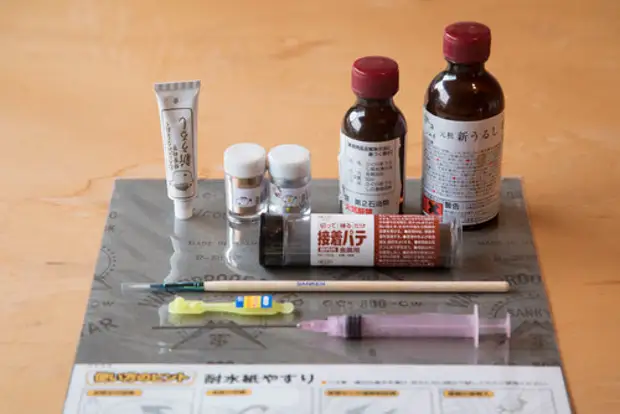
- Glue for ceramics;
- Epoxy Melting for Metal Works (quick-drying). Typically, the composition is frozen in 5 minutes (the exact time depends on the manufacturer). To increase the drying time, you can sprinkle with alcohol;
- waterproof sandpaper (grain 400-1000 for primary and grain 1500 for finishing);
- Luck tire-urushi;
- Color powder (we used brass shade);
- Cleaner for tire-tires;
- Solvent for tire-urush;
- Pipette or detail for dropper;
- Thin brush (with a round head for gluing plastic models);
- water;
- aluminium foil.
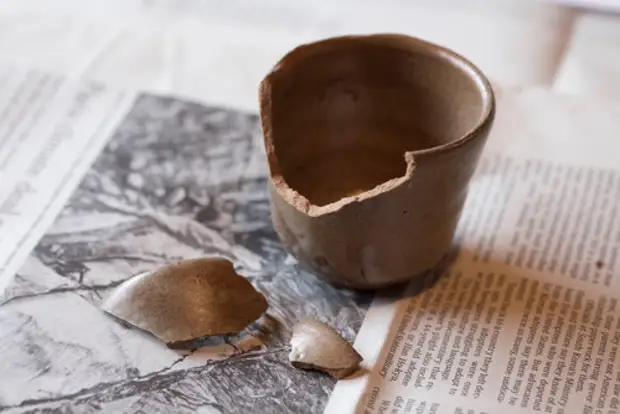
Carefully clean the breakage pieces and explore their condition. Under bright light, check all parts for thin cracks that can only manifest on one side of the ceramic product.
Step 2. glue parts
Think out in what order you will glue parts to a cup or a plate, and then attach them with glue for ceramics. Make sure the details are tightly adjacent to each other and there are no gaps between them.
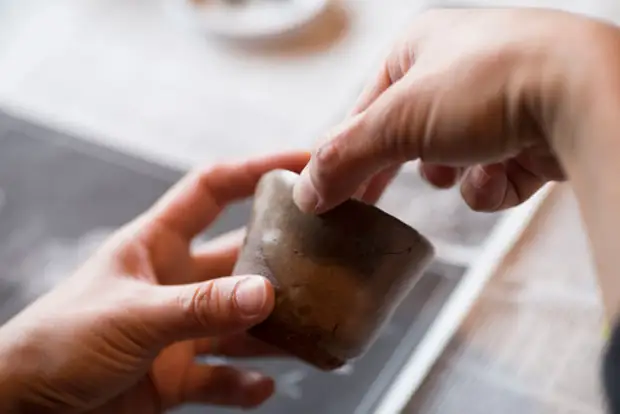
Make sure that the resulting surface is smooth and smooth to the touch. Set the product to dry.
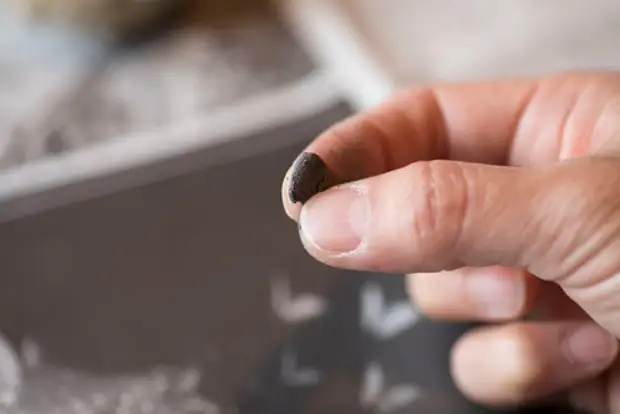
Step 3. Get off the depressions
Mix the epoxy ingredients before receiving a homogeneous color.
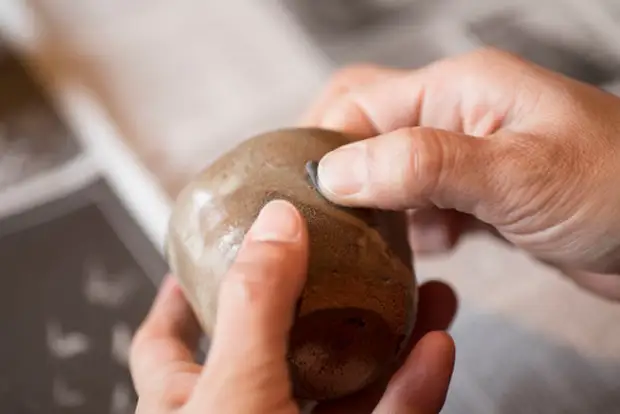
The mask solidifies five minutes, but it is not worth a hurry. If it has become difficult to work with a piece of putty, better make a new one.
Take all dents and gaps between glued parts. The smelter is well in them until the surface does not become perfectly even smooth.
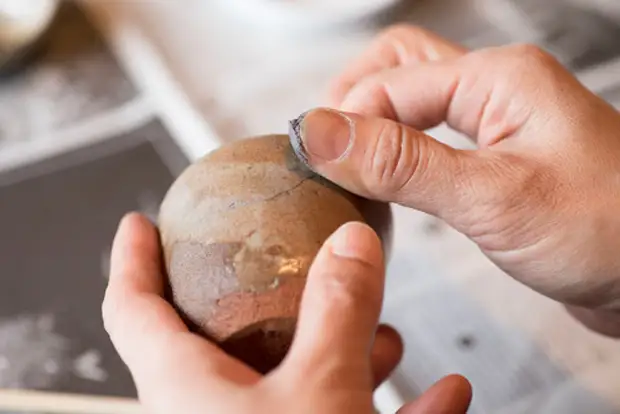
Start filling the gaps from the deepest cracks and move from them to the edges. Stage of cloth closeing is very important. Not only the grinding process will depend on it, but also the final type of item.
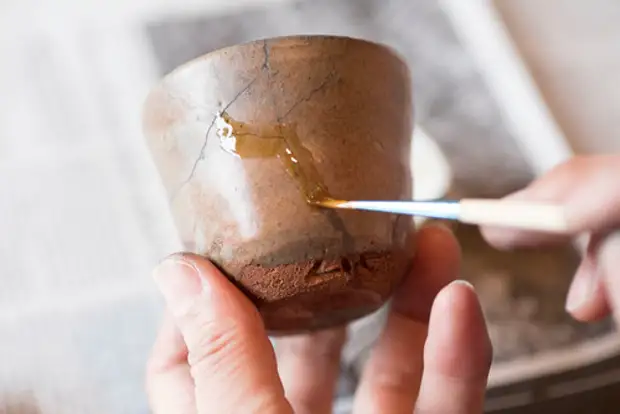
Step 4. Process the cracks "NiU" varnish (if there is)
"NiU" is damage that comes from the inside of the subject and the outside of the crack. It is sometimes very difficult to determine where the cracks are located, so hold the subject under bright lighting. Take a brush a little lacquer tire-urushi and apply to the crack so that it absorbs. Leave to dry for 15 minutes.
As soon as the product dry, dip the napkin into the cleaner from varnish and erase the excess varnish from the surface.
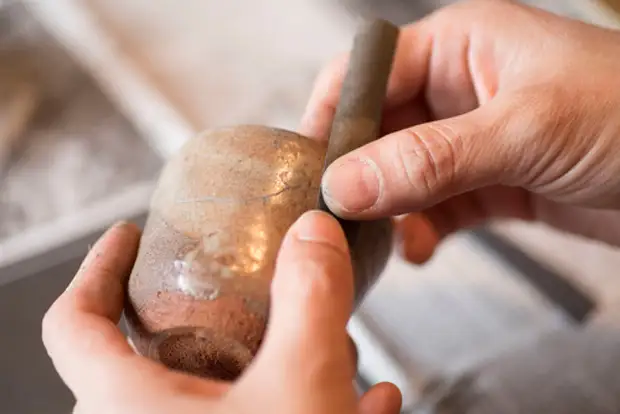
Step 5. Collect the glued parts
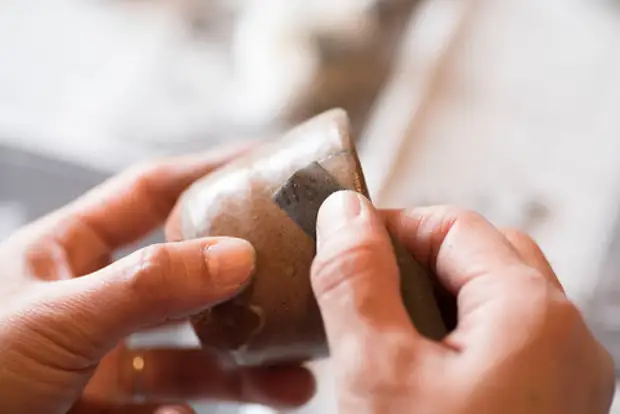
First check if the putty sticks to the hands. Then press it with a nail: if the traces does not remain, then it has solidated enough. Another way to make sure that it is gently knocking on the putty. If the sound is as the same as when tapping on the subject itself, the melting is finally frozen.
Moisten the sandpaper and pass the surface of the glued parts. Choose the sandpaper grain depending on the material from which a cup or vase is made. Softy materials require small grain. The greater the number on the sandpaper sheet, the smaller it is, and the clay and unlawed ceramics are usually softer than the shroud-covered. For the cup on this photo used emery paper number 400.
Treat the glued parts with sandpaper, checking at the same time, is the madhouse enough.
When the putty is a smooth enough, polish the product again, not forgetting to moisten the sandpaper sheet with water. This time, use a small grain sandpaper, for example, 1500 or higher (in the photo paper with grain 2000 is used). Collect all the product entirely to remove traces from your fingers.
Step 6. Now we create a "landscape", or keski
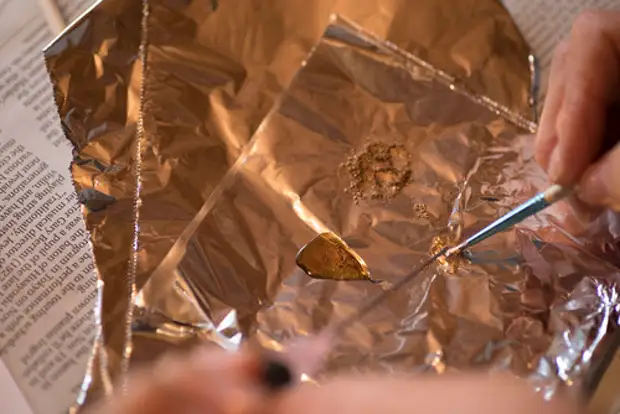
On a piece of aluminum foil, mix the lacquer tire-urush, color powder (here is a brass shade) and a solvent in proportion 1: 1: 1. First mix the varnish with a powder, and then when the mixture will get color, the solvent is added on the droplet.
Try to draw a line with this composition and tassel. If the line disappears, the solution turned out to be the necessary consistency.
When the solution is ready, proceed to apply it to the cup. Mauh Fujita recommends drawing with thick layers, intentionally creating inclusions and tubercles paints on glued parts to make the texture of the product with a tangible and interesting.
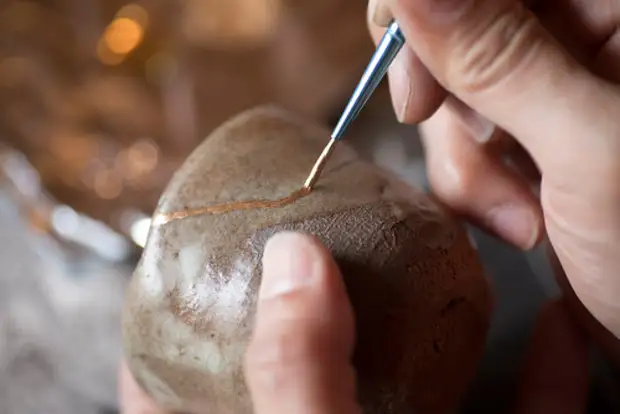
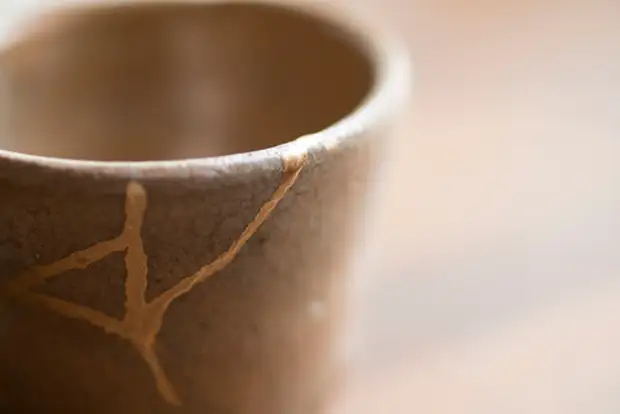
Bugger paint can be done by holding a brush for some time in one place. A polka dot pattern - using a cork from a wine bottle.
Then moisten the napkin in the cleaner and erase the excess varnish.
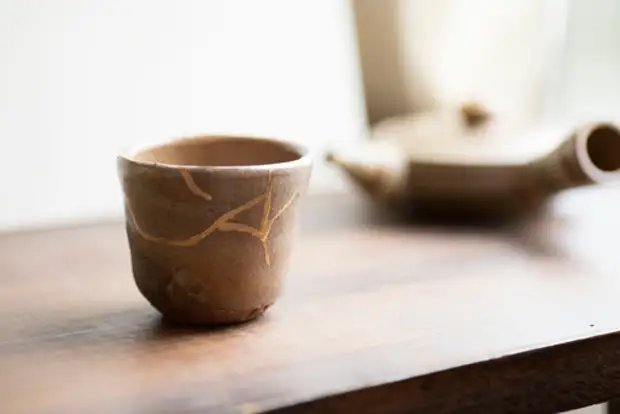
After applying the color, set aside the product to a pair so that it is completely dry, and before use do not forget to rinse it well.

The author of the master class so tells about the technique of Kintsugi: "By repairing a thing with your own hands, you inform her unique qualities and, moreover, you feel a concerned to the process of birth of this thing. And it makes it more valuable in your eyes. Do not throw away the broken plates and cups immediately, try creating a new story. "
a source
