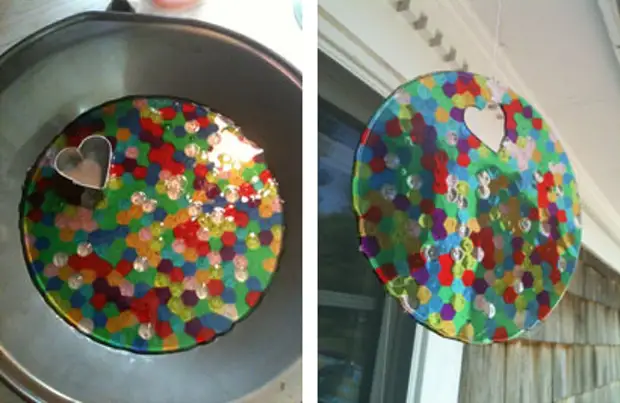

Tools and materials
- beads
- Parchment paper or foil
- Metal baking form (better without bottom)
- vegetable oil
- oven, warmed up to 200 ° C
Step 1. Preparing for baking
Preheat the oven up to 200 grams. It is important to do it in advance, otherwise the results of your work will be necessary to wait for a long time!For the first time I recommend using the most simple forms - a circle or square. You choose the form you choose with oil from the inside and put on a baking sheet, pre-shown by parchment or foil.
Step 2. Bead distribution
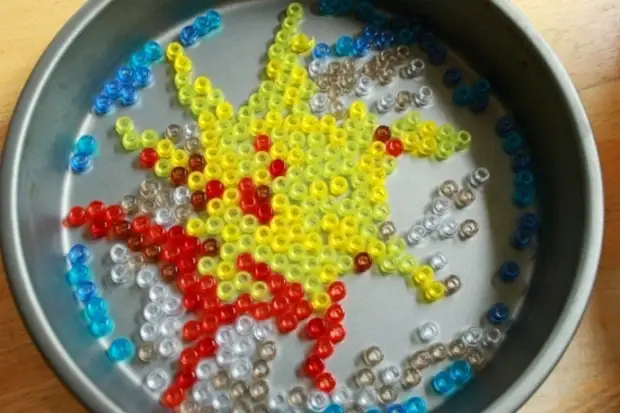
Push up a small amount of beads in the form and evenly distribute it.

It is important to think in advance the function of the future product in advance, for example, if you make a Christmas toy, you will definitely need a suspension, which means you need to make a hole for the cord. To do this, remove the part of the beads in the laid out bead, and put a piece of foil in their place.
Step 3. Baking Beads
Install the baking sheet, check whether the beads have shifted and leave the blanks for 10-15 minutes at 200g. in the oven.How to determine whether enough 10 minutes? Very simple - look at the appearance if the beads are melted, look soft and as if connected with each other, then a sufficient amount of time passed (perhaps you will not need 10 minutes, it depends on the quality of beads and oven). Do not let the beeer boil up Not only give the product an ugly distorted color, but when drying it is formed not aesthetic air bubbles inside.
Step 4. Ready!
When the product is ready (externally, the declared amount of time), remove the baking sheet from the oven and give the future masterpiece time to cool. (not less than half an hour).

Use! You can use the melted beads to create jewelry, decorating or creating interior items.
A source
