
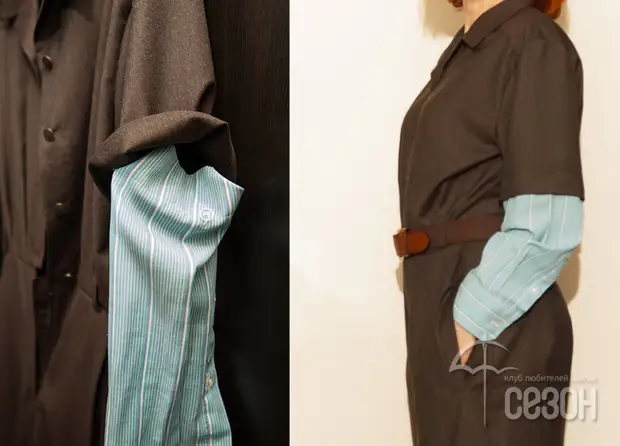

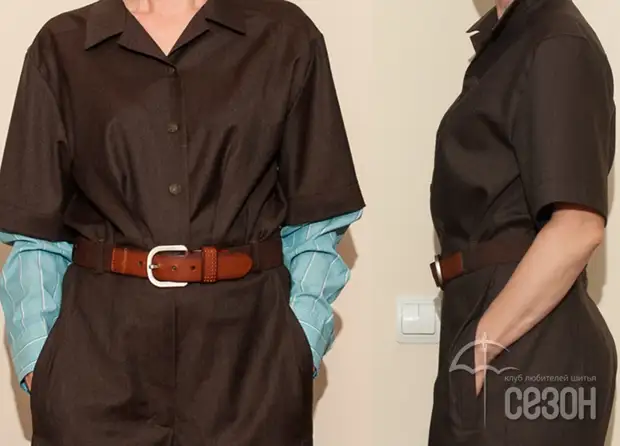
When the tissue is not enough for a long sleeve, it can be made short, and the missing length add in the form of a fastened lower part from another material. In sporting things, as a jumpsuit from our example, it looks quite harmonious.
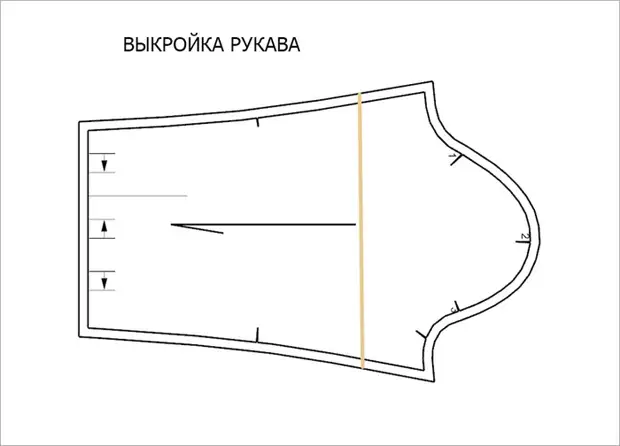
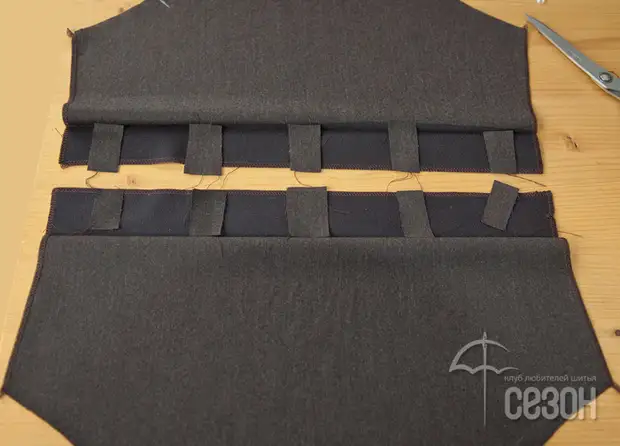
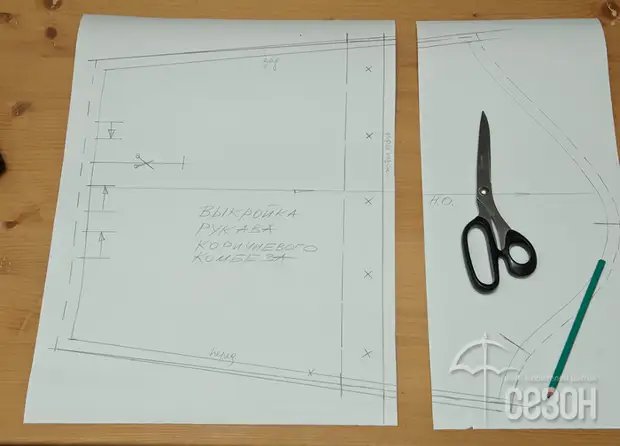
We divide the pattern of the sleeves to the upper and lower parts (line of yellow color).
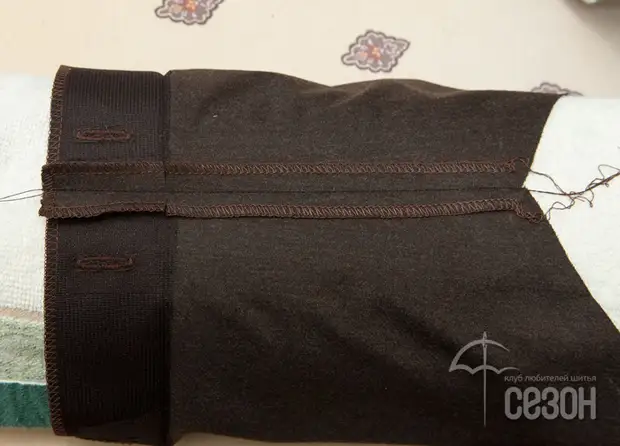
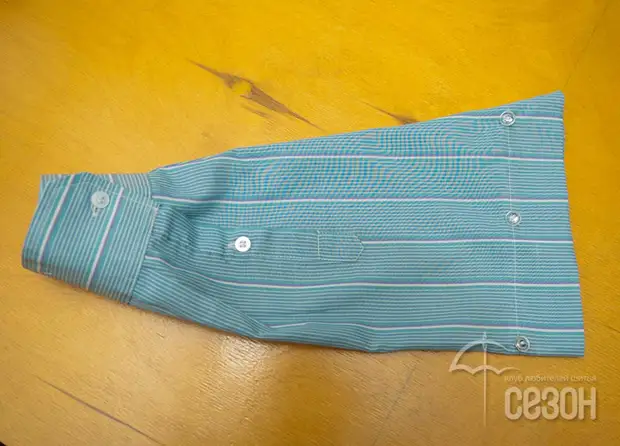
At the top of the pattern crumb sleeves. Be sure to add an allowance for the niza bending, in our example 4.5 cm. Duplicate the bending of the adhesive and start it on the wrong side. Location loops. The beginning of the loop we have 2 cm above the niza line of the sleeves.
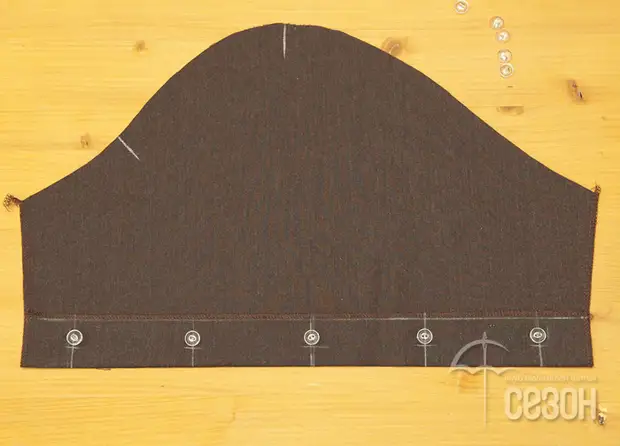
Marking Perform mirror on both sleeves. The interval between the loops in our example is 8 cm. Two hinges, located near the future seam, will take 2 cm from it. Tip: Make each operation at once on two sleeves. This will significantly speed up the process.
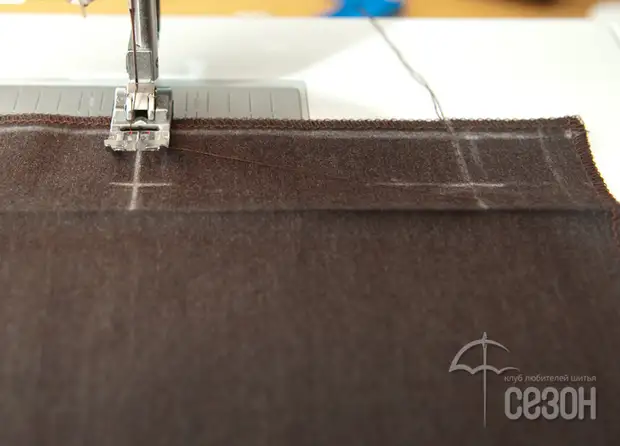
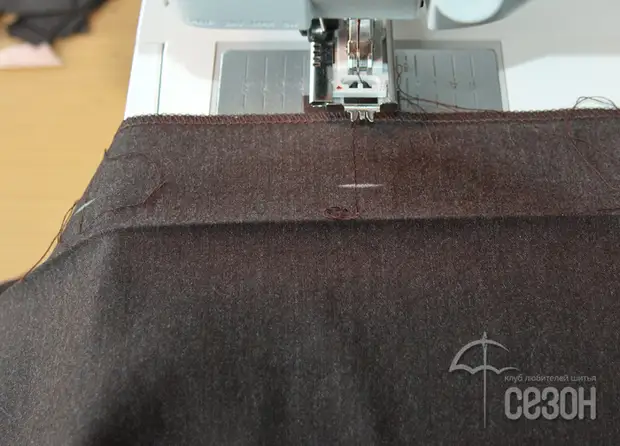
A straight line with a stitch length of 2 mm we flash the place of future loops to transfer their markup as close as possible on the wrong side. You can perform this operation without interrupting the thread, and then simply cut the intervals. This technique will significantly speed up the work.
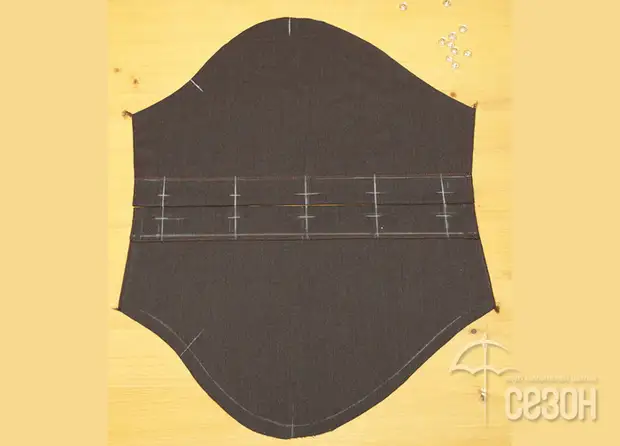
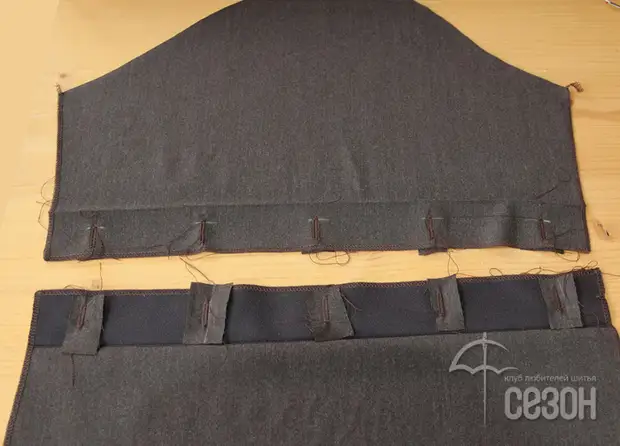
The photo below shows the sleeve from the wrong side. The places of the lines again duplicate the squares of the adhesive. What for? The fabric is quite thin and, if you pierce the loops on it, they will look ugly and will stretch out over time.
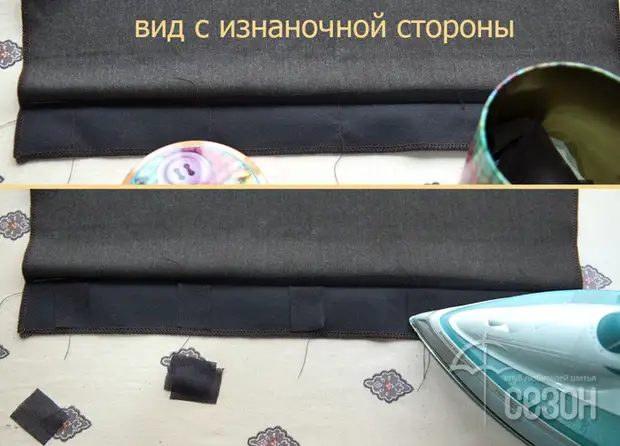
In order for the loops to become truly durable, you will need even small pieces of the main fabric, which we will put under each extended loop from the wrong side.
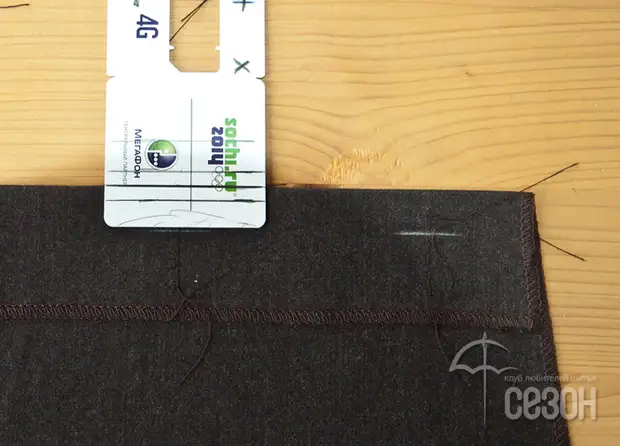
On the front side of the template we mark the bottom of the loop. Why not in line? The method of markup on the template is more accurate and faster.
Using the function of the automatic loop, you specify its length, start from the label.
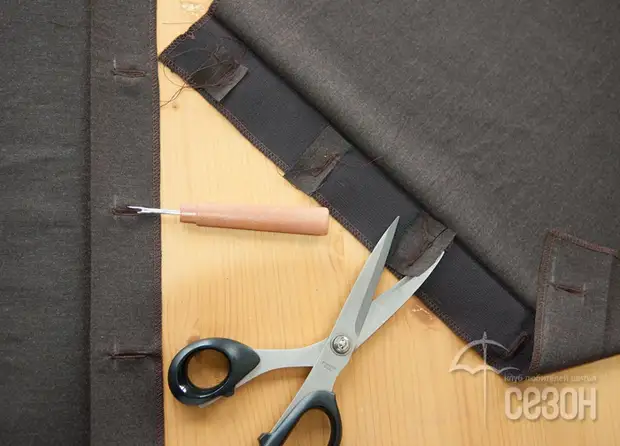
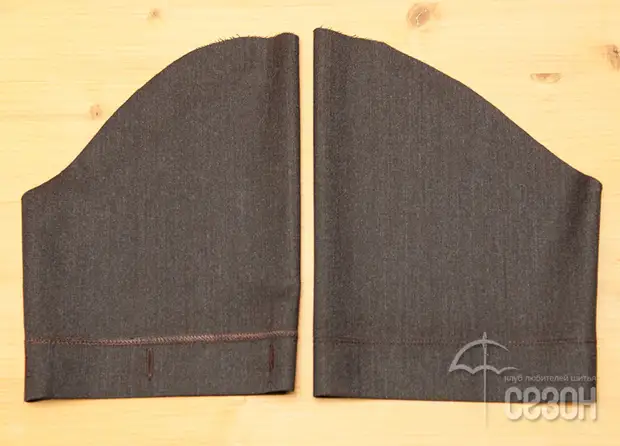
The photo below shows the sleeve with facial and invalid sides with the hinges.
On the involving side, we cut a cloth around the loop, then cut the loop.
We put the sleeve on the pattern and pins, piercing paper, mark the places of buttons on the bottom of the sleeve.
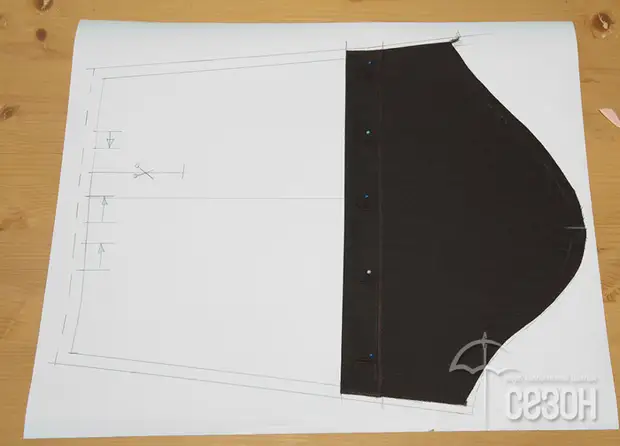
The bottom of the pattern we will need for cut the bottom of the sleeve. And it has already marked the location of the buttons, which will greatly facilitate their sewing - it will not be necessary to make a markup, focusing on the top of the sleeve in the armor.
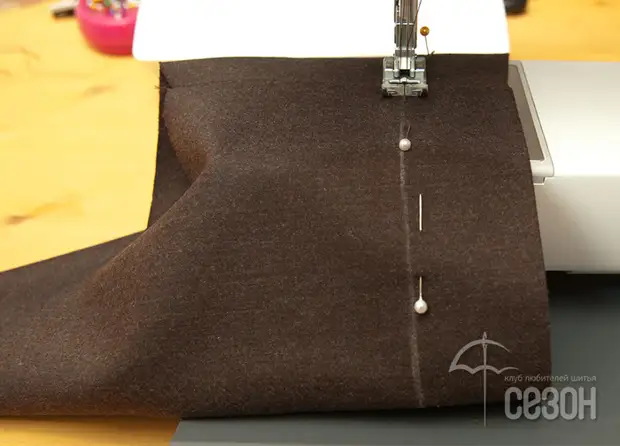
We stitch and irrigate the suture of the sleeves.
We admonish the bending of the sleeve starting from the seam. At the beginning and at the end of the line, we put the leaps.
Sleeves are ready for shutting in the armor.
Crow and sew the bottom of the sleeve. Important! Do not forget to add a 9 cm (4.5 cm to enter the top of the sleeve and 4.5 cm on the top of the sleeve and 4.5 cm on the top of the sleeve. How to perform a slot on the cut and the cuffs described in the "Useful articles on the topic" heading, which is at the bottom of the page. Send buttons on the markup on the pattern.
We fasten the lower part of the sleeve to the top. Sleeve is ready.
A source