

Author of the master class - Cornetse Tatyana - Founder of the Internet Project "Academy of Corset"
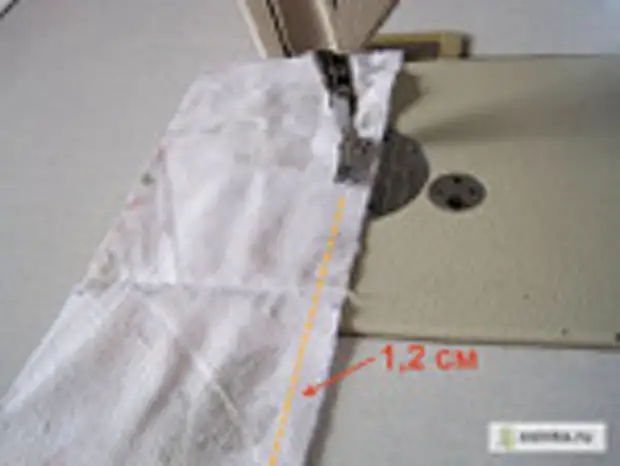
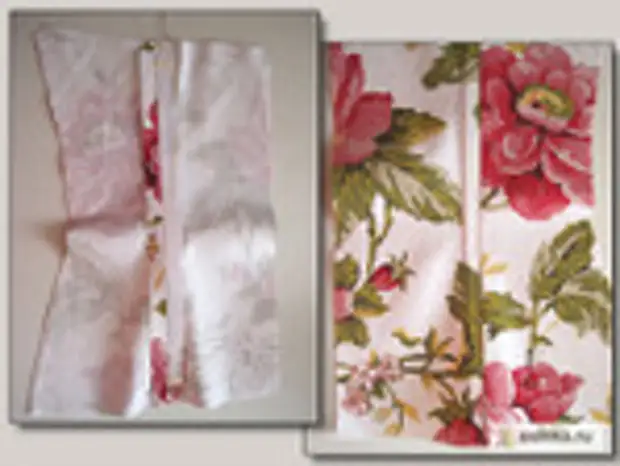
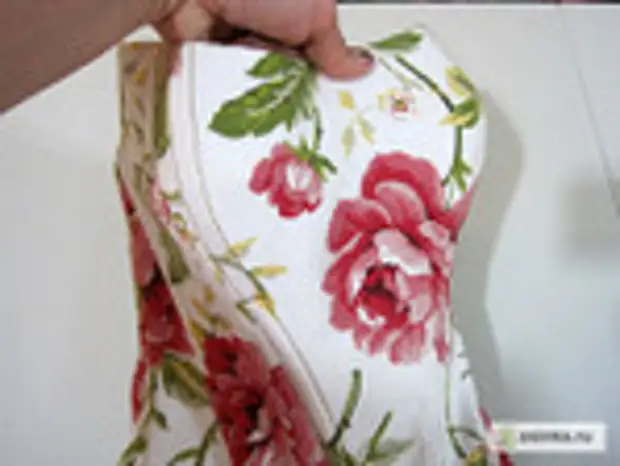
Tattiana Tatyana: "For this model, a dense x / b fabric is used. Therefore, additional puncture parts are not required. La Corset's face and for a subpoint I will use the same fabric so that the density and stretching of the material was the same both on the face and stretching the material and At the subclass. The corset patterns are harvested with stamps on the seams (I have 1.2 cm). "
By the way! If you like this master class and you want to know even more about corsets and wedding dresses, then pay attention to a unique offer - a collection of lessons of Tatyana Kozorovitsky on 11 DVDs with a huge New Year Discount!
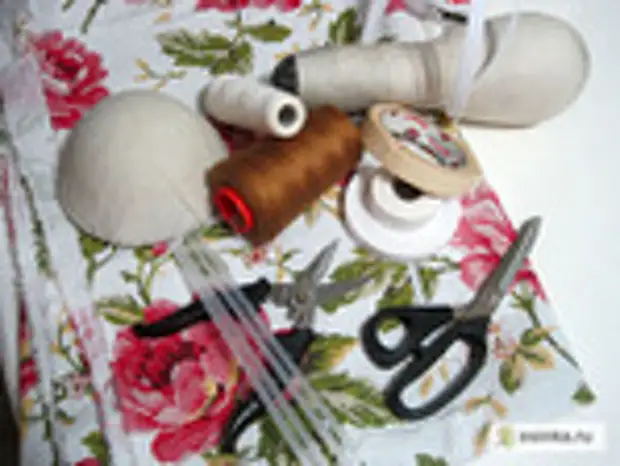
01. For sewing a corset, it will be necessary:
• Dense fabric
• Threads for sewing
• Threads for finishing seams
• Regulated 0.8 and 1.2 cm wide
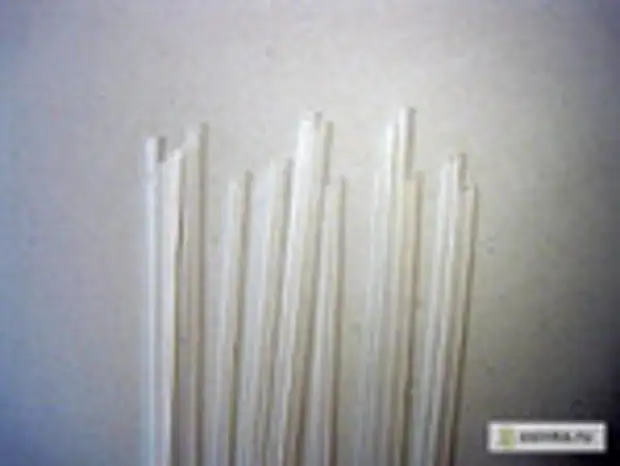
• Plastic or spiral bones
• oblique baking width 1.5 and 2 cm
• Malyary Scotch
• Iron Forms
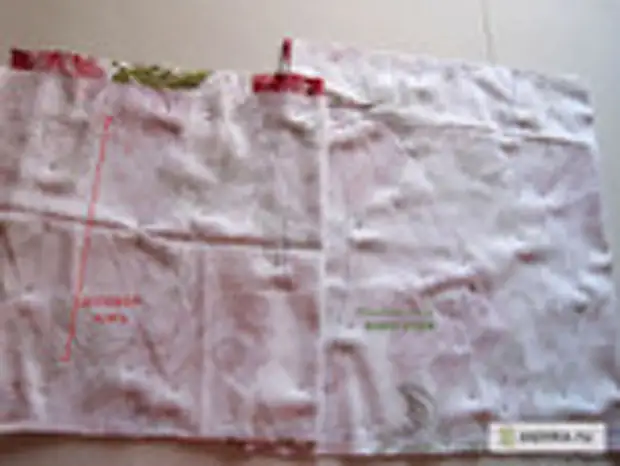
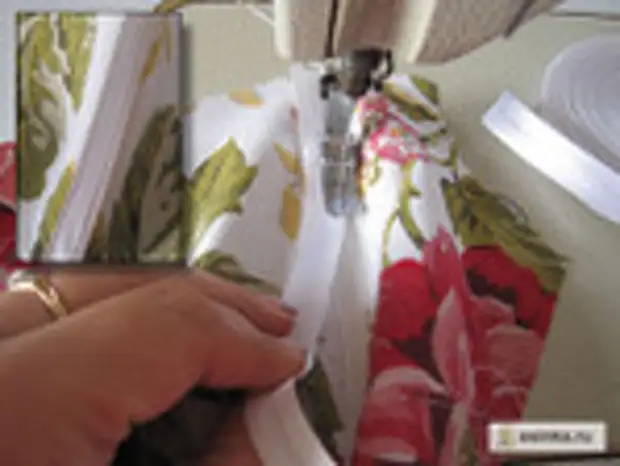
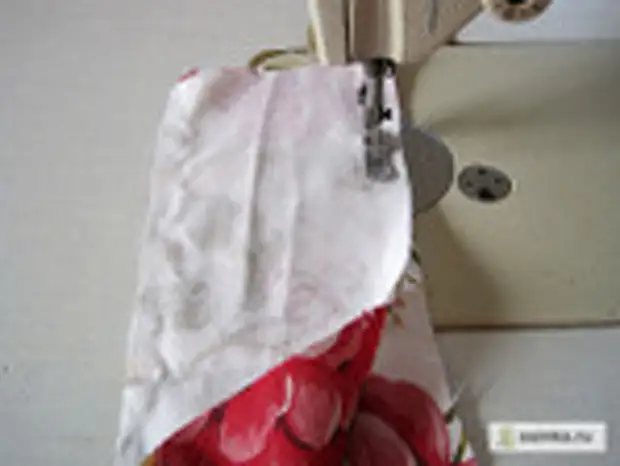
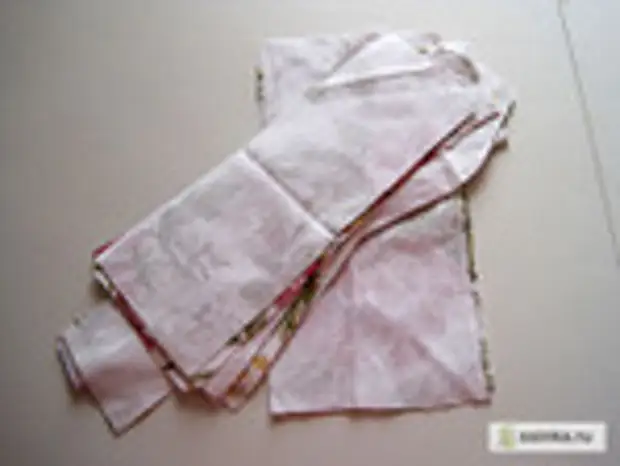
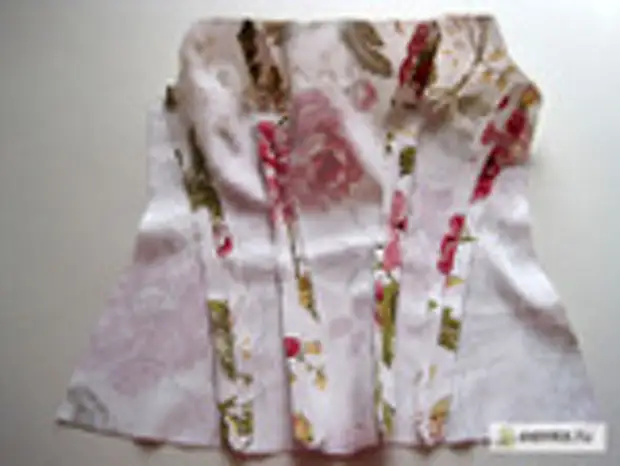
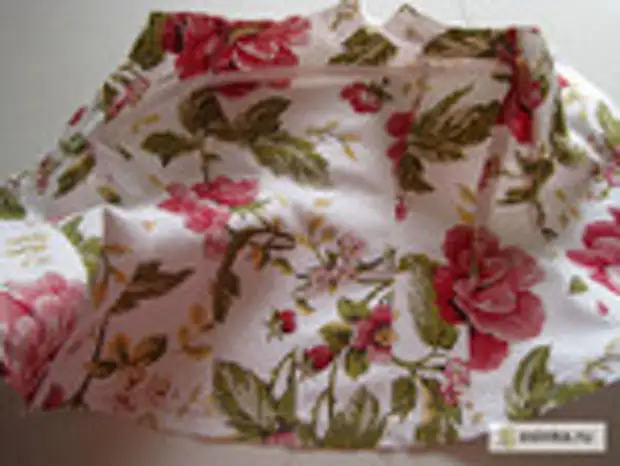
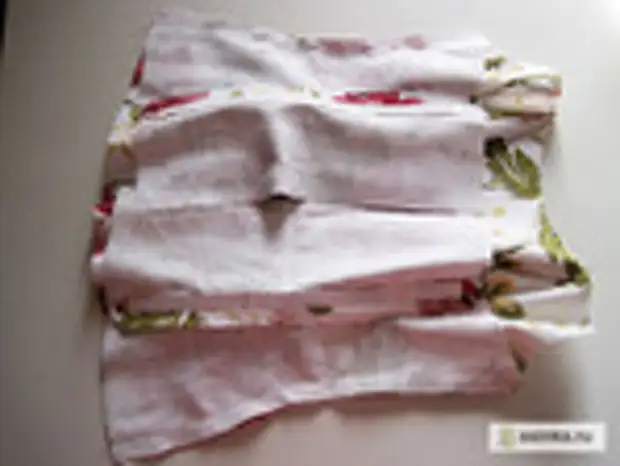
02. Folding the material in 4 additions, equalizing the fold of the fabric. Stayed laying out so that the waist lines passed parallel to the filament of the duck, and the central recess of the back was parallel to the equity thread. I parted all the corset pattern, I celebrate all the obsersion. Piercing pins.
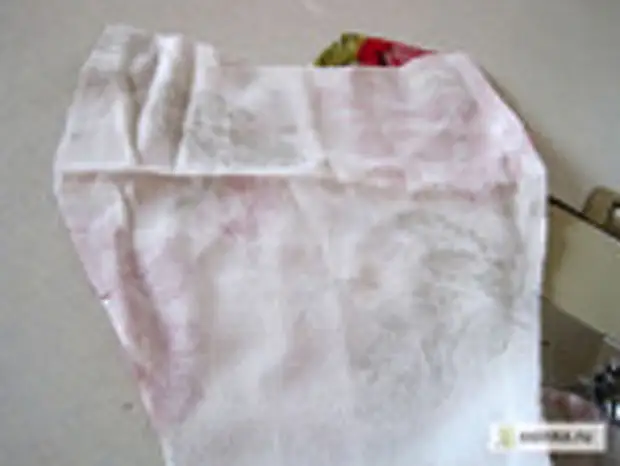
03. I expect all the details of the corset, including the tongue, which then fell under the lacing on the back.
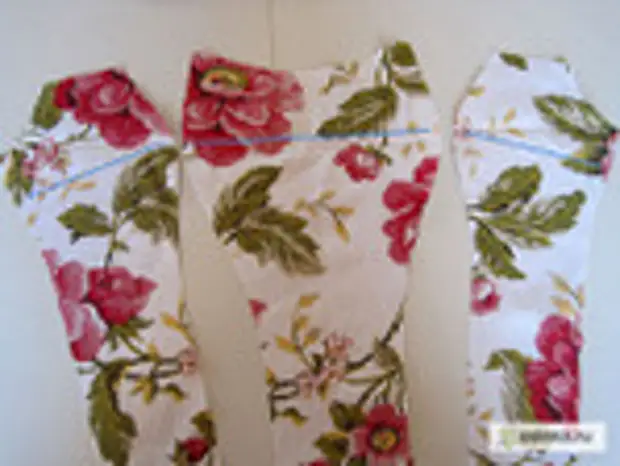
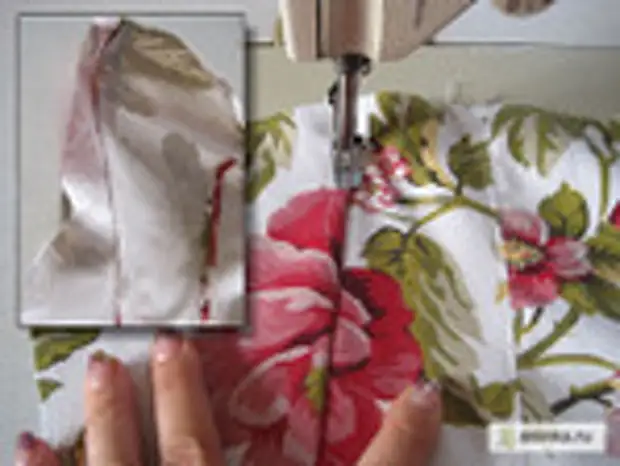
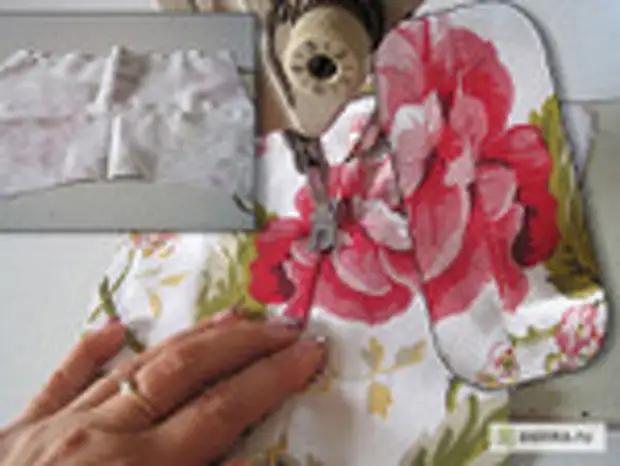
04. I remove the pins, deal with the details. Details of the face of the corset lay aside. I take the central detail of the sublock and 2 intermediate details of the transfer. On the front side, I spend horizontal lines by the line, connecting the thiefs of the chest line.
05. Stitching the side reliefs of the seam sublock 1.2 cm.
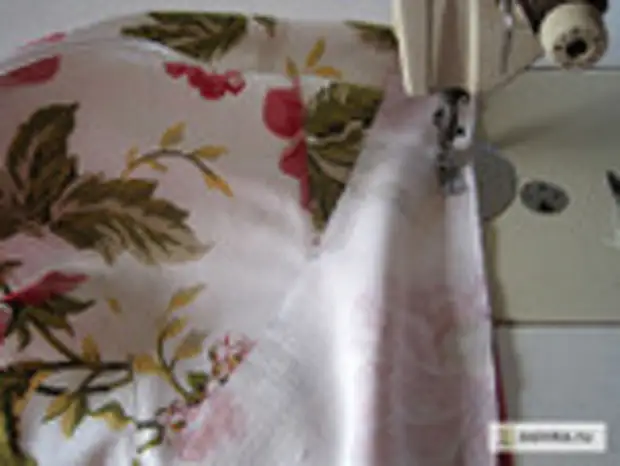
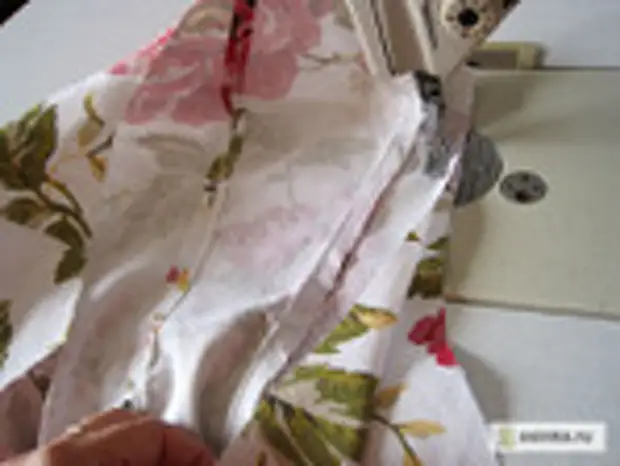
06. Deploy the cross-linked parts, spread the seam allowance and upset from two sides with a 1mm seam from the step of step. I repeat the same operation with the second relief.
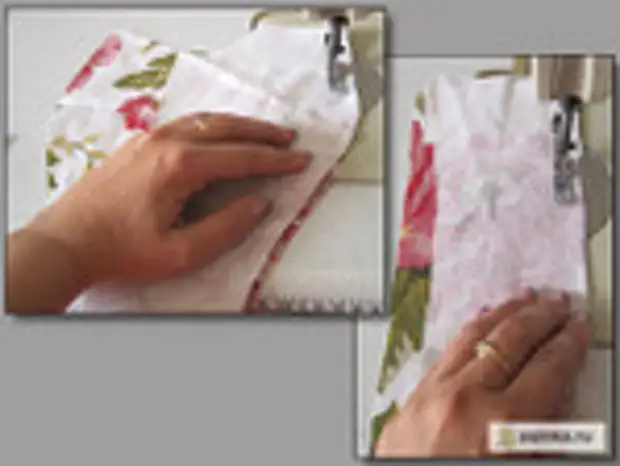
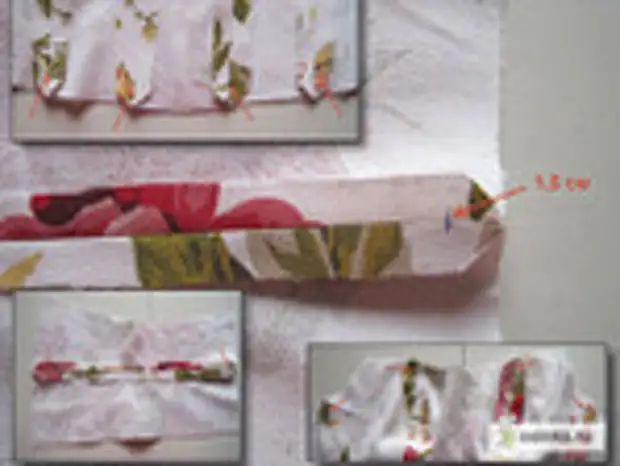
07. Cut the seam allowance by 0.7 cm.
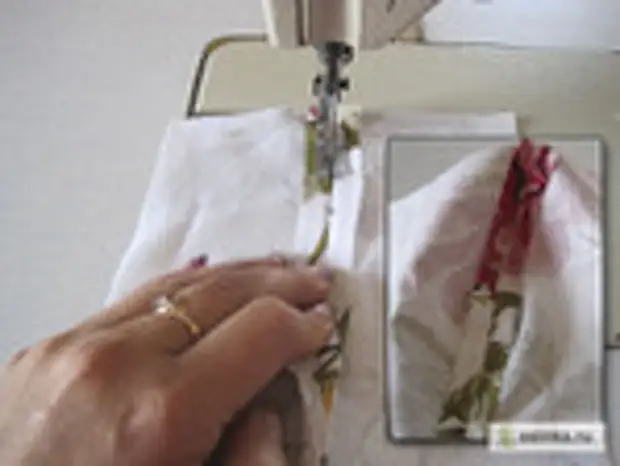
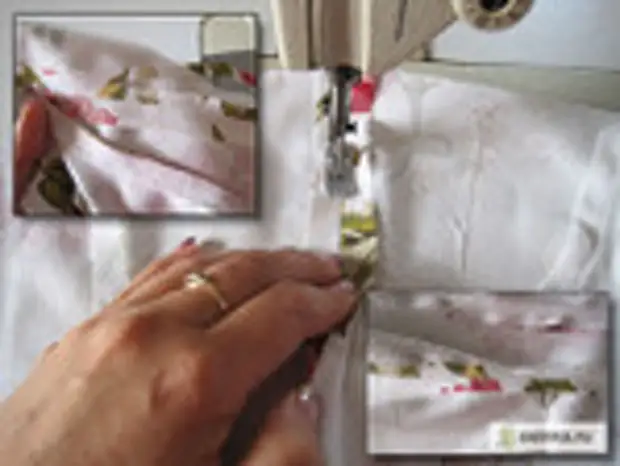
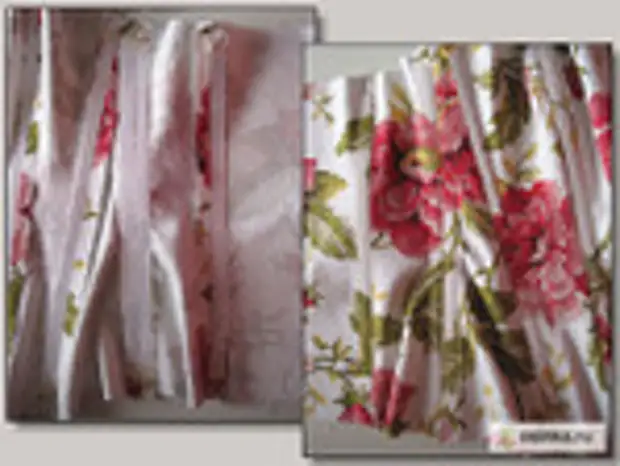
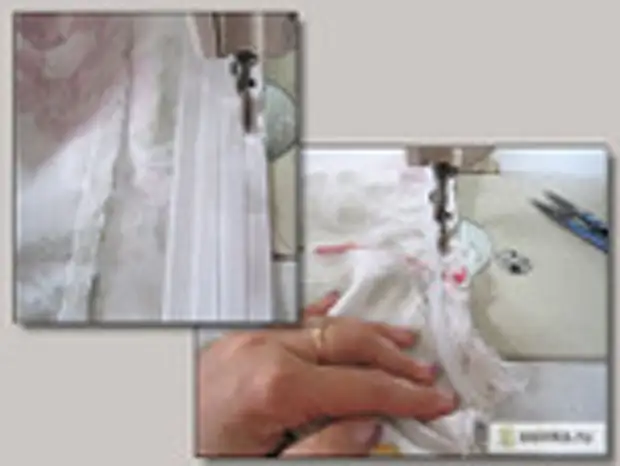
08. I take the thin bone of Regile (0.8 cm), I backed the end of the painting tape (can be white with a white tape) and admonish the drawn breast line with two parallel lines. I start to admonish the bone from the very edge of the detail. At the end, the bone cut off and also crying scotch.
At the beginning and at the end of the line I make leaps.
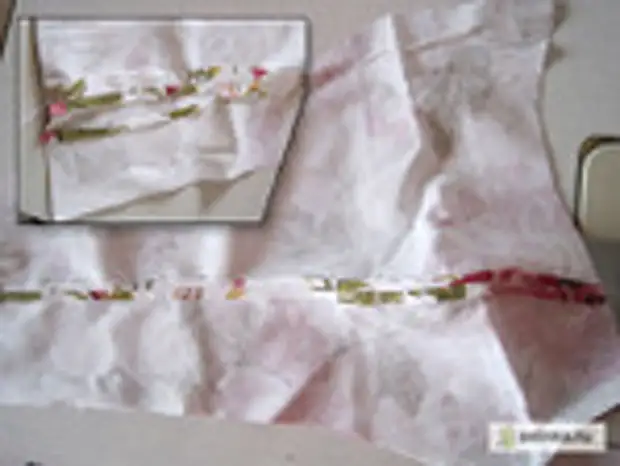
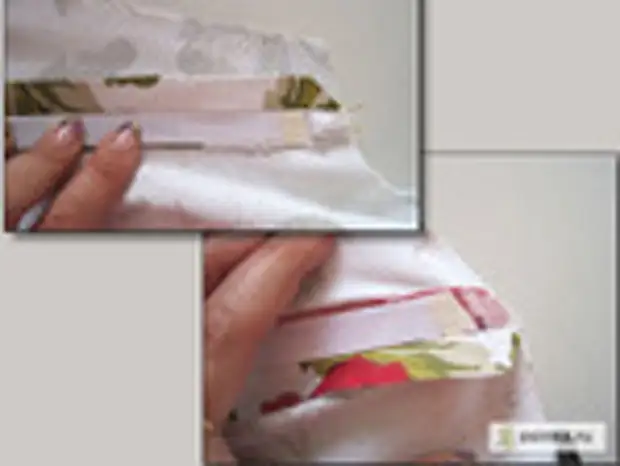
09. I take a narrow oblique beyk (1.2-1.5 cm) and adjust on top of the bone.
10. I take lateral details of the sublock and stitching reliefs. Strictly observe the switch of seam 1.2 cm.
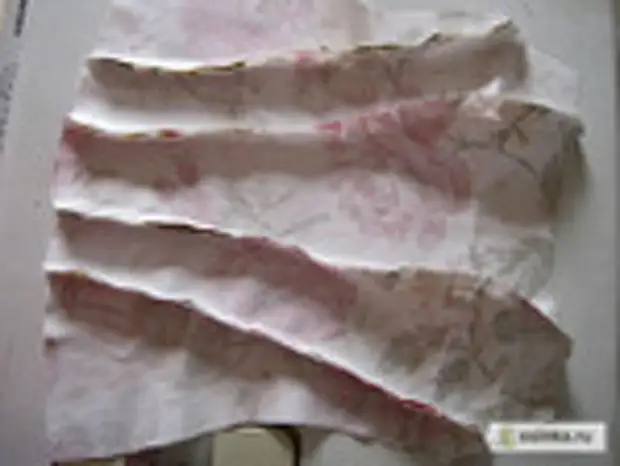
11. Filling the item, sending a seam in the side of the sides and rebuild 1 mm from the seam of stepping of parts. Thus, additionally fasten the suture of the relief.
12. I take the central details of the back of the sublock. I pace an auxiliary machine line on the direct cut of the back center on the width of the seam allowance (1.2 cm) on both symmetrical items.
13. I take the side details of the back and stitching the vertical reliefs of the seam of 1.2 cm.
14. Deploy the item, send a seam point to the center of the back and rebuilding the relief by 1 mm from the seam of the details.
15. Connect the side seams of the corset corset of the seam 1.2 cm.
16. Upset seam allowance by 1 mm. Cutting the allowance by 0.7 cm.
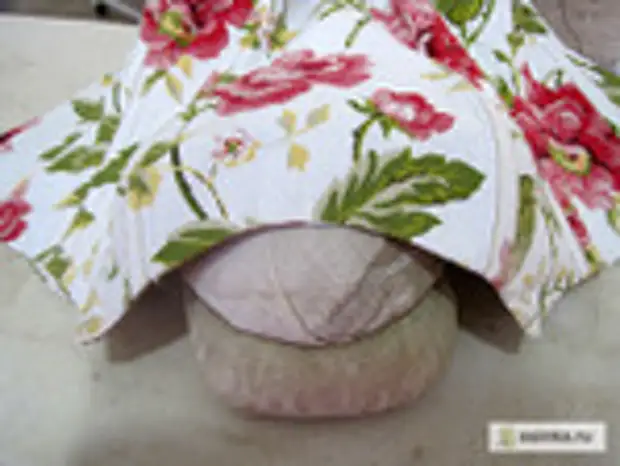
17. I pace the machine line to the width of the seam of seam (1.2 cm) at the bottom of the subclass and throughout the upper cut.
Paying attention! When laying this line, in no case cannot turn the product on the needle. Stitch start from the edge of the product and continue to the end to the other edge. Must be clearly visible to cross these lines in the corners.
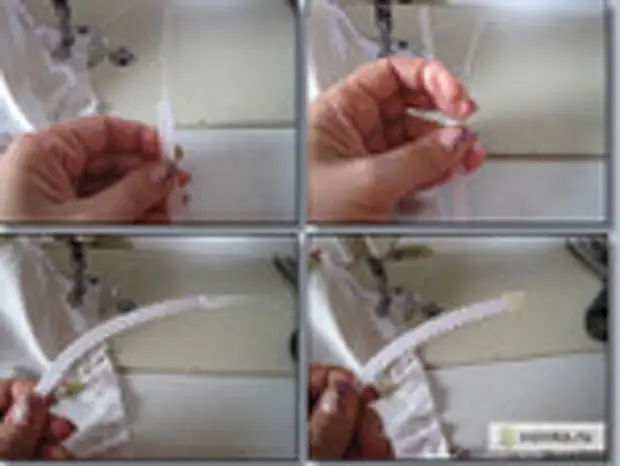
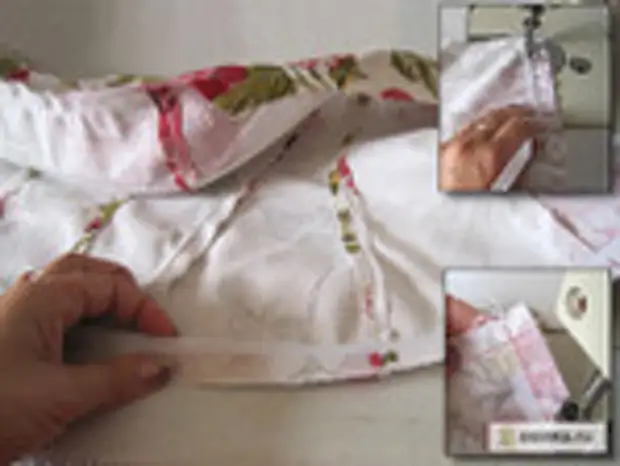
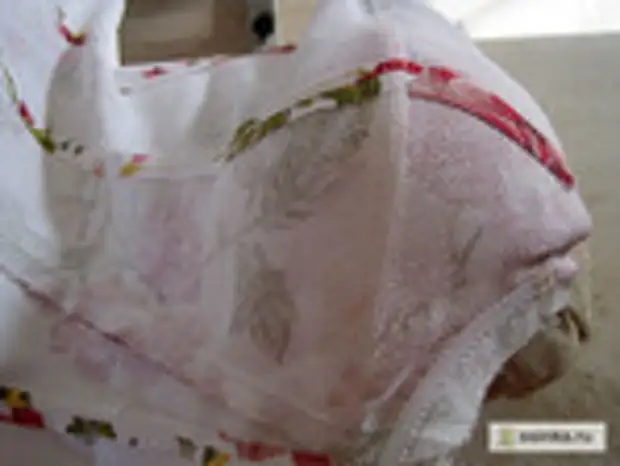
18. Prepare a bone for attaching to the upper edge of the corset from the corner of the cutout to the back. I take the thin bone of Regile. I collect, pulling the fishing line by 6-7 cm. I highlight the extreme fishing line and pulling a little more for her. The bone is spinning. I give a bone the desired shape. Sut off the fishing line. Purchasing scotch.
19. Apply the crushed end of the bone to the place of crossing the control lines, not reaching 1-2 mm. Purchase a bone only on the outer side of the bone with one line. I have a bone with 1 mm from the line line. On the rounded plot, it is preferably a cloth is slightly charged under the bone.
20. I am dirty to the back and cut off the bone without reaching the intersection of line-lines by 1-2 mm. Purchasing a tape to the end of the bone. I repeat the operation on the second side of the corset.
You can measure the approximate length of the bone, rounding the end and sew. And you can start sewing a straight bone, reach the rounding area, cut off the bone with a margin of 7-8 cm, to learn and form a semicircle, continue the sewing and to cut off the more superfluous, attach to scotch. At the end of the line make the leaf.
21. Similarly, we collect a thin bone of a regile for sewing to the bottom of the subclass. Preferably on the outside. Bone Apply 1 mm from the control line at a distance. The inner side of the bone remains while on the decelet.
Try not to charge a cloth under the bone!
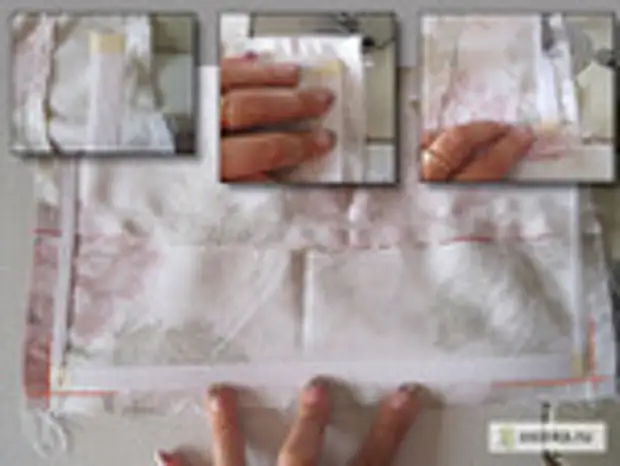
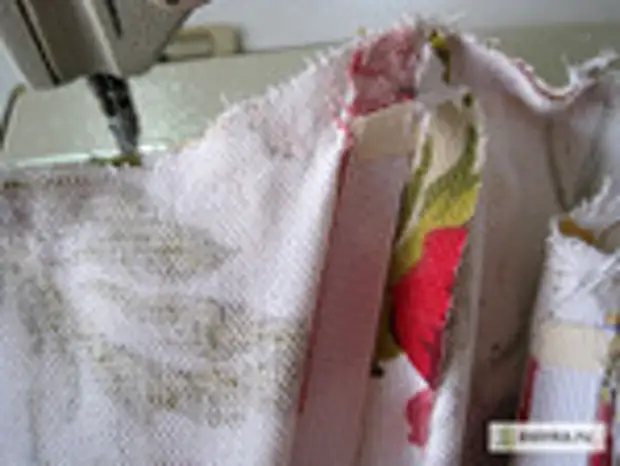
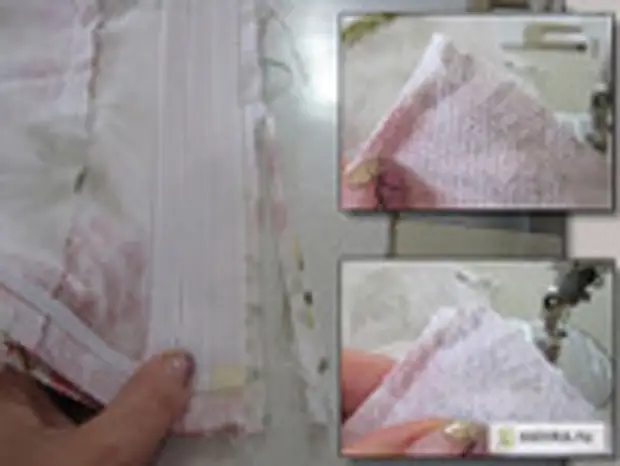
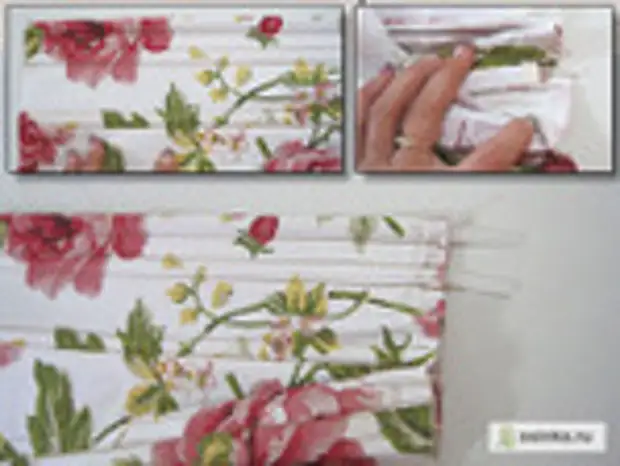
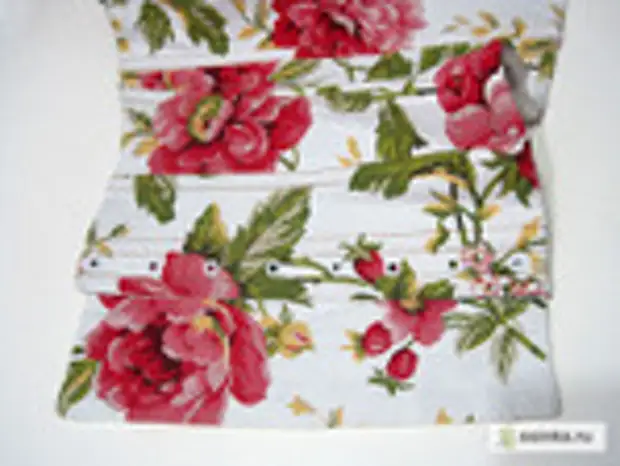
22. I take a wide bone (1.2 cm) Regile. Purchase the end of the painting scotch. Pusk the end under the attached horizontal thin bone.
From the control line, 1. mm departing 1 mm. Preferturing the first line along the edge of the bone. At the end, I cut off, gluing and hiding a horizontal bone.
I make a lines. I pace the second line on the other side of the bone.
23. Similarly, sewing 2 more parallel bones close from each other. Ends can be not enclosed, because They are completely hiding under the horizontal bones.
Similarly, to sew 3 parallel wide bones of Regile and on the second half of the back of the sublade.
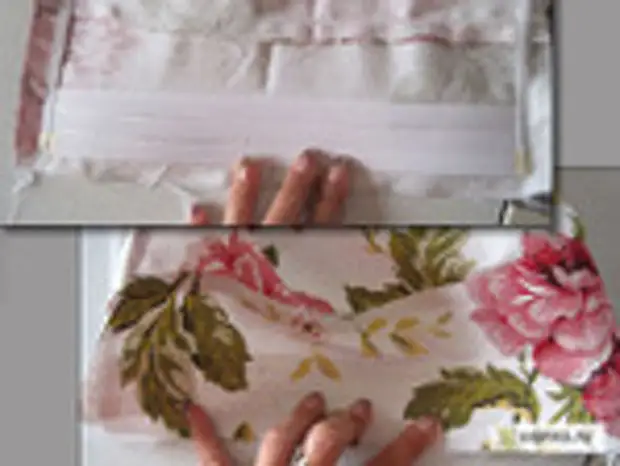
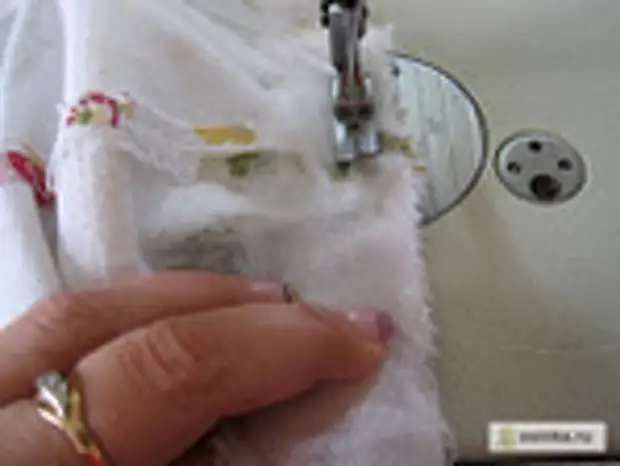
24. Complete the sewing of horizontal bones. I pace a machine line on the inside of the upper and lower bones. On this work on the lining is almost completed.
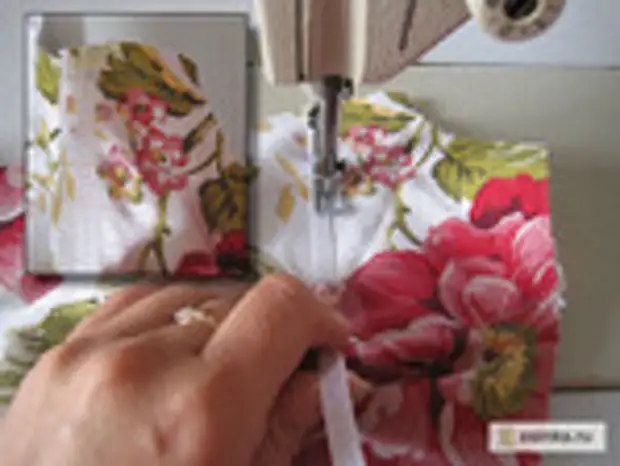
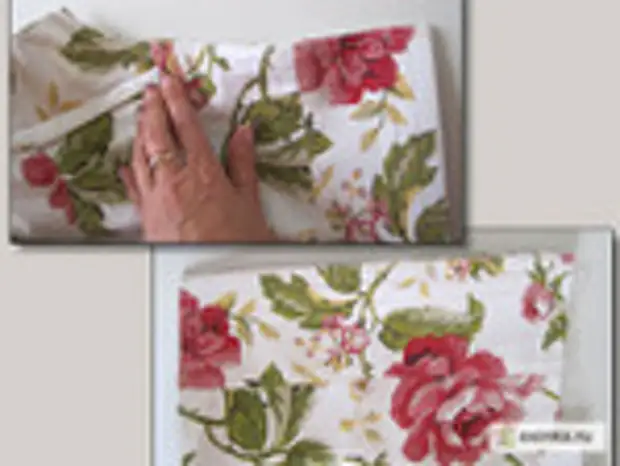
25. I take all the details of the front of the corset.
26. Stitch all the vertical reliefs of the transfer and back of the seam of 1.2 cm.
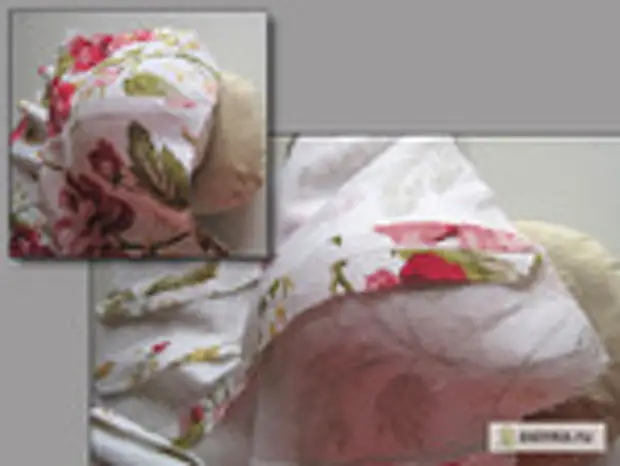
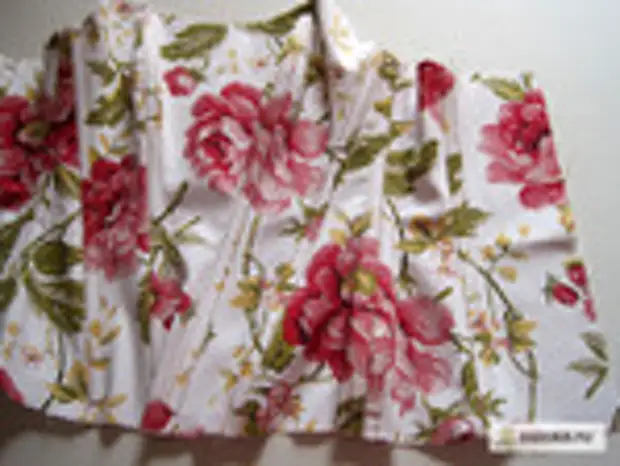
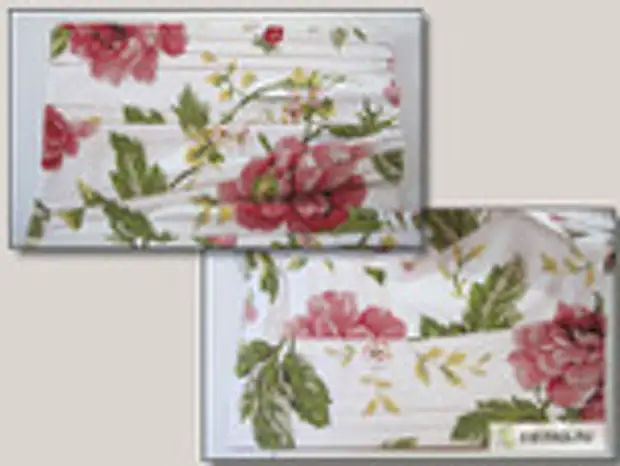
27. This should turn out.
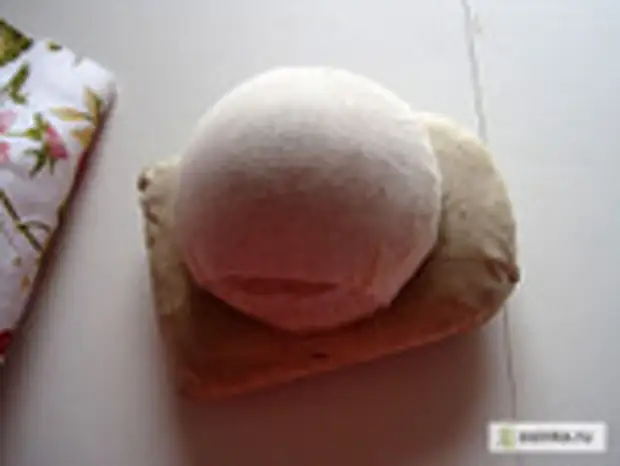
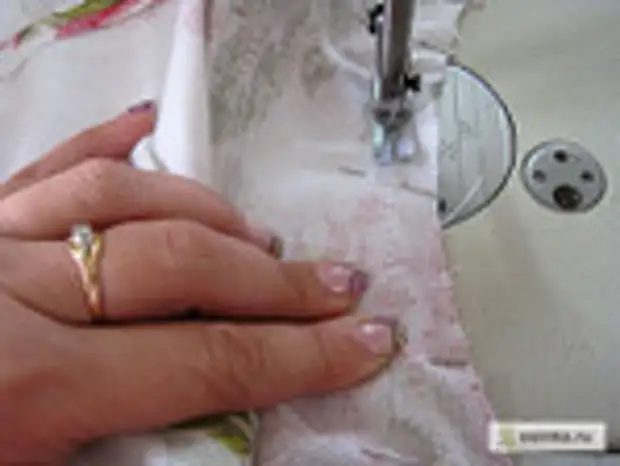
28. I take a pad for laughing and put a form for the detention of cups.
29. From above put lining. Circular movements with a ferry I will give a cup of sublated a beautiful round, convex shape.
30. Running a seam of all reliefs.

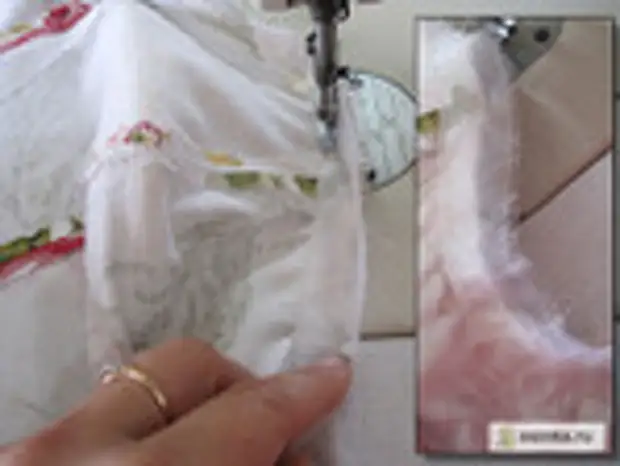
31. On the form for the laundering of the cup, I will give the necessary shape to the breaststlife.
32. Relief trusting on both parts of the back.
33. On the plane of the ironing board, an iron with a ferry give the desired shape of the upper dice of the sublock. Straighten vertical bones on the back, ironing the lower corset bone.
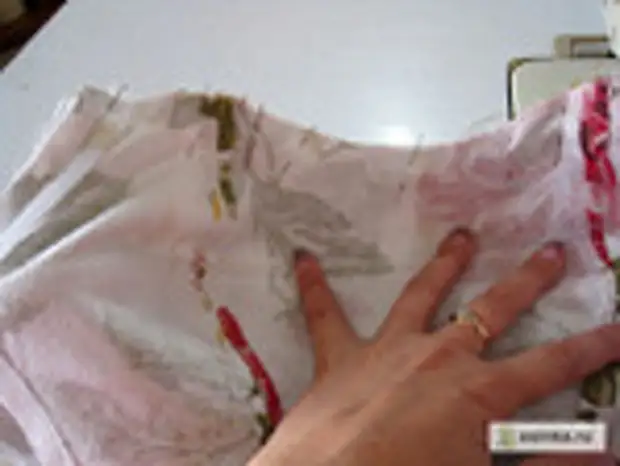
34. So looks like a lining after ironing.
35. On all the reliefs of the facial part of the corset from above and below, 1.5 cm departing and makes marks.
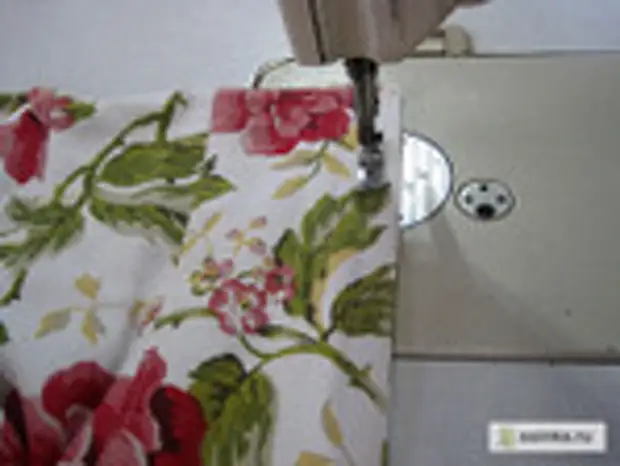
36. According to the reliefs, we sew a wide bone (1.2 cm) Regile. I do not reach the edges of a 1.5 cm product, focusing on the marks. The ends of the bones staring with scotch. Seams of bone preheating start from the very edge of the product and do not make the fix!
37. For the decorativeness of the seams on the bobbin, a finishing thread of contrasting color was used. Note! I try to combine the edge of the bone with the joint of the details. The bone completely overlapping the seam's allowance so that the lifting of the feeding passed along the edge of the allowance and fixed it.
This is an important point! Because Subsequently, the bones will become a scenes for pushing the strengthening metal (spiral) or plastic bones. And the allowance of the seam should not be frozen inside the scenes.
38. In the same way, sewing the bone on the relief of the back.
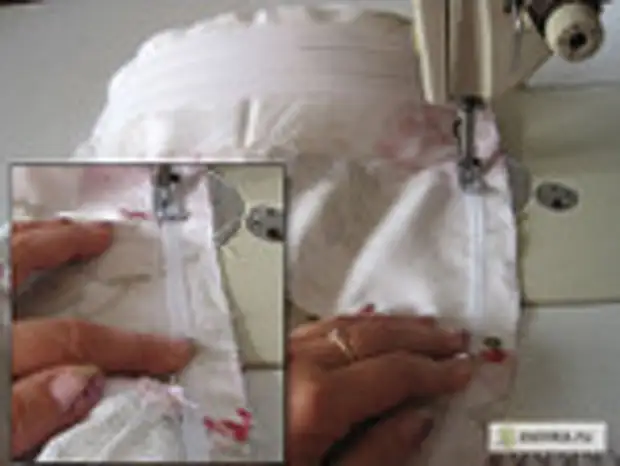
39. Stitch the side seams of the front of the corset. Switching seam 1.2 cm.
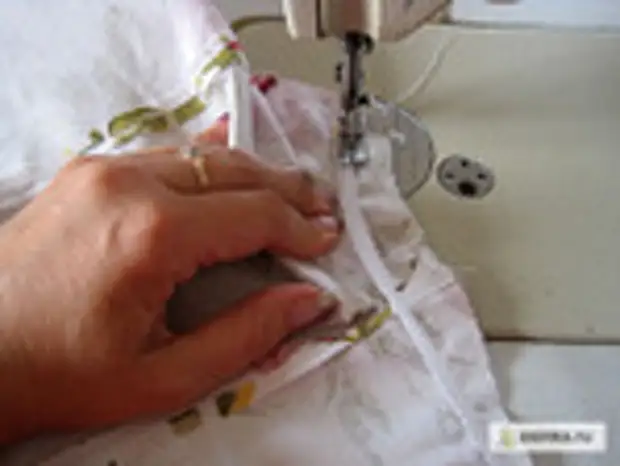
40. For the truncating of the side seams, I use the adaptation - a pear.
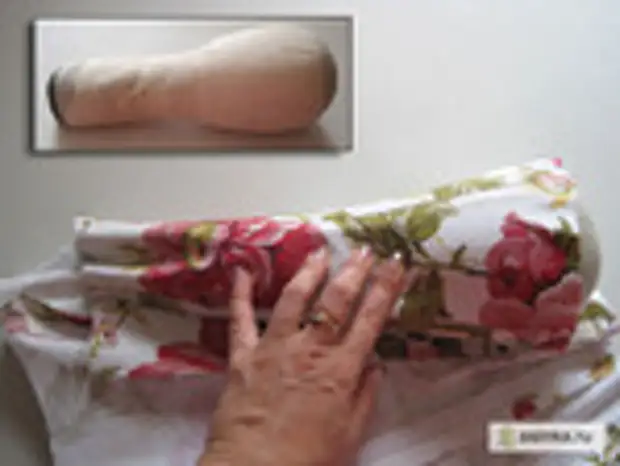
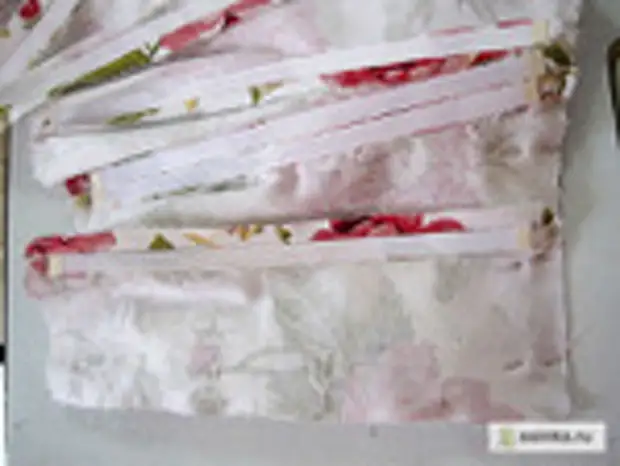
41. To give a beautiful shape of a bone, shot on the embossed of the chest, ironing with a steam on the shape for the detention of cups.
42. On lateral seam, we adjust 2 parallel bones of Regile. From two sides of the side seam.
43. I will give a beautiful shape of the side seam with the help of iron on the pear.
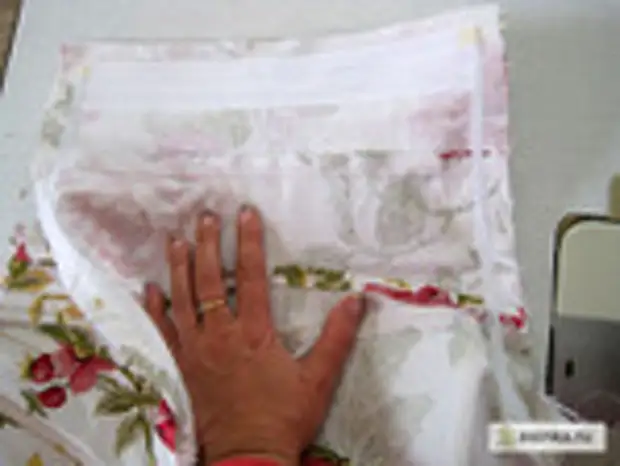
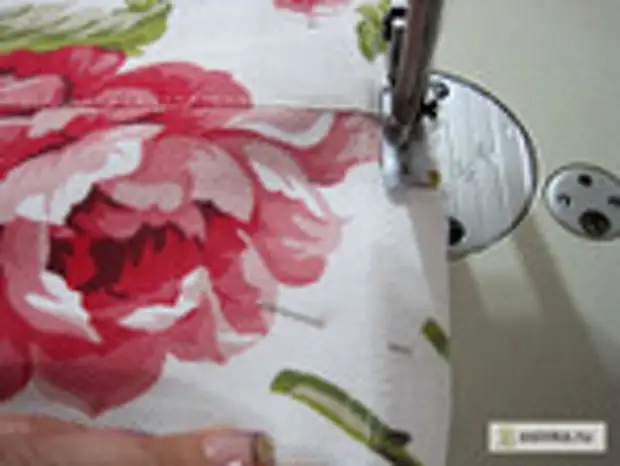
44. This is what the facial part of the corset looks like after ironing.
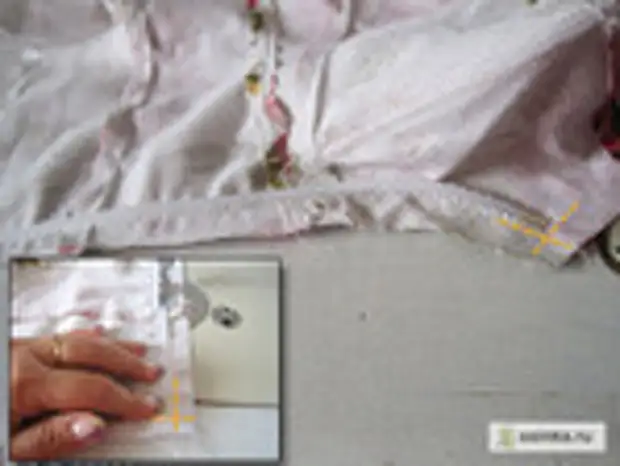
45. I take a lining and face, adding the neck face to face. Singing corners, sections and seams of reliefs. I'm smoking pins.
46. Stile at the control line.
47. Checking the quality of the line.
48. I take a strip of an organza width of 2.5-3 cm. The strip can be pulled out from any cut slicer on the filament of the duck. From the side of the sublock I impose on the seam of the neck. And sew it either exactly in the previous seam, or at a distance of 1 mm in the direction of the seam's allowance.
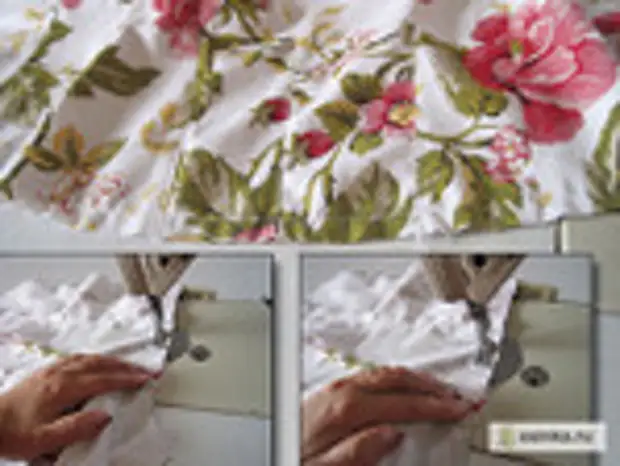
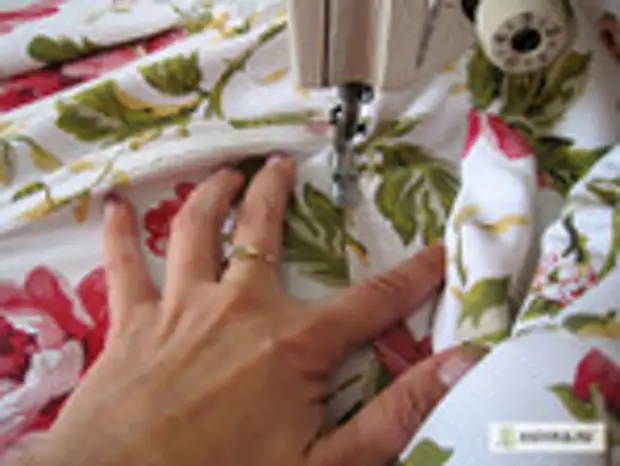
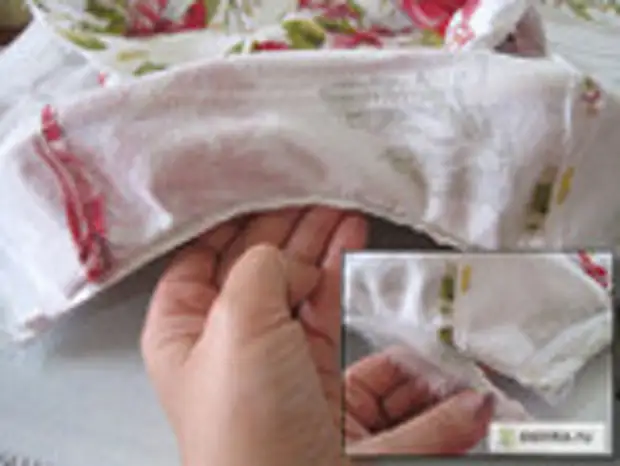
Important moment! Under the Organza in places of rounding to try a little bit of a corset cutout for good fit to the chest and to prevent stretching in the process of socks
49. I reject the strip of organza upwards, towards the allowance and rebuild per 1 mm.
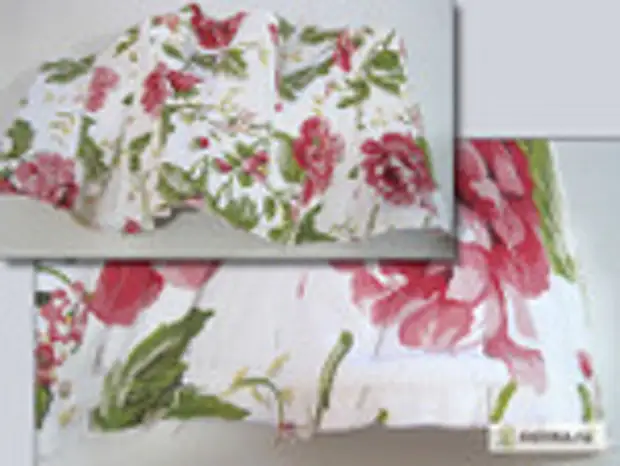
50. Deploy the details and perform a line "in a clean edge". On the submarine laying a fixed line by 1 mm from the seam, grabbing the allowance.
51. Again, we turn to the wrong one and cut a cut-up of a seam with an organ of 0.5 cm. The cutout of the corset is fixed and sent.
52. Now I'm smoking the face and lining on the upper cut and the vertical side of the back center. Pins rushing on tangential, exciting only the tissue of the subclass, but not touching the still stored bones.
53. With such a rolling, the pins from the side of the subflade are not visible.
54. I replacing the sewing machine's paw on one-sided with the right skiing. Litch from the side of the subfolder along the bones. Due to the fact that the bones tracked at a distance of 1 mm from the line of the line, now the needle falls precisely in the control line.
Each seam area from the edge of the product to another edge. Turn on the needle categorically impossible! When turning on the needle, the form is curved and does not work out the symmetry of the parties.
55. Each seam leaps do at the intersection of lines. Now it is necessary to trim the seam points up to 0.5 cm. All over the perimeter: the middle of the back, the top of the corset. Moreover, trimming the allowances, I do not cut the leaks on the corners, because They were inside. I cut the corner to be easier to turn it easier.
56. Soak the product and ironing the neck, lining fixtures for ironing.
57. Then wear and iron the upper cut of the corset and the lacing place on the back.
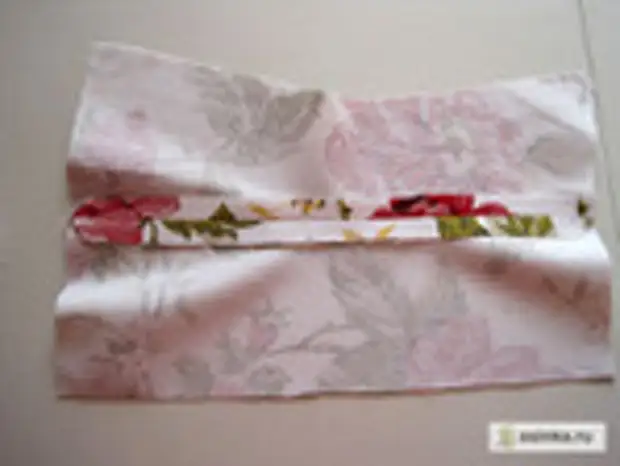
58. I pace machine lines along the bones at the lacing place, connecting the lining with the face.
59. It turned out scenes for spiral or plastic bones.
60. I use such plastic bones. You can instead of spiral metal bones.
61. Insert plastic bones into the scenes. For each bone Regile, in every relief. In the side seam you can pinches two parallel bones. I am limited to one.
62. I'm smoking the grade and face at the bottom of the corset.
63. Put the machine line at a distance of the width of the paws from the tight horizontal dice on the bottom.
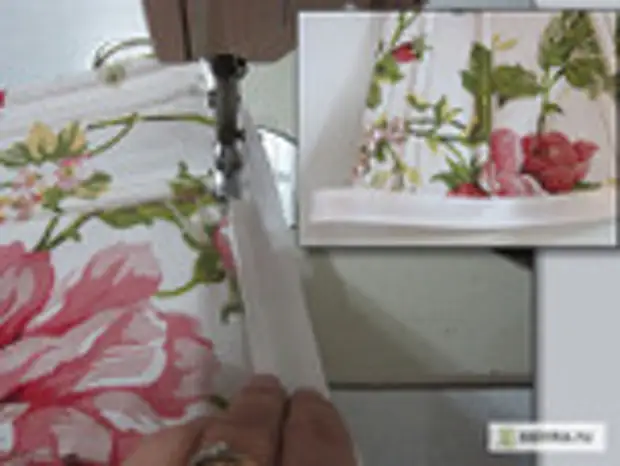
64. I take an oblique beaker with a width of 2 cm. Leave the tip of 2-3 cm and admonish at the bottom of the corset from the face. I admire the tape so as to overlap the connecting line by 1 mm. Thus, the car line on the tape passes exactly along the connecting seam. If you look with the inside, the lines coincide.
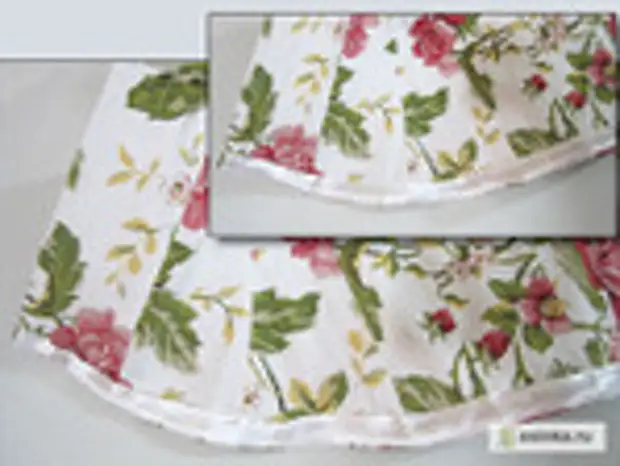
65. Filing a ribbon to the withdrawal of the corset, I spawned the pins and sewing manual secret stitches. After that, you need to restore the bottom of the corset.
66. If you do not want plastic or spiral bone to go through the whole chest relief, make brilliance under the breast. This assembly will limit the relief stem.
67. She sewed a tongue, which is a suit in the middle of the back under the lacing.
68. Picky champs at the lacing place. The optimal distance between the lover is 3-4.5 cm. The diameter of the champs is 0.5 cm.
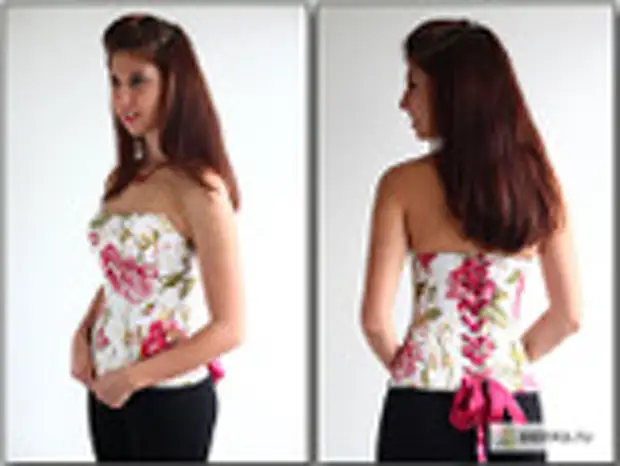
69. Corset is ready!
A source