
Good day! I want to offer a master class on making a Japanese flashlight. Such a flashlight will help you decorate any room, or for example, is a holiday or another celebration (festival). We reveal all the secrets to do and what kind of simple manipulations with glue and paper can be applied.
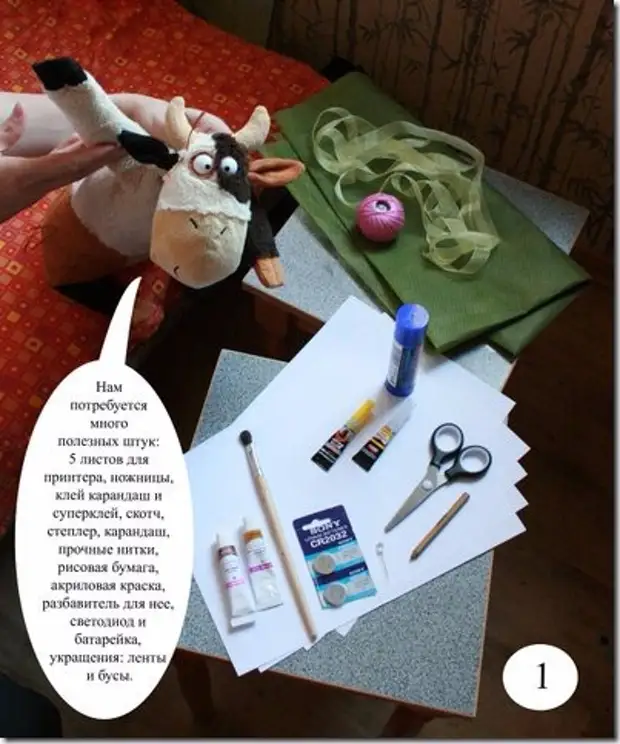
To begin with, we will need:
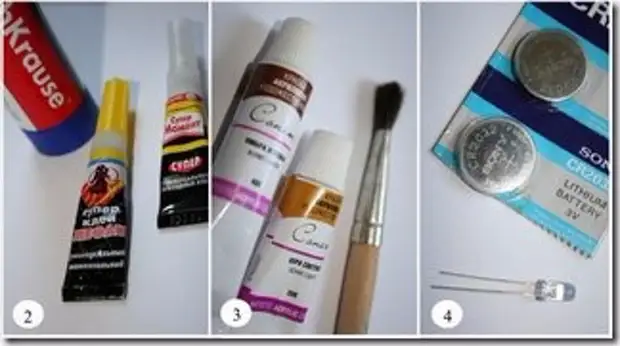
Materials: 5 sheets of paper for printer (A4), rice paper or something similar on the texture, strong threads, LED and battery for it, clip, tape, pencil, line, adhesive pencil, superchalter, scissors, stapler, acrylic paint , All sorts of decorations (ribbons, artificial flowers and butterflies, beads, etc.)
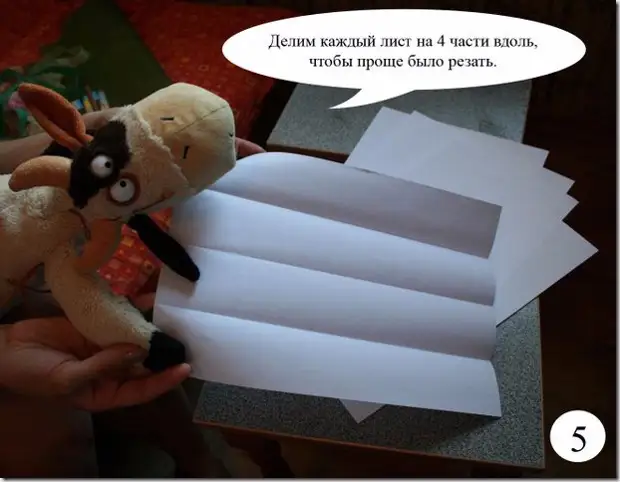
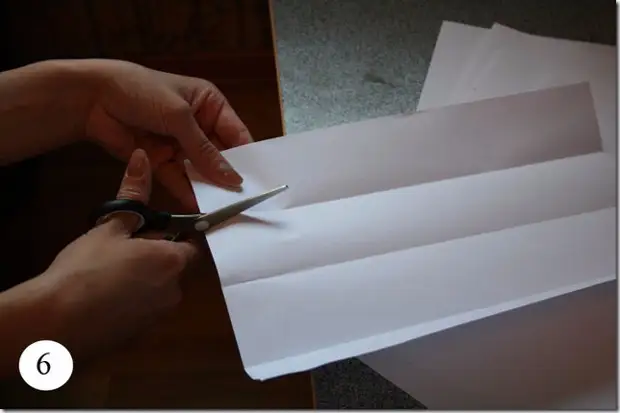
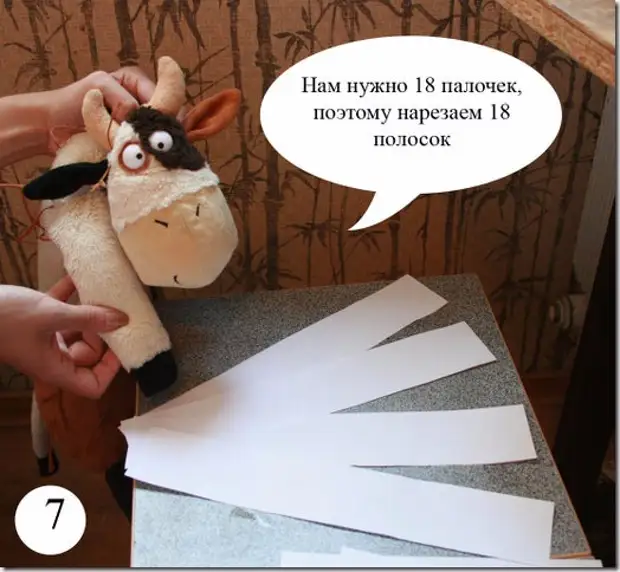
2. Let's start with the preparation of the workpieces of the frame. Take paper for the printer (any other paper is suitable in texture, of any color) and we cut each sheet along the 4 parts. Long strips must be obtained (Fig. 5-7).
After that, we twist each of them into the tube (Fig. 8-11). We drive the corner, as shown in the figure and gently spin. After that, adjust the length and width (I do not know how to explain, you need to try, 2-3 attempts and start to get). It is necessary that all the sticks are approximately the same (in this case, the diameter is 5 mm, length 15-20 cm). The ends of these sticks should also be equal to the length. After how the wand took the necessary form, it should be accurately stuck from the "tail" (Fig. 11)


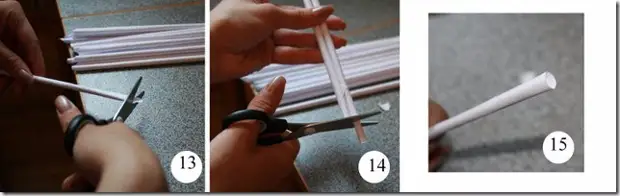
Now cutting all the sticks on one length so that all edges are smooth (Fig. 13-16)
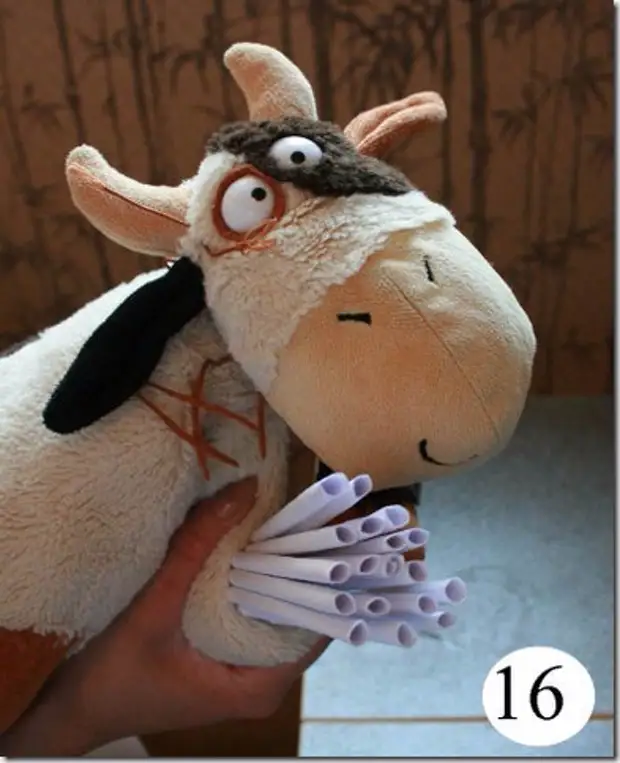
In fact, this stage can be skipping and used instead of the proposed material for a frame of wooden wands for food (hai) or any other sticks of the desired size and thickness. The option described above is suitable when you need to make a lot of flashlights.
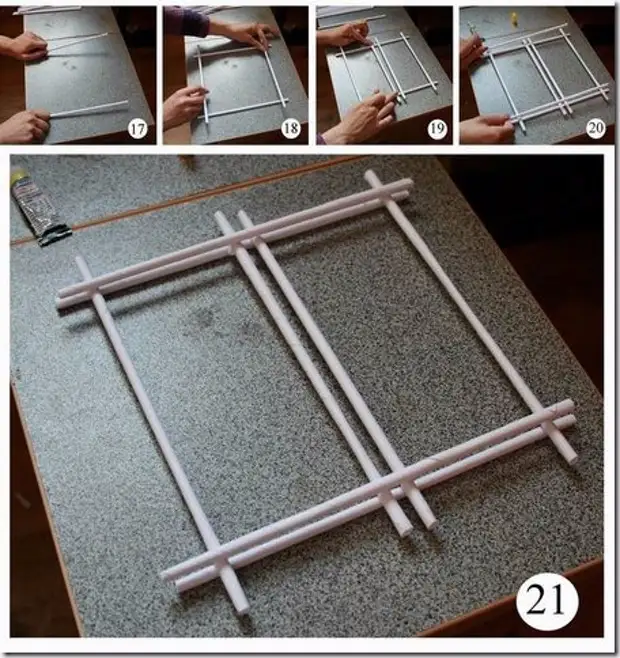
3. Now the framework itself. It consists of two main details that we must connect. Conditionally let's call their top and bottom. We lay out the bottom of the resulting sticks (8 pcs. Of the 18th) according to the scheme in Figure 17 - 21. We are with a cow using superclones, because we have a deficit of patience. You can use the usual paper.
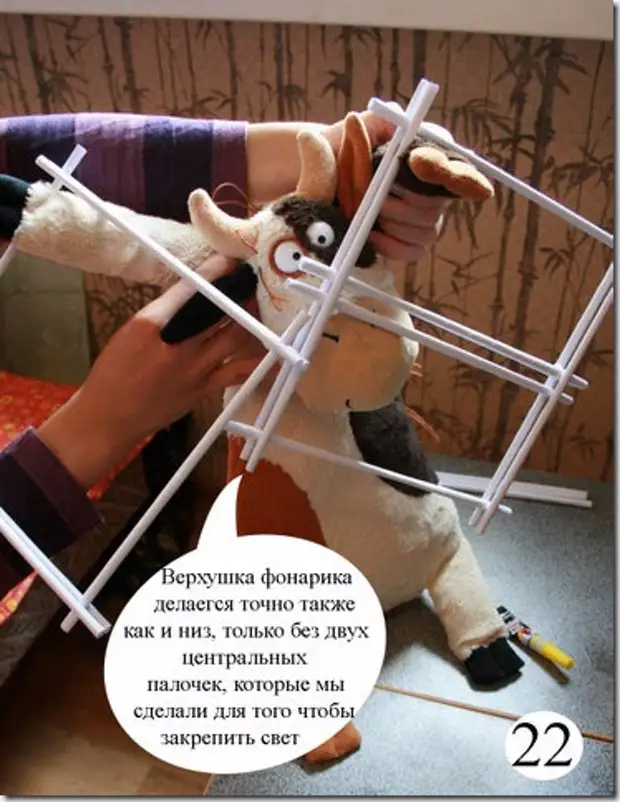
Top do almost the same. We exclude two sticks (6 pcs. Of the 18th), which lie in the middle in the second row (below they need, in order to subsequently consolidate the light source). Make sure that the size of the Niza and the tops coincide, as subsequently, we must connect and obtain the frame-cube as a result.
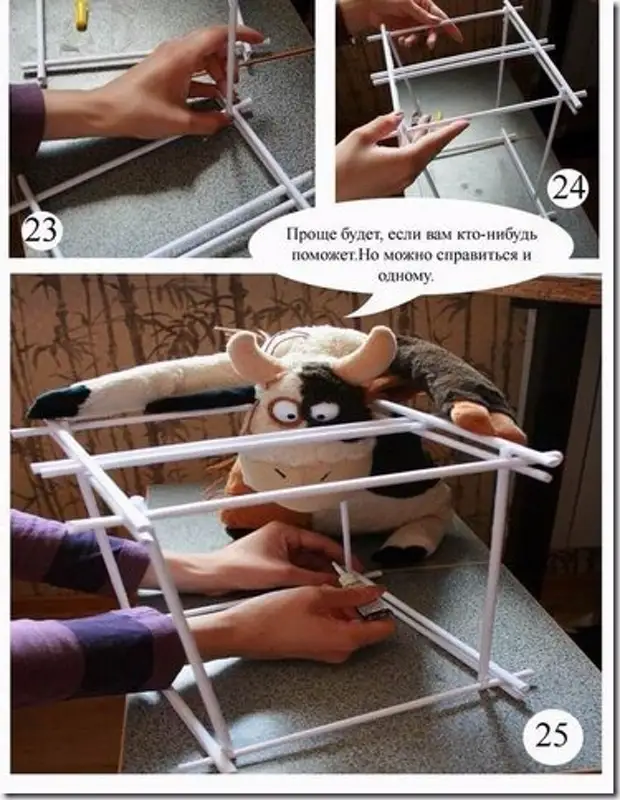
Now we connect the niza and the top of our own chopsticks (4 pcs. Out of 18). They should be glued to the inner corners of the squares (Fig. 23 - 25). By the way, these sticks may be longer. Then the flashlight will be elongated.
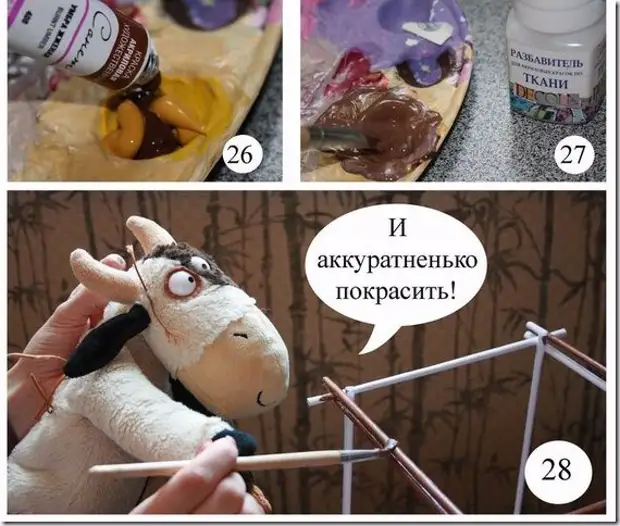
4. After the frame will dry, it is time to paint it if there is such a desire.
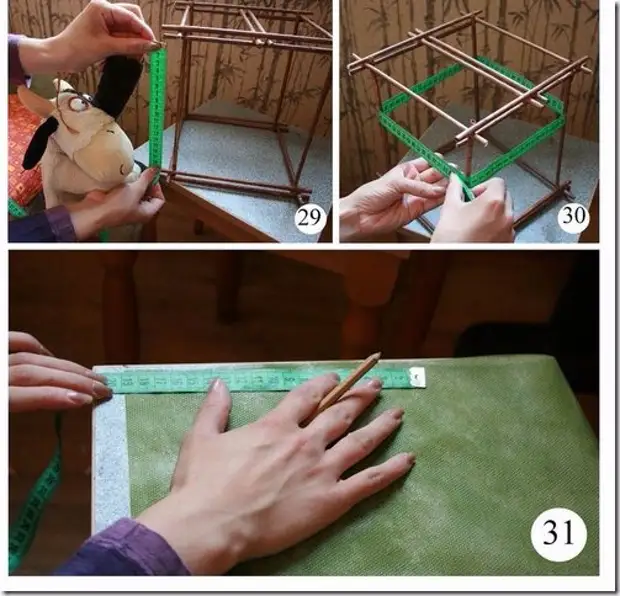
5. Then make the workpiece of the canvas that we will pull on this wonderful frame. To do this, it needs to be measured, as shown in Fig. 29 - 30. The data obtained process and reproduce with a pencil and measuring instrument on rice paper (or something similar). We use felt - material for bouquets. He, in contrast to rice paper, is of different colors. There are especially beautiful options with patterns and overflows. Search in flower store or floral studios and ask to sell without colors. Usually it turns out.
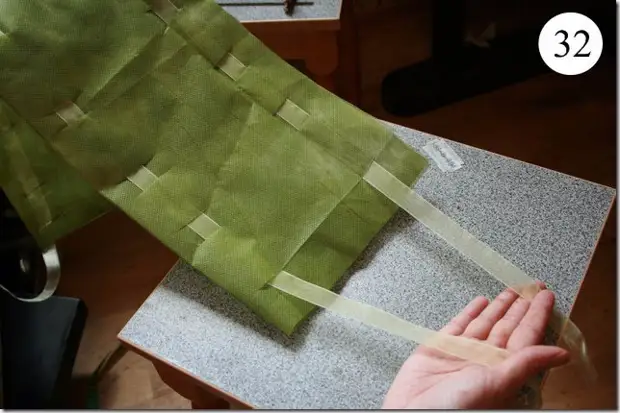
Next, we decorate this workpiece. You can sew or glue beads, beads, appliques, etc. You can use ribbons as in this case. And you can not do anything at all. Marat, by the way, in his master class a simple white canvas of rice paper very little beat.
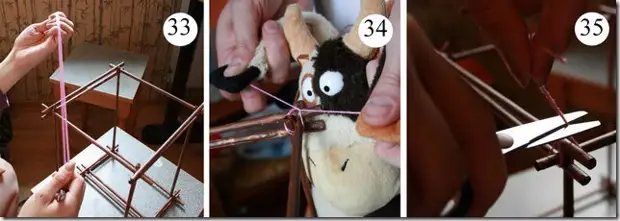
6. Now add our flashlight and the possibility of hanging. For this we take a thread (we have a strong "iris" for crochet) and first we associate each angle (Fig. 33 - 35). So more reliable, believe me!
Then, to each corner of the top of our frame, we bind a string (they must be equal to the length) so that the tails can be left at 35 (Fig. 36 - 39).
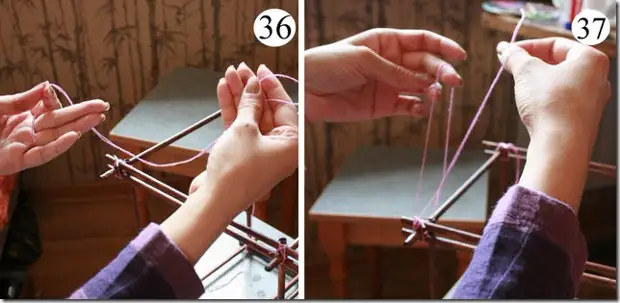
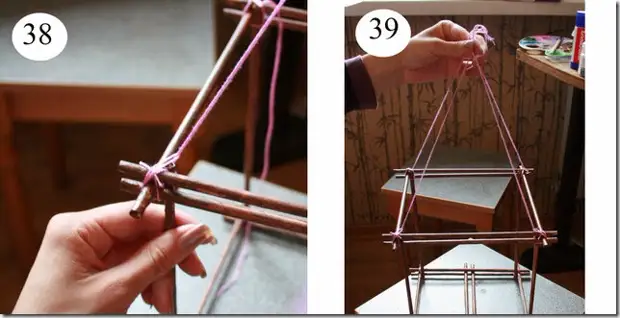
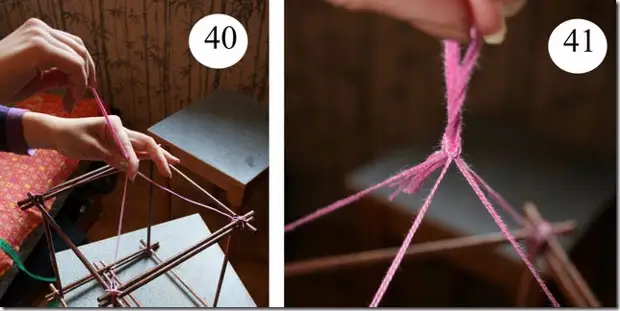
Then we combine all four tails and tie so that the flashlight hung smoothly. Making a loop. You can use clip as a hook (Fig. 40 - 41).
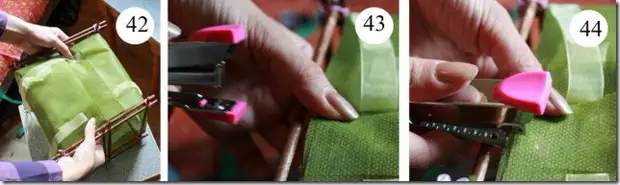
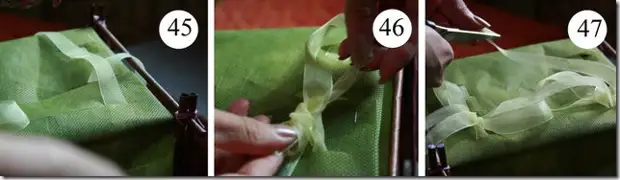
7. Then enough tightly fix the web prepared in paragraph 5 (Fig. 42 - 44). Rice paper is well glued with paper glue, but the felt he does not take. We use a stapler for these purposes.
And we do everything you need to look good (you can add some decorations at this stage).
8. Now we organize the light! You can use a candle, but! I believe it is extremely unsafe. Especially for different processions. Marat Ka makes a real lamp, and we offer you a portable version with the LED and the battery.

They look like this (Fig. 49). LEDs are of different colors and sizes. You can find them in the stores of electrical goods.
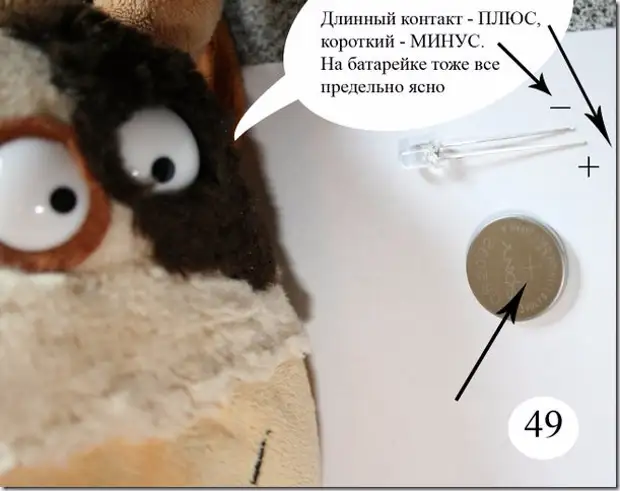
Connect the battery and the LED. Plus to the plus, minus to minus, as shown in Fig. 49 - 50. And glue Scotch! This design works for several days. Gradually, the light tights (the battery sits down), but this is usually enough. In order for its light to be seen, it should be dark enough. Again, the flashlight itself is a decoration.

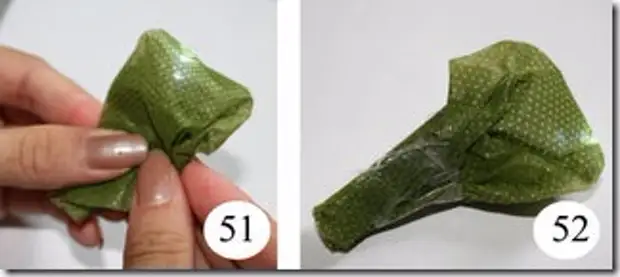
Then you can wind the resulting "lamp" crumpled rice paper or felt (Fig. 51 - 52). The meaning of this action is difficult to explain, but knowledgeable people assure that from this: "the flashlight will shine around, and not up." So, I think you should try.
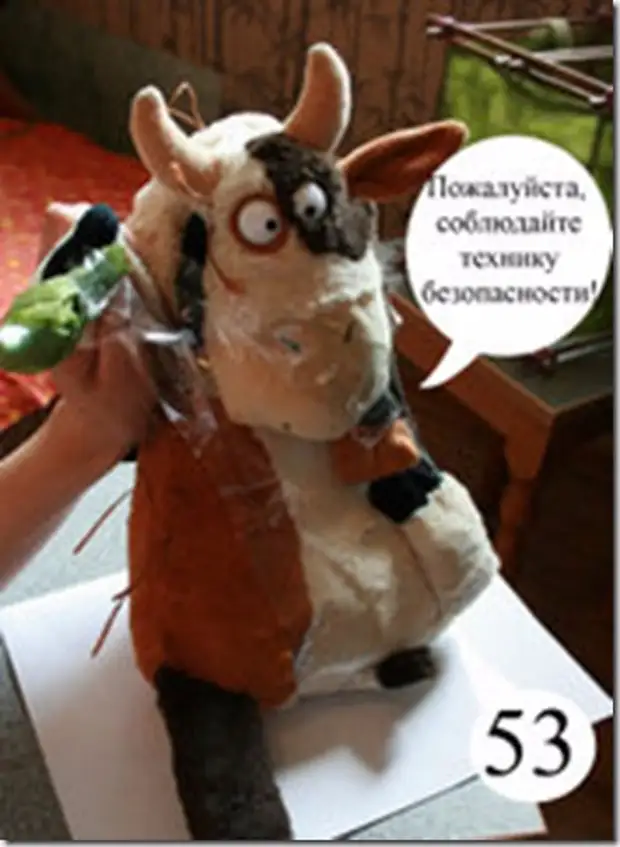
By the way, this option with the LED is quite safe, but still ... (Fig. 53)
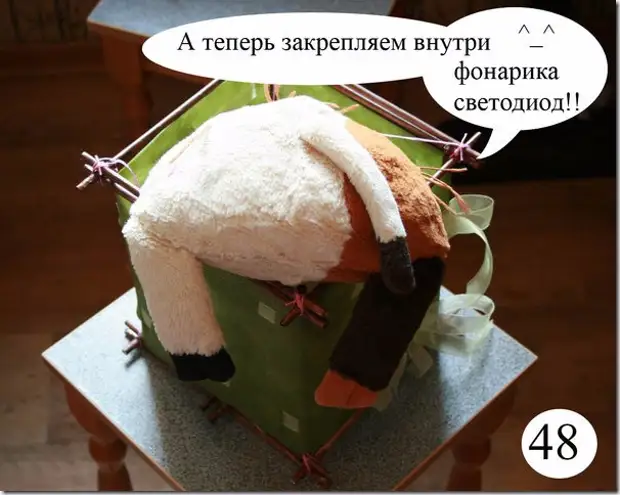
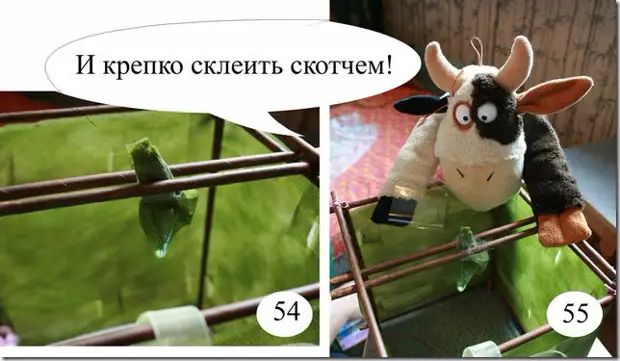
9. Now we fix the light source inside, on the basis (the so-called bottom lantern). For convenience, you can turn the flashlight (Fig. 54 - 55).
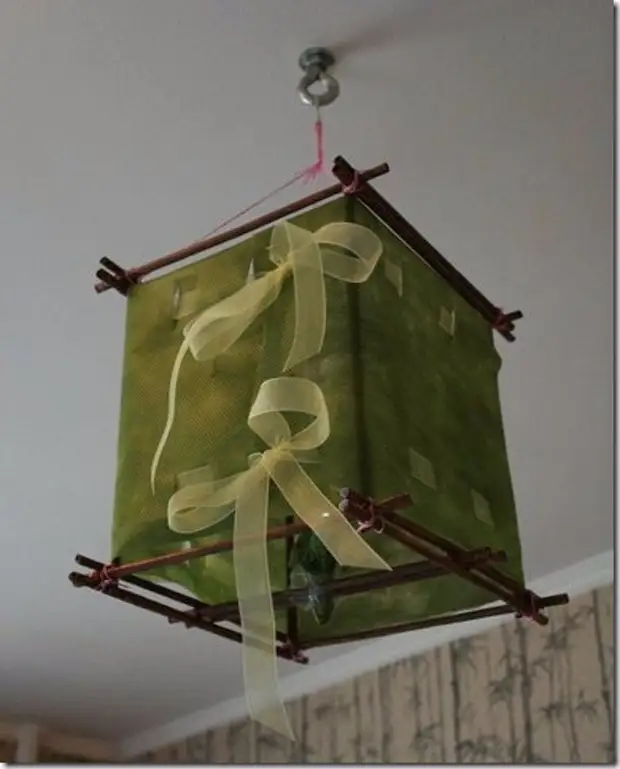
Flashlight ready!

The main thing to remember that there is always a place of fantasy. On this principle, you can make a lot of different lanterns, changing not only the color, but also the material.
A source