
Hello, needlewomen. Do you want to do from Foamiran with your own hands with a step-by-step photo for beginners? Foamiran is a relatively new material for creativity, but has many advantages.
Production of simple flowers will not require a lot of time or special skills. To create 4 instances, you need to spend about 20 minutes.
Necessary materials for creating flowers from Foamiran
We will need only a few items:- Foamiran desired color;
- iron;
- Color pastel;
- scissors;
- Thermo - Pistol;
- cardboard;
- Ready pestles and stamens;
- Mold
Performing work with your own hands with step-by-step photos
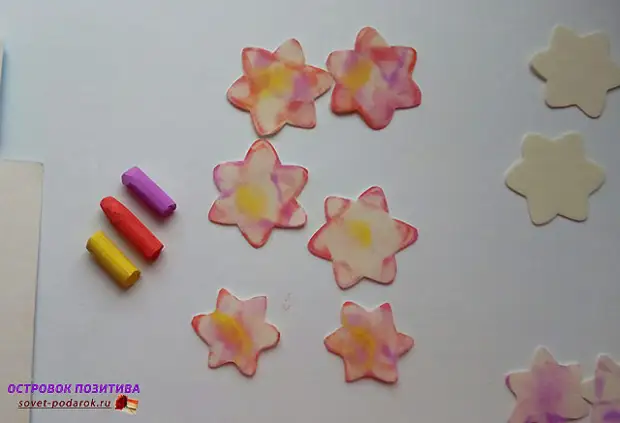
- First you need to make blanks for colors by template. Color You can choose any, but most often use natural shades. Each individual flower will consist of 3 petals and 1 green leaf. They can be made independently from the sheet of cardboard, or purchase various plastic forms that are sold in needlework stores. The diameter of our flower will be about 5 cm, so 2 billets for external petals make this size, and the inner is slightly less - about 4 cm.
- We carry the workpiece on the sheet of phoamyran and cut the required amount.
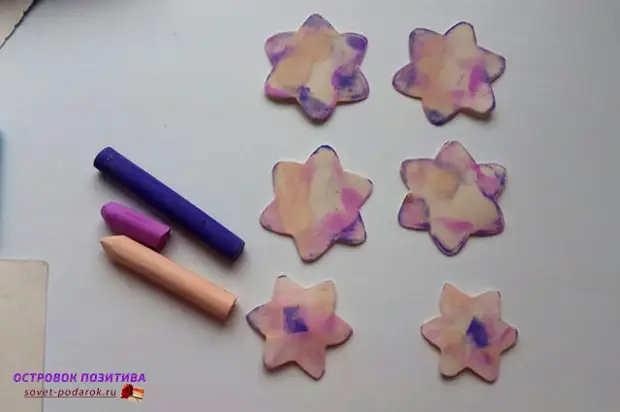
In order for the flowers to look natural and were not faded, they must be toned with pastels.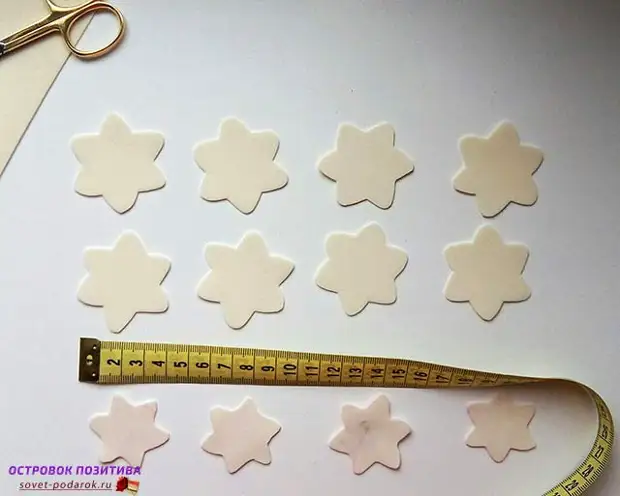
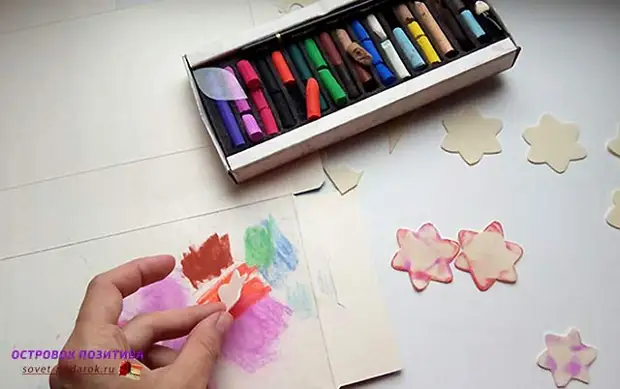
- To do this, on a sheet of cardboard we apply a little suitable color to the shallow, after which we carefully carry out the billets of the petals so that they are a little painted.
- In order to give flowers to the natural waviness and irregularity of the edge, the phoamyran must be heated. We do it with the iron.
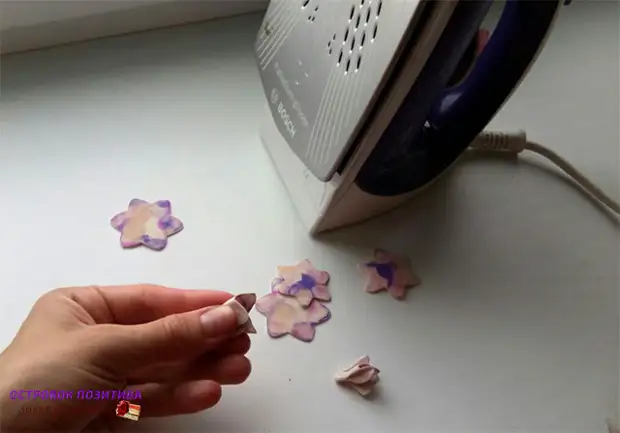
- After cooling, the material will remain in the form that we give it.
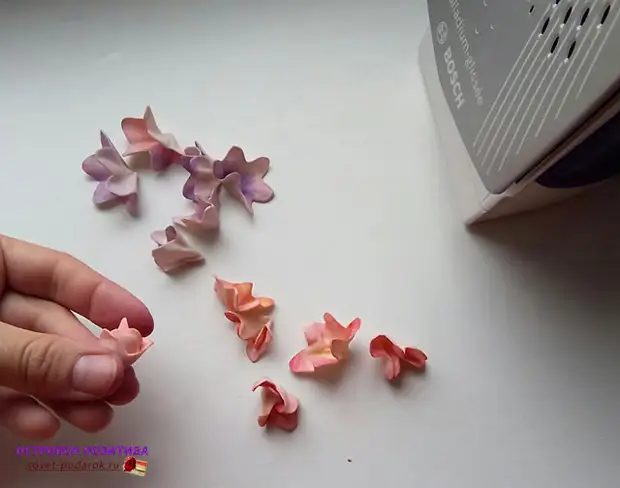
- For complex colors or original, you can use special bugs in the form of a stick with a ball that allow you to create a deepening in the center of the flower or pull the petals. We were limited to creating a form manually.
- Similarly, create green leaves. Cut them from the Foamiran sheet.
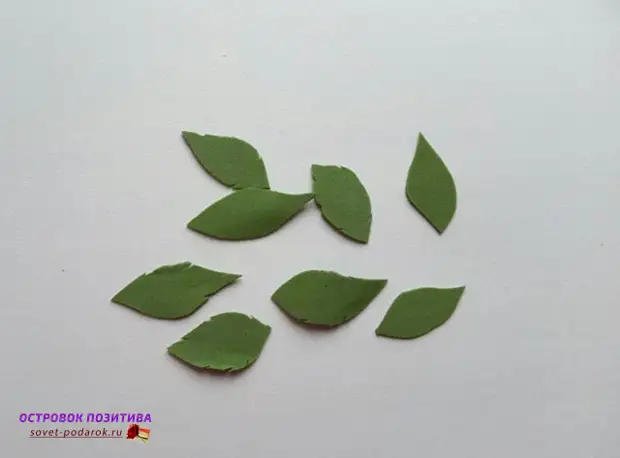
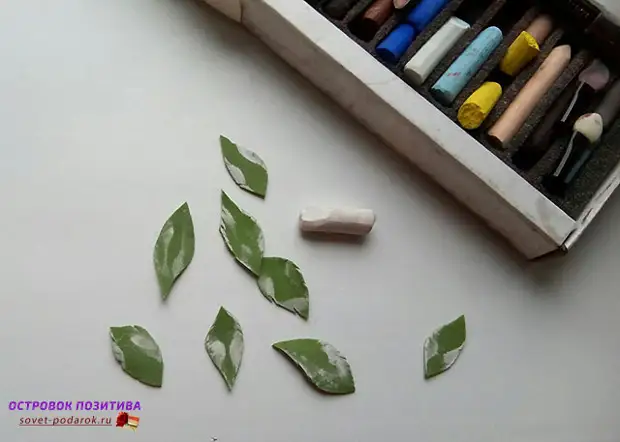
- For toning, you can use the color of darker or lighter original, as well as white.
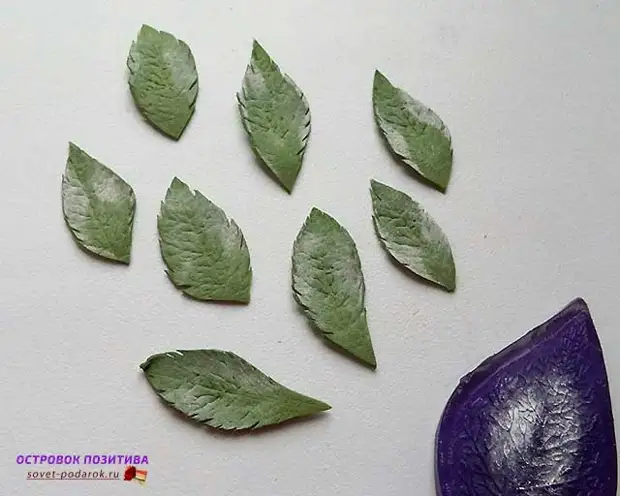
- To impart the texture of the leaf and highlighting of the resistance, you can use a screwdriver tools, for example, toothpick. Or take advantage of a special molding that was used in my case.
- The billet is a little heated with an iron and pressed to the surface of the Molda. After that, his texture is imprinted on leaves, and they look like alive.
- All items are carefully glued with a thermopystole in the desired sequence according to the scheme: 2 large blanks in the center, then the inner small workpiece. It can be pre-doing a small hole where the base of the stamens and pestles can be placed. So it will not be noticeable glue, which keeps them. Green leaves glue outside to petals.
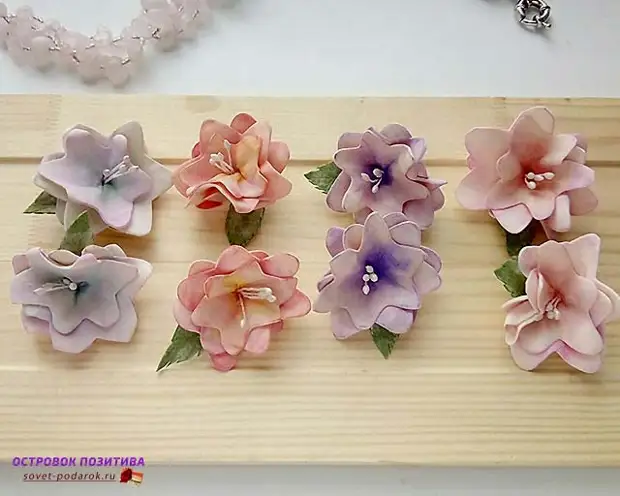
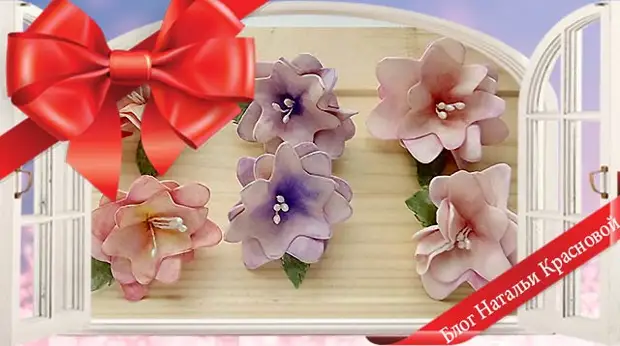
Everything! Flowers are ready. They can be used as a decoration for a rubber, create a rim and hairpins.
From Foamyran, you can make a beautiful rose, Lily, chamomile.