
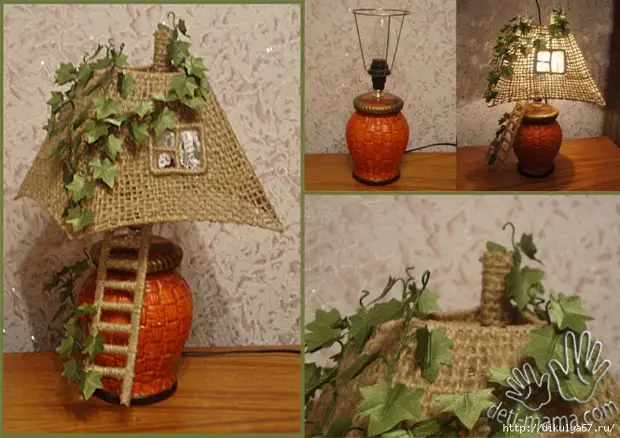
Dear needlewomen, today I want to share with you a very original find. This is the author's work and therefore I quote the fully master class of the author.
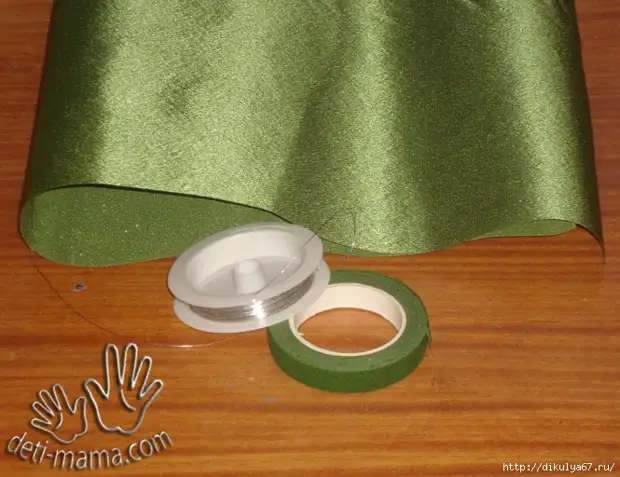
To decorate the paws we need:
1. Jute cord
2. PVA glue, glue moment crystal or gel
3. Wire 1.8mm and 0.2mm
4. Fabric for ivy leaves
5. Tape ribbon.
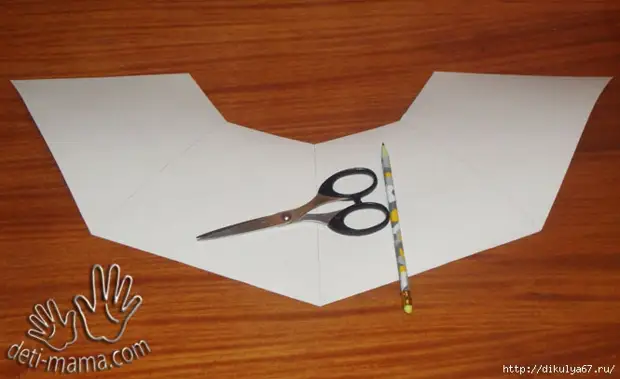
We start to make lampshane
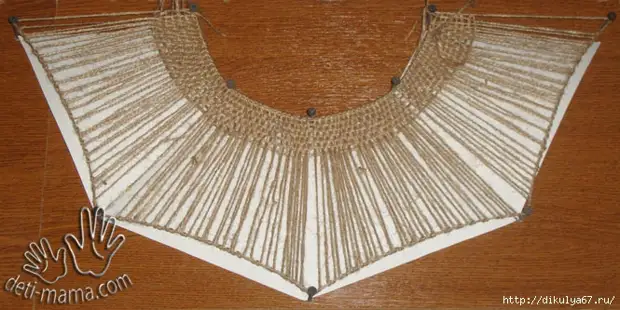
Making the lampshar template. The size will depend on the size of the metal frame of the lamp. I have the size of one side: 8.5 cm. And 20 cm. - The base of the trapezium, 16 cm. - Side of the trapezium.
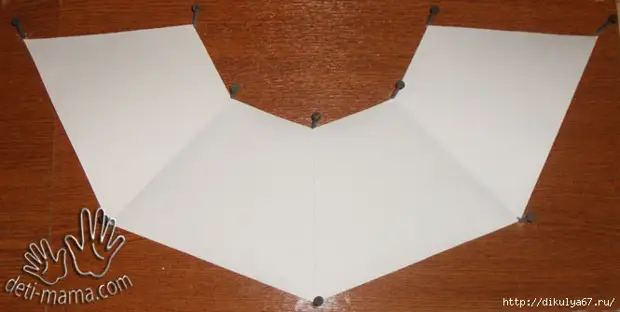
Select the appropriate foundation to which you screw the screws on the finished pattern.
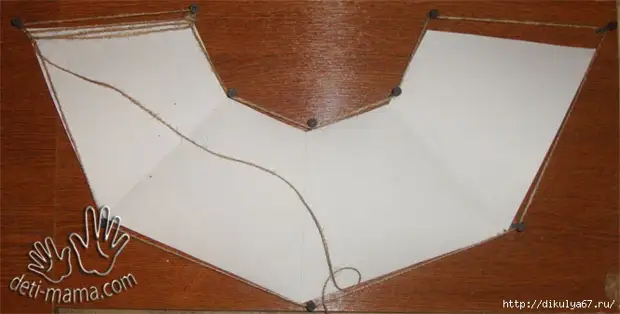
We stretch the jute cord along the contour. Next, drag the jute cord vertically over the entire contour.
Making a horizontal braid. After the entire outline is filled, we break the gland glue with water 1: 2. We proceed with glue the whole base and let me dry.
Well, if you are too lazy to mess with a cord, you can cut the base of burlap, similarly to treat it with PVA glue.
While our base will dry, we will take root.
We will be ivy.
Ivy, I did from the jammed fabric. Gelatin is divorced depending on the tissue density. If the fabric is dense, then 2 h. Spoons on a glass of water, if thinner, then 1 tsp. Gelatin should swell a little. After that, add another glass of water and put on a slow fire. We constantly stir until the gelatin is completely dissolved, but do not boil.
The solution with gelatin is slightly cool and process fabric in it. After gelatin, the fabric does not squeeze, but remove the excess fluid, having spent the entire length of the hand.
Wipe the fabric in such a way that it does not come into contact with anything. Let me dry.
Now on the harvested pattern from the fabric cut the leaflet. Watch the wire Tape ribbon and glue to leaves. Ready leaves twist in the twigs.
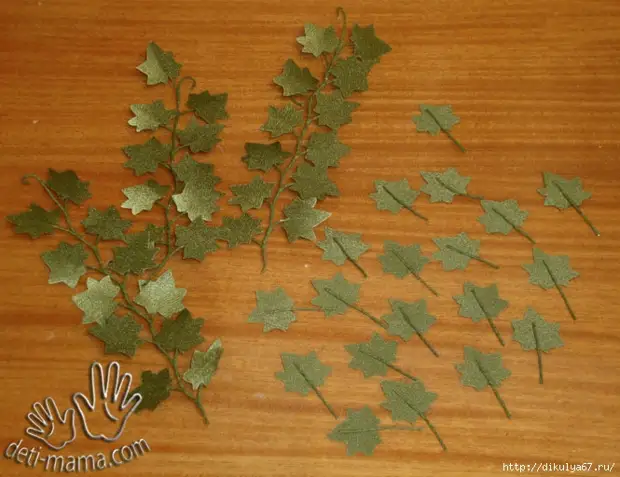
For greater realistic, leaves can be treated with bleb, drawing a streak. If you do not have suitable tools, you can use a knife heated on gas or electric tiles. Check the knife on a piece of fabric - it should leave clear stripes, but do not burn fabric.
Let's return to the base of the lampshar.
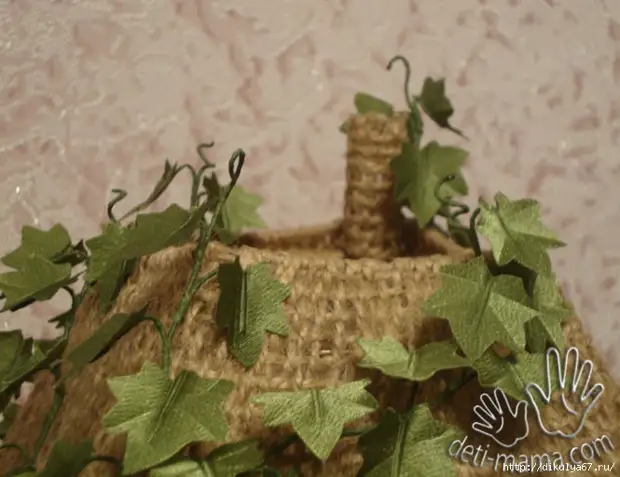
After drying, unscrew the screws and remove the billet for the lamp. It should be solid. Bend by the outlined lines and gently glue the side parts. From the thick wire, we make a square with a side of 9 cm. (You can have some size). Watch it with a jute cord and glue to the upper inside of the lampshar. It will strengthen its walls and becomes the basis for fastening it with a lamp. Abazhur ready.
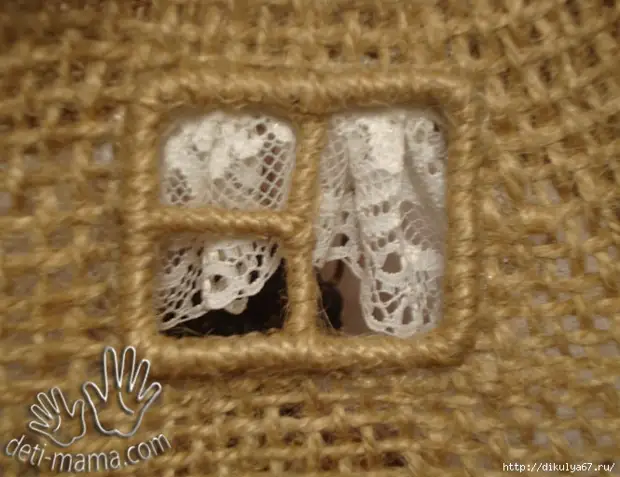
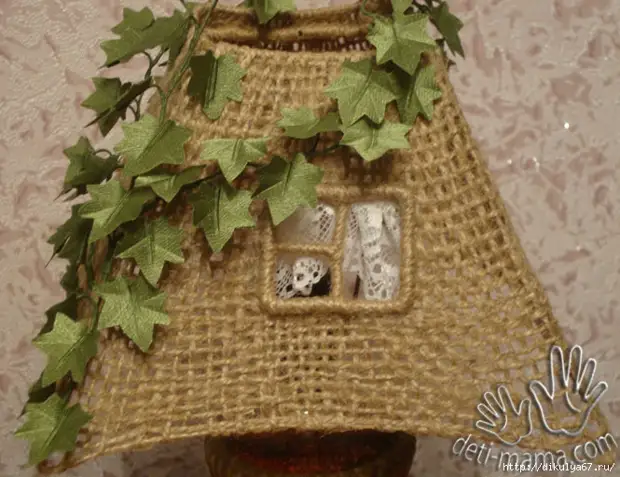
We make a window.
From the wire twist the window of the desired shape and wind it with a jute cord. On the shape of the window, cut the hole in the lamp. We glue the window. Optionally, you can add curtains. I do not throw out the carnate part - from it we make a pipe and fasten it on the roof.
After the window and the pipe will find our place, we begin to wrap a flaw lamp. Fix ivy thin wire from the inside of the lampshar.
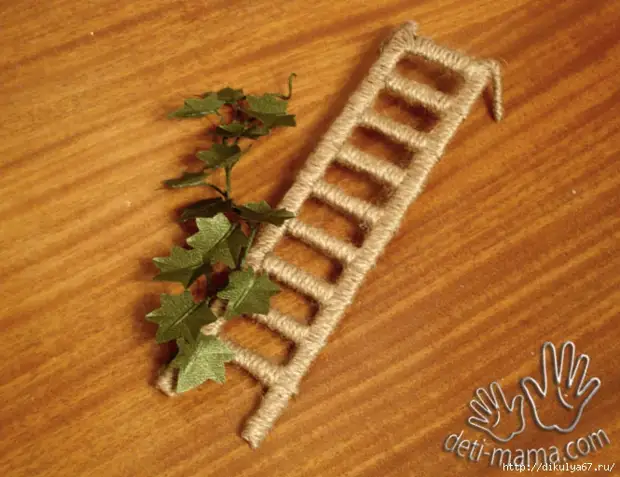
And the last barcode is a staircase.
I cut out the basis for the staircase from the cardboard. On the sides strengthened it with wire. Wire also performs the role of fastening at the top. Similarly, we wind the entire ladder with a jute cord. Add ivy twig.
Such a lamp will give your interior of fabulousness, and in the fact that it will cause delight from your children - you can not doubt.