
Transfer a photo to a piece of wood is not so difficult, as it seems at first glance. Such work will be amazing to look at any interior.
The family photo, transferred to the tree, will become a great gift made by hand. The process of manufacture is absolutely simple, and even children will take part in it.
You will need: • Favorite photo • Grinded piece of wood • Adhesive for decoupage MOD Podge (often made it yourself, dilutes PVA glue with water 1: 1)
• Gel Medium Liquitex Gloss Gel Medium (Acrylic Paint Gel) • Sponge
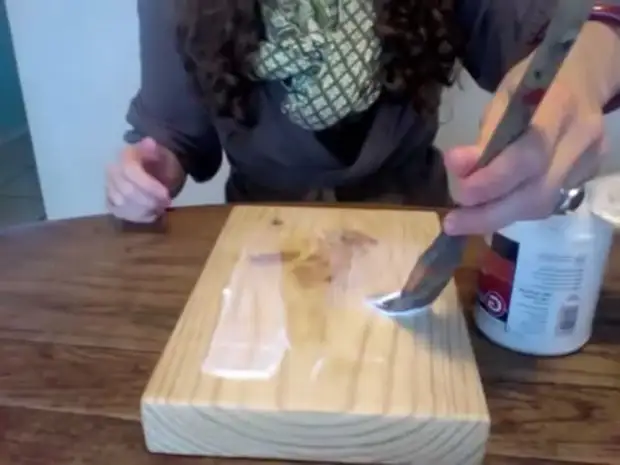
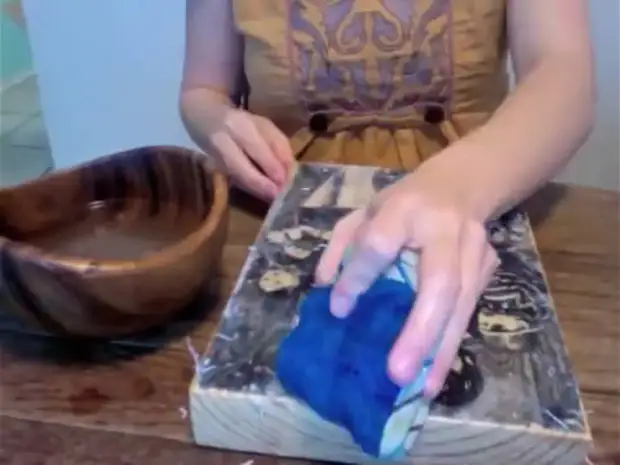
1. Cover the surface of the tree by gel medium
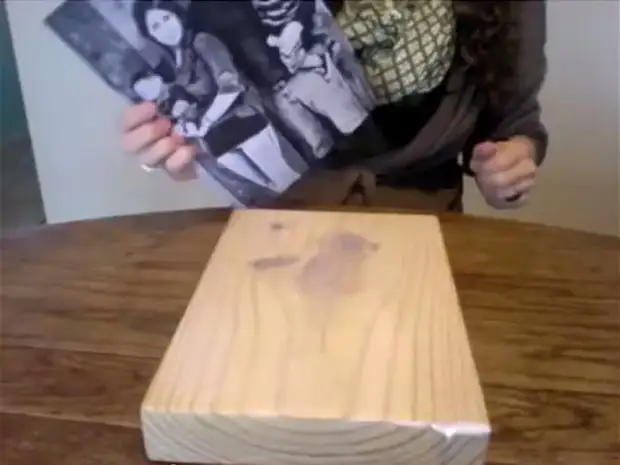
2. Attach the face of the face to the tree
3. Carefully remove air bubbles and leave dry overnight

4. Wet surface in the morning
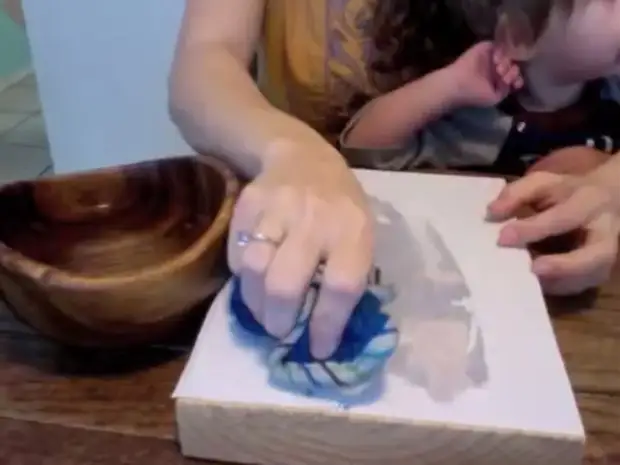
5. Gently roll wet paper
6. Paper residues carefully remove a wet sponge
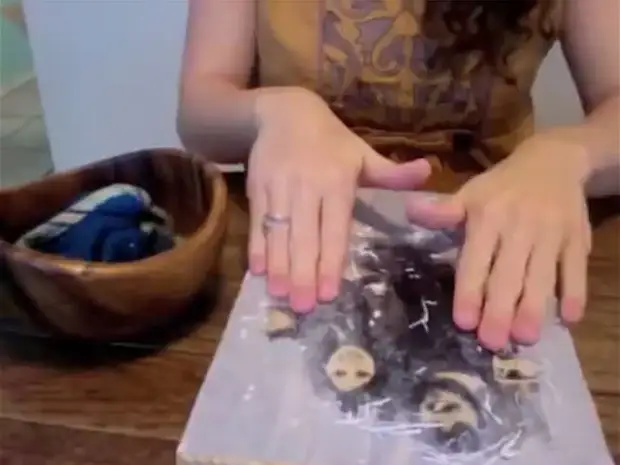
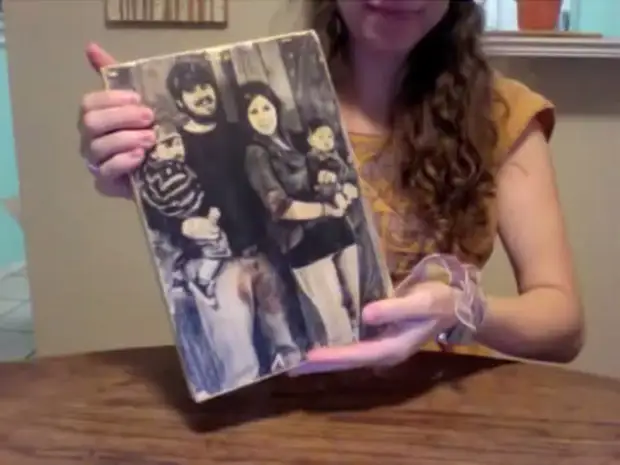
7. Cover the photo with glue for decoupage and leave dry
8. Ready!
A source