

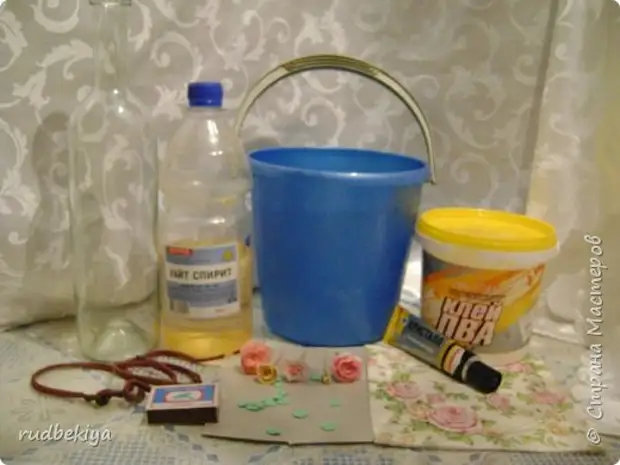
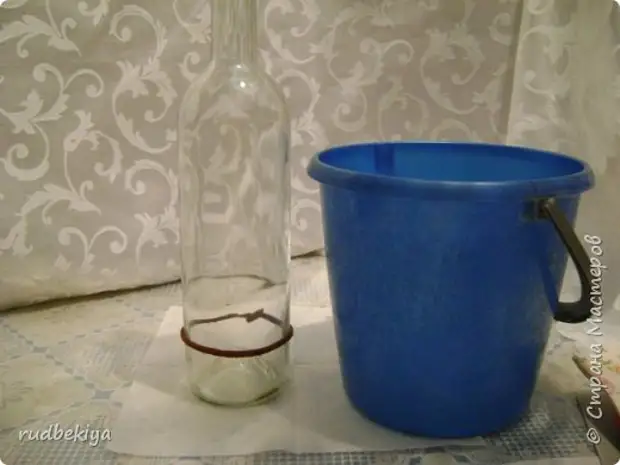
We will need: Bottle (peeled from labels), White - Spirit or acetone, water bucket, lace (cotton, non-synthetic), matches, PVA glue and moment, cardboard, napkin, roses and leaflets made with HF.
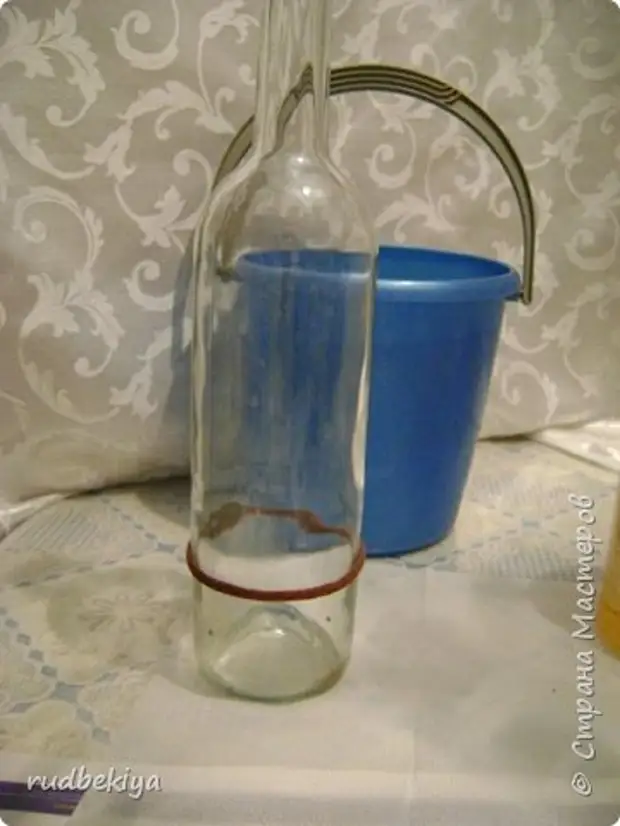
So, we take a bottle and tie the lace on it in the place where we want to cut it. Tied tightly and that the nodules were as little as possible ...
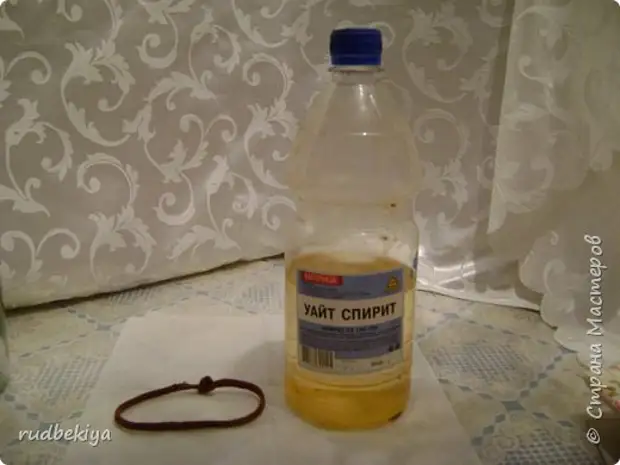
Now remove the lace from the bottle and soak it in White Spirit, so that it goes well
We take out the spirits and put on a bottle, we set on the lace. It is necessary to work carefully. Hold a bottle away from ourselves, at a distance of an elongated hand. The first time I was even scary, but everything went well. You need to wait for the fire on the shoelace completely went out and quickly lower the bottle in the bucket with water. It may not work from the first time, as I have, since the lace was badly soaked by White Spirit. But then everything turned out. In that place where there was a lace, when lowering into the water, the bottle burst - the bottom will fall off. The edges will not be very smooth. So you need to be careful
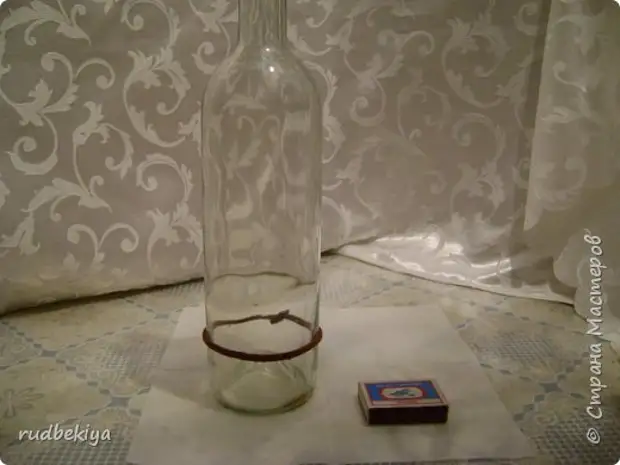
I certainly not have pictures with a burning bottle. But the stages, I imagine you ...
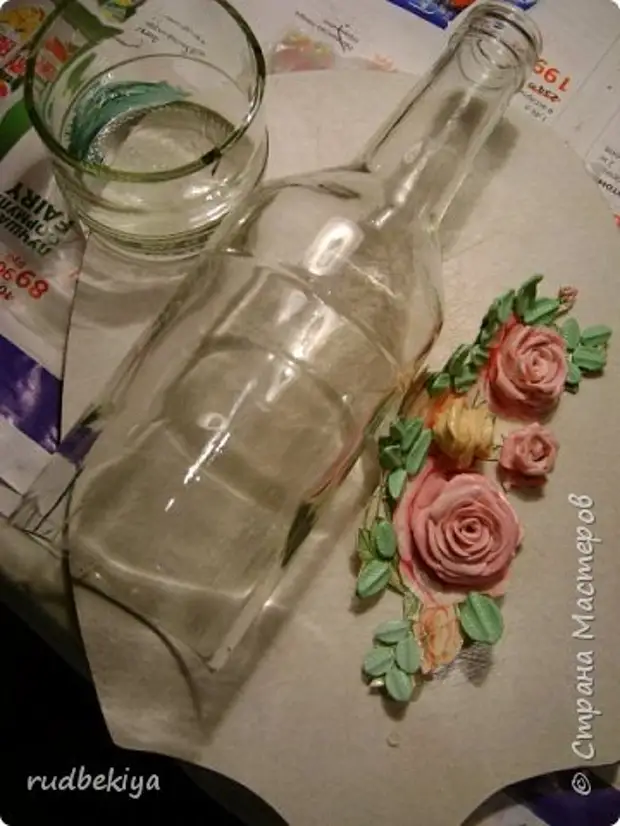
There are such two parts of the bottle.
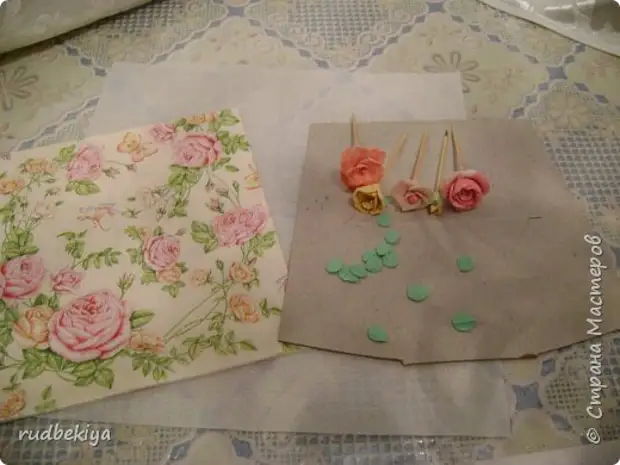
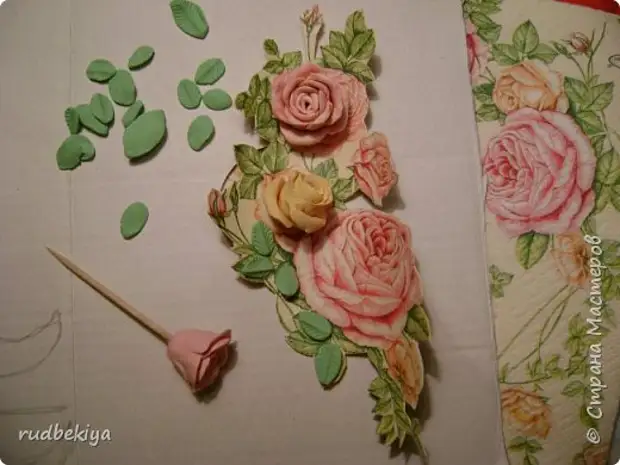
Now we take the cardboard, not fat, for example, from the box of sweets. We will have a motif of a napkin, the one that I would like to see inside the bottle, already cooked roses and leaflets from the HF color and the form, the size should be roughly similar to the napkin. otherwise there will be no effect
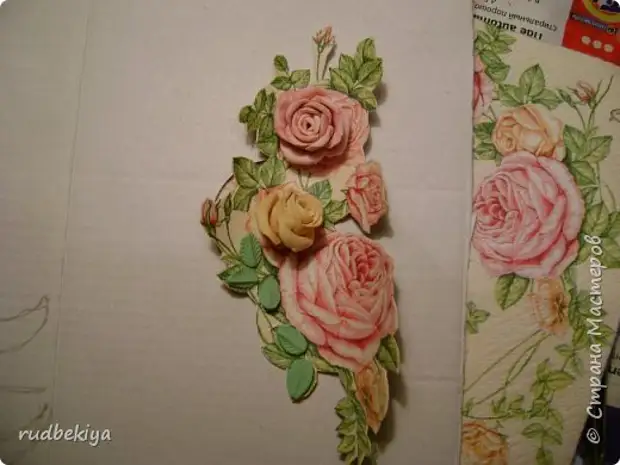
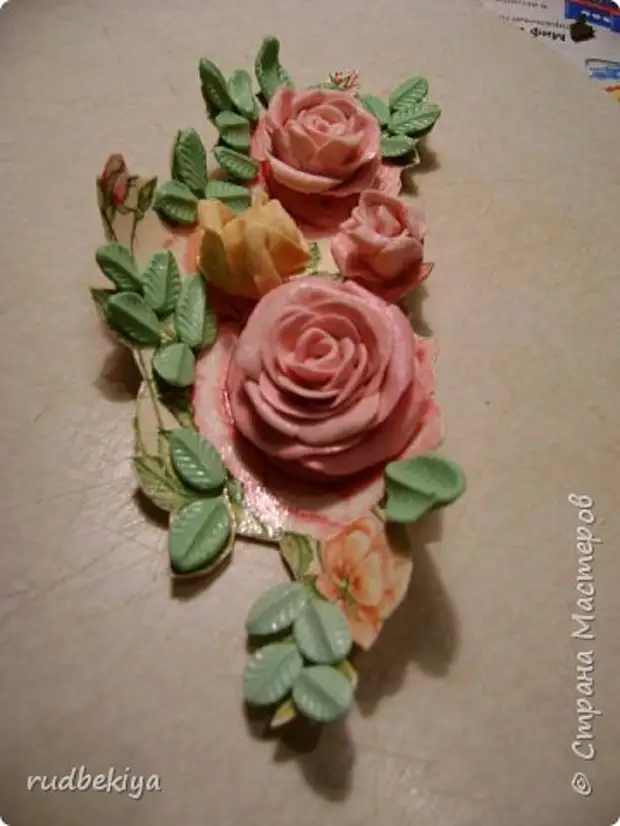
We glue the selected motif to the cardboard, we dry and decorate the robes and leaves. That's so approximately ...
That's what happened. A little flex cardboard, because the bottle is convex, not straight. You can neatly make fittings - as it will be in a bottle. If everything is fine, then go on ..
We smear the motive and very carefully the inner part of the bottle by glue the moment. Printe. I see - the tail of the motive performs. He will go to the second part of the bottle. And since it is small, it can already be not glued.
After the glue dries, decorate the seam of the bottle on the inside by the leaves. what for? I wanted the seam to be seen and inside - suddenly who will look - and there is no seam - there is only a leaflet ...
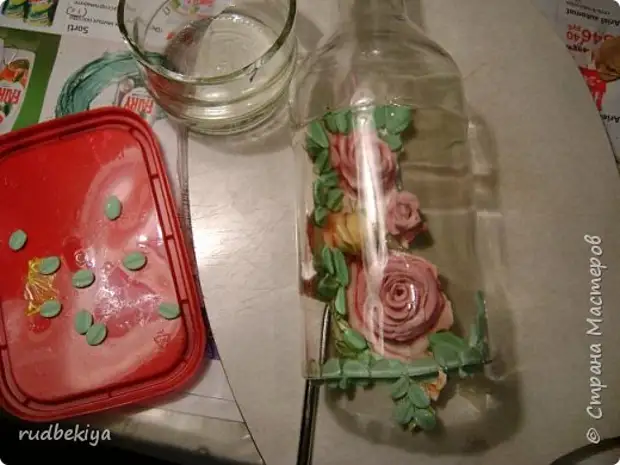
You see, half a leaf of gluing to the top of the bottle (photo - in the left corner), and the second half will go to the lower part and thereby the seam closes

After everything dries - you can glue two halves of the bottle. And here it will help us very much that the edges of it at cut are not even. Such edges at gluing make the seam almost inconspicuous on our part. And the leaves that you see in the photo are closed from the inside
Well, then - everything is as always - reverse, direct decoupage. But I still tell you in brief and show. This is a photo with reverse decoupage. We do it just in the place where we are glued to the motive inside the bottle. After drying the napkins, if there are irregularities, you need to sand. In general, it is not difficult to work with the bottles. And stick the napkins - after all, not a straight surface. But if you try, then everything will work out ...
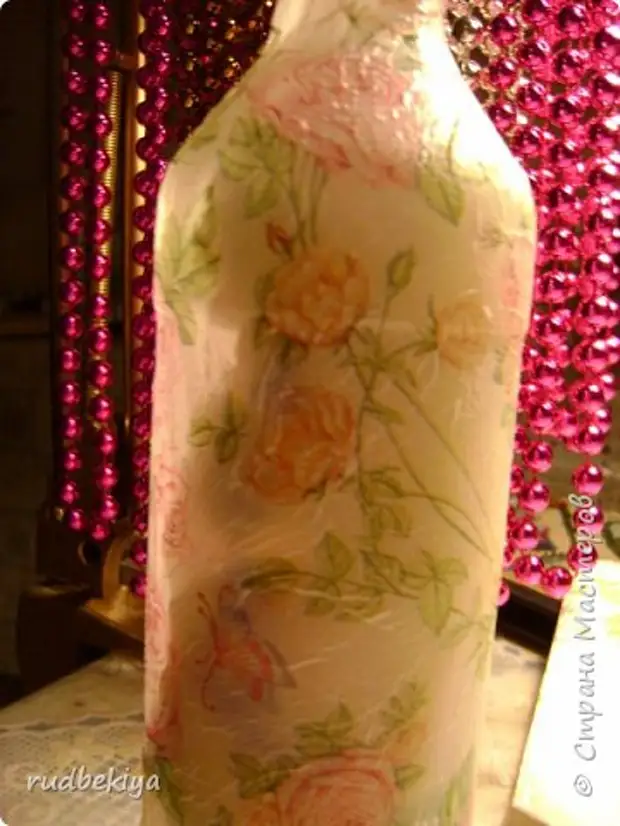
This is just visible - reverse decoupage on the back of the bottle
We celebrate the contours for the window. I did these - wavy
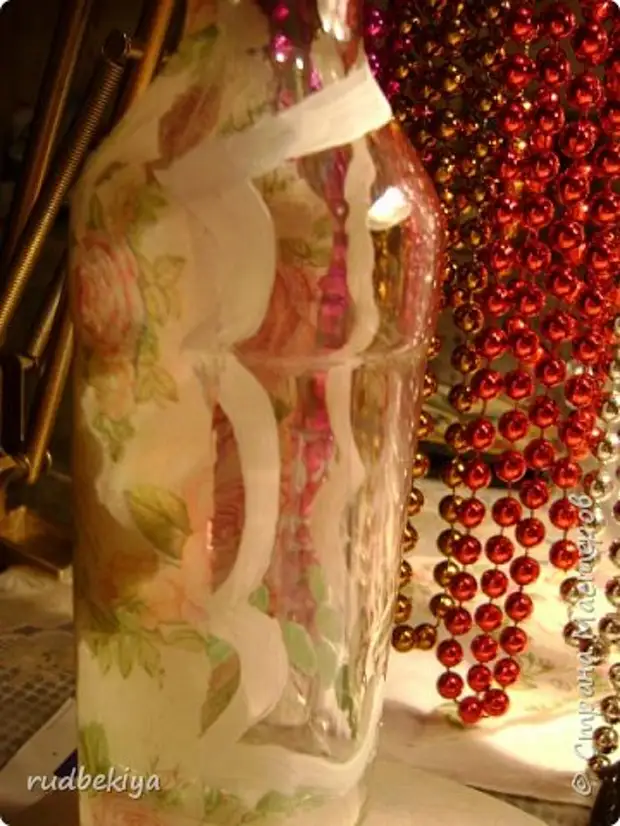
and paint the bottle all before the contours

Now the direct decoupage is made from the selected napkin. It turned out like this ..
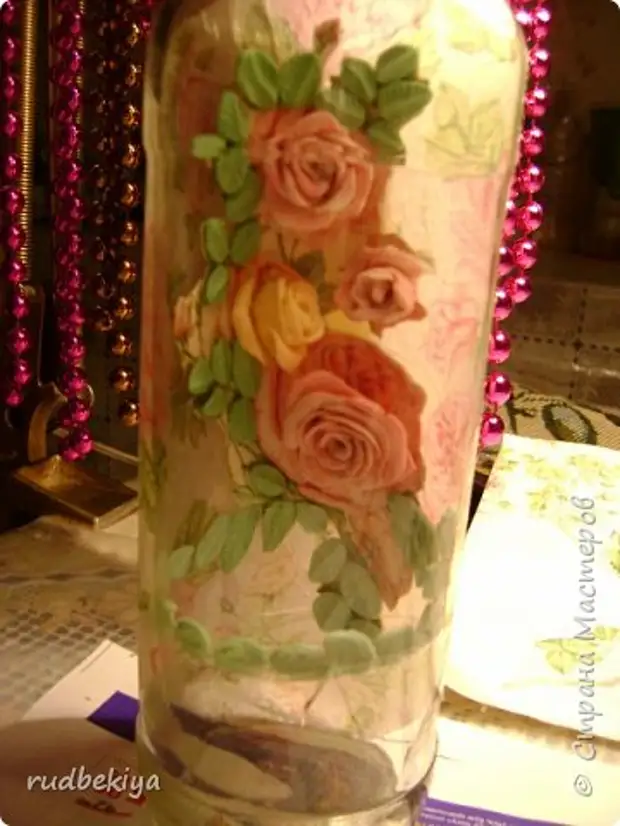
and start to decorate roses and leaves outdoor loop bottle
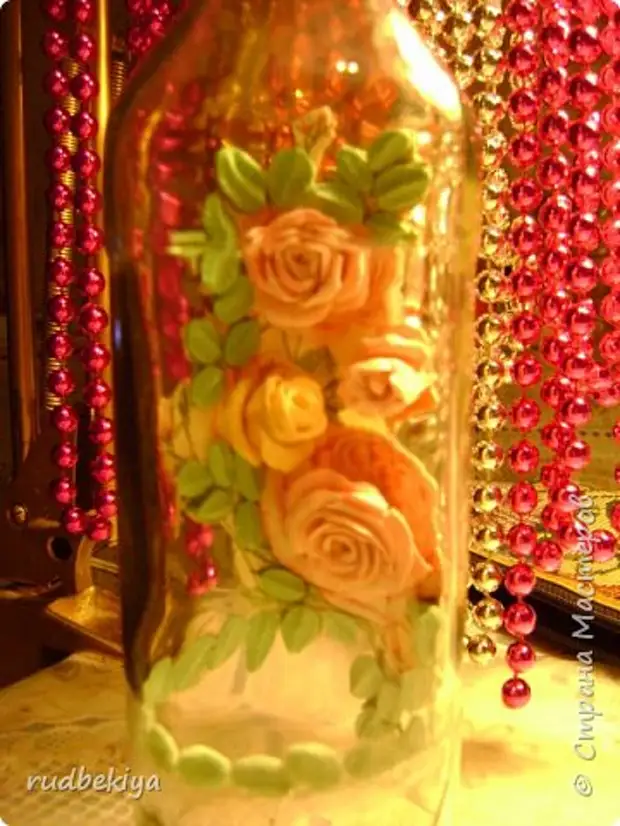
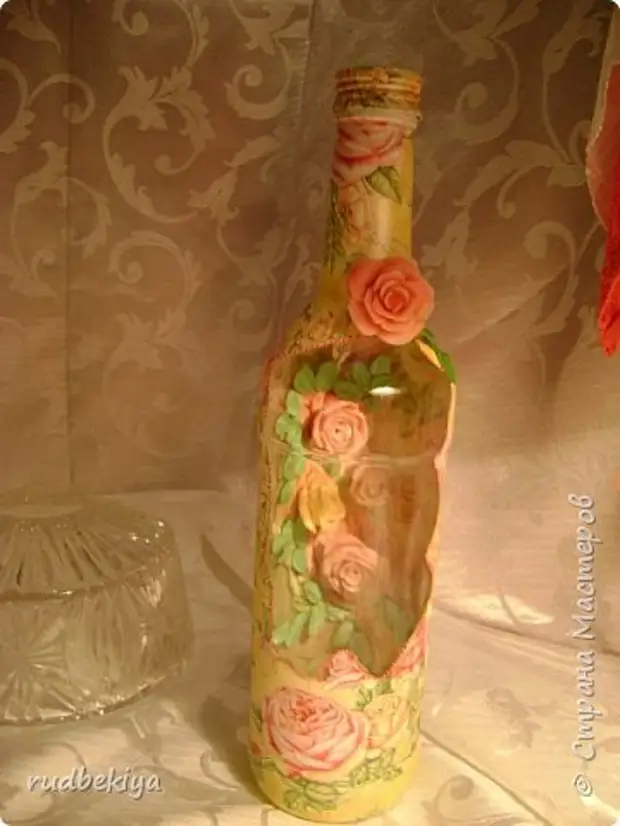
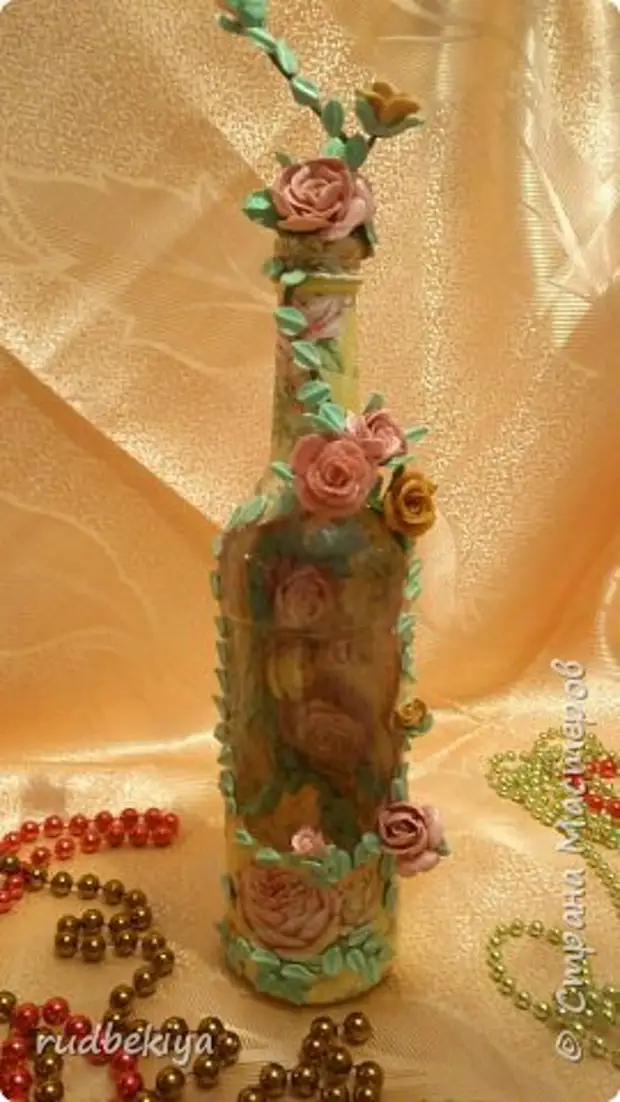
As I really love the caps at the top of the bottle, then I don't have a leaf and flowers on the thick wire on the thick wire - as a continuation of roses on a napkin. That's what happened in the end
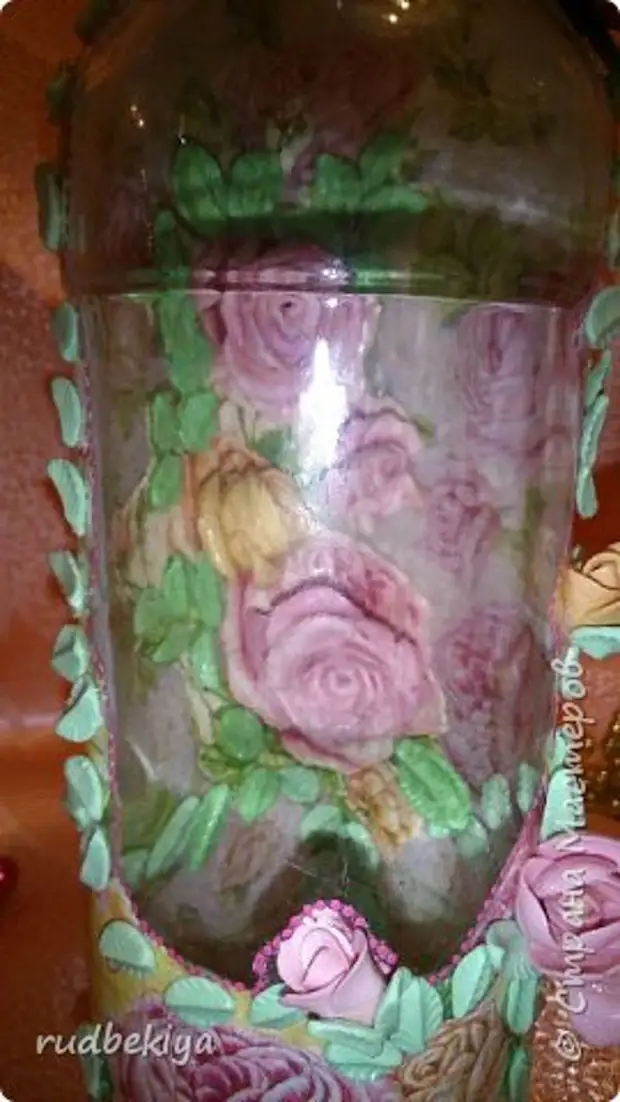
And most importantly and exciting is just - roses in a bottle ... Now, if you wish, you can create this ...

The author of the master class: Rudbekiya
A source