

If you have ever made a seam with a direct angle, but surely faced difficulty in creating a neat corner. We offer two instructions on the technology of such a seam: for conventional tissues and delicate.
Option 1. Medium density fabrics
This method is suitable for all tissues that do not need delicate processing, not much loose and thin. The method of sewing a rectangular part is quite simple, but we recommend first to take off on the sample.
STEP 1
Remove the details. Do not forget to take into account the allowances on the seams, usually 1.5 cm.

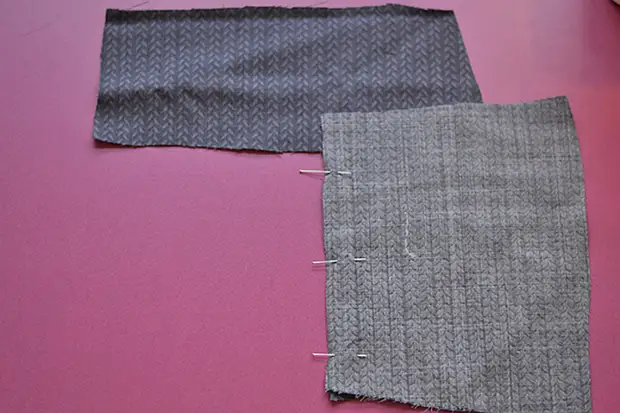
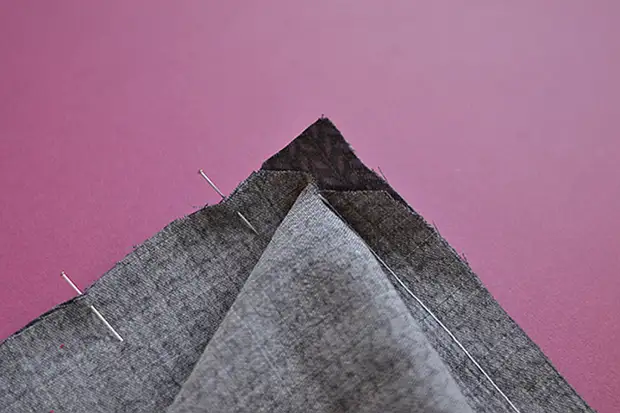
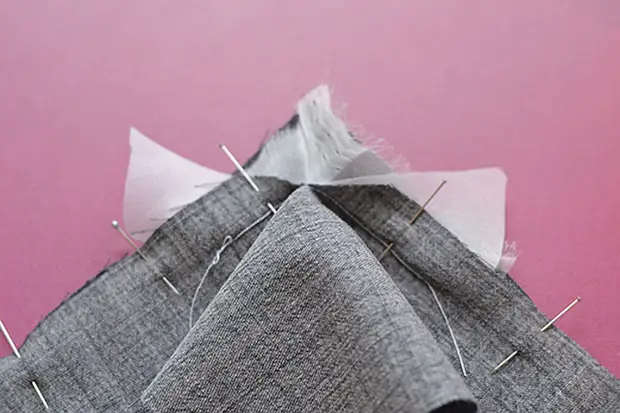
Step 2.
Fold the details as showing but in the photo: one of the sides of the rectangular seam. Please note that the fabric should be top above the corner to continue the seam on the other side of it.
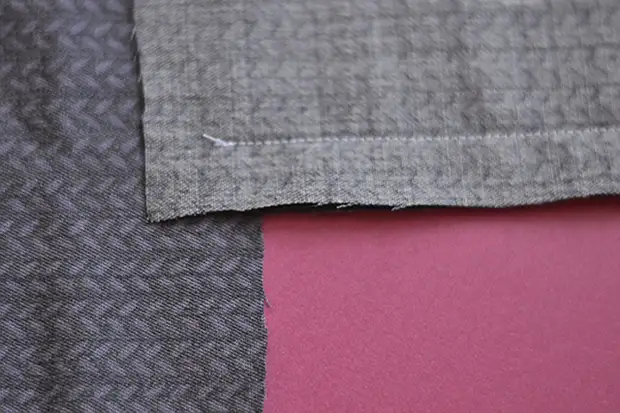
Step 3.
Stop first side. Seam bring clearly to the top of the corner, make the leaf. For the accuracy of the seam, use minor stitches.
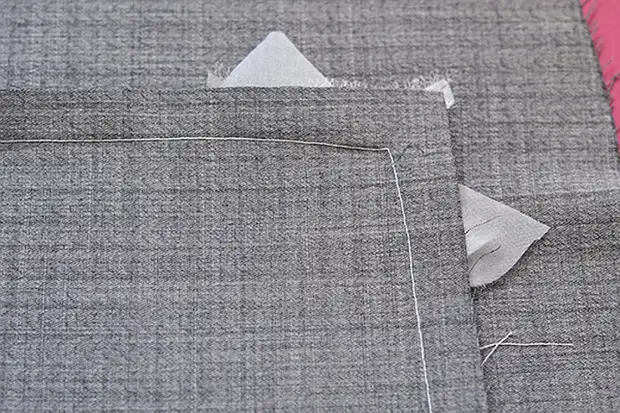
Step 4.
Candle fabric with a seam corner exactly to the end of the line.
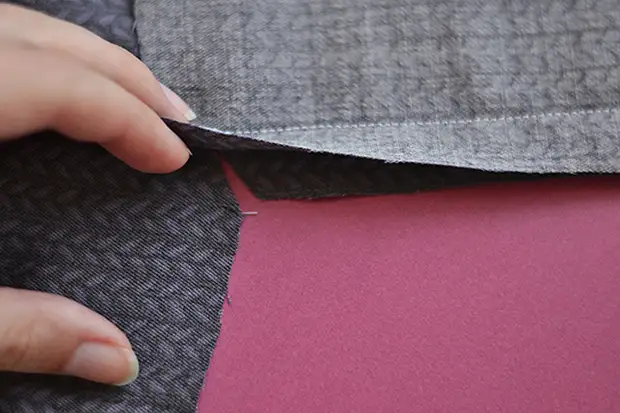
Step 5.
Looking out an external detail with an injected corner, scalp the part on the second side of the seam.
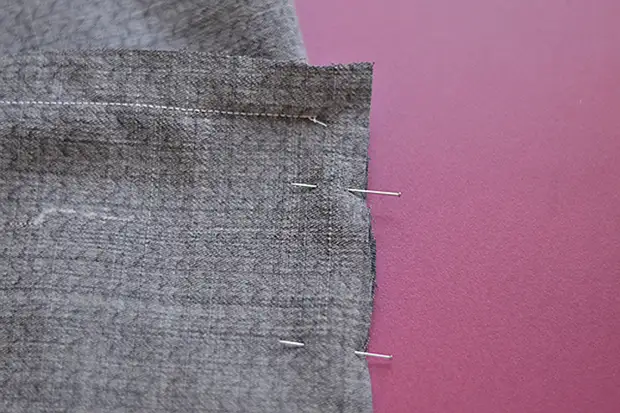
Step 6.
The second line it is necessary to start strictly from the top of the angle, from the place where the previous line is over.
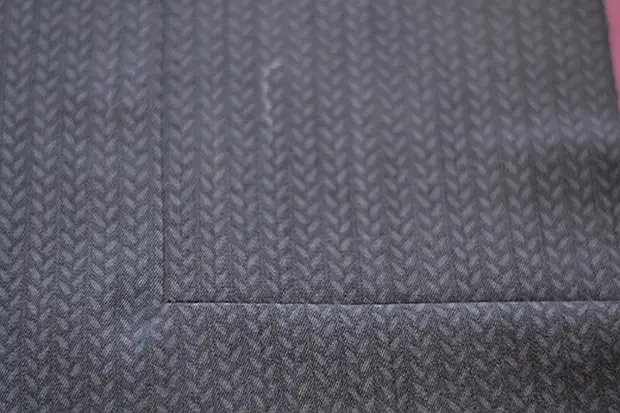
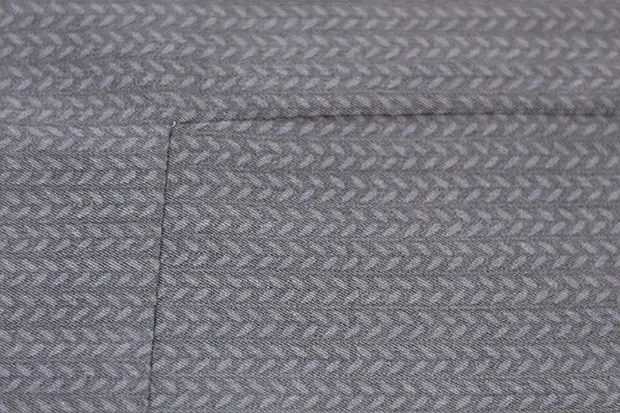
Step 7.
Ready seam reveal.
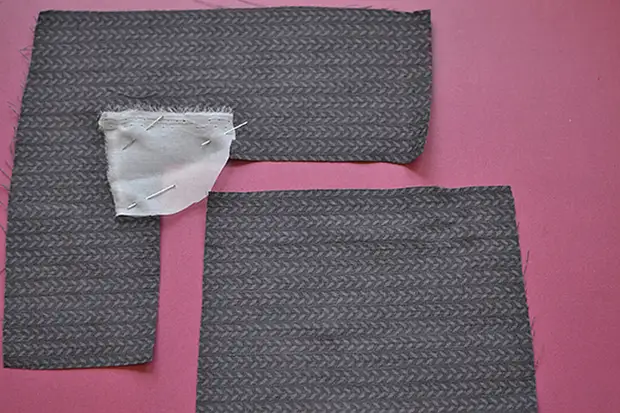
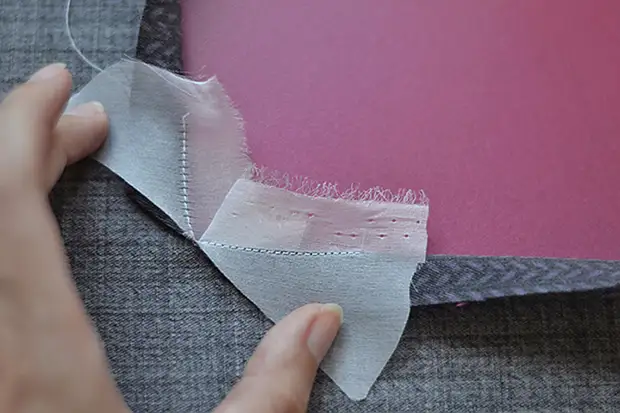
Option 2. Light fabrics
Method for delicate tissue and tissue with high flowability.
STEP 1
To parts with an inner straight corner with the front side, stick a piece of organza or other thin tissue.
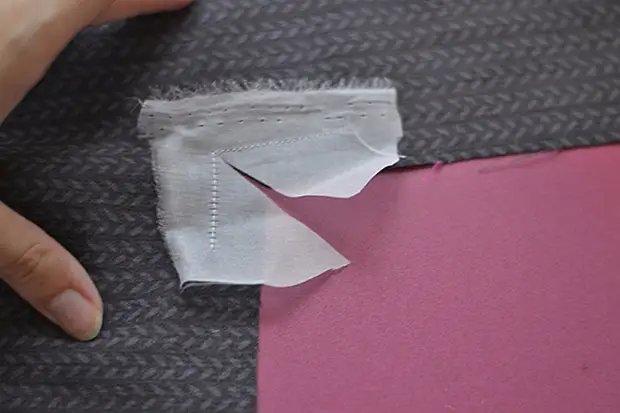
Step 2.
Lay the line at a right angle, connecting the main part and auxiliary from the organza. Take up both fabrics exactly to the top of the angle as close as possible to the stitches.
Step 3.
Detail of organza turn over to the wrong way, spreading the injected angle.
Step 4.
Print item with an outer angle (rectangle). In this case, the internal angle strengthened by the Organs does not appear and does not spread.
Step 5.
Lay the line, connecting the details of the cut.
Step 6.
Plug ready-made seams.
A source