In our selection - facilities made of fabric, felt, cakes, leather, zipper or rolled in a roll, on a lining and without, small or large - choose!
1. Fabric Pencil Pencil Lining: Master Class
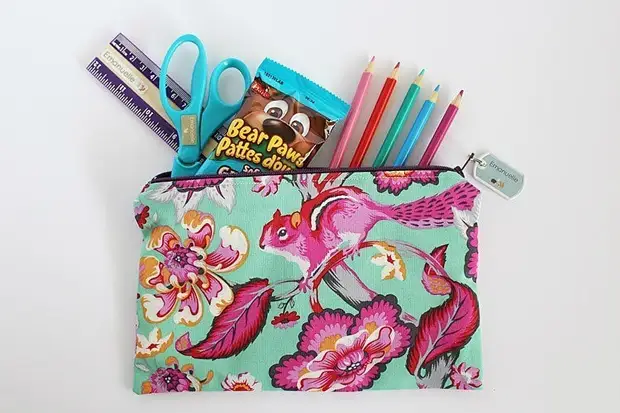
In such a pencil, not only handles with pencils, but also scissors with a square.
You will need:
- 2 types of fabric (for the outer side and for lining);
- zipper zipper 25 cm long or a little more;
- a pair of stationery clamps;
- Pins;
- scissors;
- Iron;
- Sewing machine and thread.
Sequence of work:
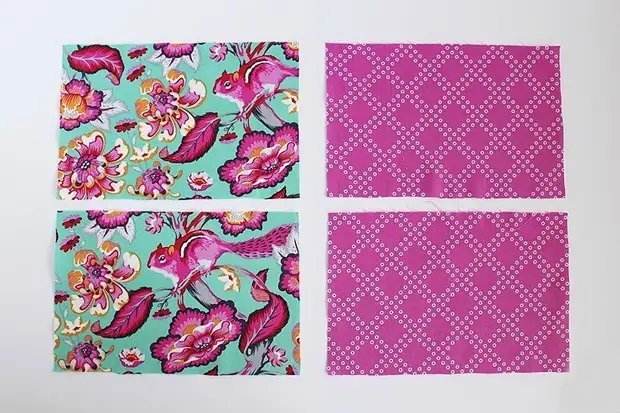
one. Call each type of fabric for 2 parts 25x16 cm in size each.
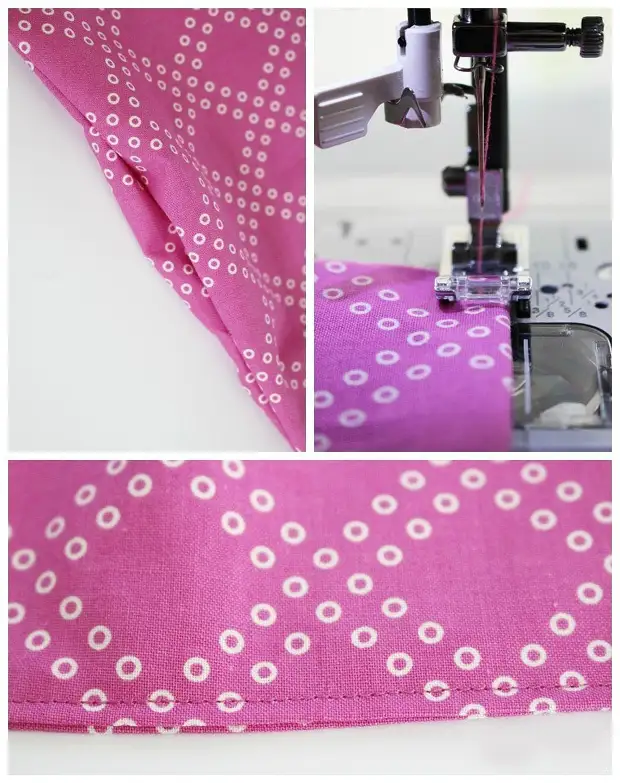
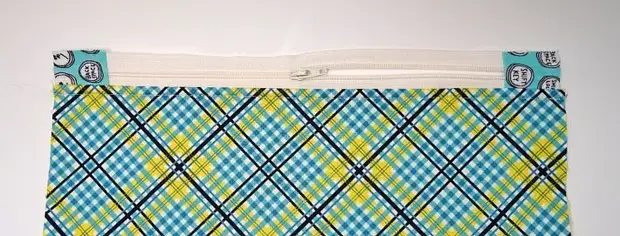
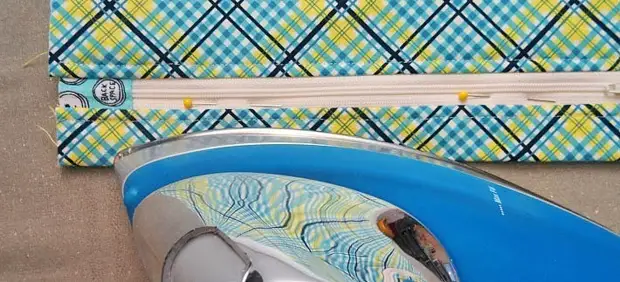
2. Put one of the lining parts to the work surface face up. Put the lightning face upside down top. From above - detail of the main fabric with an insane up. Scaliate pins, capturing all layers of fabric and lightning bracket, as shown in the photo.
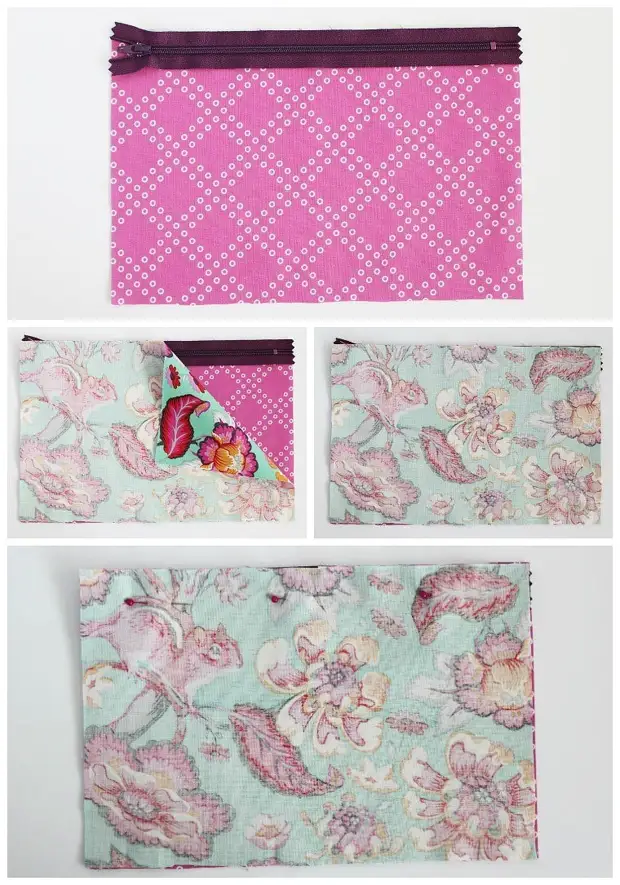
3. Stretch.
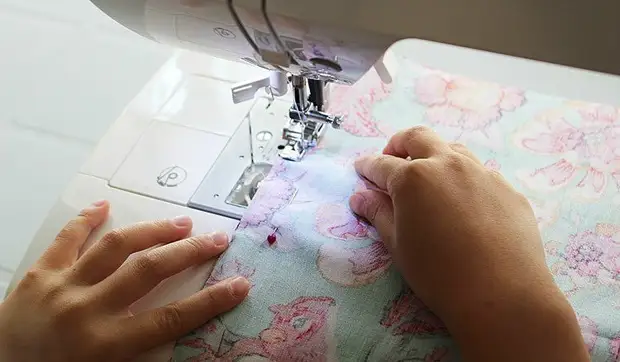
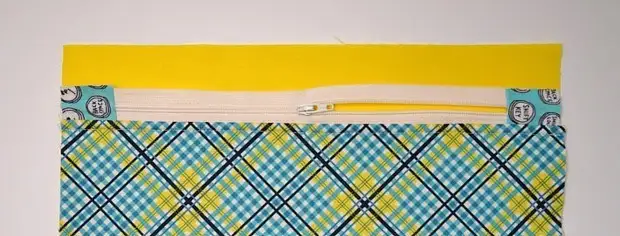
four. Put the second lining detail on the work surface face up. Put the details with a partially sewn zipper, as shown in the photo. Then - the item from the main tissue with an inlet. Cold pins two layers of fabric and lightning bracket between them.
five. Load the line.
6. Spray the items and start.
7. Lay the lines along the lightning.
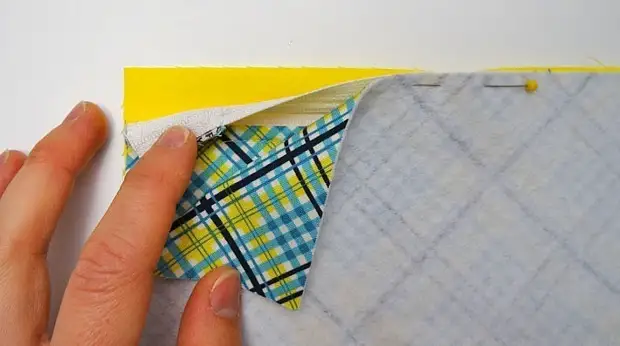
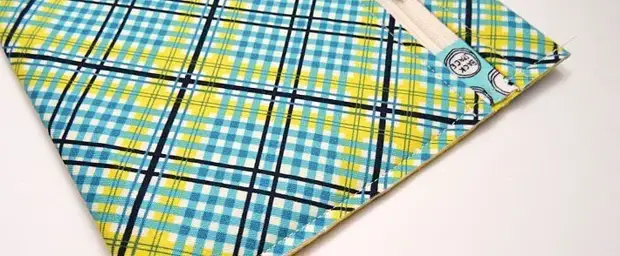
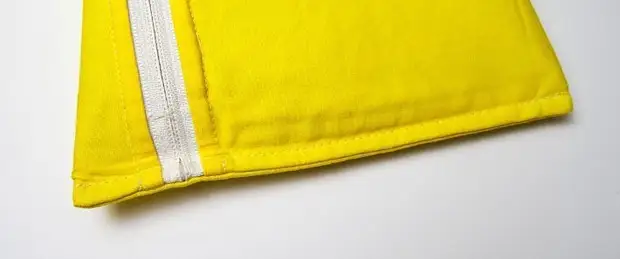
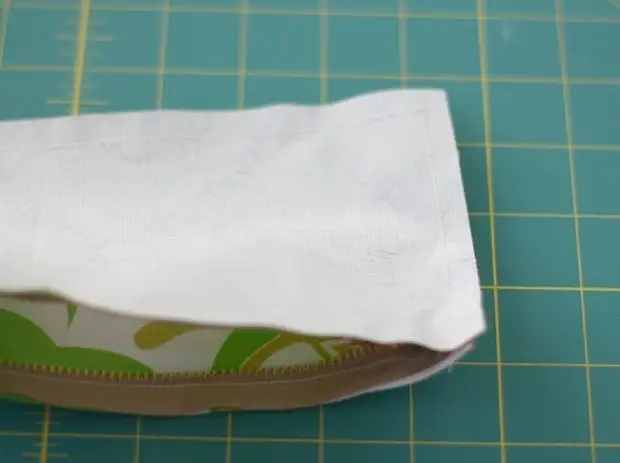
eight. Open zipper. Fold and scaliate the details, as shown in the photo. Lightning directed towards the lining, and the allowances towards the main parts, and secure the clamps.
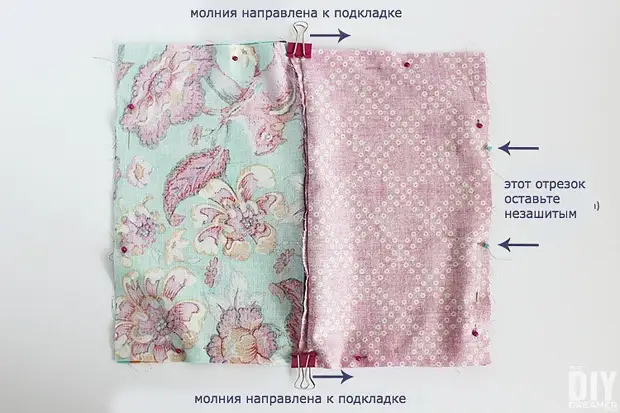
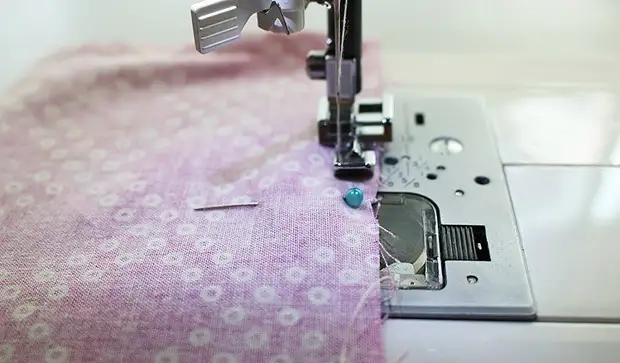
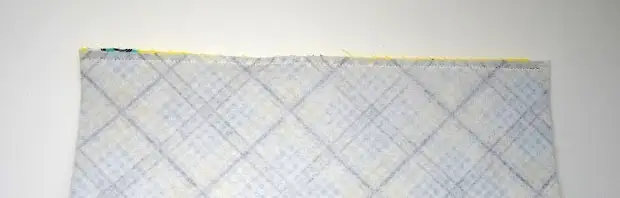
nine. Stop over the perimeter, leaving the hole, as shown in the photo above.
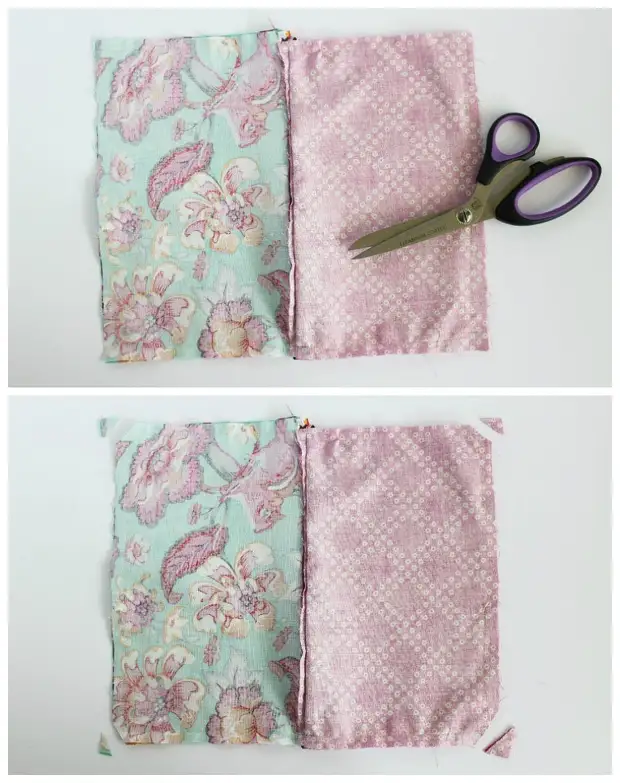
10. Cut corners by retreating a couple of millimeters from the seam.
eleven. Remove the pencils. To turn the corners well, you can use a wand.
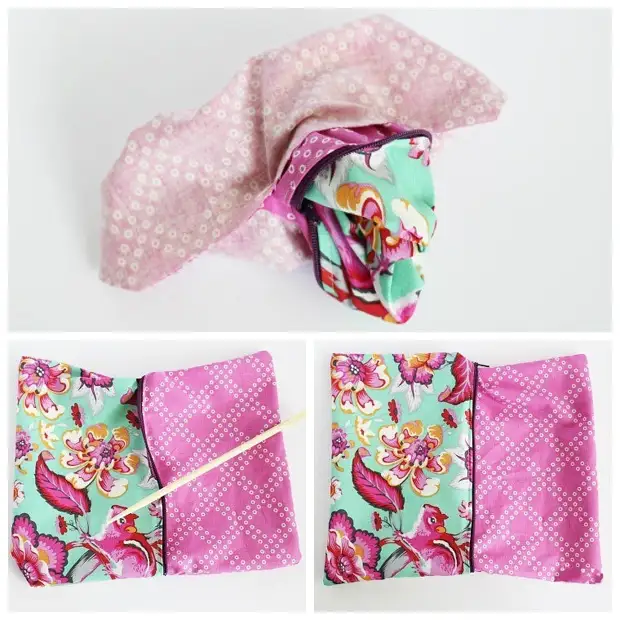
12. Sewing the remaining hole.
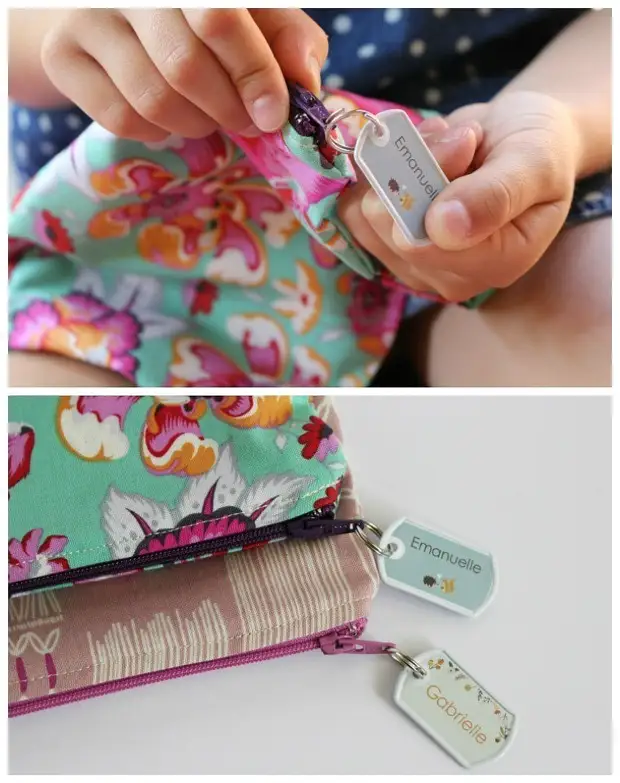
13. It remains to fill the lining inside - and ready. At the end of the clagging, you can hang a label named.
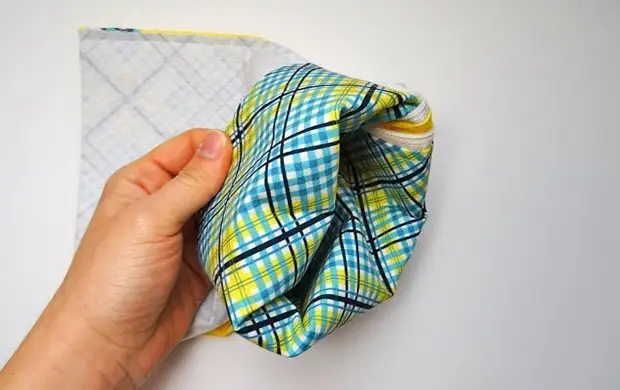
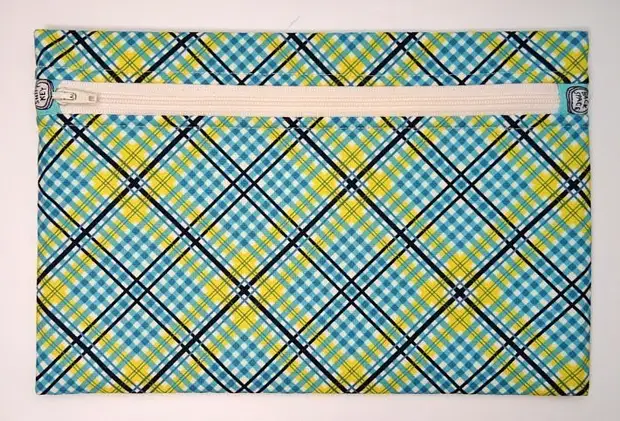
2. Fabric pencils with lining and clasm front: master class
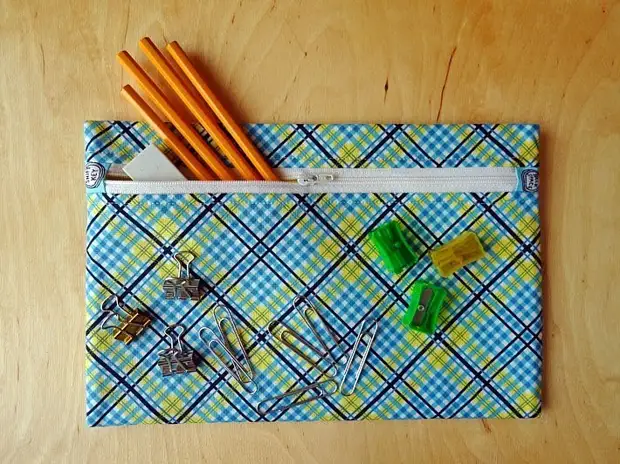
Due to the strengthening of phlizelin and zipper in front, such a penalty is well held by the form. Another one plus is a capacity. If you want a smaller penalty, change the size of the details and take shorter zipper.
You will need:
- 2 types of fabric, basic and for lining (you can also use third-colored flasks for lightning decoration);
- adhesive unilateral phlizelin;
- zipper 30 cm long or more;
- Iron;
- water-soluble glue (suitable adhesive pencil);
- scissors;
- Sewing machine and thread.
Sequence of work:
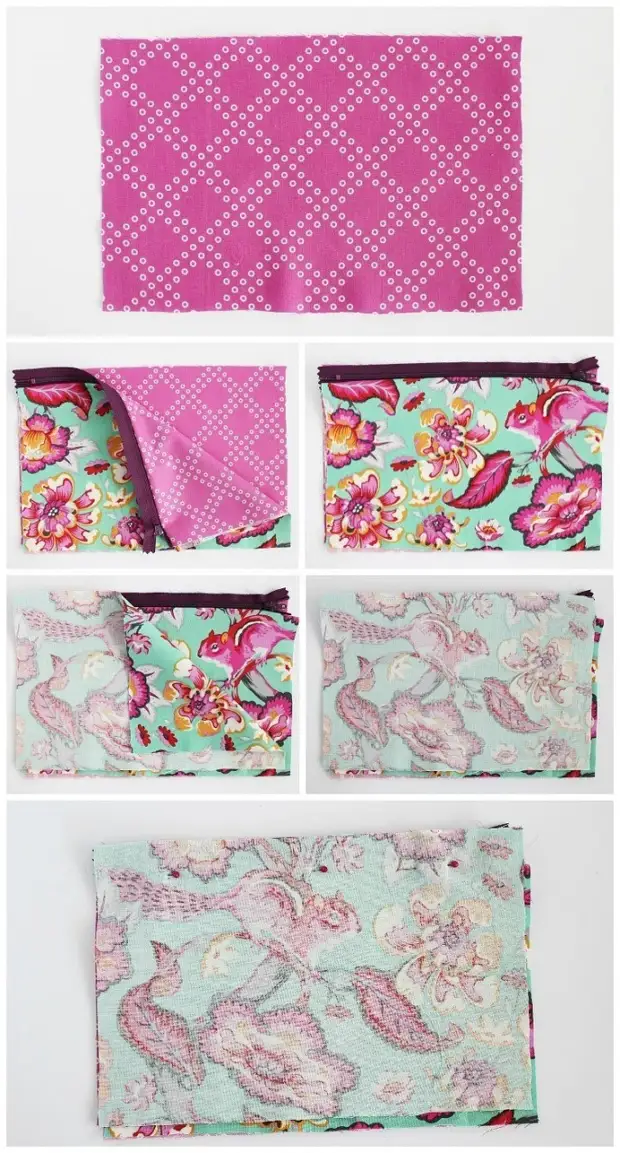
one. Pour the details of the Penal. We need 1 rectangle from the main tissue with a size of 30x35 cm, 1 of the same rectangle from the lining fabric, 1 is the same - from fliesline. Also - two rectangle 2.5x7.5 cm.

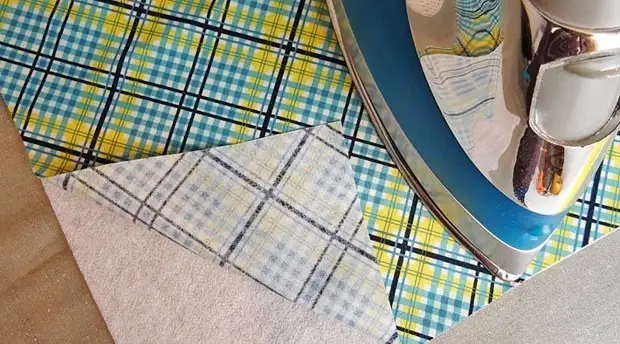
2. Clean the part from the main fabric Fliselin.
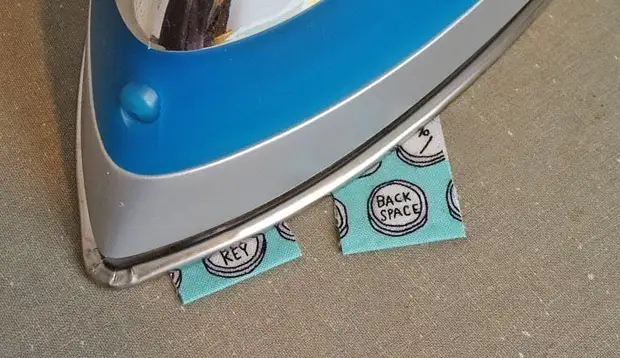
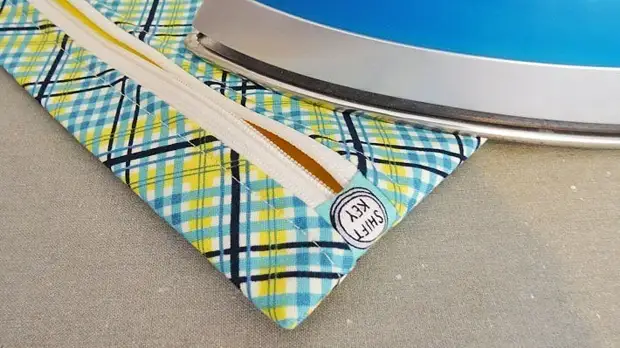
3. Both small rectangles fold in half, as shown in the photo, with an inside inside, and secure the bends with an iron.
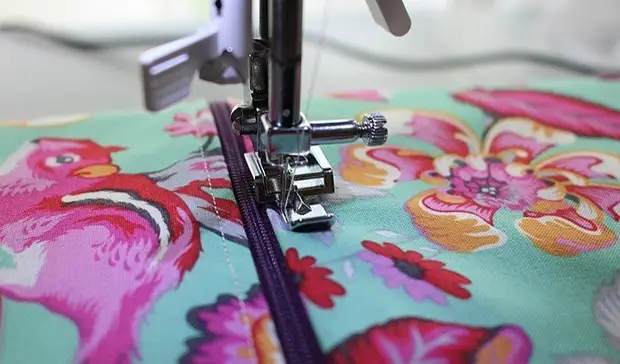
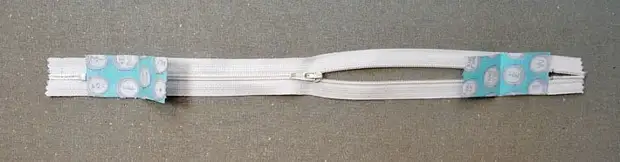
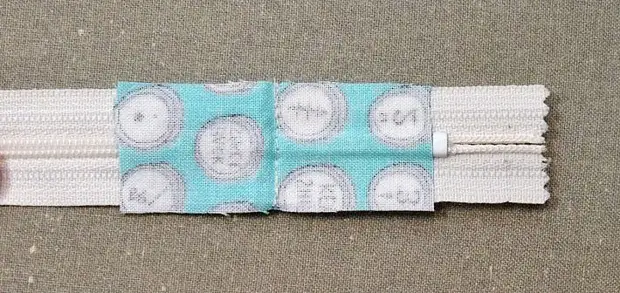
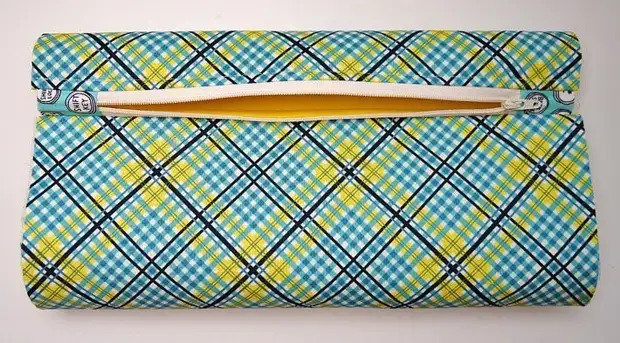
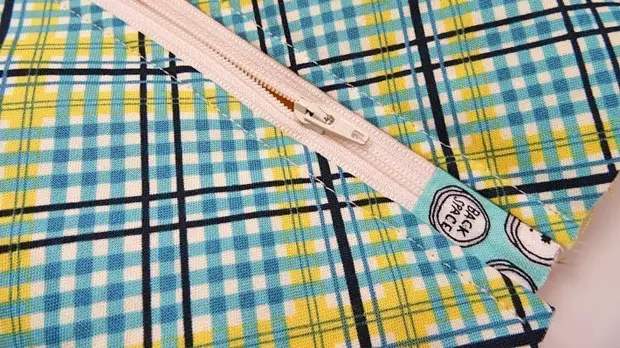
four. Lightning half open. Enclose rectangles to the ends of the lightning, as shown in the photo.
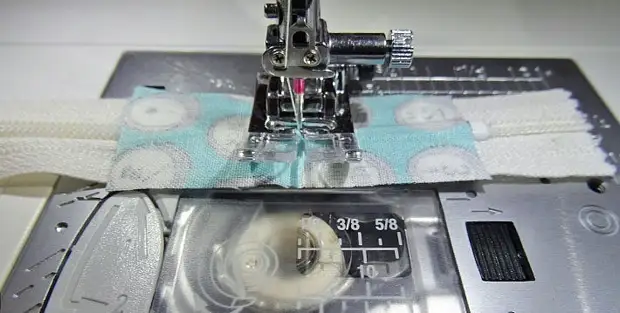
five. Route the line on the bends of rectangles, as shown in the photo. At the beginning and end of the line, make the lines.
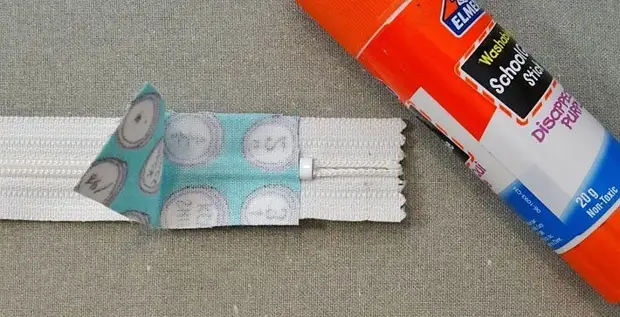
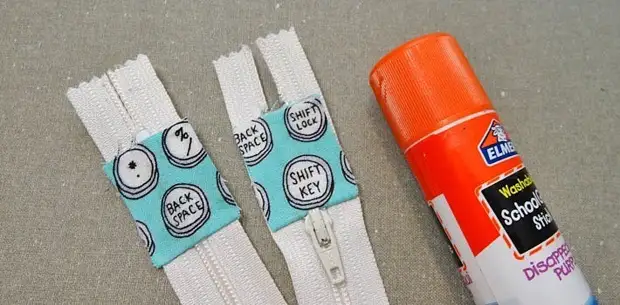
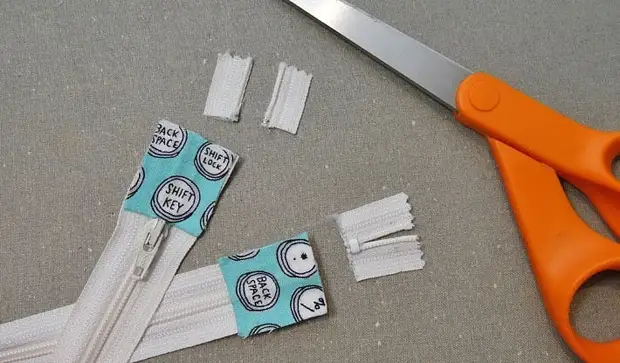
6. Now glue rectangles, as shown in the photo, and cut the "tails" of lightning on both sides.
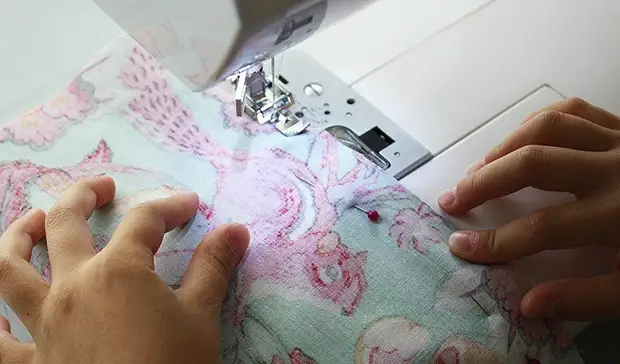
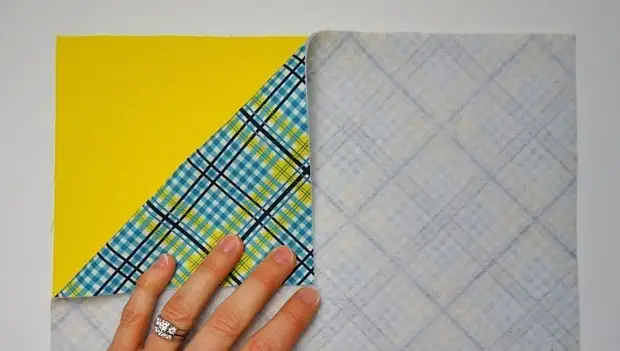
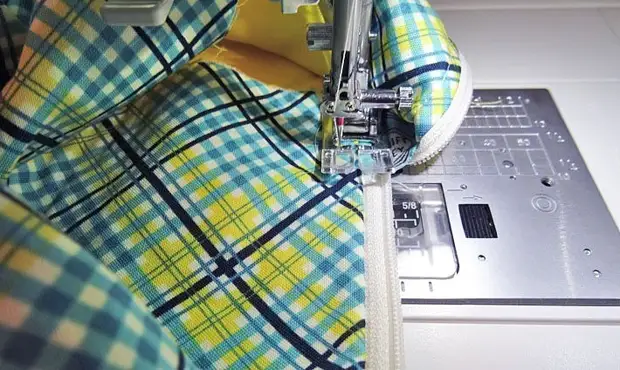
7. Fold the lining parts and the basic fabric to face and place the lightning between them, as shown in the photo. Scaliate pins.
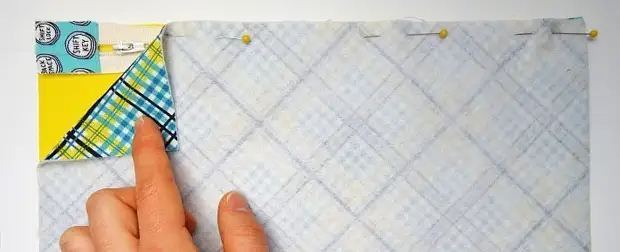
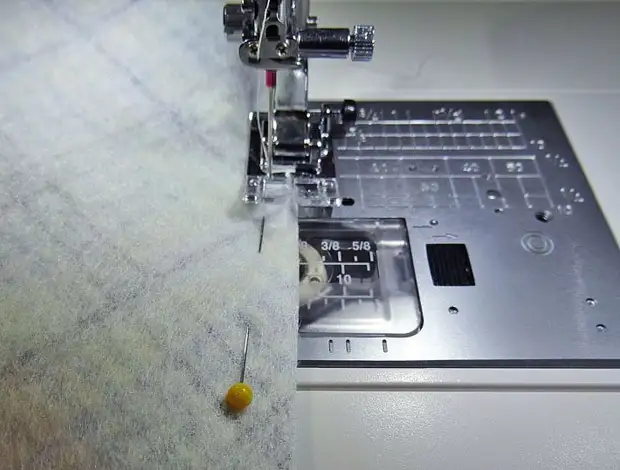
eight. Lay the line by retreating 0.5 cm from the edge.
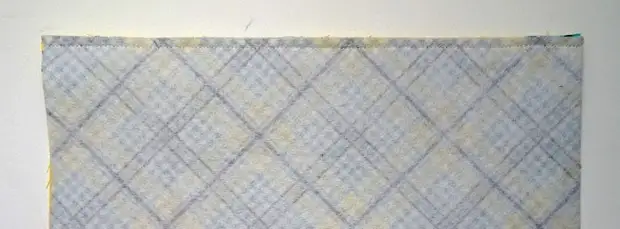
nine. Remove the items, as shown in the photo, and secure the iron.
10. Wrap the parts by forming a penalty, fold, as shown in the photo, and scroll the pins.
eleven. Load the line by retreating from the edge of 0.5 cm, and remove the pencil.
12. Slow seams.
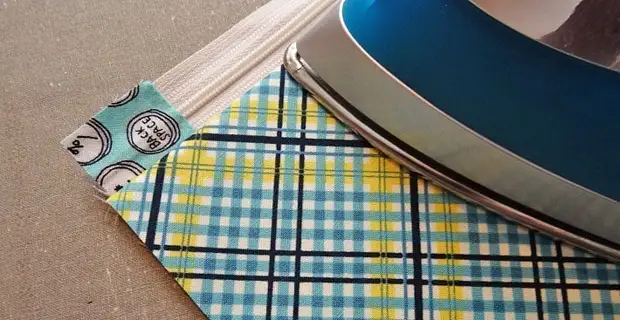
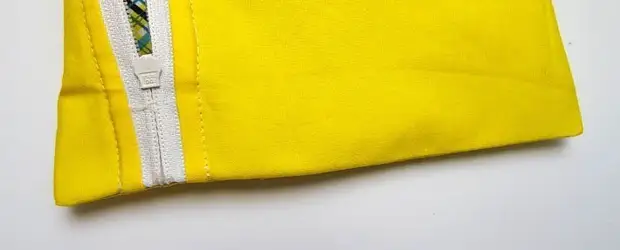
13. Fold the penalty so that there is about 2.5 cm from above, and secure the fibe of the iron.
fourteen . Lay the lines on the sides, retreating from the edge of 1.5-2 cm, then fir the edges with scissors.
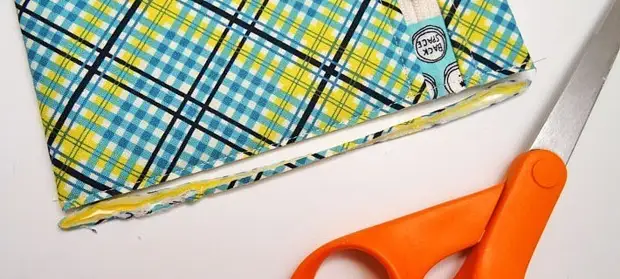
fifteen. Remove the pencils inside out, spread the corners well. Rign down side lines, as shown in the photo.
sixteen. It remains to turn the pencils and rejuvenate.
3. Lightning pencils from the jeep: master class
Pluses of the tower: the pencil is obtained by waterproof, and if the felt-tip or handle will accidentally open inside, they do not blur the contents of the portfolio or bags. Also, the bonus of this material is that it does not appear and it is easy to work with it.
You will need:
- color glue;
- Lightning (oriented on the desired length of Penal);
- hand needle;
- scissors;
- Sewing machine and thread.
Sequence of work:
one. Measure your zipper and pick up 2 parts from the skying. The length of each should be equal to the lightning length (for example, in this case - 20 cm), width - 10 cm.
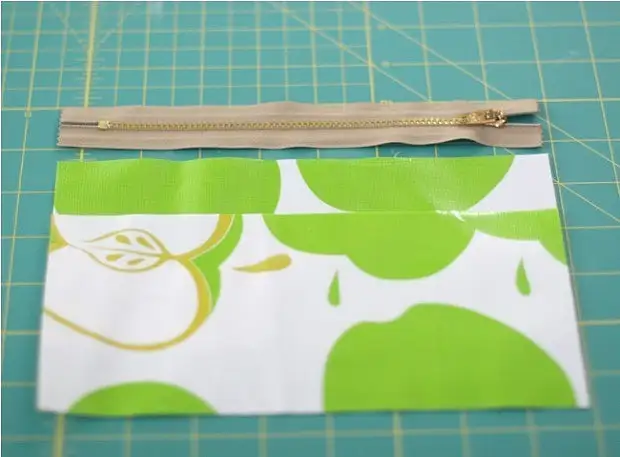
2. Note the zipper to one of the details of the cakes, folding them, as shown in the photo.
3. Slow zipper.
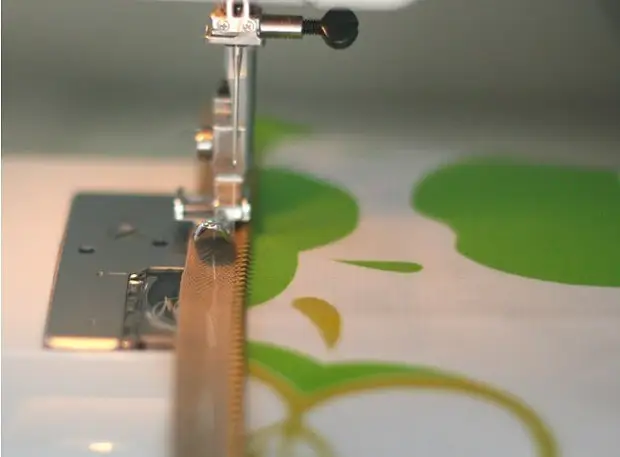
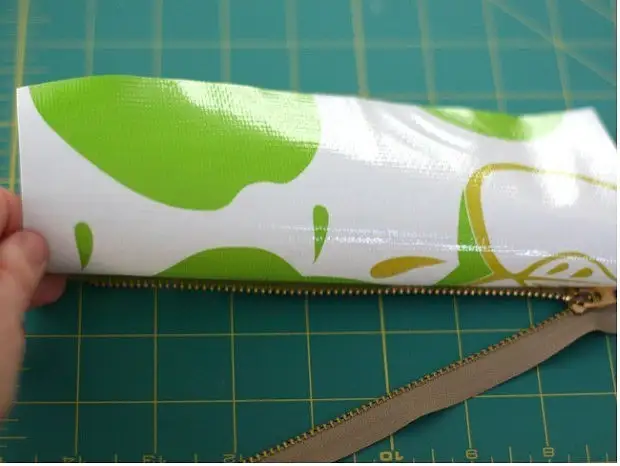
four. Just do with the second half of the zipper and the second part of the cake.
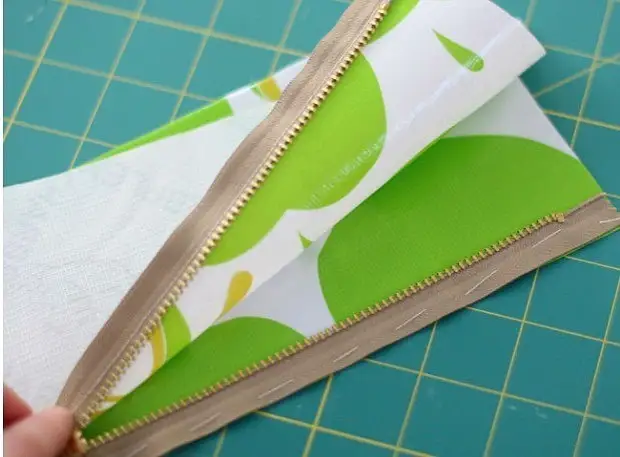
five. Fold the details face inside and push around the perimeter. At the beginning and end of the line, make the lines.
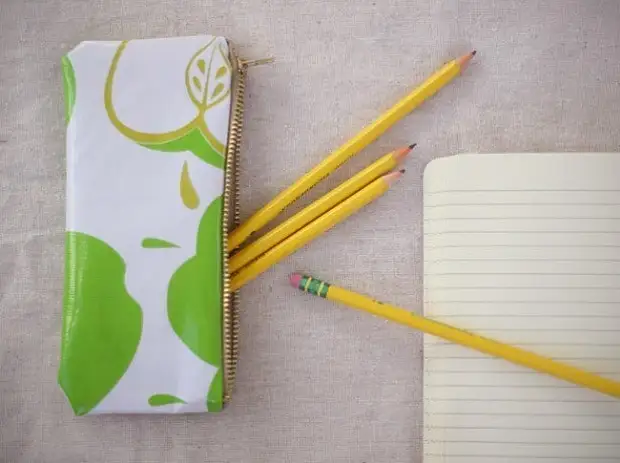
6. There will be only to turn the pencils.
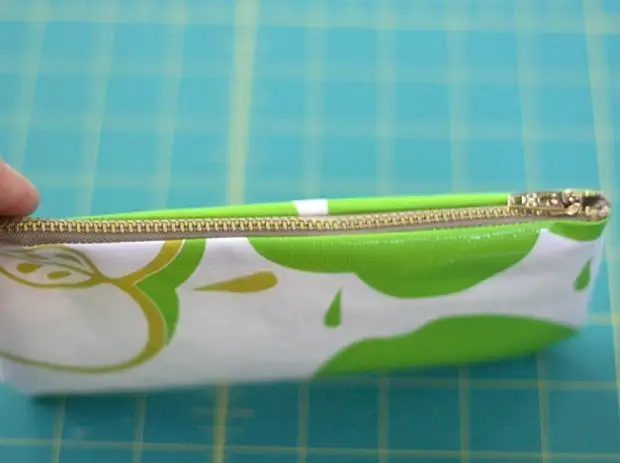
Photo and Source: MomTastic.com
4. Curly felt pencils: master class
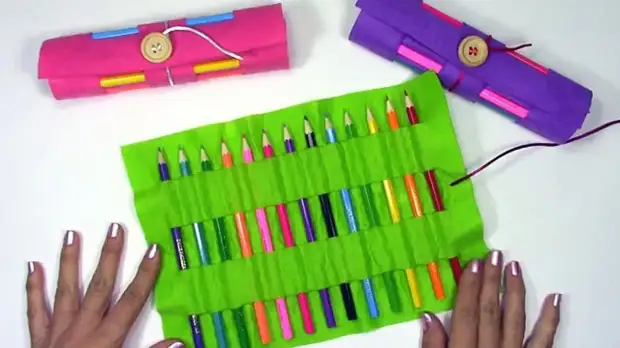
This simple and convenient pencil case is ideal for storing pencil sets, markers and handles.
You will need:
- felt sheet of suitable size;
- pencil and ruler;
- Make-up knife;
- small scissors;
- cord or thin tape;
- Big button.
Sequence of work - in video:
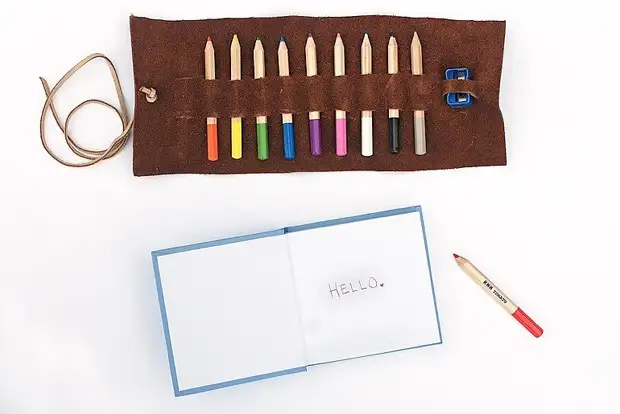
By the way, on the same principle you can make skin pencils:
5. Pencil made of plastic bottles: master class
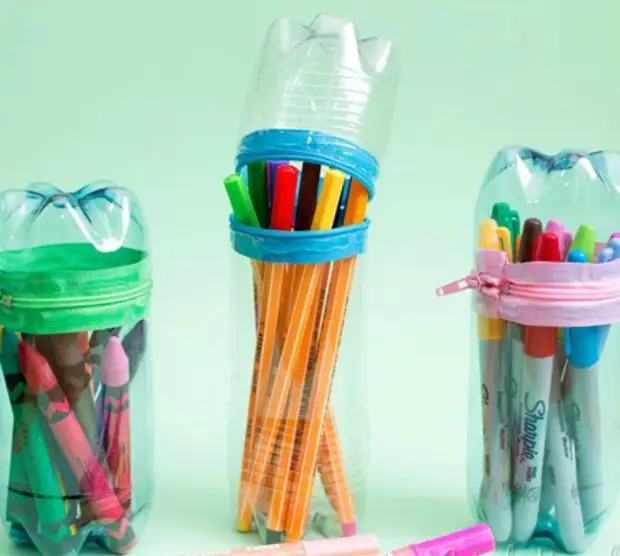
Fast and convenient option.
You will need:
- 2 plastic bottles of the same diameter;
- Makeup knife or scissors;
- zipper zipper;
- Durable glue.
Sequence of work:
one. Remove with bottles of labels. Cut from one bottle the top to get a long cylinder with a bottom. Cut the second bottle closer to the bottom to get a foam cover.
2. Connect the pencils and the cover while incurred inside the zipper, as shown in the photo.
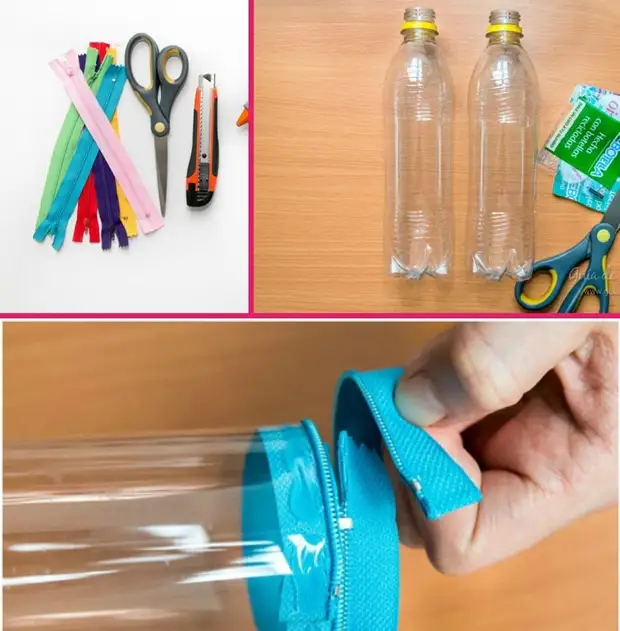
Photo and Source: artncraftideas.com
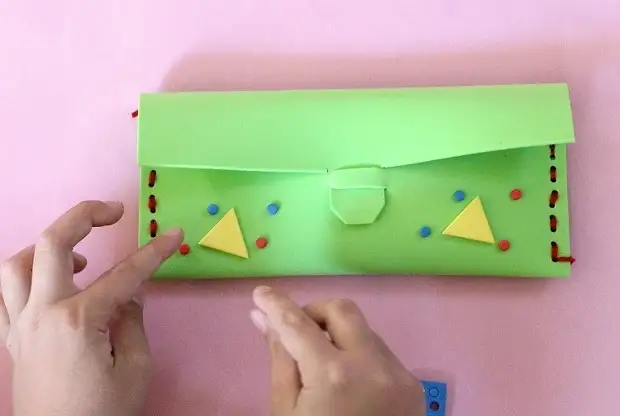
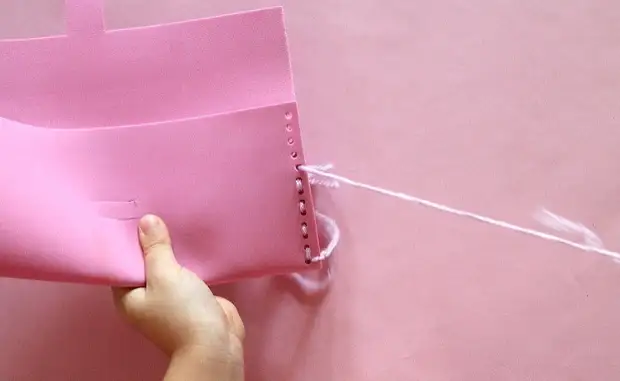
6. Foamiran Pencil: Master Class
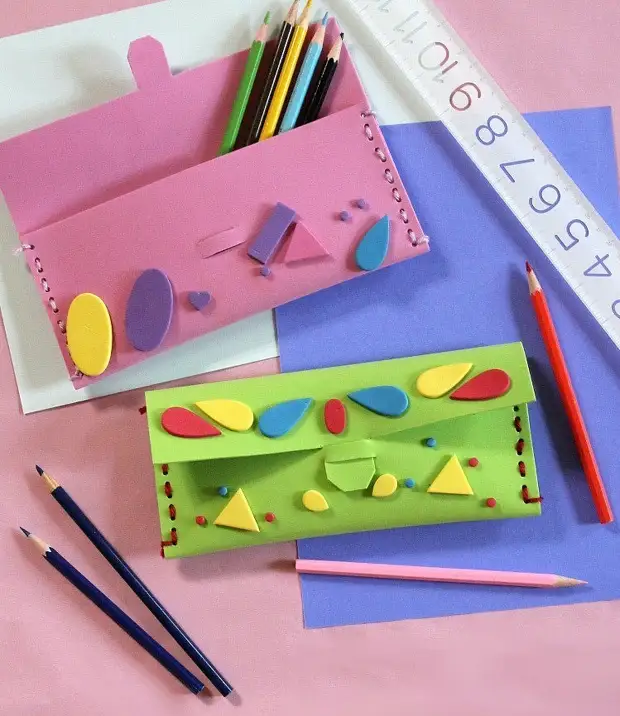
Foamiran, he foam, it is a rubber paper - the material from which these cases are made. It is light, quite durable, easy to work. Sold in stationery stores and shops for creativity sets in sheets. Similar pencils you can also make leather or felt.
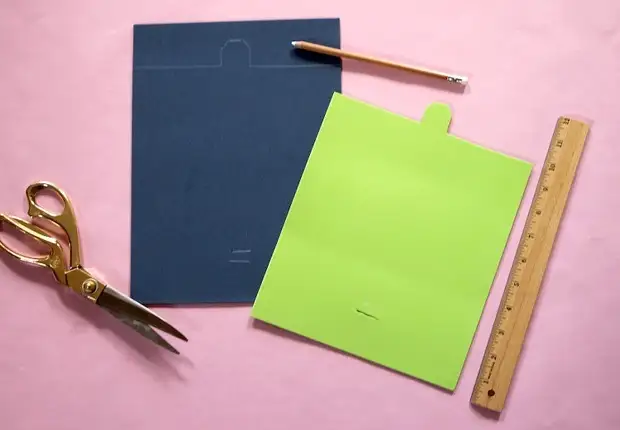
You will need:
- Foamiran;
- stickers for decor;
- scissors or dump knife;
- tool for punching holes;
- thin lace or moulin;
- Ruler and pencil.
Sequence of work:
one. Fill out the contours of the future of the Foamian.
2. At the edges, run holes and connect the cord or moulin. Secure the cord or thread.
3. Decorate pencil with stickers. Figures can be cut from the same phoamyran and glue.