
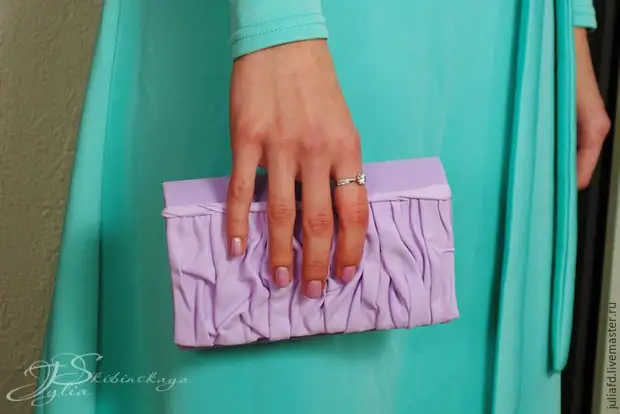
What do you think will help you in preparing for solemn exit? Naturally, a blank package from milk! Packages from milk are just a klondike ideas and an unreal flight of fantasy. This is an unsurpassed material for creativity, and not some garbage there!
Do you have a dress, but no handbag? No time looking for? It remains half a day and you need to come up with something? Easily!
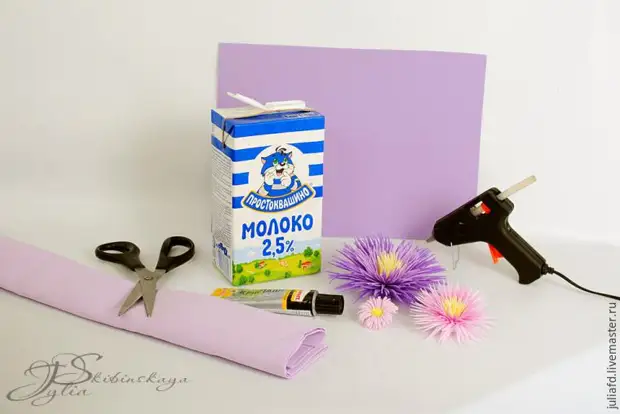
To create a handbag, we will need:
1. Empty package from milk or juice
2. Foamiran (it is easy to replace with a cloth, cut the non-needed skirt or even an old curtain)
3. Glue moment
4. Adhesive gun (not necessarily, but I do not like to glue a phoamyran torque)
5. Scissors
6. Magnetic clasp (you can take magnets from the fridge magnets)
7. Liquid for removing varnish (any) + piece of wool
So let's go! :)
1. Create the basis of the handbag
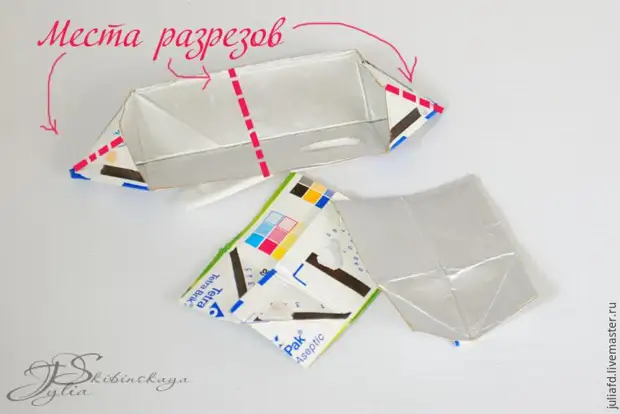
We first wech our package:
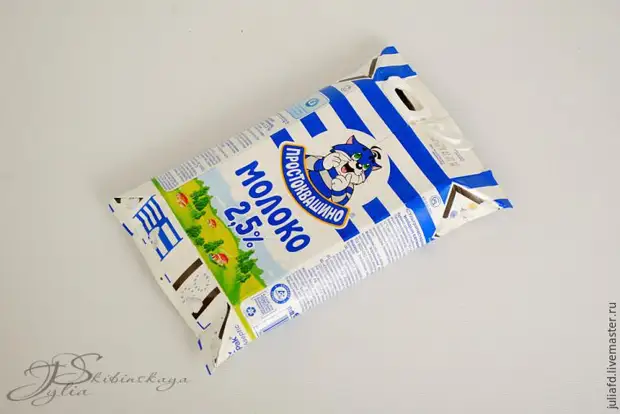
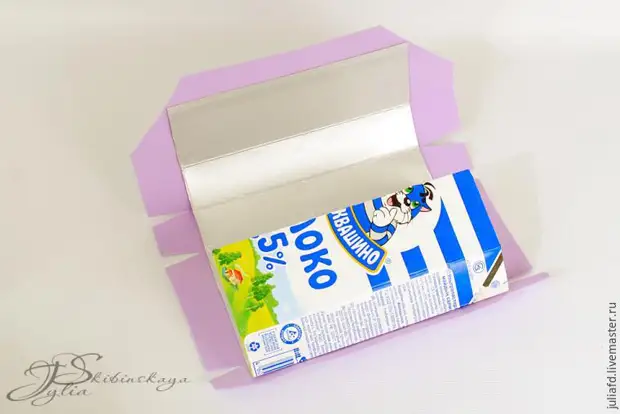
Sut off straight on bends upper and lower parts of the package. And neat the fingers we open the seam - the place of the factory gluing package. It dismisses easily.

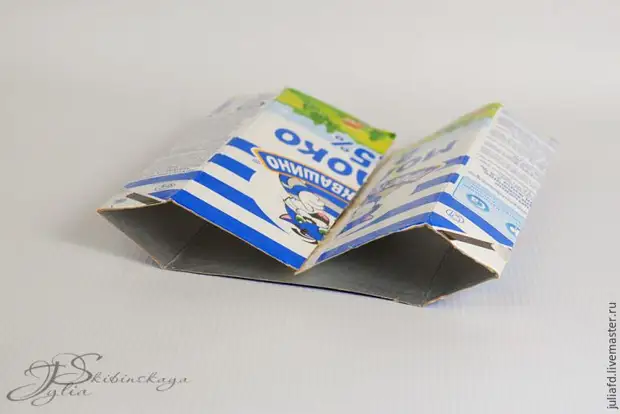
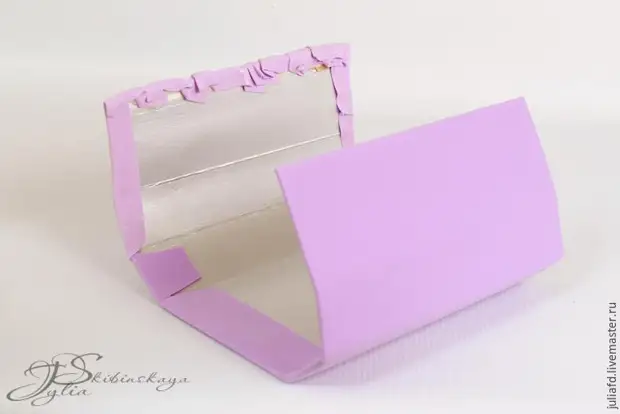
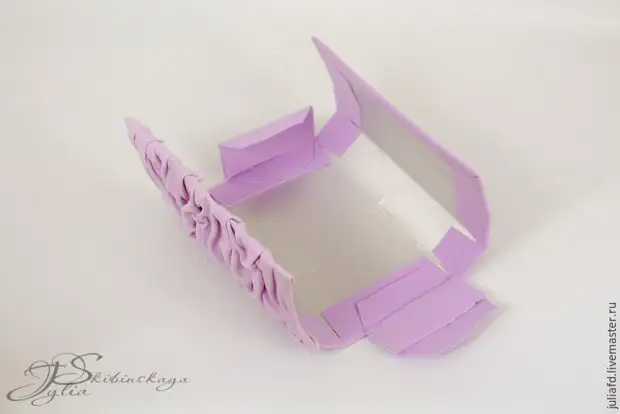
Now we need to create new seats of the folds of our handbag so that in shape it does not resemble a dairy package and was somewhat magnificent, and the upper and lower valves have increased and found the brass. For this, the side sides of the package we need to carefully fold in half. I combined the factory seams and thoroughly smooth out the new folding knobs.
Our final size of the handbag will be equal to the size of the dairy package (its frontal walls), and the depth of the handbag will be smoothly twice as smaller than the package was.
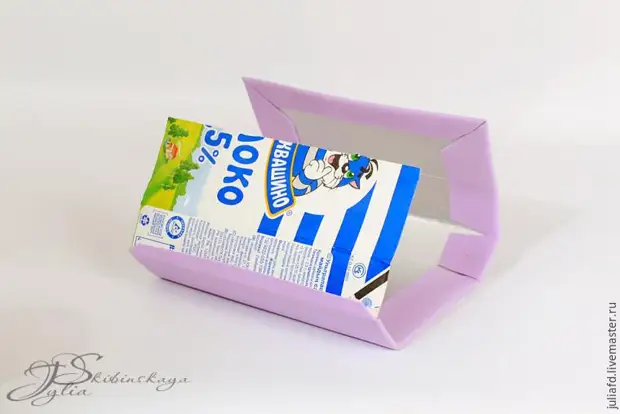
Actually, the form of our evening handbag is ready!
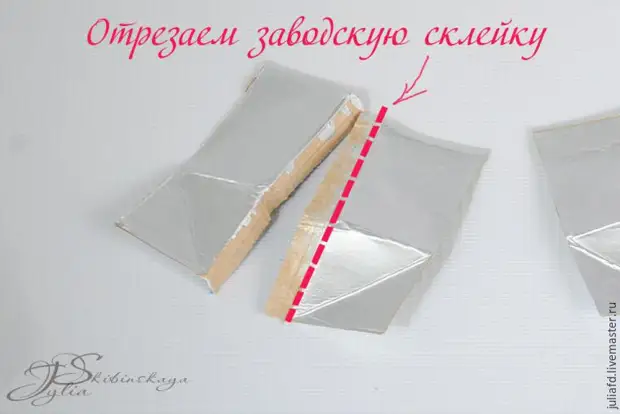
Only the sidewalls remained, the basis of which we will make from the cut fragments of the package. My dairy package had a plastic cap, which remained on one of the cut parts. I will not use it. But the second part, which was without holes, I use for the sideways of my handbag.
We cut the folds shown in the photo below. Then cut the resulting rectangle in half, across the factory seam of gluing. Below are rectangular halves that we need to get.
We need two blanks for the sidewalls in the form of a rectangle. To obtain them from one of the halves obtained in the previous action, we need to put the factory seam and cut it off.
Here are ready our sidewalls for the handbag!
2. We start decorated
The most creative and pleasant moment has come in our work - proceed to the decor!
To begin with, cut off a piece of phoamyran (or tissue), its size should noticeably exceed the size of our package. Put at least 2 centimeters on each side. Since the top valve of the handbag I will be done with the "drapery", I cut a piece of phoamyran without taking into account the top valve of the handbag. That is shorter than the length of our batch blank.
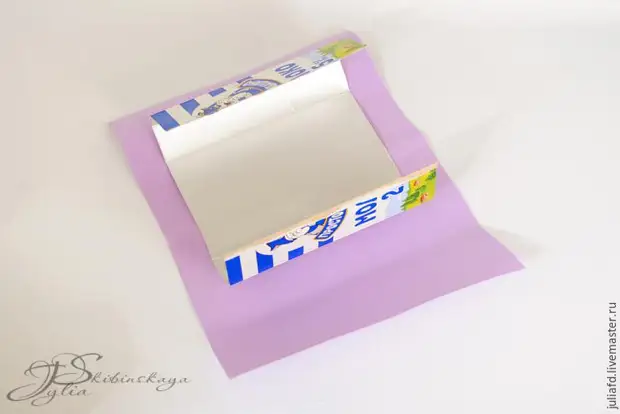
Before starting to stick to the Foamiran, I take a piece of the rolling, waging in the liquid for removing the varnish and carefully wipe the package on both sides. So we will defature the surface and improve the strength of gluing.
Now we glue the phoamyran glue the moment. Majm package, give adhesion a little twist and impose on the package Foamiran. I do not like to glue a phoamiran moment. But using a hot adhesive gun here will not quite work. Foamiran is deformed by hot glue and the hillside of frozen glue will be visible. Carefully will not come out. If you use the fabric, it is not necessary to glue it tightly, you can grab along the inner side of the workpiece so as not to pack the fabric and do not soak it with glue.
When gluing immediately fold the handbag on the seams, otherwise the material (tissue or foamyran) will continue to interfere with the assembly and or somewhere strongly distorted or vice versa will go folds.
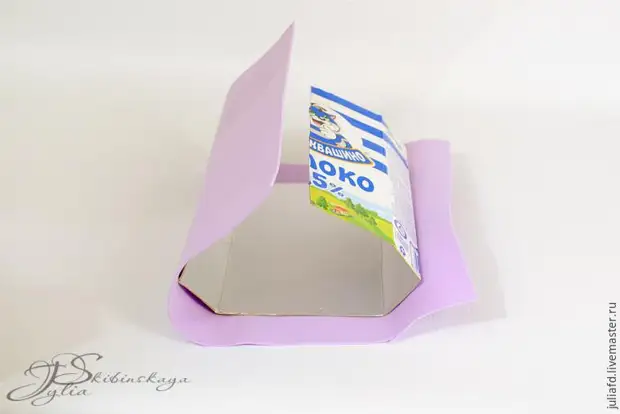
After the Foamiran is glued, cut off the corner and make cuts at all places of folds of our handbag, as shown in the photo. I remind you that part of our batch blank remained not saved by Foamiran. It will be the top front valve handbag. Foamiran comes to it only by 1-1.5 cm.
We begin all the allowances inside and lining them. That's what we get at this stage:
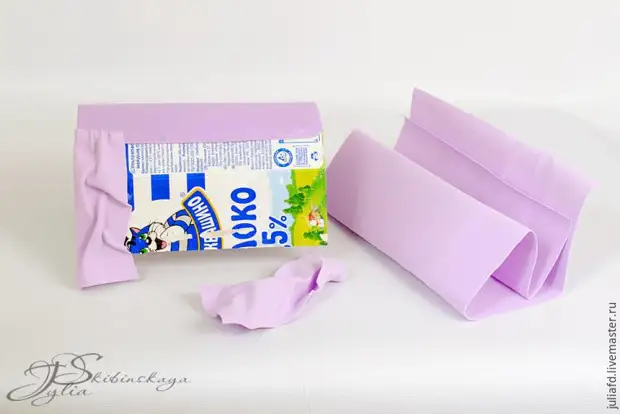
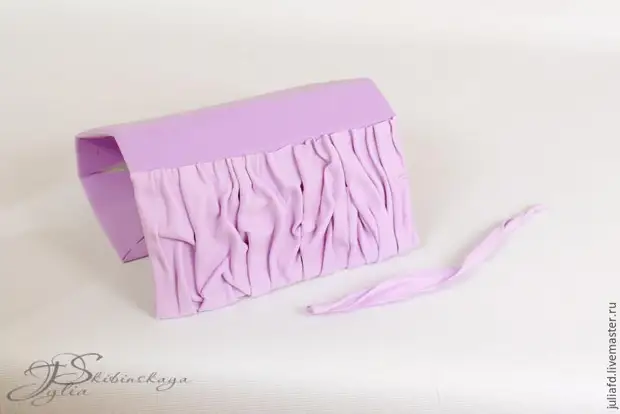
Now make a "drape" on the top valve of the handbag. To do this, cut off the strip of the Foamyran, the meters and commemorate them in the hands, to give them a "wished" appearance and take turns we put on our billet. Each new piece is prevented by the edge that I joke with the previous piece. So that all folds look only. Firsting the question, and why not stick a whole piece, dragged it at the place, I answer - uncomfortable. If you work with a cloth - it is convenient to glue with a whole piece. Well, if with Foamiran, it is more careful and less than about decorating fragments.
You can glue with a gun and a moment. I glued with a gun, I'm more familiar to them. From extreme pieces, leave the allowance, we will withdraw them inside and carefully place all the bends.
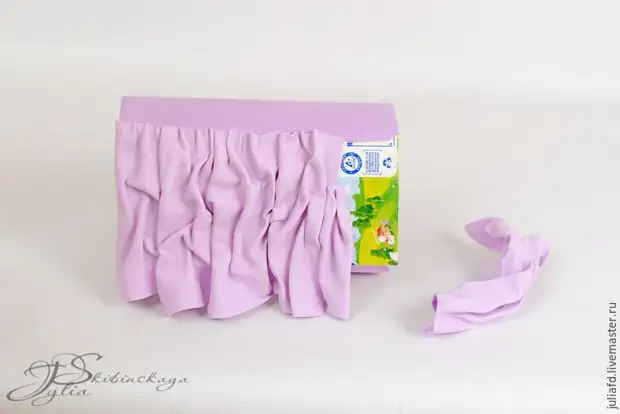
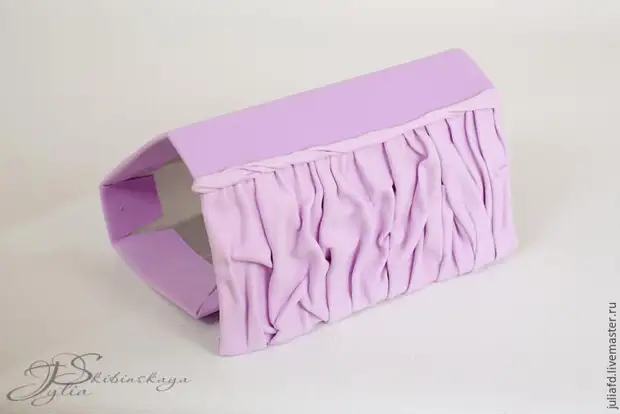
When the entire upper valve is decorated, carefully cut off the excess length, we fell and lining the allowances.
We have the immediate edge of our "drapery". To hide an ugly place, cut off a rectangular piece of phoamyran. Its size is about 2 cm wide, take the length of 1-1.5 cm in length on each side.
This piece is also coming and jumper in their hands, twist it in the helix.
We glue the resulting flabby on the collar, carefully closing the edge of the "drapery". Binding of the flashes inwards and lining. It is convenient to start gluing it first by lining one point to the involving side of the workpiece. And already fixed firing firing and lined at the place, moving, for example, to the left of the right.
Our decor is over, now go to the assembly.
2. Build a handbag
The outlines of our handbag have already been identified. Now let us give her a finished look.
For assembly, we will need our blanks for sidewalls. They are just size in size suitable for our purposes, because We have always adhered to factory fold lines and glukets. But just in case, they can be tried and cut, if suddenly they are cut curved. Now it is already visible exactly how to be folded and our handbag.
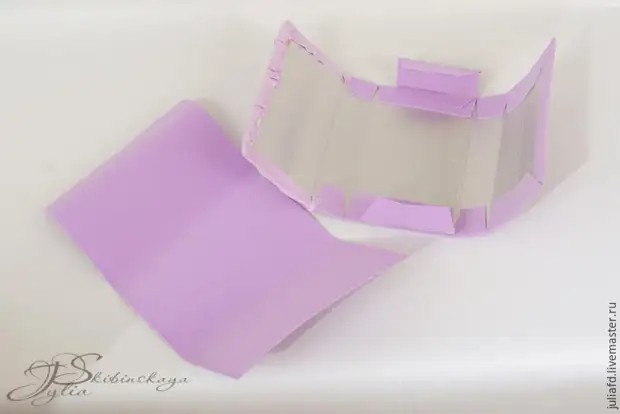
Cardboard blanks stick to piezs of phoamyran or fabrics with 1,5-2 cm. Cut the corner of the material to flick carefully and do not create excess thickness. From Foamyran, cut out additional stripes exactly in the size of our cardboard blanks and do the following. First, bend and put the narrow battles to the cardboard blank. And then we impose on top of the cardboard with already curved narrow letters our piece of phoamyran, carved into the size of the workpiece. We glue it. We do not touch the side allowances on the long edge of the cardboard blank. On the left in the photo what should work out is a ready sidewall.
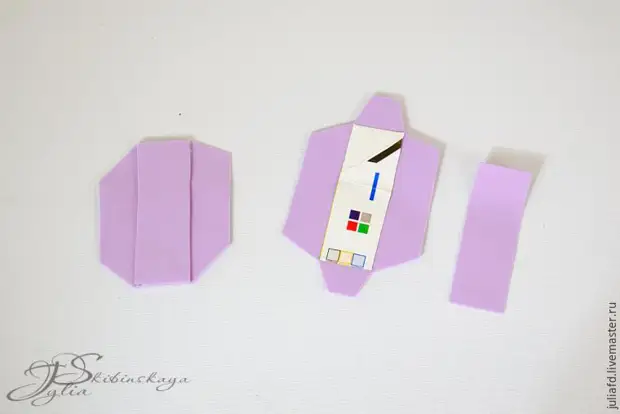
Now we take our rearranged base of the handbag and gently glue our finished sidewalls. While glued only to the central part of the handbag, as shown in the photo. I don't glue the handbag completely, otherwise it will be difficult for us to glue the "lining".
Cut out a piece of phoamyran for our lining. It is necessary to measure it at the place that the "lining" reliably hid all the places of gluing and docking parts.
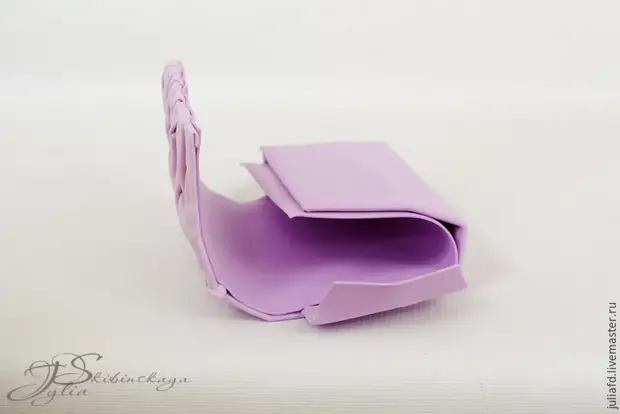
That's all! It remains only to glue the clasp and you can make a solemn output!
The handbag can be supplemented with a chain to wear on the shoulder.
Well, if you did not find the desired color of the fabric or phoamyran - you can just paint them.
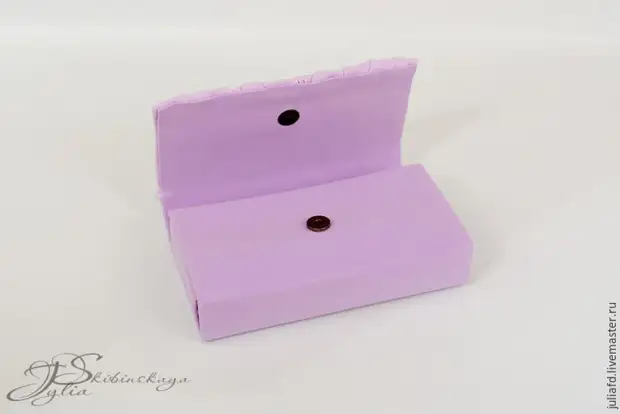
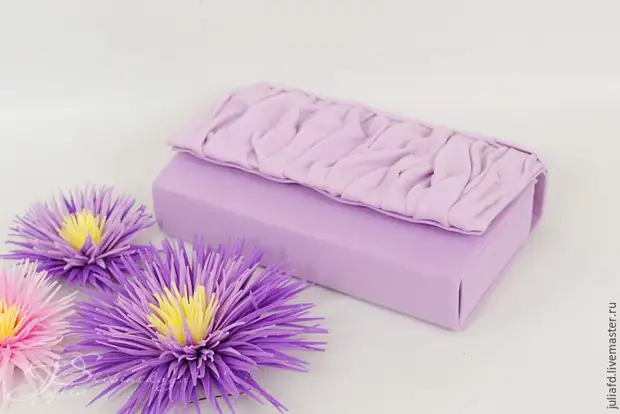
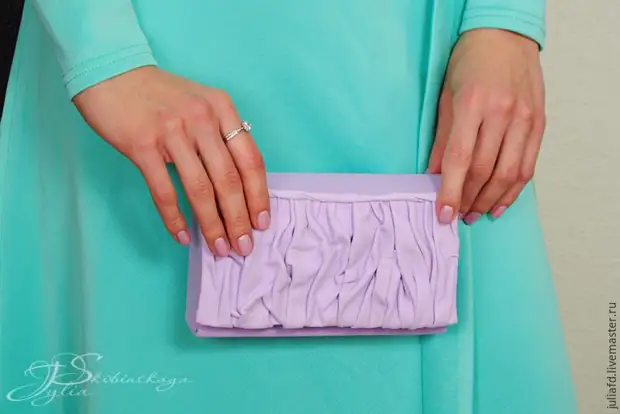

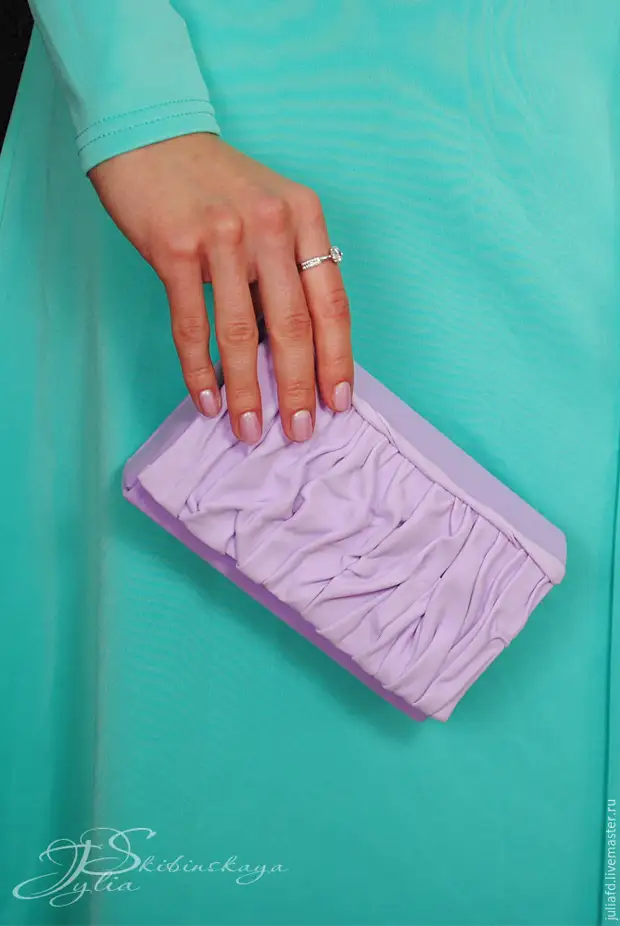
This is how easily you can create a complete image or even make a handbag per exit.
Create and be happy!