
So.
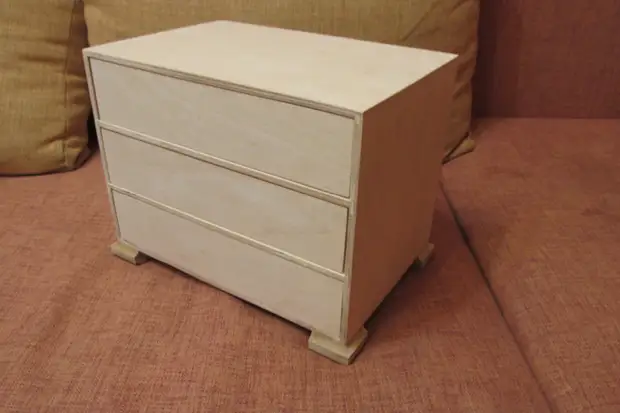
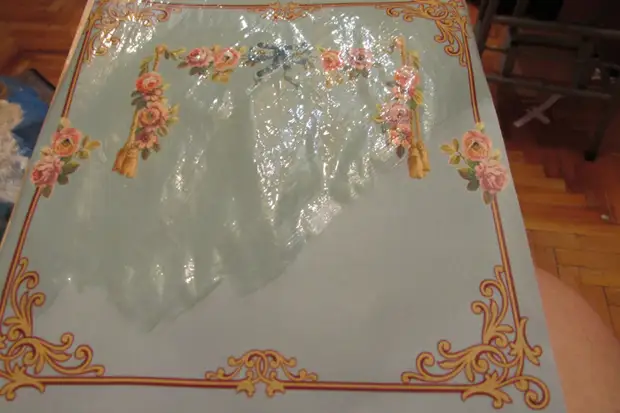
It is necessary - billet, printouts, acrylic varnish, gilding paste, acrylic paint.
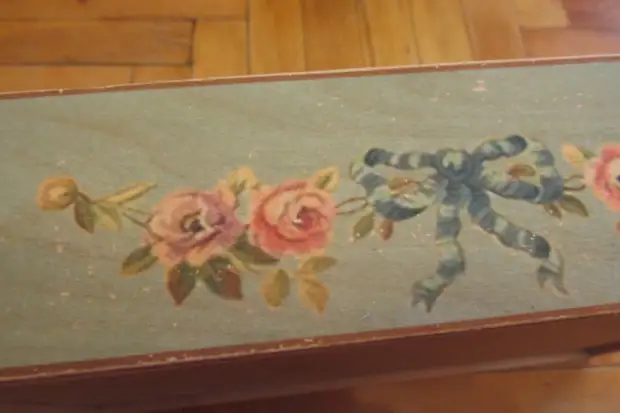
Initially, there was an idea, to achieve the effect of aged pattern on the tree, unfortunately the plywood does not have a pronounced pattern of the structure of the tree, and in the photo it is probably unnoticed, but in real life the minimum idea effect is achieved.
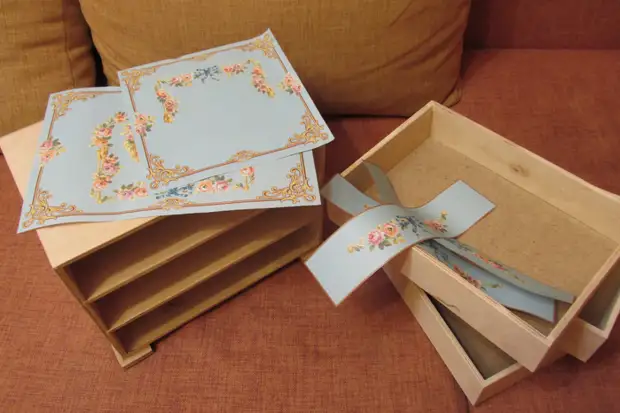
It is to obtain a natural effect of a pattern on a tree with the help of decoupage, paint I painted only those surfaces where printouts will not be, i.e. Forms, bottom, backdrop of the chest and inside the boxes., remained hard to lacquer.
one.

2.
3.
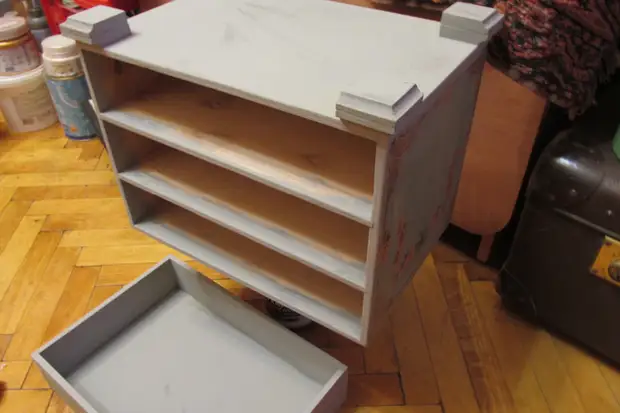
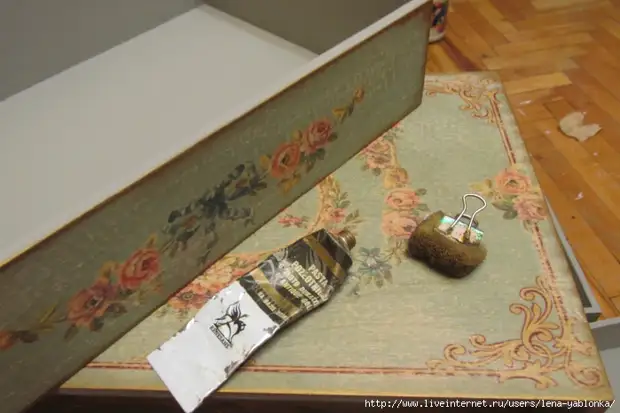
After drying, we stick the printouts on the surface face down with varnish. Varnish with a thin layer, but very carefully and on the printout and the basis. Then also carefully, the rubber roller is driven out from under printing air bubbles and unnecessary varnish. And forget about work at least one day.
one.
2.
3.
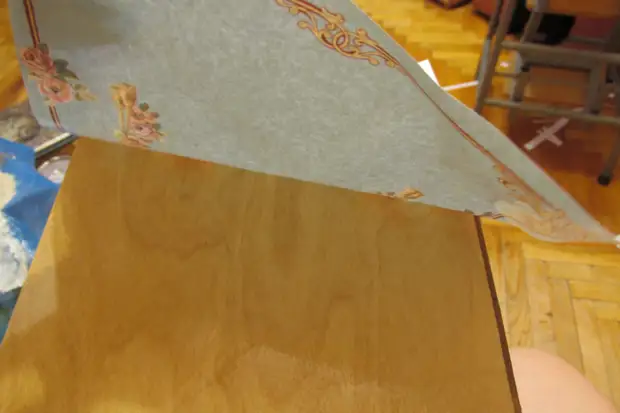
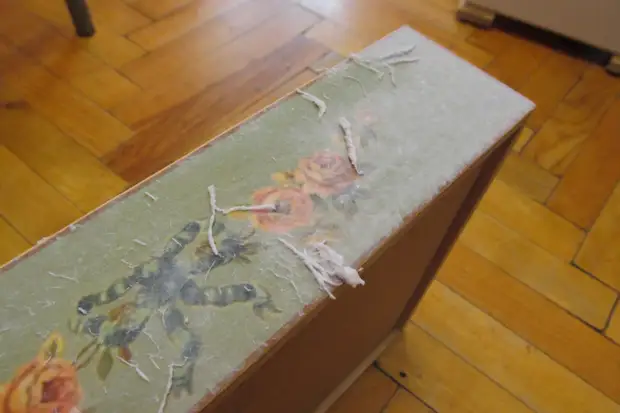
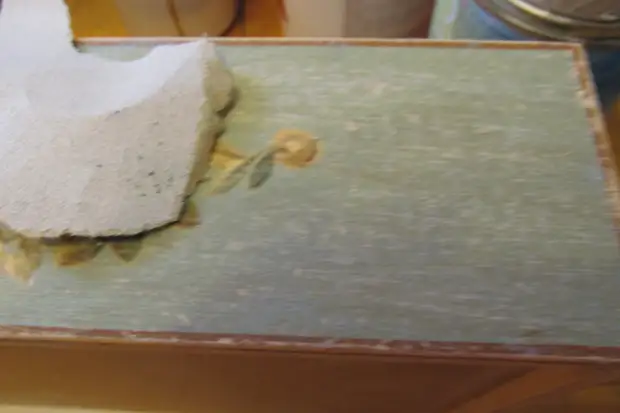
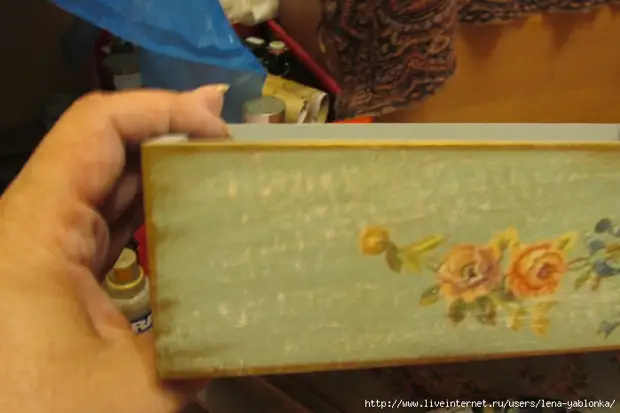
After a day, we in the hands of a wet sponge for washing the dishes and a rigid face, first we rinse the entire offline of printouts, and then gradually gently like a pace layer. As soon as the battleships of paper appeared, we remove the sponge and do not regret the handles, but again it is very affectionate, we squeeze all this paper to the last fiber. We have a drying and see that there are other blesses of paper left, it means that we watter the palm and carefully again.
one.
2.
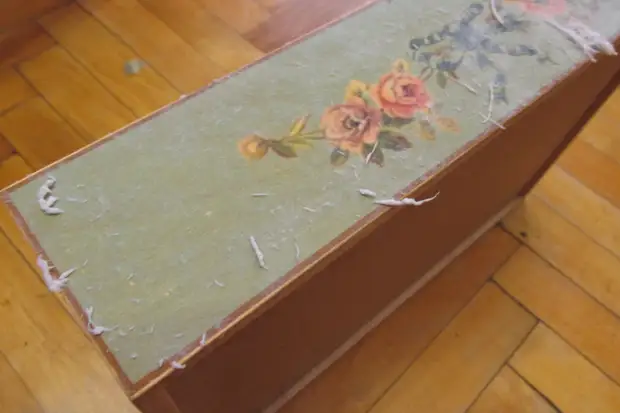
Sometimes it is possible to erase and coloring layer, I know by experience, it happens most likely because there was either an air bubble, or there was an excess lacquer in this place between the printout and the basis. In this case, it was not scary for me, because I need an older, I needed in addition to the obtained proposher and the sandpaper "null" passed.
one.
2.
3.
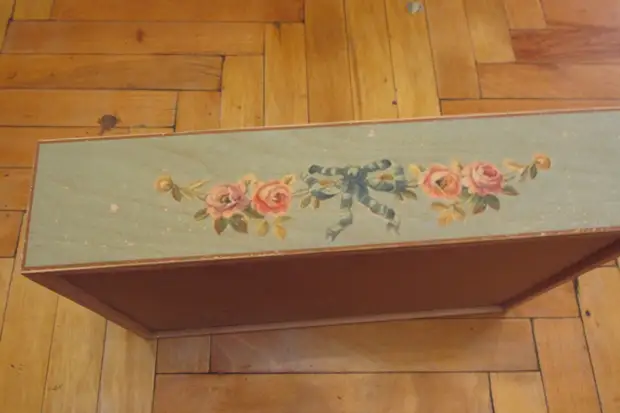
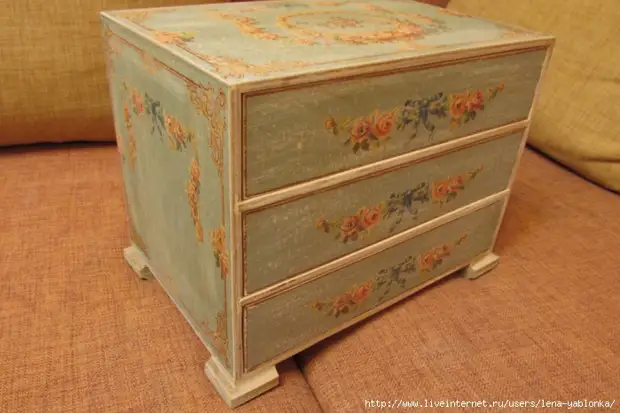
Now, along the edges, the corners, the ends we pass a semi-dry tampon with the restoration paste "old gold". Pack, shorter.
one.
2.
Well, that's all! We open the matte acrylic varnish, but do not dilute with the layers, we have "old man", we do not need a film from varnish.
four.
five.

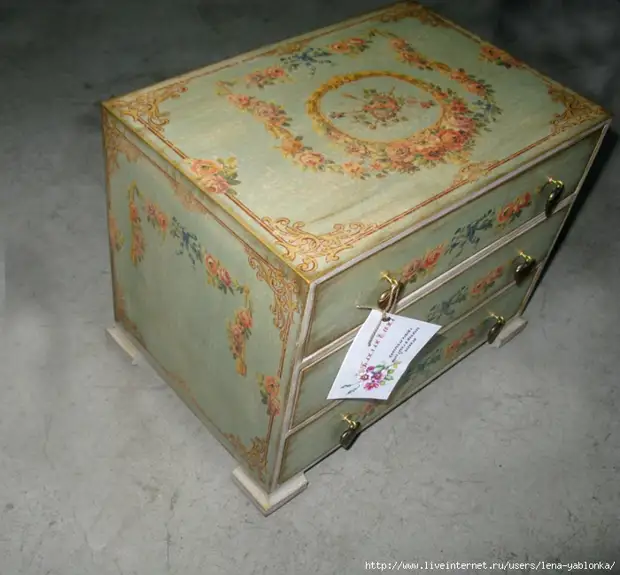
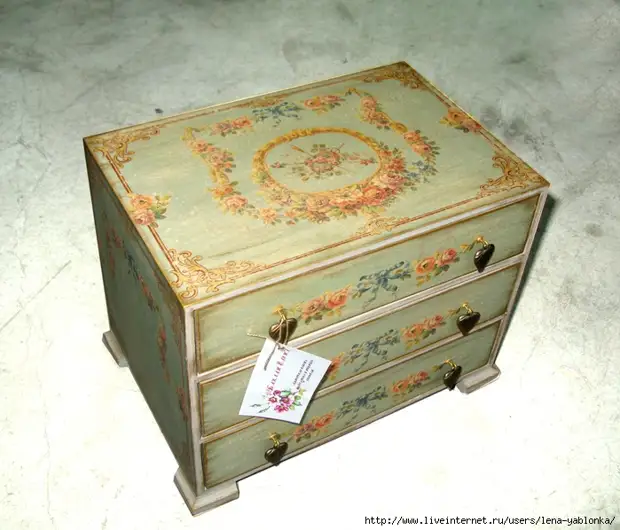
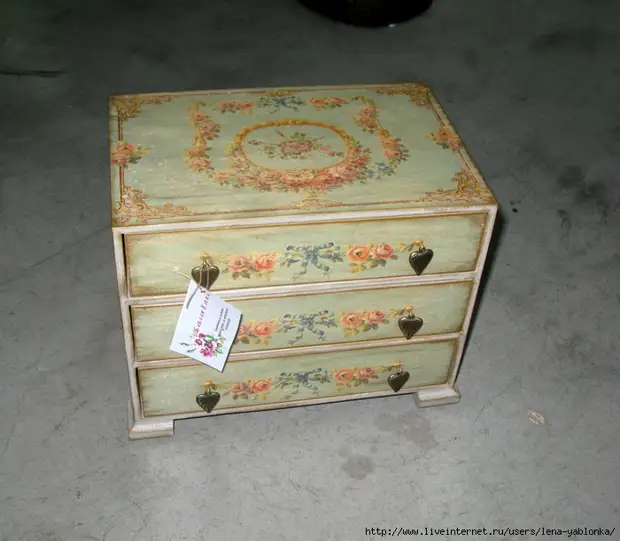
We screw the pens and voila, we have a comedom from the time of Mary-Antoinette!
6.
7.
one.