
I can't bring my sewing processes to mind, so let's at least show something from the "useful" series. I have such posts for months, they are going to be collected in pieces, because after all things are not coming to the head, until they ask. And then ask again, they will ask two - the head fell ill. :-) And at some point, questions reach the critical mass, the answers to them are already pulled to a whole post. :-) Today I will talk about the line: scribble, smoke, fasten, I will tell you how I do. All this is quite simple things, of course, but beginners in the sewing will be useful. Or maybe not only newcomers, for example, I learned about something relatively recently.

1. Smooth lines
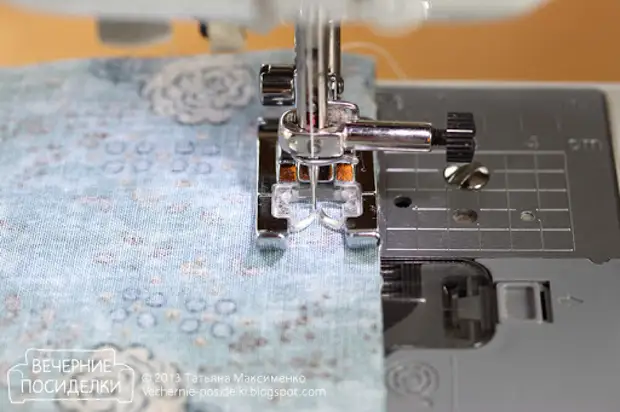
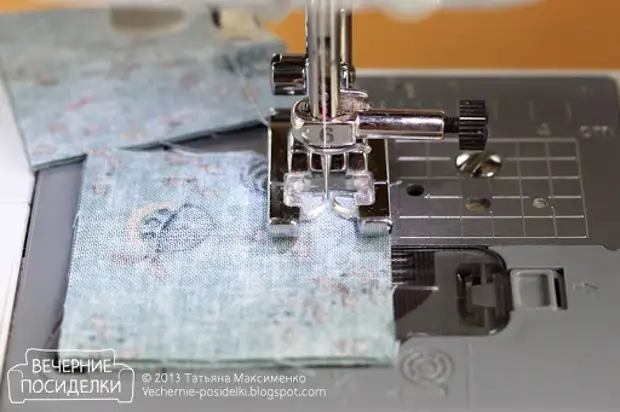
The question about even lines, probably the most frequent, so let it be the first. For even lines, just need guidelines. For bargaining seams, my landmark is the edge of the foot, aligned with the edge of the fabric. Just follow this and watch, I don't look at the needle at all. Focus on the edge and forward.
So see most often, the allowances on the seams 1cm are obtained. As well as the right edge of the paws with the edge of the fabric, the needle in the center of the paw.
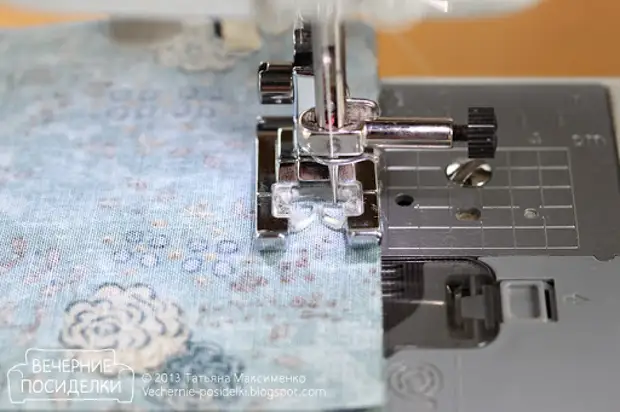
If you need a smaller point, the right edge of the foot is also with the edge of the fabric, but I will move the needle to the right (if you need a larger, then on the contrary, I shift the needle to the left). For example, it turns out a 7mm point.
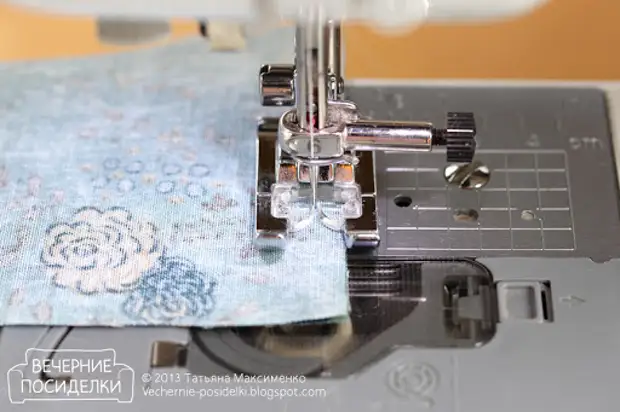
And you can not focus on the very edge of the paws, but on some other part of it, for example, on ... Uh ... I can not imagine how this place is called, but you see by photography. Needle at this time in the center of the paw. So I seen with letters on the seams 5mm.
If you can not navigate the foot, i.e. If I do not a barrel seam, but, for example, it is stopped in the middle of a piece of fabric, then I will definitely place the lines of the seams with a marker, even if you need to see a very small plot. And then I'll watch the needle, putting it in the center of the paw.
2. Break or not bend?
If the inputs on the seams are hidden under the lining, then I do not do anything with them, i.e. "Zig-Zag" do not raise. But unless in some exceptional cases, when it seems to me that the fabric was too buzzing, and the allowances are not enough. If there is access to the seams on the seams, then of course they process them: either by raising the "zig-zag", or with a detail of a dislime or oily seam.
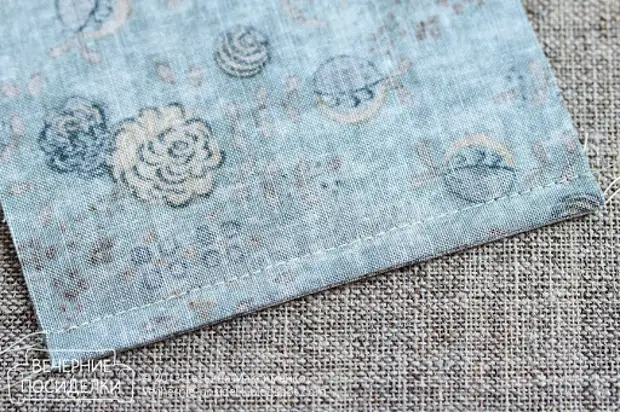
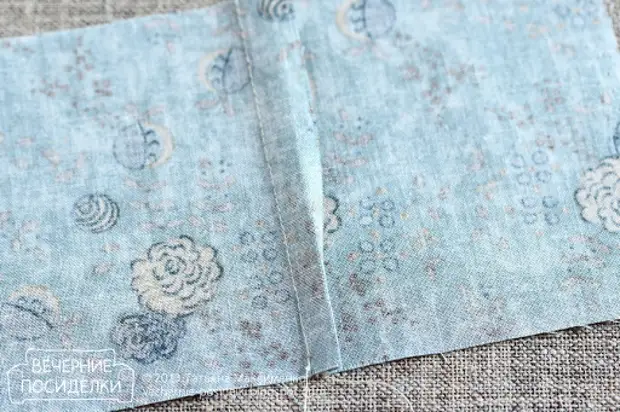
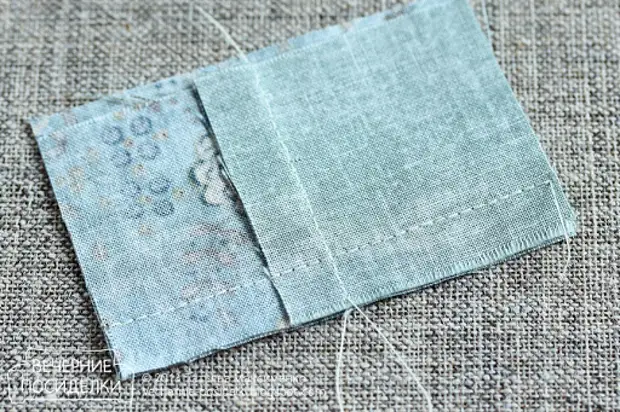
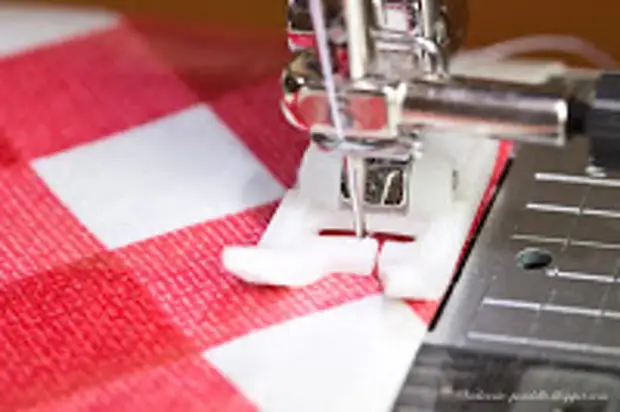
Turning seam. Details folding with the involves to each other and laying the line at a distance of 5mm from the edge.
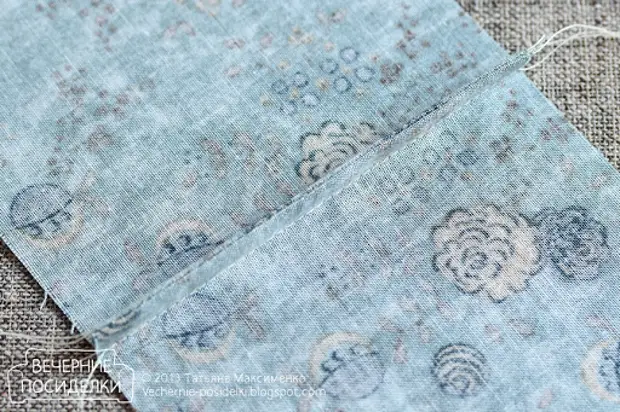
Then I fold the details of the front parties to each other and laying another line already from the inside at such a distance from the edge so that the allowances on the seams "hid" inside. It is about 7mm.
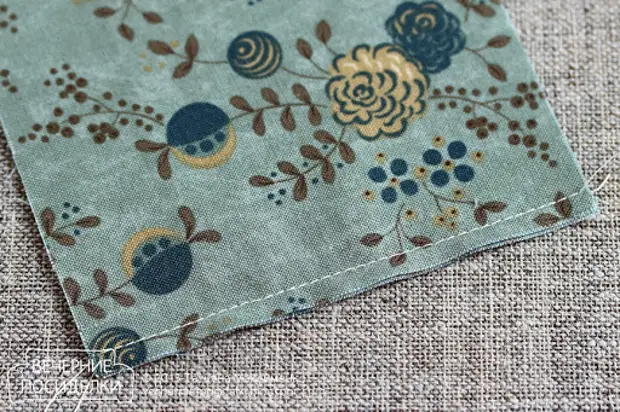
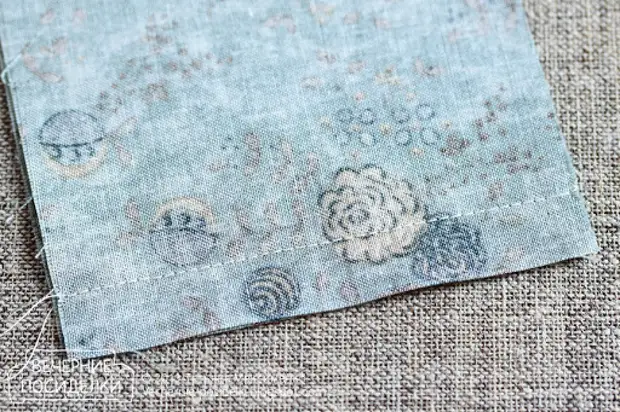
So the seam looks like, if you decompose the items. The allowances are neatly hidden.
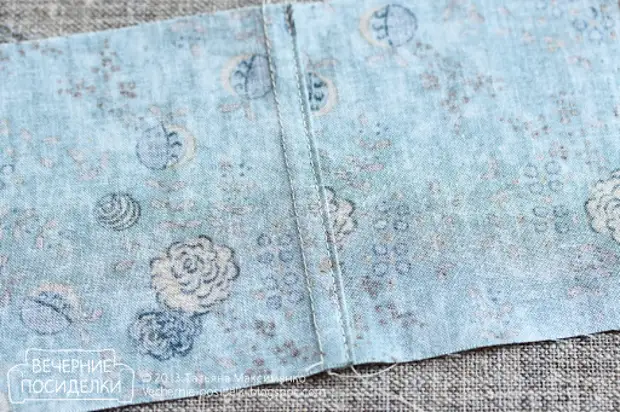
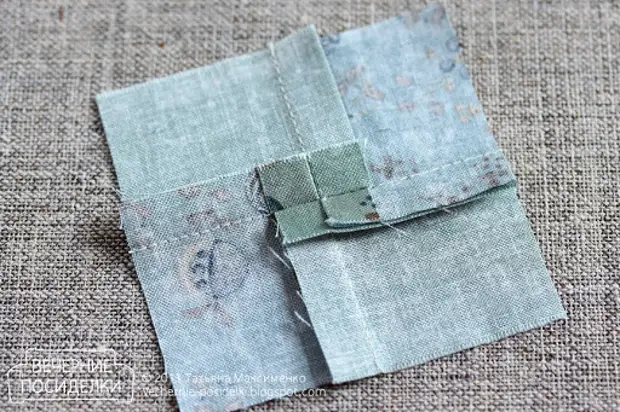
Welcome seam. I add details the front sides to each other and sharpening with a larger than usual (about 1.5 cm).
One break cut.
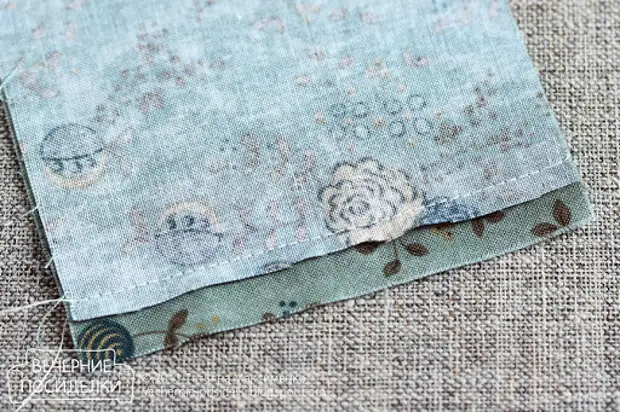
Detail laying out. Long allowance covering short, weaving.
And rejuvenate around the edge.
3. I'm not afraid of the pin
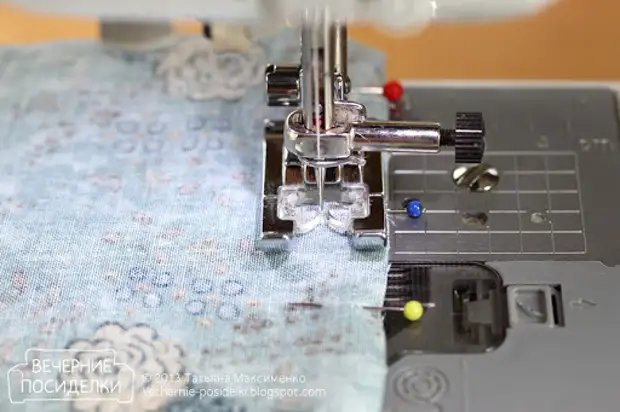
This topic usually causes turbulent discussions and many questions, but, yes, I really line on the plagats. Pins row across the line. I do it certainly at slow speed. I'm smoking everything, except for very small details. When passing a particularly important, "prominent" place, for example, with a decorative eclipse, I can reveal before the needle pin, because when moving "from a slide - on a slide," the foot can be wilted, but in other cases the line on them. It is more convenient to put the pins to the heads to the right so that they are easier to take out if necessary.
4. "So what, on the living, what else?" © ©
Pins, pins, but some details have to be mixed. Almost always mixed multi-layer details when they need not just to bay, for example, to edit, but to combine one multi-layer item with another multi-layer part. Also rely on complex places (all sorts of convexity and intake). Sometimes I am manually mixed, but it's a completely difficult place, but more often on the machine. To do this, increase the length of the stitch to 5mm. Such a line is very easy to resort, pulling the end of the thread. According to the mind, you need to lay a hint of a little left or a little right to a future constant line so that it is easier for it to relax, as in the photo below, but such an ideal picture is far from always. Since I mix complex places, then the line there is a yosom goes. :-) But in general, it is not scary, just pull out the aims must be careful, so as not to damage the constant line. When mixed, I'm smoking the details of the pins, especially if the length of the line is big. Without a pin, the bottom item may be requested and at the end of the line it turns out that the edges of the parts did not coincide.
5. Clear can not be left
I do not carry me to endure, but without it anywhere. To successfully perform this unpleasant procedure, you need to get a breakdown or scissors with sharp tips. Embroidery herds work perfectly and more often, by the way, I use them.
It is possible to flush so, i.e. Stretching the seam and capture the stitch breakup, but the risk of damaging the fabric. I know by experience.
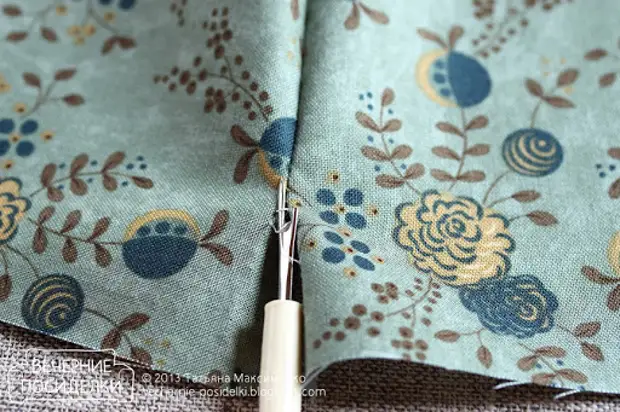
Therefore, it is better and, in my opinion, much faster. On the one hand, the details cut the stitches at a distance of about three centimeters from each other.
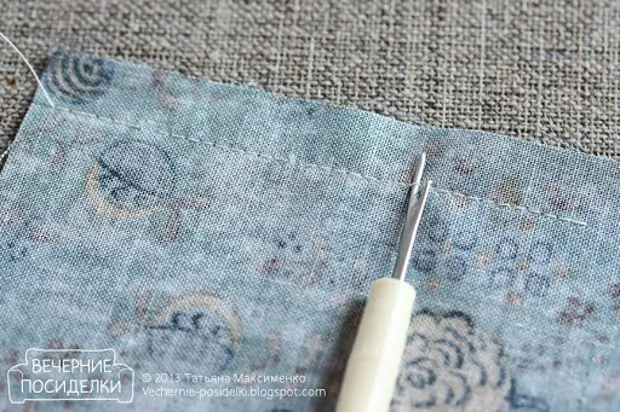
Turn over the part to the other side, pull the thread and vio-la, the line is broken down. Easy and fast.
6. Koltuna you are my chopencies
Almost always, at the beginning of the movement, my typewriter coats decent chopencies from the wrong side. Do you know so much? This still modest, usually worse, three times more.
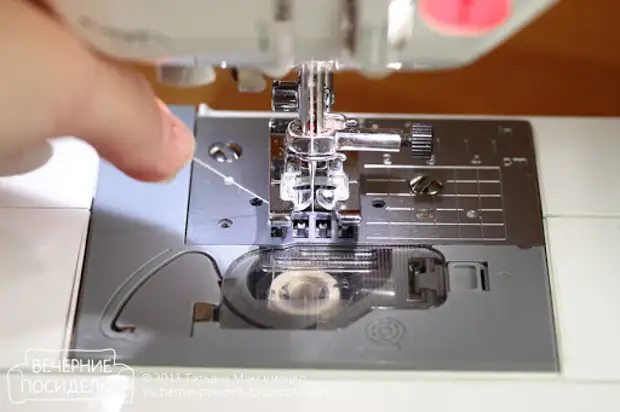
In cases where this place is hidden under other details or lining, I do not pay any attention to it. But if this place will be in sight, for example, a stopping on the top edge of the bag, then you need to fight. It's easy to fight: before starting to scribble, you just need to get the bottom of the bottom thread. To do this, keeping the end of the upper thread, lowering the needle.
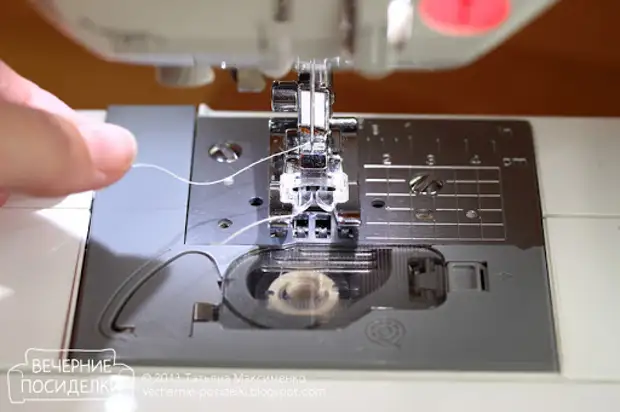
I raise the needle, pulling the upper thread and pull out the bottom thread on the surface.
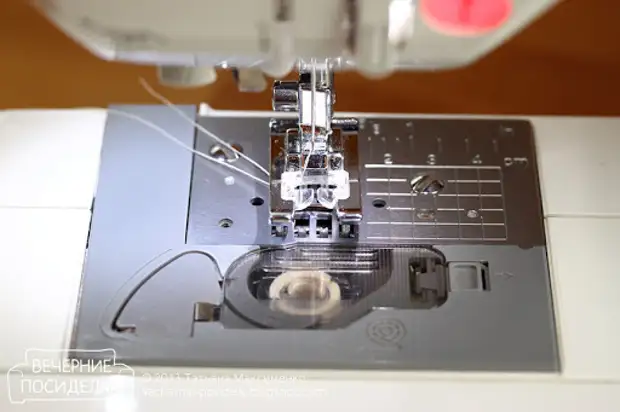
I take both thread back. Everything can be scribble. Collunov on the wrong side will not be.
7. Fasten or not fixed?
At the beginning and at the end of the line, we usually make leaps, i.e. We flash a few stitches there and here, I have two or three stitches. I used to fix everything and all. But in general, fix or not, depends on what sew. Sometimes it is not only not necessary, but even harmful (until the quilt did not know).
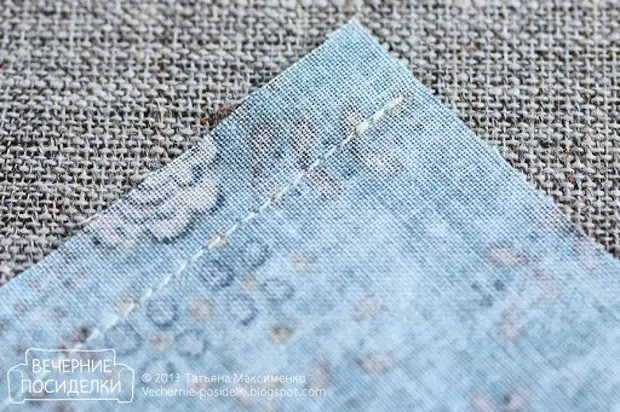
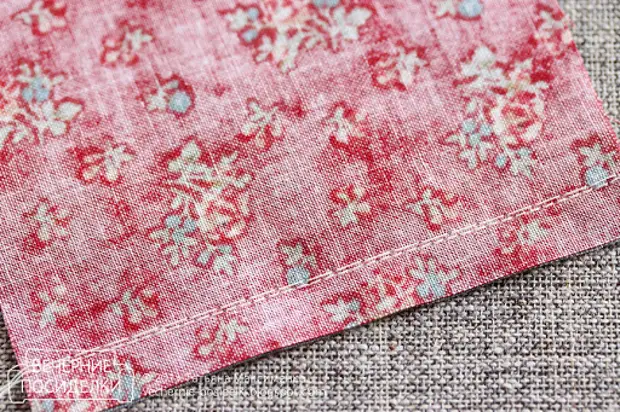
No need if later on top of the line will pass another perpendicular line, which will not let her break. Those. From the fact that the leaf is done is not hot or cold. The short line in the photo below can be not fixed, since one more line (long) is perpendicular to over.
And if the block is shiated for the quilt with the "locks", then the scores are not only meaningless, but even harmful. They will not be allowed to form this very "castle", i.e. Expand breakdowns on the seams in different directions.
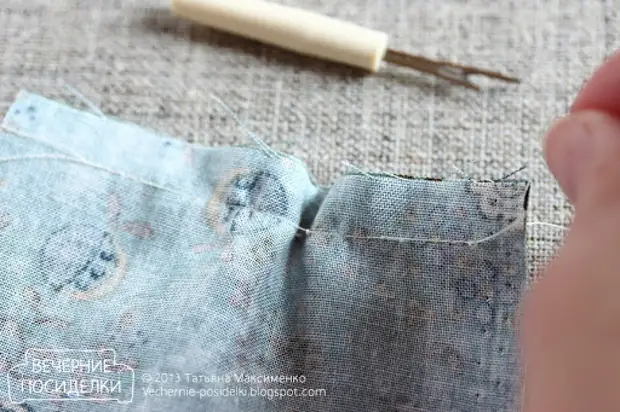
8. Notice the traces
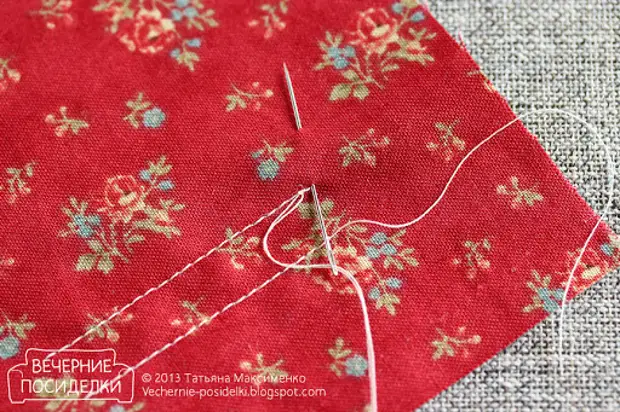
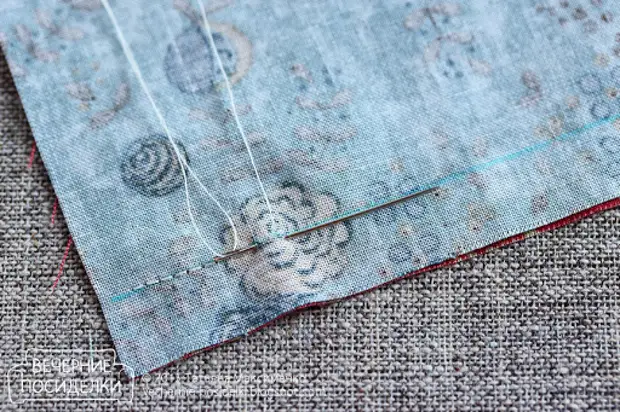
It happens that it is necessary to fix the ends of the threads, but you cannot make fixing stitches (for example, the line is interrupted in a very prominent place and the thickening from the leap will look no way). Then I fix the ends of the threads manually. I pull the "tail" of the upper thread on the wrong side, pulling the bottom thread.

Tie two tight nodules.

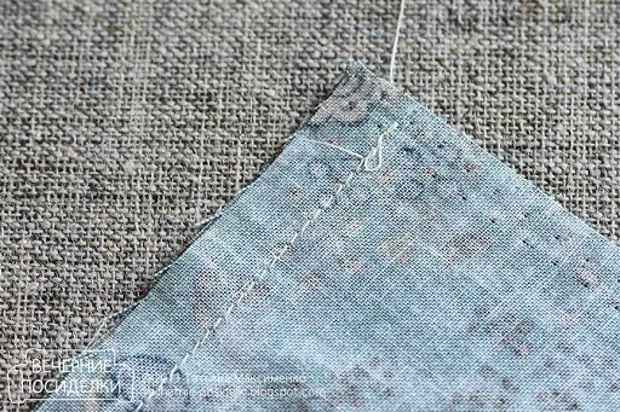
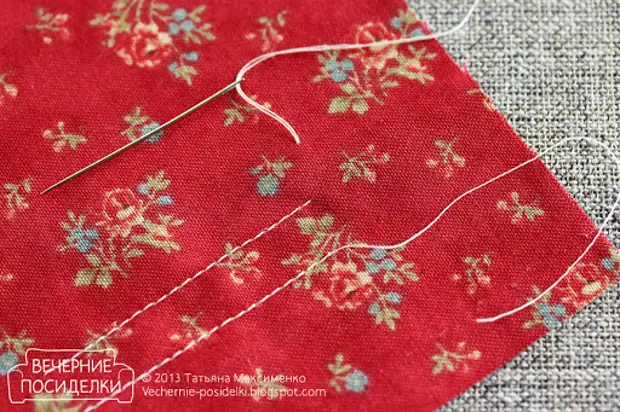
Bowling "tails" in the needle, I enter it exactly in place, where the last stitch ends and displaced at some distance from the line. If the tails are very small, first I introduce the needle, and then invoil in the "tails". At the same time, the needle does not puncture the product through, it passes between the layers.
I pull out the needle, pulling the "tails", thoroughly pulling the nodule "drowned." Everything sticking out of the tissue threads can be trimmed.
9. Conveyor
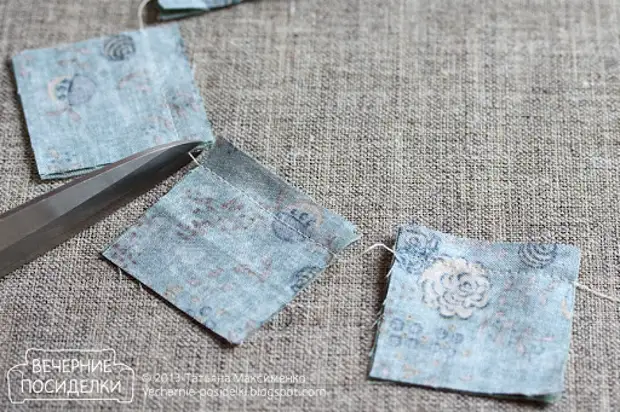
Wonderful reception, which I learned relatively recently, can a year ago, when it was silent with the quilt. When stepping up a large number of small parts, you do not need to interrupt the line every time, you just need to put the parts under the paw on each other. Firstly, this is at times speeding work, secondly, the fabric does not "bounce" at the beginning of the line (for me it is especially true when, for example, the squares are not in the photo below, but diagonally), thirdly, with Koltunins (see paragraph 6) have to be dealt only once, at the very beginning of the line.
And this, by the way, is very fun. :-) It turns out such a garland. The chain of threads between the "flags" are formed when you are smashing on "emptiness". We cut chains and ready, you can work on.
10. If the technique does not cope
It happens that with a sewing machine in some places it is not at all necessary or you can bring out, but it turns out very inaccurately. After a couple of attempts, stop tormented and the machine and myself, and simply flashing a problematic place by hand "back needle." When sewing manually, I definitely make the markup of the seam line.
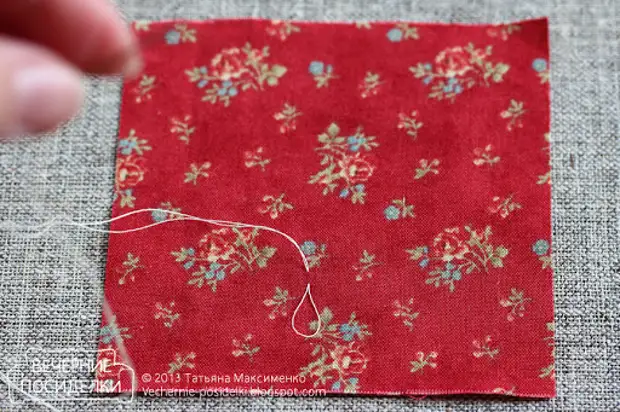
11. No nodules
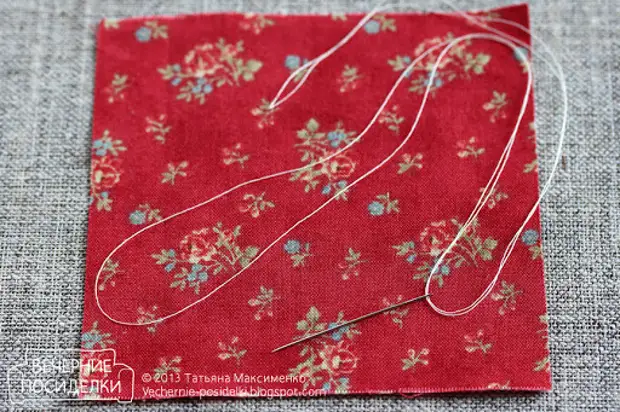
Well, if we were talking about manual lines, I will answer the frequent question "where to hide the nodules" at the beginning of work when manually sewing or a set. Nowhere can sew without nodules. The reception shown below is known to all embroiders. When I started to actively embroider five years ago and found out about this technique, I had a straight break of the template. :-) It is necessary, since childhood manually sew and not know about such. :-) So, if you need to sew a double thread, then it is necessary to fold it so that the loop is formed at the end.
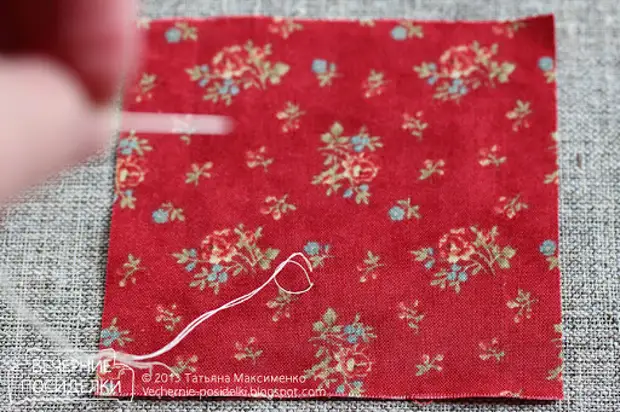
Make stitches.
Turn the thread in the loop.
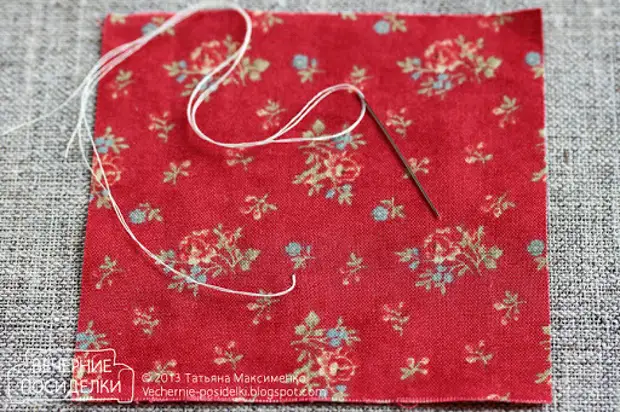
Tighten. All, no nodules, you can sew, shed, well, and embroider of course.
If you need to sew a single thread, then I do this. I make a stitch and introduce the needle in the "tail" thread, breaking it.
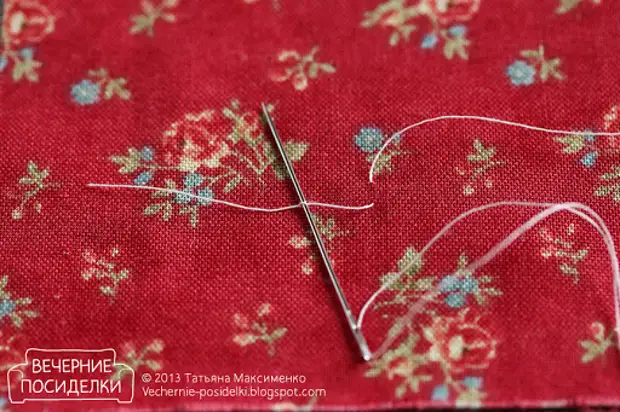
Tighten. Ready, you can sew. And the tail hide between the layers is also as in paragraph 8.

Shake with pleasure! And I will go something from finally. :-)