

There is an opportunity - a million:
- Thermal transfer paper ... Yes, only in our Transnistria it costs about 30 dollars per 10 sheets. I do not know, I put me toad!
- A variant with the transfer with acetone, a fatigue (or as it is called :)) Mouorne, dirty, and in the end my inkjet printer does not work!
Here I will make some remark - about inkjet printers. This is the last century, but the toad that stifled me when buying thermal transfer paper, was here as here when I purchased the printer! As a result, I bought a "miracle" for 50 ye, and then found out that the purchase of cartridges is more expensive than the cost of the printer itself ...
Well, there is nowhere to go: the desire to make fabric tags with a pattern did not let me go, and as a result of the mass of experiments, I still found an excellent one, and most importantly - a very simple way to transfer an image on the fabric!
I am ready to share it with you:
Preparation for work!
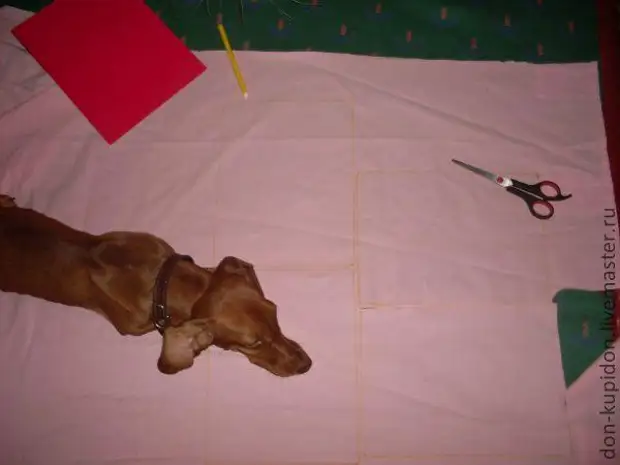
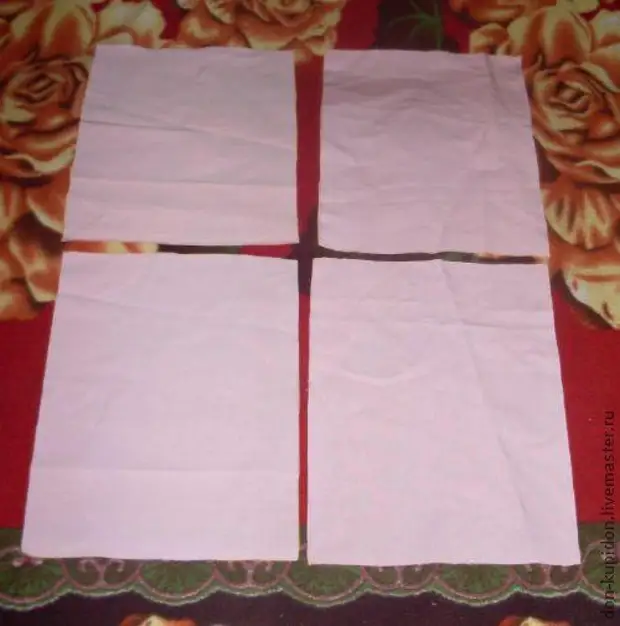
To begin with, we need a cotton monophonic fabric! It is drawn on it rectangles, the size of the A4 sheet. I was helped in this business - the boss:

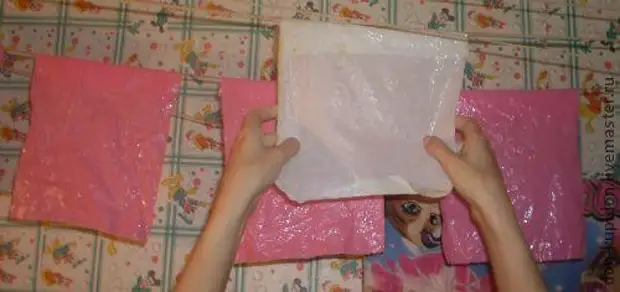
I, as a true former blonde, ruthlessly crushed Ikeev's pink (!) Curtain. That's what happens, practically sheets for printing:
Stachmalim !!!
Now we go to the kitchen. We need to prepare the composition for starching the tissue. It is necessary so that the tissue becomes dense and easily perceived by the printer.
In general, as you know, there are several options for starching:
- Soft - used for clothes (dresses, blouses), as well as for linen.
- Semi-rigid - this is an option for tablecloths and napkins
- Finally, the option you need is a rigid starch. I'm so starching my husband collars and cuffs on shirts.
Forest in potato starch and tablespoon :):
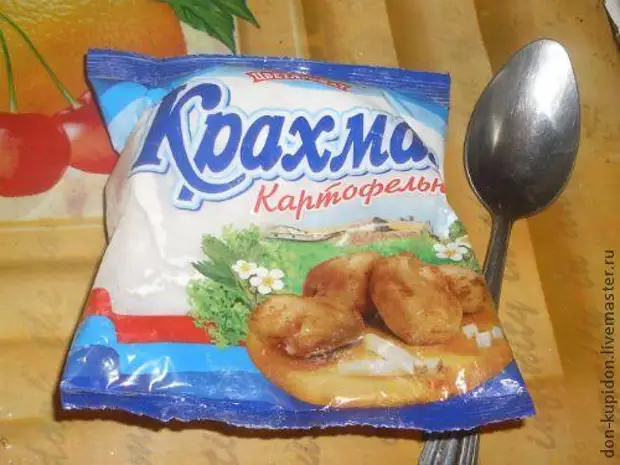
We take enameled dishes, snatch starch there, based on the calculation - 2 tablespoons per liter of water. I cleared and drowned a whole two-liter kettle, that is, put 4 tablespoons. Practice then showed that the liter would be quite and quite enough if you, of course, are not going to starch the trimming of fabrics weighing in a ton.
So, put starch into our dishes, add quite a bit of cool water there and smear. The consistency should work out like a thick sour cream. After that, it is safe to pour the mixture with steep boiling water in the desired volume, constantly stirring:
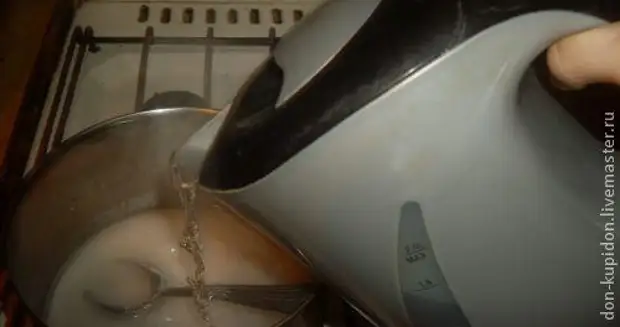
In the end, we get such a wandovo brew :)

All this happens very quickly. All: You can go to watch the series, as you need to give to cool the composition. I inspired with an even white baby diaper. By the way, on the white it turns out at all cool !!! The dog was near, so you are imagining to the bright attack of your pets on unfolded fabrics. I have this sick topic, but still funny and nice! The husband suggested cutting the stencil on the silhouette of a dog and print it later)))
Widdle, while the composition was cooled? All - we take a saucepan, fabric and go to the bathroom or on the balcony, in a word, where we will susht trimps.
There is very busily soaked every piece in solution
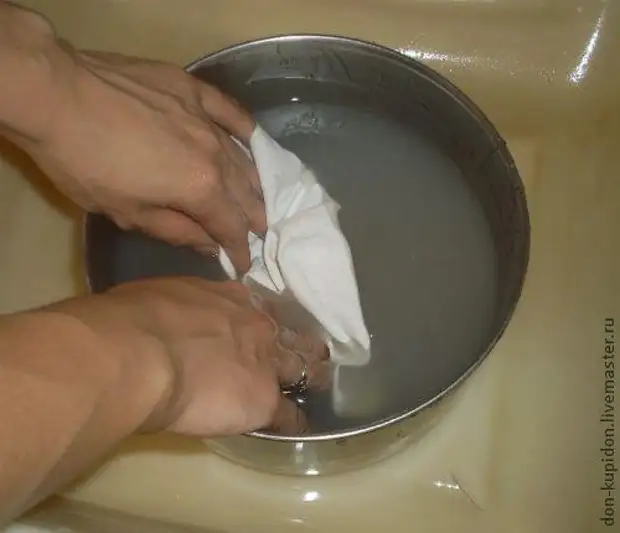
Neattyno so squeeze all surplus, hang sushi (without clothespins !!!)
We go again to watch the series, because the fabric should be slightly (!!!) to dry.
Studim!
As soon as the glasses of excess water go this time to the ironing board. Put on it a terry towel. We will iron rags through a thin fabric. I, like a good mom))), I keep my daughter's diaper, so they are periodically so impressed for such purposes!
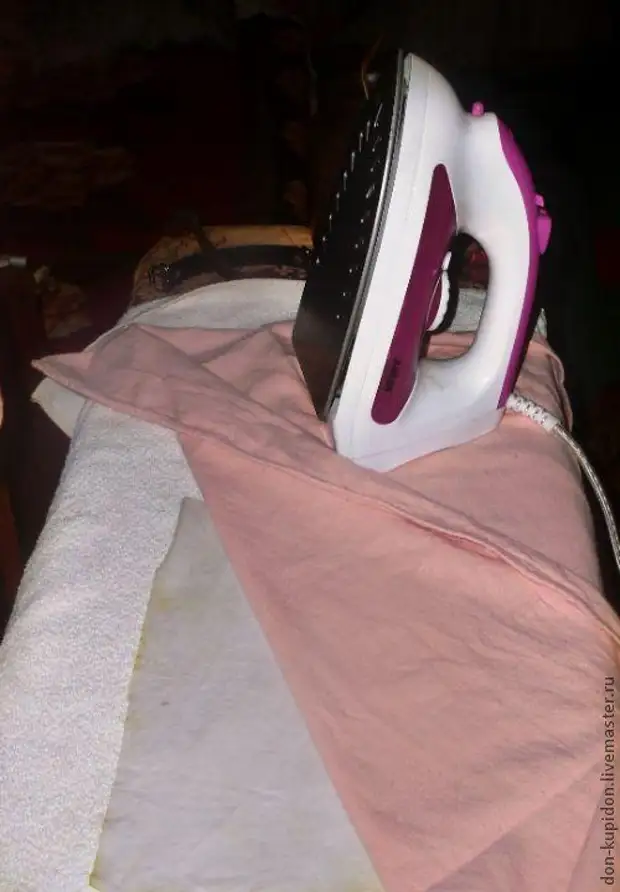
Be sure to place a value for ironing wool on an iron. The towel and the fabric perfectly absorb the starch surplus, after which all these surplus are removed after soaking in the soap solution. Did our workpiece and gently lay out on a towel dry:

At that moment I looked at the clock and saw that for 4 o'clock in the morning and went to bed - I still need to wait until everything dries!
Direct process!
Outlou, I run ran to touch the tissue! It was due rigidity! Hooray! All - Now we have practically reached our goal.
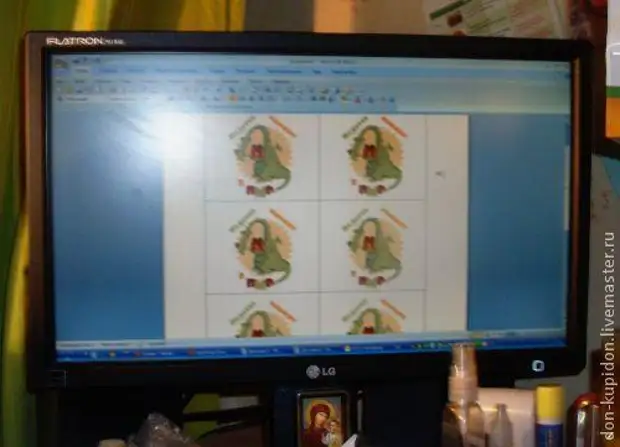
Create the image that we need! Keep it on the computer.
In the Vordvian document, create a sign and insert into each cell on the picture of the size you need:
Straight to the printer insert our fabric. Watch it to get ridiculously:
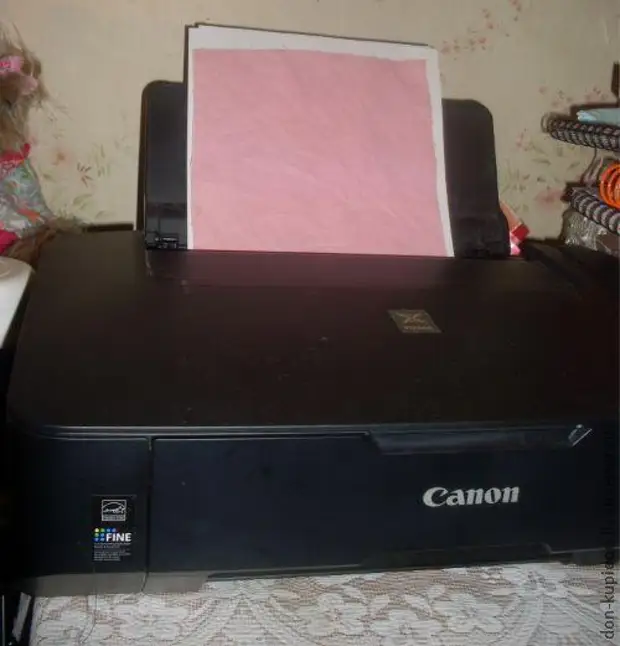
Pray))) and click on "Printing"! We observe with a true reverence, like a printer from the "grazing" of the printer, the fabric is casting with an image applied to it!
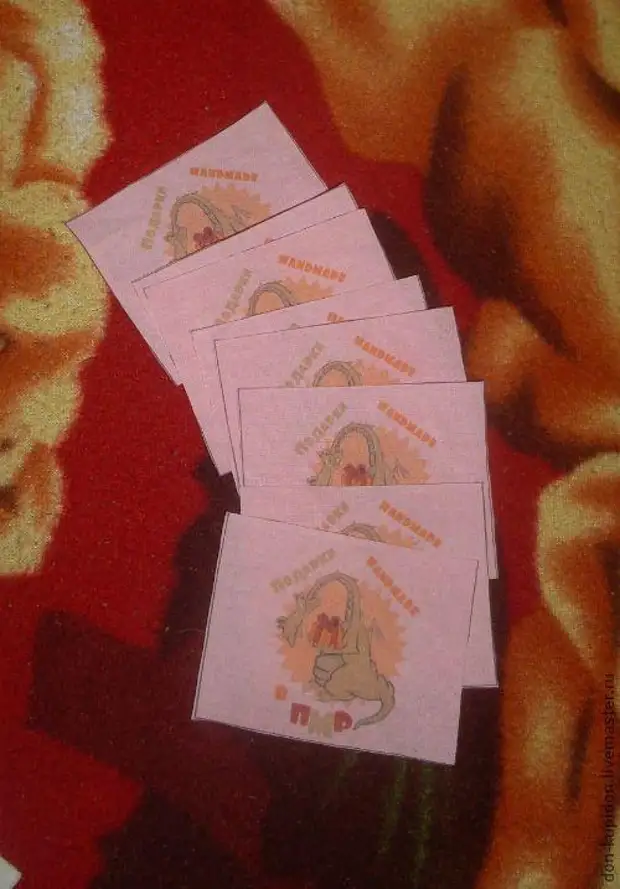
I did the same Makar and the borro is narrow for toys, inspired by the results:

Note: A photo is not very high quality, as I forgot the camera from Mom, I had to flown on the phone) So the colors are more than bright!
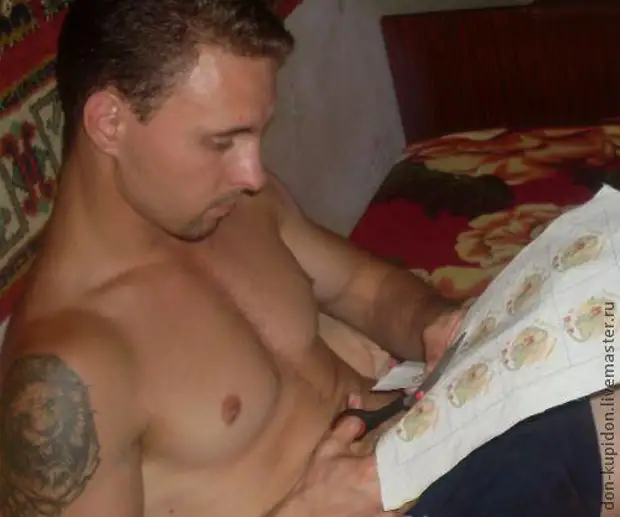
We are waiting for a couple of minutes, stroke the iron through a marblelet. And cut out our bower. It is best to entrust this to her husband - let him not relax:
Important!!!
My husband and I are very doubting, he immediately began to say that, they say, of course, well, what happened! That's just the slightest way out of water - and lablam - cranes (quotation)))
Well, only experience will help. We went to the bathroom and broken half an hour were terrified in water one printed fabric sheet. Given the fact that he was still fresh, we can say that the paint tears the minimum, and that - black remained almost unchanged!
So you can take not only labels and labels, but also packaging, photos on the fabric - by the way, it turns out perfectly, we have already experimented!
This option is suitable for any printer. Close fabric is not at all difficult, you can immediately make stocks for the future, and you do not need to spend money on thermal transfer paper, mess with acetone, with fat diluents, turpentine ...
Actually for all needlewomen! There was no such option in the network.
There were options:
- The tissue was pasted on paper ... How then to handitter the paper and what will happen to the "beautiful" exhaust?
- Flizelin was stuck - again the money and shopping hiking. Starch is worth a penny)))
- The drawing was transferred to a complex method using acrylic. I have acrylic paints, and so I also know that they cost money, and the transfer is not always neat ...
- There is another option to order in a special studio ... if the money is not a pity ...
I didn't find anything else. And cravored thoughts with starch and printer came to me in the head after unsuccessful shocking experiments into all the holes of the printer)))
I hope you were useful to a master class, and another needle-handical problem you will have less!