It is laid out and gluing threads on a given contour. Today we will tell you how to diversify this technique and create more interesting and textured pictures from yarn balance based on bright photos and images. Take the image in your hand. Glue and yarn and start creating your handmade masterpiece, which will make a snapshot to play in a new way.
Drawing yarn is always an amazing result and a fairly simple and exciting occupation, which is also available to children.
Picture from remnants of yarn master class
Necessary subjects:
- Printed image or photo
- yarn of different shades (you can use your yarn colors that do not match the photos)
- Thin sheet of foam or hard foam, cardboard
- PVA glue
- Wooden spanks
- scissors
Before printing your favorite photo, make sure that all lines in the picture are well visible and the shades are expressive. Otherwise, it will be difficult for you to create a picture. And remember, the more details, the more difficult it will draw a picture of the yarn. It's easy to work with large images. Also, if you want to create a big picture, you can print it fragments on several sheets, and when working to combine them, the end result will not be noticeable.
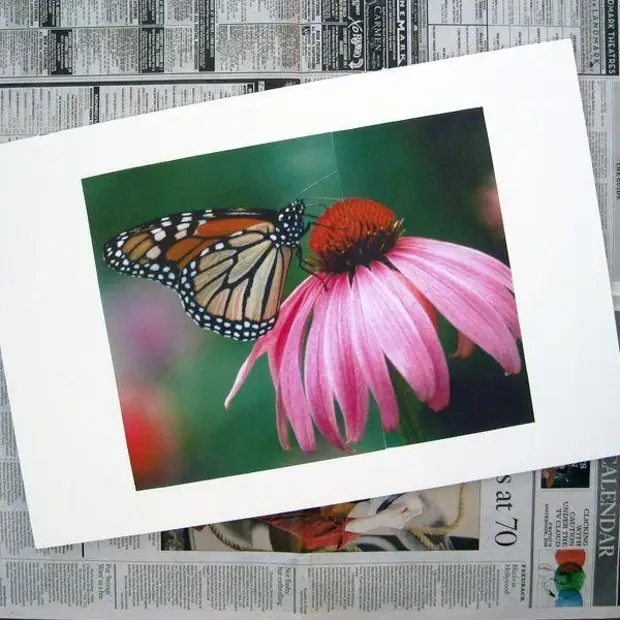
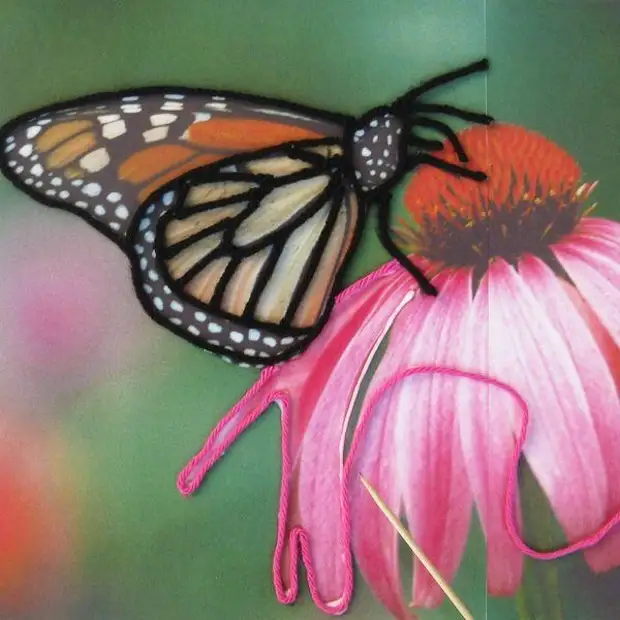
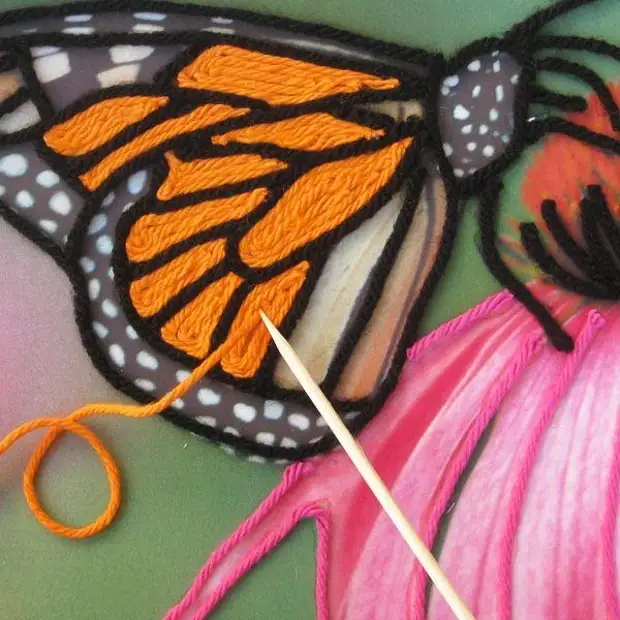
Secure the snapshot on the hard sheet of foam or cardboard, smoothing all the irregularities. All threads glue using PVA glue directly on the photo. Outline first image contours threads. Combine a thread with lines is most convenient with the help of a wooden spanch. When the outline of the contour is entirely, the end of the thread do the sharp scissors.

Continue lay out the thread for the main contours of the image, changing the shade of the yarn. It will be best if you first lay out all the contours of the picture, and then give glue to dry for about an hour before filling the voids with another color. It will not allow the contour threads to crawl while working.
Picture from remnants of yarn master class
The contour threads dried - you can start filling in individual zones of the image. To do this, it is necessary to apply a little glue into a small zone inside the contour and start laying the threads on the helix. We begin to lay out the spiral from the inner contour of the zone, gradually moving into the center. The helix can produce absolutely any form - oval, rectangular, square, triangular or polygonal. Deeperate thread is the most convenient with wooden skewers. When one zone is filled with thread, go to the next. Thus, work alternately only with one zone so that the glue is not dry.
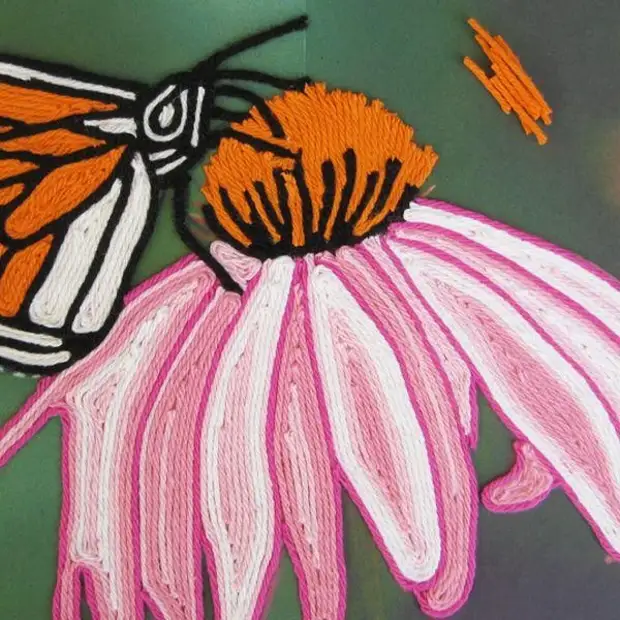
If the image has zones with uneven lines, then for filling them, use short trimming of yarn and stick them tight to each other, instead of laying them on the helix. In this case, an example of uneven lines is an orange flower core.
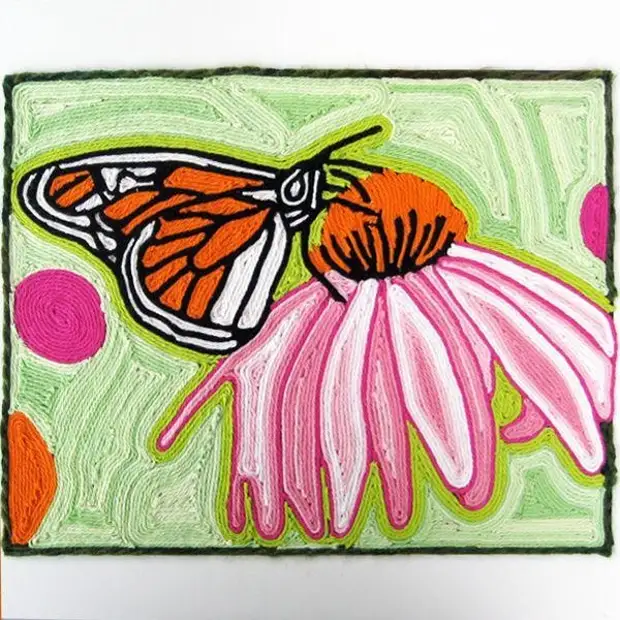
The next step in creating a picture of a photo yarn is the layout of the background. Start laying the thread from the borders of the objects that you have already described the thread. Do not forget to fix the thread with the help of glue.
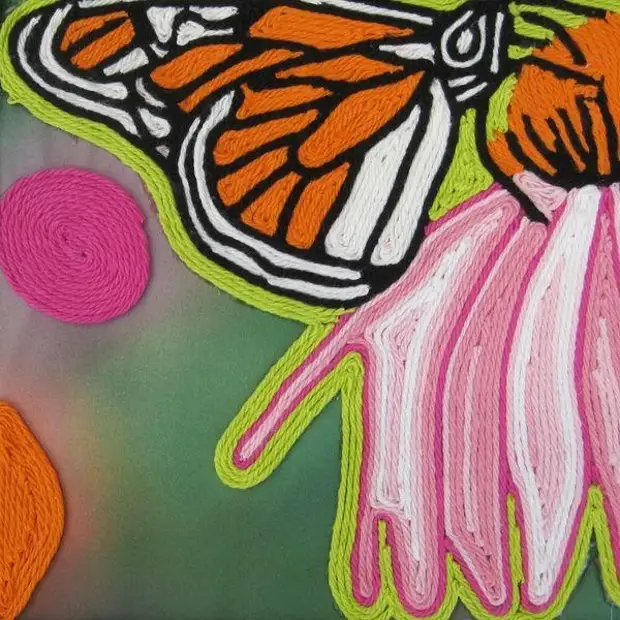
Divide the pattern of the picture into several sections, give the image more interesting texture. To create different background shades, use the yarn gradients. Also, a picture with threads can be created an interesting limiting frame.
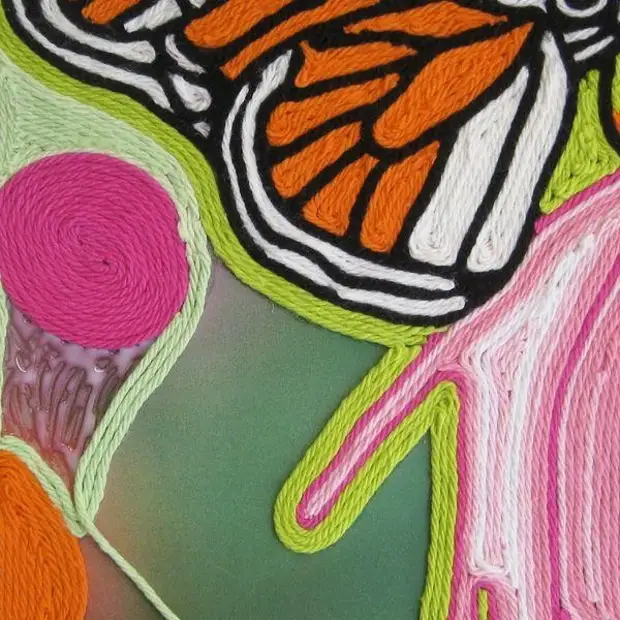
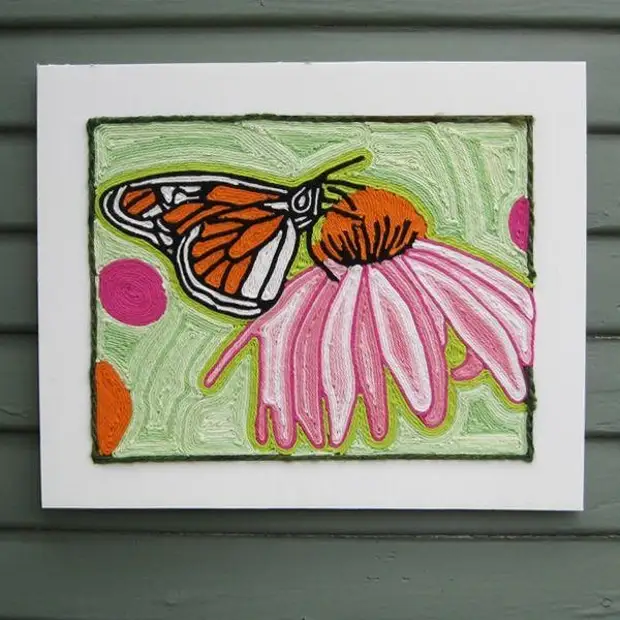
When you finish with the background, your masterpiece will be ready. Best of all the painting from the remains of yarn will look in a wooden frame. Successes to you in needlework and creative inspiration!