

Today's diversity of the female wardrobe is simply amazing.
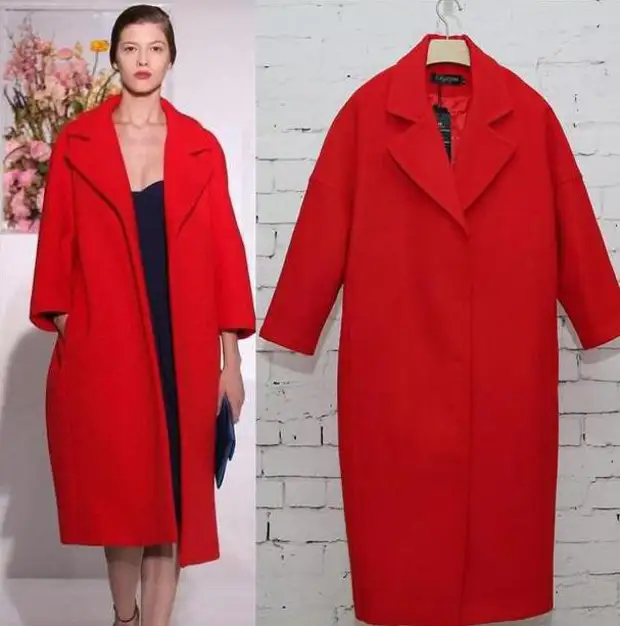
A huge number of unique styles and styles in combination with bright and gentle shades, as well as contrasts and the original decor makes a modern girl just charming. Fashionable designers are tirelessly work on the creation of new images, then the matter draws inspiration from the styles of past years. So they decided to draw the gaze of the beautiful half of humanity to such a popular coat-cocoon coat in the 50s and 70s. Photo, pattern of this product, as well as a description of the sewing process and will be considered in this article. Making options Skiing or knitting has always been in price. Not every woman has a talent from a mock of threads or cutting a fabric to create a unique thing that will take a worthy place in the wardrobe. But if there is at least the slightest abilities and the desire to develop them, it is just wonderful.
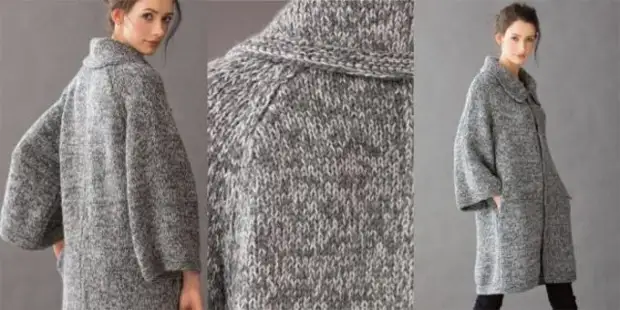
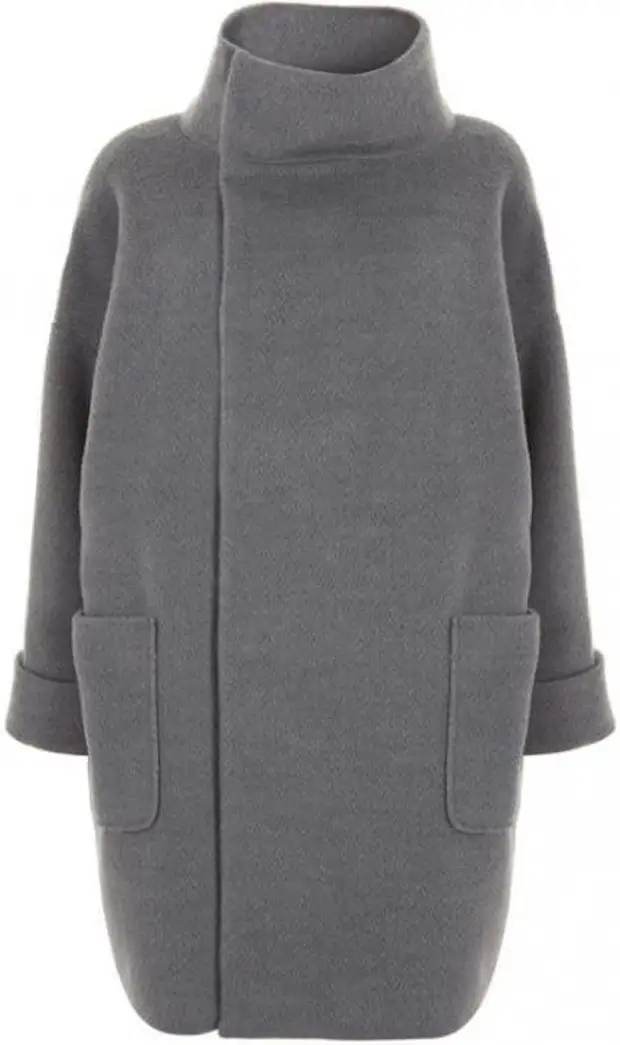
The idea to sew or tie a cocoon coat with your own hands is a great option to start creativity. This piece of clothing will ideally look in any performance. It may be a large knitting of thick thread or, on the contrary, openwork weaving; A coat on the satin lining or a syntheticer warmed by syntheps. In this case, everything is in the hands of craftsmen, and only her fantasy determines the style of execution.
The choice of fabric for a coat When sewing any product is very important to choose the right fabric. Naturally, in this case, the appropriate materials should be chosen. It may be a soft cashmere, tweed or polyar or coarser canvases, such as a letter or drape. The appearance of the fabric depends on the weave of the threads. It can be satin, sarzhem, linen or combined.
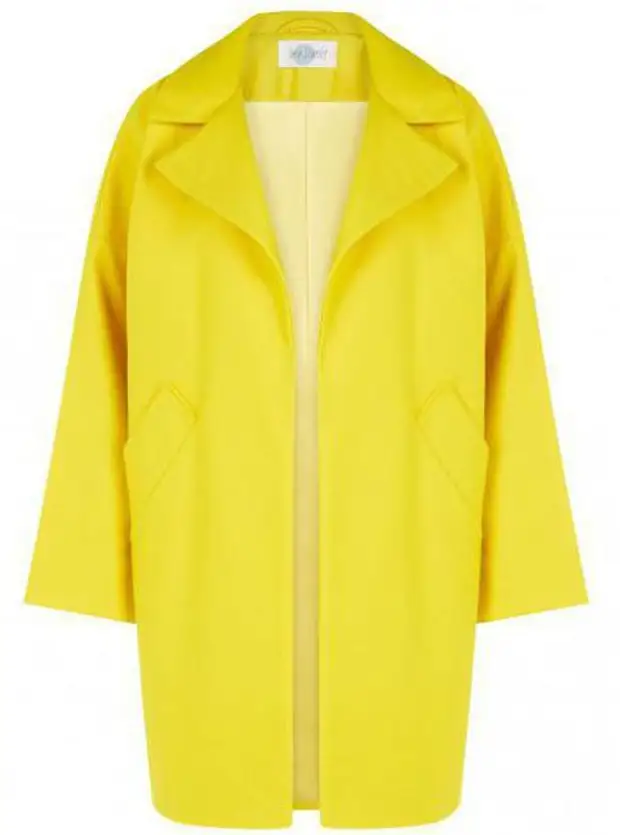
For winter, the best option will be thick-spoken fabrics, which can be duplicated with a lining with insulation or to make the attack. For the demi-season option, cashmere is suitable with a thin lining. But for a very thin flush, it is better to choose a gabardine or diagonal.
When choosing a material, you need to consider what the pattern of a cooker will be. Fabrics with linen weaving, which can be attributed to very loose materials, will be more suitable for models with single-circuit sleeves. Here it should be borne in mind that the material can be capricious. Do not take too soft canvas for such a model, because the coat should keep the form.
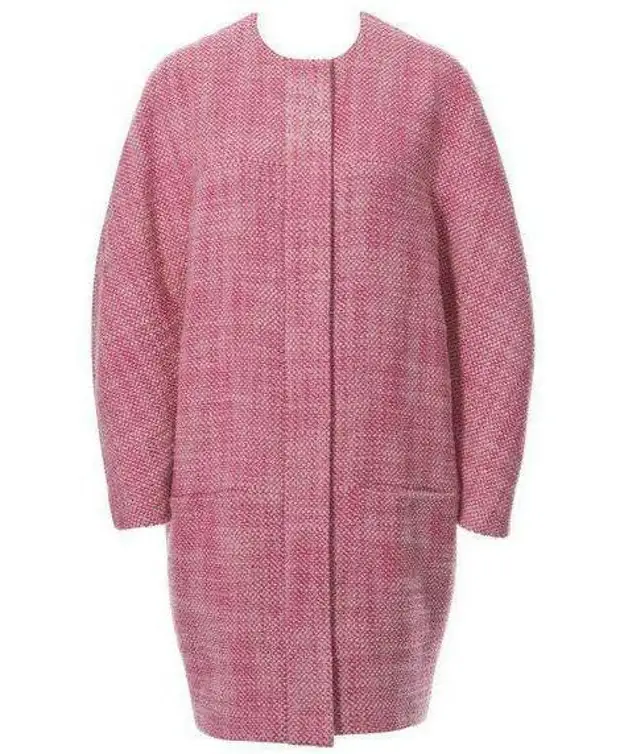
Also undesirable to use highly stretching fabrics that can be deformed during socks. We purchase yarn with the choice of yarn is much easier. Here is just one rule: the thread should be sufficient thickness.
The composition in this case plays a minor role. However, what prevents experimenting? The pattern of a coat-cocoon, which is used when knitting the thing is identical to the one that the product is sewn. When configuring parts, it is important only to comply with the proportion and repeat all the bends of the template. Therefore, when choosing yarn, the thickness of the future woven canvas should be taken into account. If the yarn is too thick, you will have to increase the template around the perimeter somewhat, if it is thin - reduce.
Ideal for a warm knitted coat there will be such yarn like a letter, wool, semide, mohair. But, of course, no one has canceled experiments, and therefore you can try to create an amazing knitted thing from yarn with beads, sequins and lurix. Yes, such a product will be released not warm and, rather, not like a coat, but on a chic sweater, but for the summer or spring evening it is quite suitable. Naturally, the pattern of a coat-cocoon with this version should not be with too large allowances for free fickling. - Read more on FB.Ru: http://fb.ru/article/216769/vyikroyka-palto-kokona-svoimi-rukami
Measie - the basis for work
The product template is the basis for any thing, be it factory or individual production. How is the pattern built? Cocoon coat make it easy. First you need to remove the measurements from the figure, and after correctly transfer them to paper. If there are problems with design, you can go one of the simplest paths. How is the easiest way to make a pattern? Cocoon coat has a single sleeve.
And it is this option that is perfect for beginners. Build the workpiece completely easy. First of all, the measurements should be removed: the volume of the neck, chest and hips, the width of the shoulder, the length of the sleeves and the length of the product, the height of the chest, the length of the length to the waist. You can also make a test measure from wrist to wrist through the neck to facilitate the construction process.
For the template, a dense construction film is best suitable, on which you can draw by a conventional ballpoint handle.
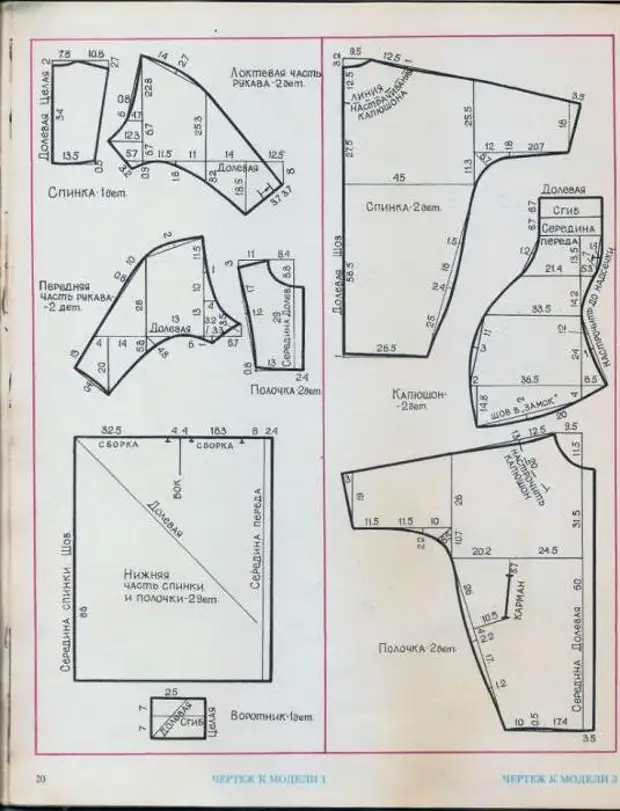
It is quite easy to store, does not break and does not mind, unlike paper. So, how is the pattern? A coot cooked with your own hands is easy. Building patterns The details of the front and rear canvas are almost identical, the difference is only in the depth of the neck, as well as in the fact that it should consist of two halves and have an allowance for buckling.
The drawing is based on built of two straight corners, where the vertical is equal to the length of the product, and the horizontal is equal to half the neck girth + the width of the shoulder + the length of the sleeve. Next, the auxiliary straight lines should be carried out: the chest line, which is postponed from the top of the corner vertical in accordance with the Mercy of the "Breast Height", the waist line for the measurement "Length to the Waist", as well as the thigh line (below the waist for 20 cm).
Next, you can proceed to building the sleeve.
In a place where the measure of the shoulder length ends, it is necessary to retreat down from a straight line about 4 cm and pave a new line by continuing it in accordance with the measure of the "sleeve length". After at right angles on the edge of this direct, you need to fall at 10-15 cm, depending on the desired width and wrist thickness. Next, you should connect the chest line and the nose line of the nose, making the rounding in the armpit area. After that, it remains to determine what the book should be the narrowing of the book, and continue the existing sleeve line with the side suture through the lines of the hips to Niza. All, ready pattern.
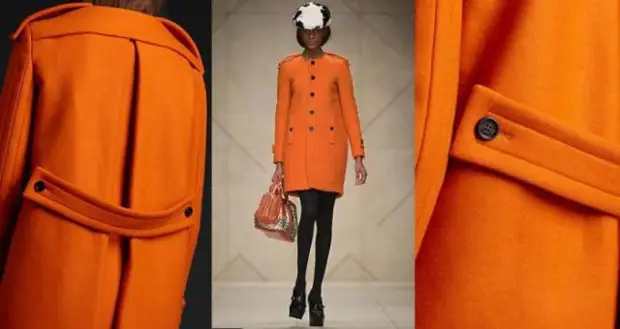
Cocoon coot with whole-circuit sleeve is ready. It remains to add details, and you can begin to sewing. Simulation patterns such elements as a fastener, pockets, extinction, embossed seams, collar and cuffs - parts that are denoted on the main pattern in the simulation process. Without them, products would be boring and monotonous.
With the help of these elements, you can properly arrange accents and create a simple ideal image. The pattern of a coat and cocoon itself is so original that sometimes it is minimalism that gives things a special charm. However, it is possible to experiment with a clasp, length of the sleeve, the gate option and the pockets. Modeling a coat-cocoon is one of the interesting steps, since when working a simple template turns into a unique thing.
Cutting and assembly
After the pattern from the film was prepared, it is possible to transfer it to the fabric and start to the cut. Here it should be remembered about the seams of approximately 1-1.5 cm depending on the type of fabric. It will also be necessary along the neck and front cut at a distance of approximately 5-7 cm. Conduct the line parallel to the edge of the pattern - it will be seized products, they are cut out separately from the main tissue with the same letters on the seams, as in the other parts. The assembly of the main elements of the coat does not represent anything difficult, but the pockets will have to be somewhat tinked. If there is absolutely no experience in the sewing clothes, then it is better to make pockets in the side seams. Arrange them follows to the assembly of all parts of the coat. When preparatory work with pockets will be completed, you can start sewing. First, the details are rated on the shoulder seams passing in the sutures of the sleeves. After the shoulder seams stitched on the details of the weld and connect this element with the main web coat.
The knitted product is much easier. Details in the process of touching are adjusted under the size of the template, and after they are ready, they are simply stitched. If the plans are the product with a lining, then you will need to raise additional seats corresponding to the pattern. With pockets you should do the same as when sewing.
One item should be knitted, and the other is carved out of the lining fabric. Registration of pockets To make a pocket, you need to cut two details on the pattern of the circled hand from the wrist and to the fingertips from the main fabric and lining. Next, sew the lining to the side seam at the level of the hips on the front of the coat, and the billet from the fingertip on the back.
This is done so that when entering the pocket there was no lining. After that, the details of the coat are combined over the side seam and are connected to the straight line. Halves of pockets are also stepping and soldered with an iron. A knitted cocoon coat with pockets in the seams is made on the same principle.

Working with lining
In order to make a lining, you must first carve out the details of the prepared templates. It is worth noting that the patterns should be without appointments. Here you should also take into account points on the seams of approximately 1 cm. Works with a lining a bit. First, the shoulder and sleeves are closed, after moving to the side. Then the lining is applied to the welcome. The final stage is the bottom of the product niza and the determination of the parts of the main and lining tissues. Knowing how to sew a coot coat, the pattern of which is given in this article, you can save a decent amount of money, because this thing today is in the trend, and there will have to pay a lot in the store for it.