
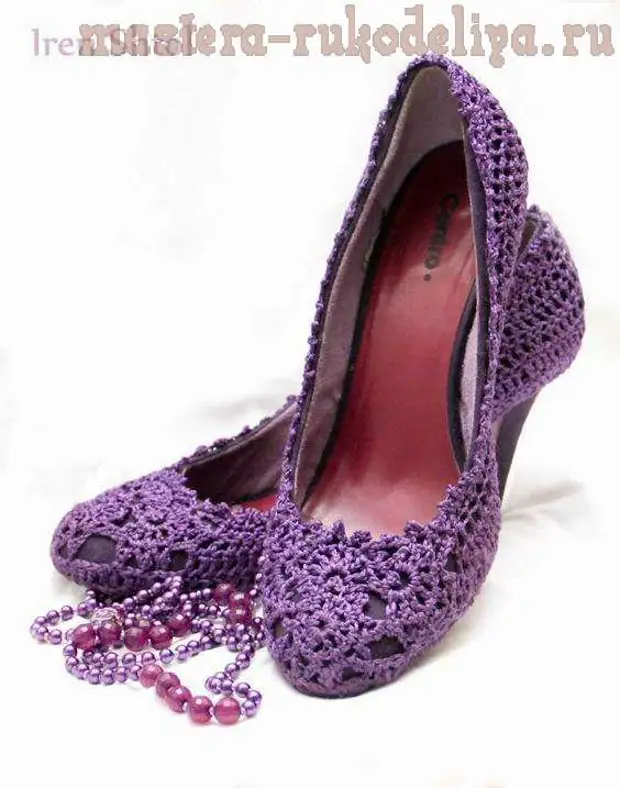
I somehow did not think that my shoes are something such an unusual
But it turned out that many were interested in many. And I decided to still write a more detailed master class. True, photographs did not do in the process of work - knitted at night and even during pedicure so mostly there will be words. Maybe if I decide once again on this - I will add)So, it took me for work:
- 90 grams (one motor and then not whole) threads yarnart pearl (color purple, 115)
- Hook N 3,5
- Shoe shide (it is with a hole or crochet on the spicy end)
- Glue moment-crystal or second - in general any transparent.
- Sleeping shoes (it does not glit and the threads slide less on it).
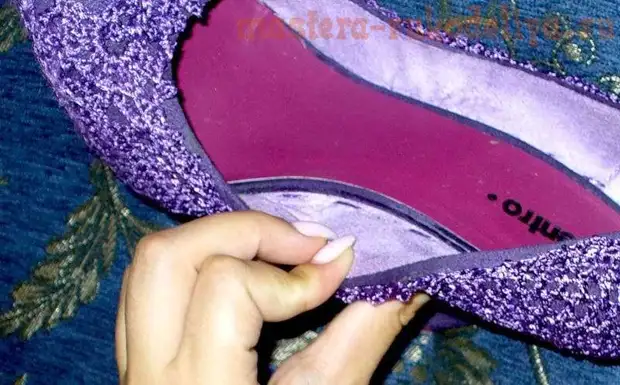
First, the usual selection was done (the husband helped) holes in the leatherette shoes, not further than half acemeter from the sole. Better of course, the holes do as often as possible, but we were at a distance of 1.5-2 cm from each other and the problem of the lumen decided when I came up with one row down to prick.
Then in these holes stretched the thread - the same knitted. Myshka had it harder. Mainly for the Misk and you need a ships shoe. In the remaining places you can easily flash the thick needle. The ends of the thread brought out, they can be hidden in knitting, and inside can interfere.
What the holes look from the inside (from the inside they are on topty and are not visible, if not so much to flex)
The resulting stitches tied up with bars without a nakid, and the intervals between the stitches filled the chain from the air loops - the number was looked at the distance. Moreover, the start of knitting specially made in the middle of the inside of the shoes - this is the most imperceptible place of shoes and there is best to hide transitions to the next row.
On the resulting series imposed more columns without Nakid. And this row lowered down - he closed the transition to the sole.
Unscrew the lower row
And again in the same threads of the base and in the air loops, a number of columns with Nakud were accumulated. But not to the end - in front tied the previously connected part of the ribbon lace.
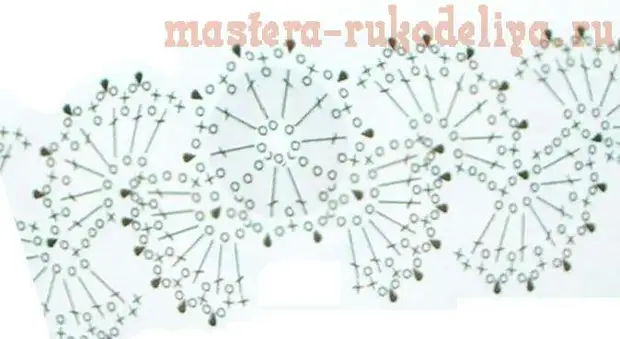
This item knitted according to the scheme of this belt lace:
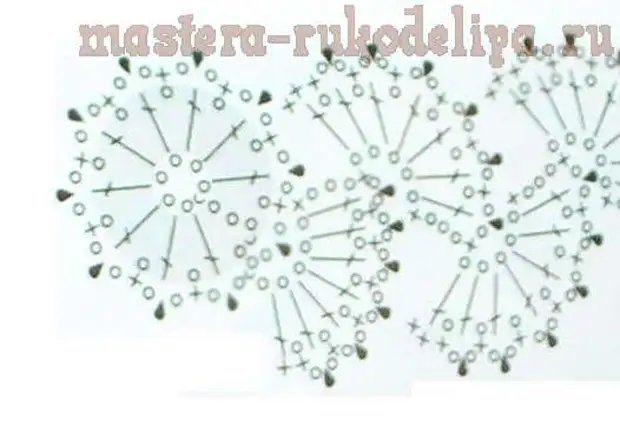
It consists of me from a circle and two half-sided in one direction and to another.
Added in photoshop for MK, and so knit just on the Nativity - it seems like the thoughts triangular
Having attached this item to the Mascia, I understood, to what place it is necessary to carry the columns with Nakud and after the last column attached the item to a row. Tied the columns with Nakad and without as required the part of the lace and continued the columns with an attachment on the other side of the shoes.
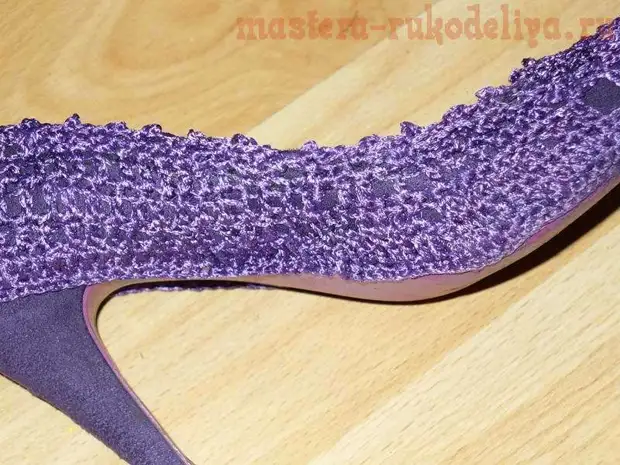
Then knit no longer in a circle, but on the right side of the lace to the left. So changing the columns with Nakud and without so that it was possible in the last row back from the lace to penetrate a pico of three loops. It turns out shoes knitted with a ladder. The last row turned out from above on the heel.
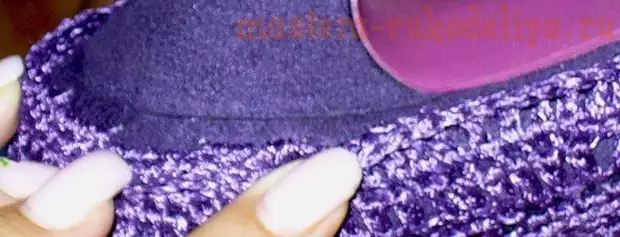
In the photo you can disassemble the ladder and shifts of the columns with Nakad and without. This is the inner part of the shoes, the most imperceptible:
If somewhere something happened unevenly - not scary at the end of the job, consolidating and cutting off all the threads, I pulled the cloth so that a row of pico spoke to the top of the shoes and wrapped the top of the shoes glued the knitted canvas.
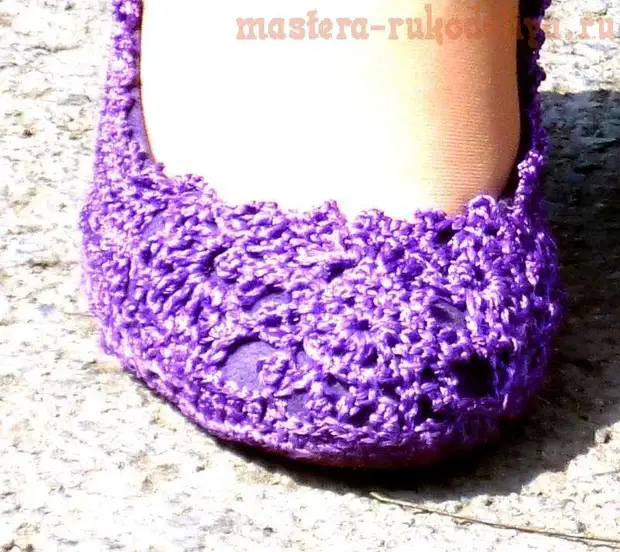
Here are another photo that can be viewed in a large size if anyone needs to be knitted.
A source