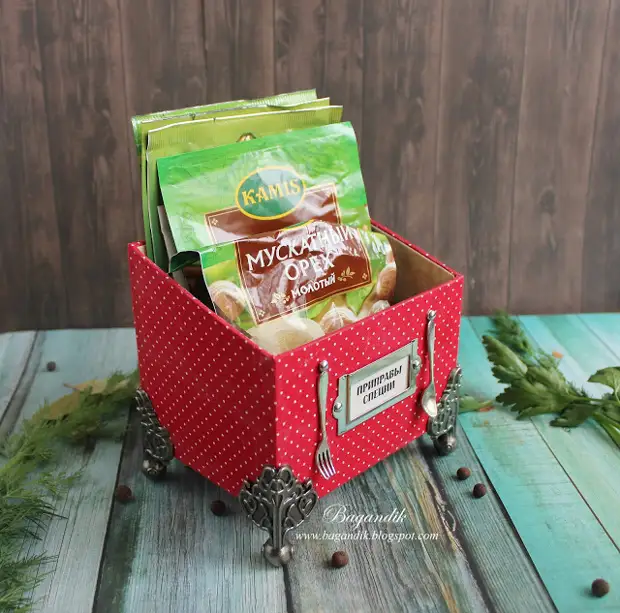
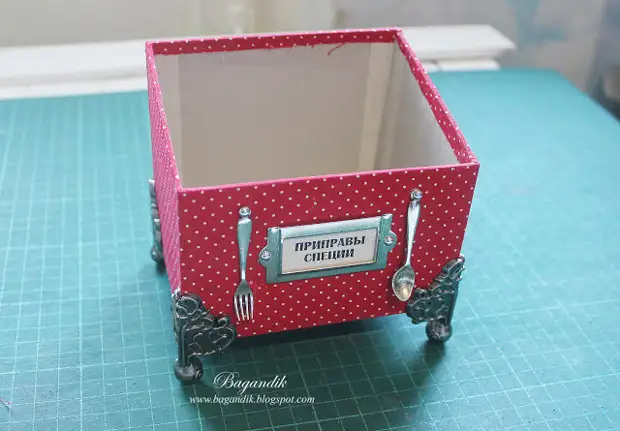
Today you are waiting for a master class, which I prepared as part of our joint project "Cozy kitchen". And we will do a box for seasoning and spices in the technique of cardboard. Well, let's get started!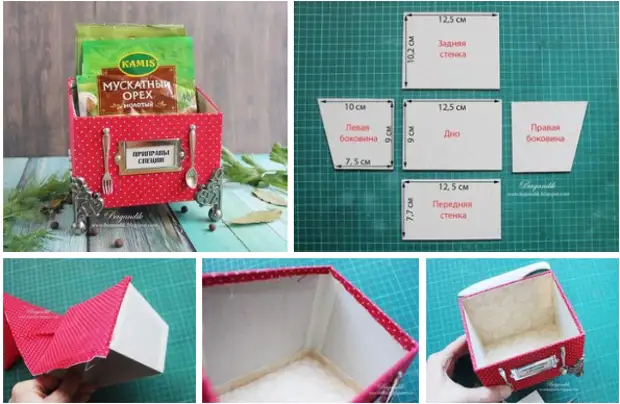
For the manufacture of the box, we will need the following materials and tools: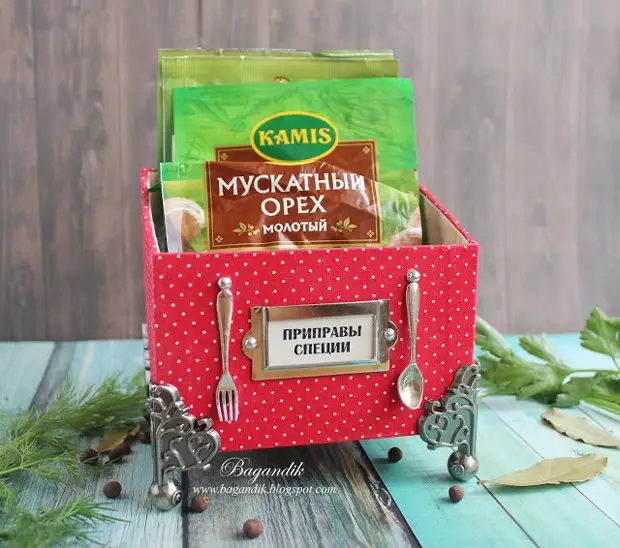
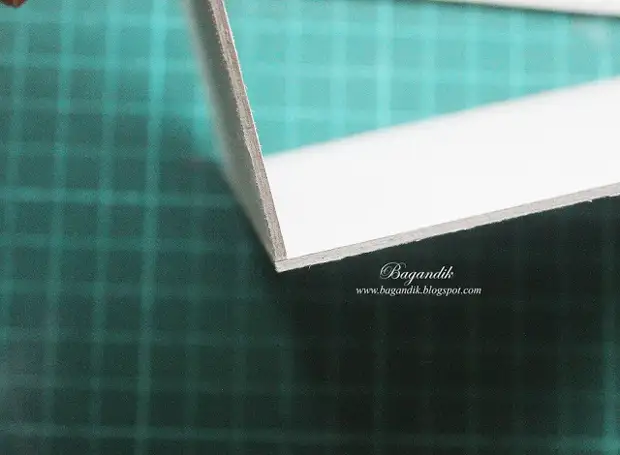
- Blending cardboard with a thickness of 2 mm.
- Fabric cotton, two colors
- White cardboard (I use paper for drawing)
- PVA glue construction (ordinary PVA from the stationery store will not fit)
- Glossy Accents glue
- Moment-crystal glue
- Malyary Scotch or mounting tape (you can buy in a construction store)
- Wooden stack or bick wand
- Wide bruster for glue
- Self-repairing rug for cutting
- Stationery knife
- Scissors
- Portnovo ribbon.
- Metal ruler
- Metal legs
- Metal frame
- Decorations on your taste
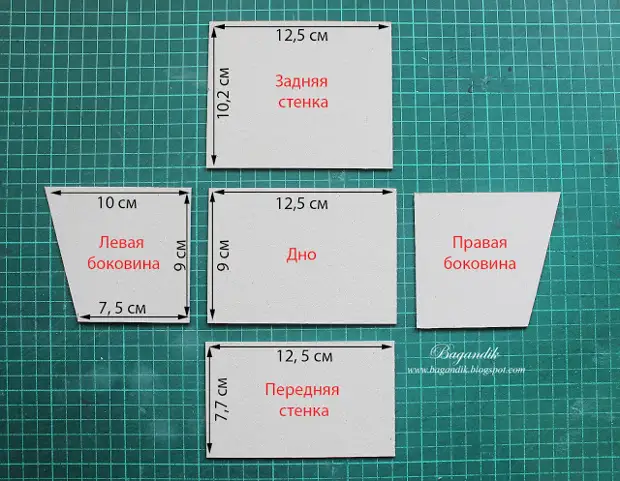
- Cut from binding cardboard 5 details:
- Bottom box - 12.5 x 9 cm, 1 detail
- Rear wall - 12.5 x 10.2 cm, 1 part
- Front wall - 12.5 x 7.7 cm
- Side walls - 10 x 9 x 7.5 cm, 2 details
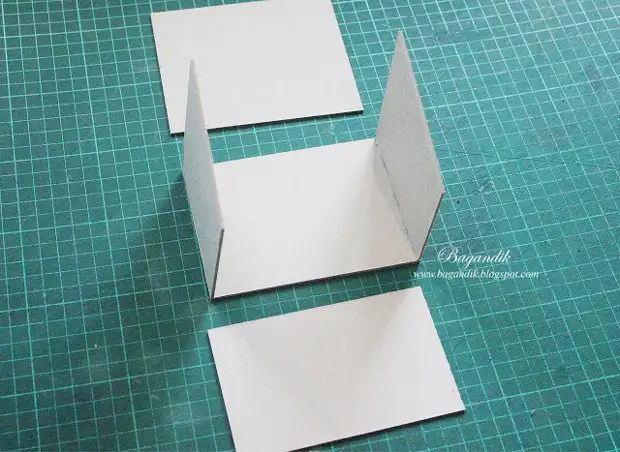
Connect the details. To do this, we take one side wall and lubricate the moment-crystal glue to its lower line.
- We give glue a little hard, but we do not allow the final drying, then we glue from above to the bottom of the box at right angles.
- Here is such a neat and even junction should have.
- In the same way, we glue the second side wall.
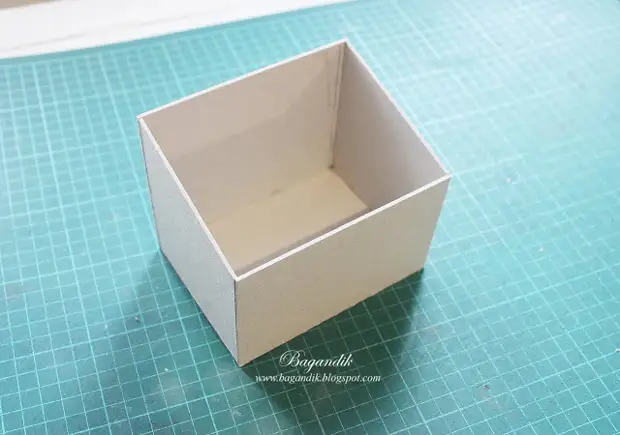
- Let's give a little time to our design so that it sticks and fixed, then apply glue to three side faces of the rear wall.
- We glue the back wall. Carefully look so that all the details glued exactly and anywhere did nothing anywhere. That's how our box looks like.
- In the same way we glue the front short wall. We look again for everything to be smooth. This box is as a result.
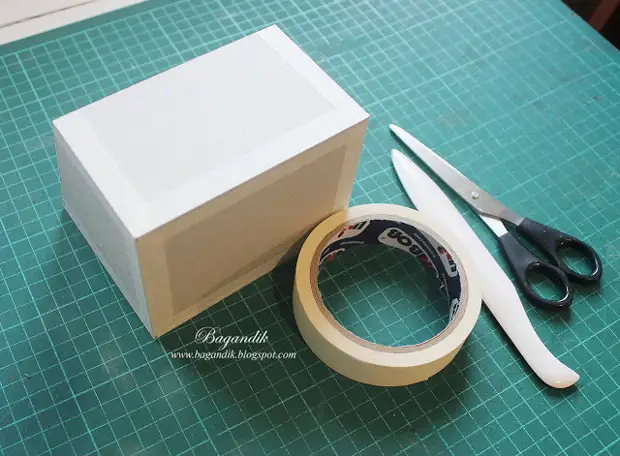
- Now we need to strengthen our design with the help of painting scotch.
- Carefully accumulate our box and strengthen all the joints outside. With a bicking stick, smoothing the corners.
- From the inside, too, we also strengthen all the joints and corners. To do this, cut off a piece of painted tape of the clumsy length, we fold it along in half (adhesive surface outside) and glue. With the help of a big or stack chopstick, we gently form the angles. Do not take the paint tape tightly, there should be no air in the corners.
- Now we go to the salary of our fabric design. To do this, measure the girth of the box. I got: girth - 44 cm. + 1.5-2 cm per battery. Cut the cut of the fabric size 46x12 cm.
Note: If the fabric is too thin or bright, then it is necessary to additionally go over the side walls of the design with white office paper, otherwise the gray cardboard will be shone through the fabric. I have a good quality fabric and it does not shine, so in my case I did not become additionally bold the box.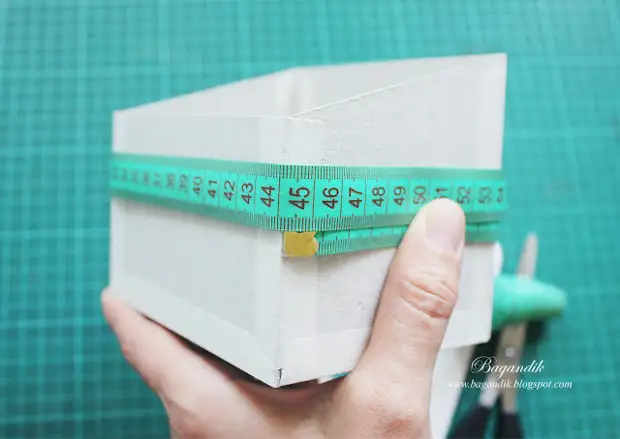
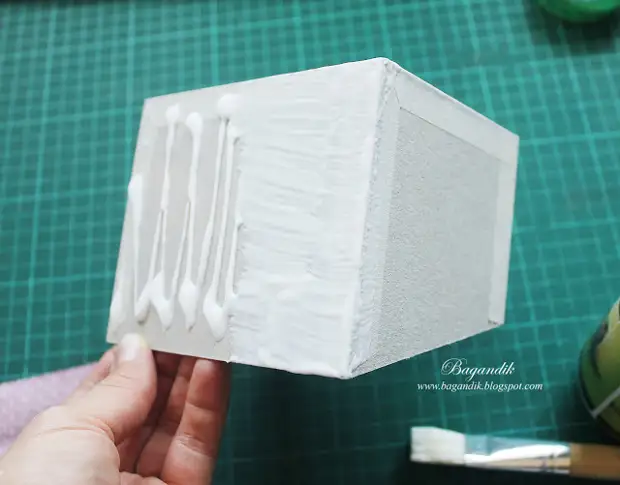
- Lubricate the PVA glue one side wall and the right angle (lubricate only the walls, the bottom and the upper faces do not touch!). Equally distribute glue with a thin layer with a brush. We try not to apply too much glue, otherwise it sticks out through the fabric.
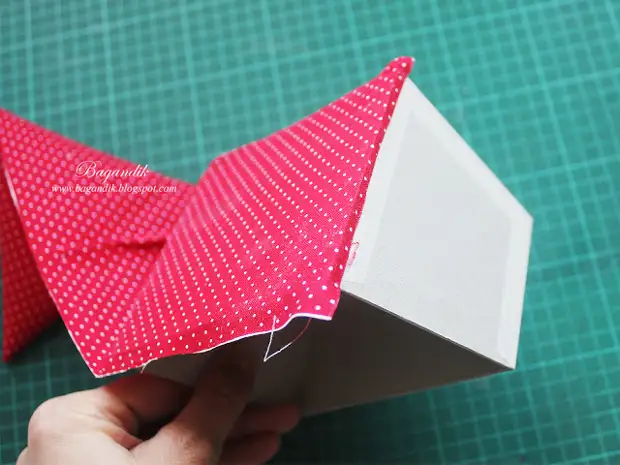
- We glue the fabric in this way. On the right, at a distance of approximately 1 cm. We make a bend and also glue.
- With the help of a baywood stick, carefully smooth out the fabric so that there are no bubbles and the cloth stuck evenly.
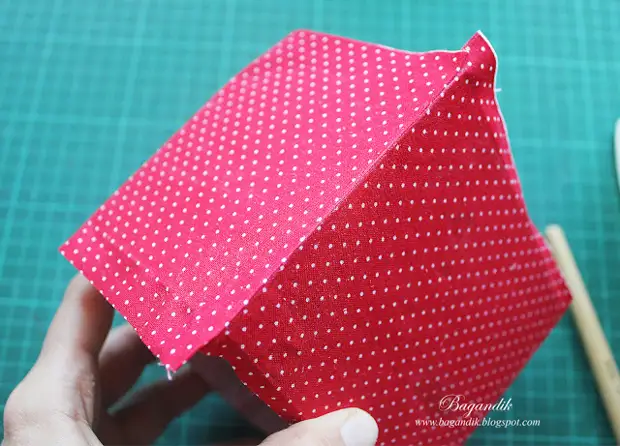
- In the same way, we glue the fabric further, another two side walls. When the last wall is saved, the edge of the fabric is pre-triggered and glued together. Then we finally glue the cut by forming a neat angle.
- Here is a smooth and neat angle should have.
- Go to the bottom of the box. With the help of PVA, we glue the tissue allowance. Corners are pretty smooth by forming these corners from the excess fabric.
- Gently cutting off these corners and smoothed the fabric. That's the bottom should turn out.
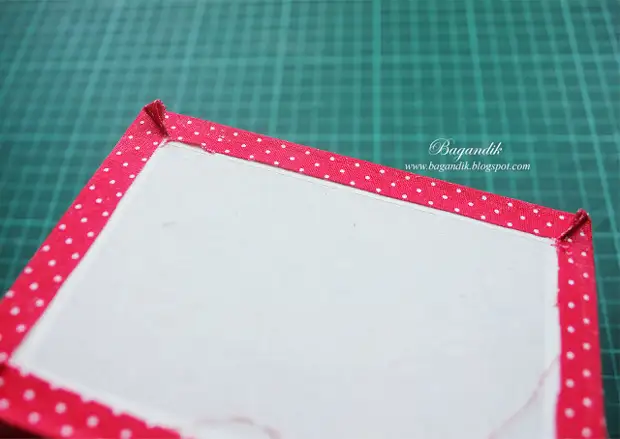
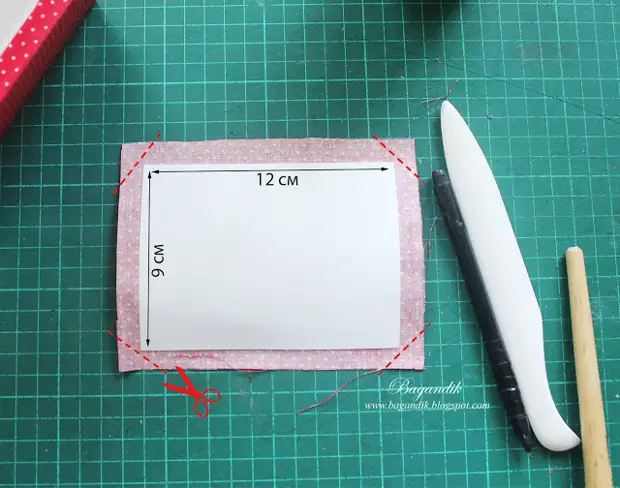
- From paper for drawing, we cut a rectangle with a size of 12x9 cm. We glue it with a PVA to the wrong side of the tissue and cut off the intake of 1 cm. Then cut the corners and glue the allowances.
- Lubricate with glue an involnee side of our workpiece and glit to the bottom of the box.
- Go to the top of the box. When processing upper corners, it is necessary to pre-mark them with a thin layer of PVA glue and give the fabric to dry. In this case, the fabric in these places becomes dense, does not appear and it is easy to cut, which greatly facilitates the work.
- When the tissue dried, in the corners, exactly in the middle we make an incision.
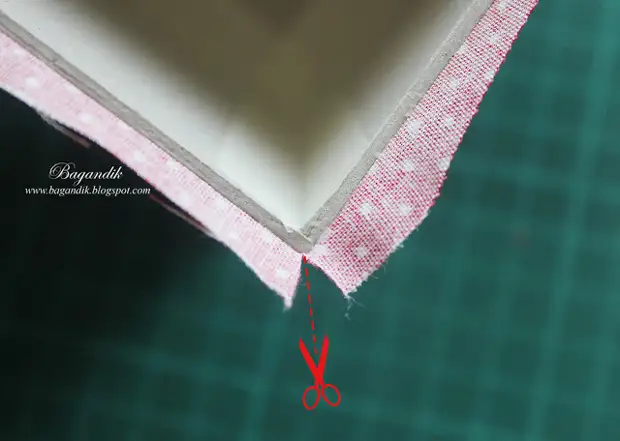
- First we process longer sides, front and rear walls. In one corner, we cut off the excess tissue along the planned line, there should be a small square of about 2x2 mm. In the same way, cut off the excess in the left corner of this side, but only in the mirror reflection.
- Lubricate the plow glue of the tissue and glue the wall to the inside. That's what we get. In the same way, glue the opposite side of our box.
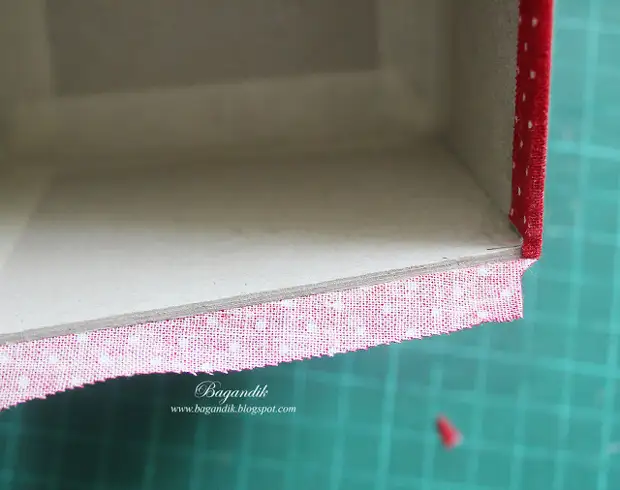
- Now we have left two not glued toes. Cut the excess, leaving a small corner, as shown in the photo. Do not forget to do the same thing in another corner of this side. Now we glue this side with PVA. Also also glue and the opposite direction.
- So now looks like our box.
- At the next stage, we decorate our box and put the legs. The legs can be fixed with a brded or gluing glossy.
- Go to the inner design of the box. Highly cut out of paper for drawing 5 parts:
- We glue all five dies to the involving side of the second tissue and cut out with the intake of the fabric approximately 1 cm. Cut the excess fabric in the corners.
We take a cry, which will be on the bottom.
- Lubricate the whole shoe glue PVA, including allowances. Gently glue the groove to the bottom of the box, it is pretty smoothed it with a bigful stick and form the corners.
- That's what should work.
- We take a plate for the rear wall, glit the upper and lower point to the cardboard. The rest of the allowances do not glue and in this form we lubricate the whole shoe glue, including allowances.
- We glue the plate to the rear wall, gently form the corners, and follow everything to be sick.
- That's how it should work.
- In the same way, we glue the front dye.
- Take two side dies and glue all the allowances on them. Next, we lubricate the whole dry glue and glue the boxes to the side walls.
- It is neatly smoothed, we form corners with a bigful stick. Let us finally dry and get such a wonderful box :)
It remains only to fill it with your favorite seasonings and enjoy with pleasure! :)
What will be your boxes?