
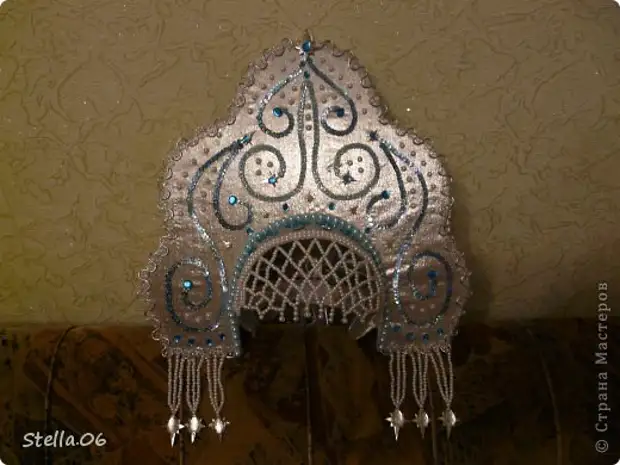
I ordered Kokoshnik for Snow Maiden, never did anything like that, but decided - he writes Stella. So, see the master class of luxury kokoshnik for the New Year's Bala.
on the back side
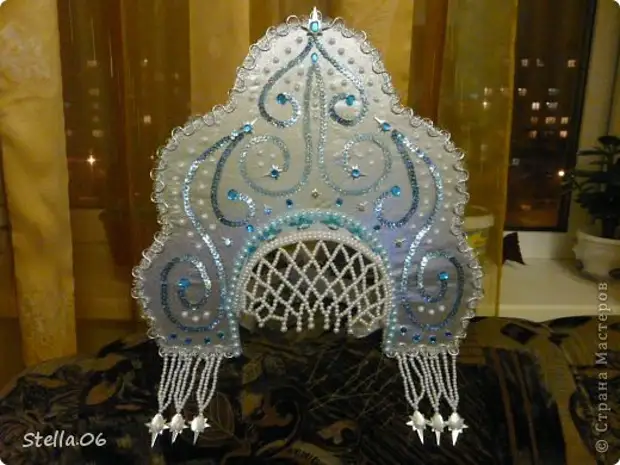
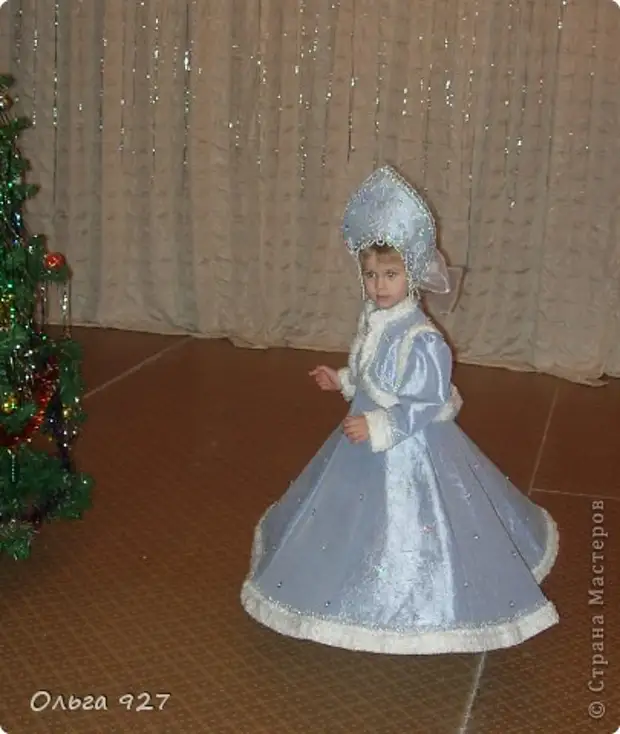
And one more kokoshnik, from Master Olga:
Start.
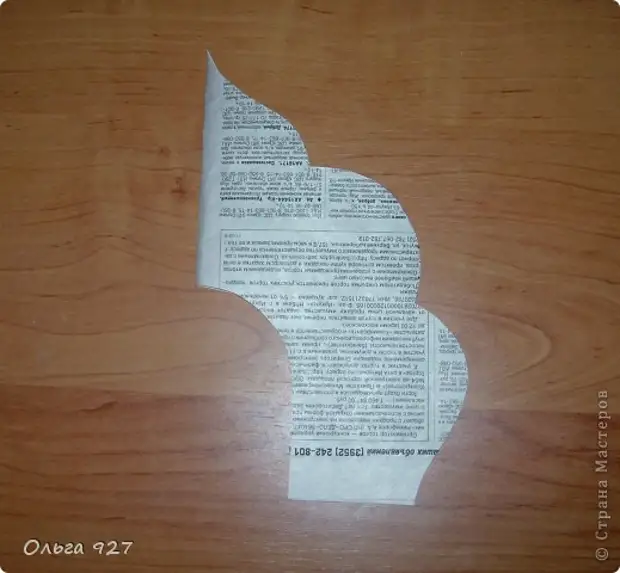
Cut the template from the newspaper. It is better to fold it in half to the kokoshnik be symmetrical. Cutout for the head must accurately coincide with the shape of the baby's head. What will be the height and the form of Kokoshnik - everyone decides himself. Edge to arrange at will. It can be a complex carved form.
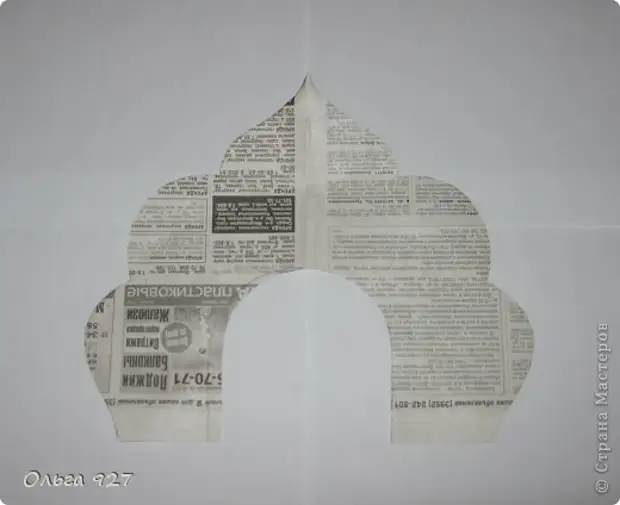
So the template looks in deployment.
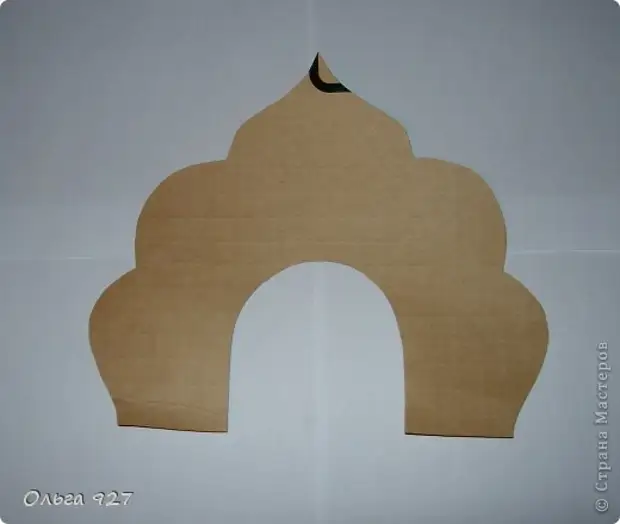
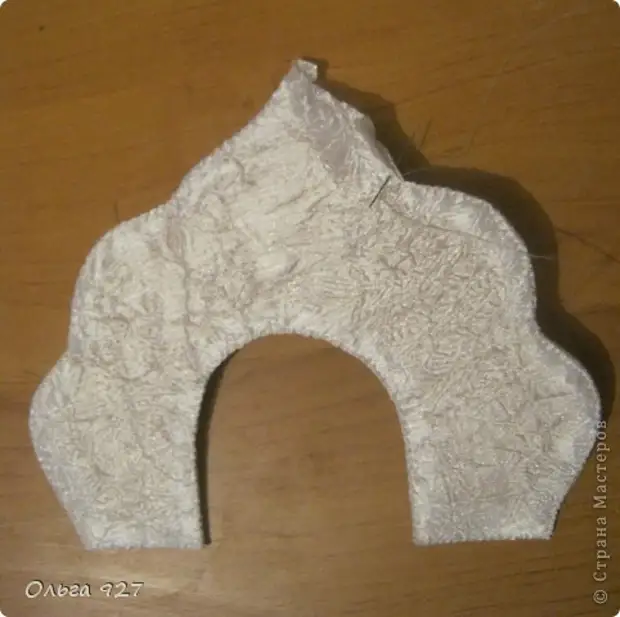
From cardboard on the finished pattern, cut the basis of the future Kokosnik.
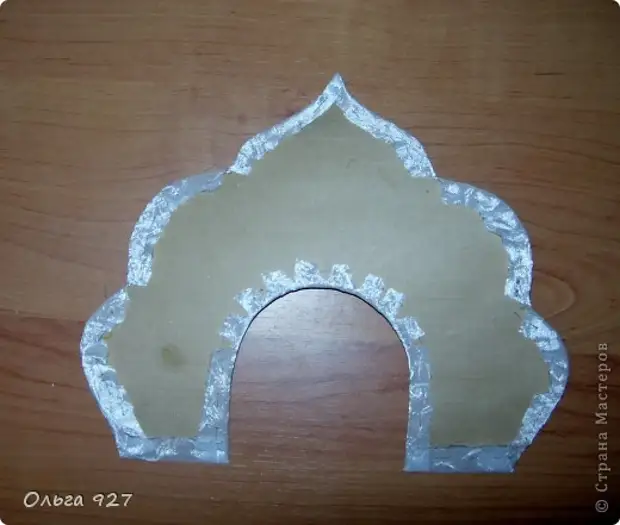
From the same fabric, from which you will sew a suit, carve out the pattern by the template with letters on the seams. To apply fabric with the front side of the cardboard. Bending points, flash edges around the perimeter from the inside. (If the edge of the kokoshnik complex of a complex carved form, then the pattern can be done without allowances on the seams and just glue to the cardboard on the edge itself)
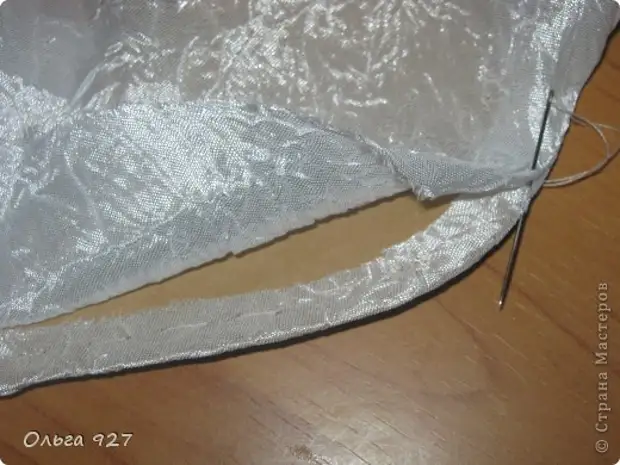
From the inside to do the same, bending the allowances inside and connecting the seam through the edge.
Connect the seam through the edge or secret seam using threads in the tone.
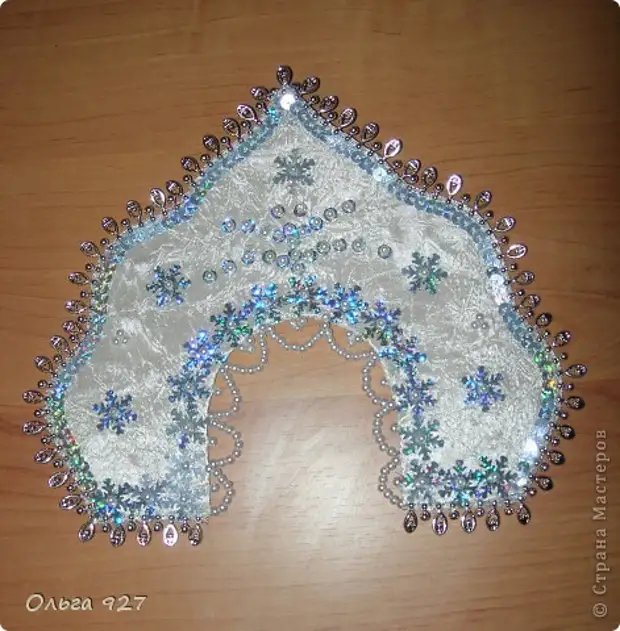
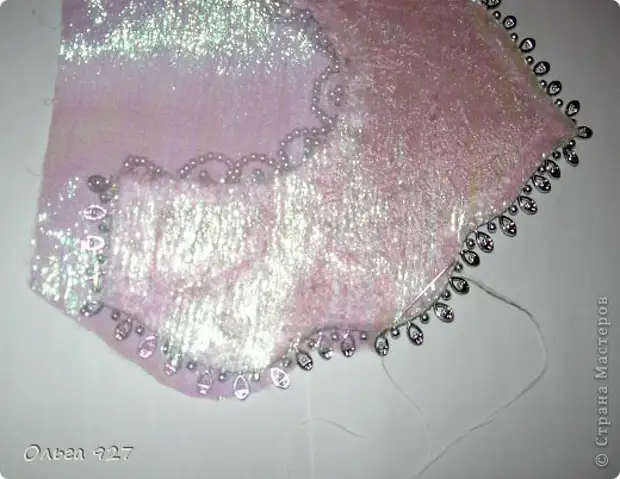
Decorate the front side at will.
By the template from the organza carve out the painting pattern, but the neckline does not do.
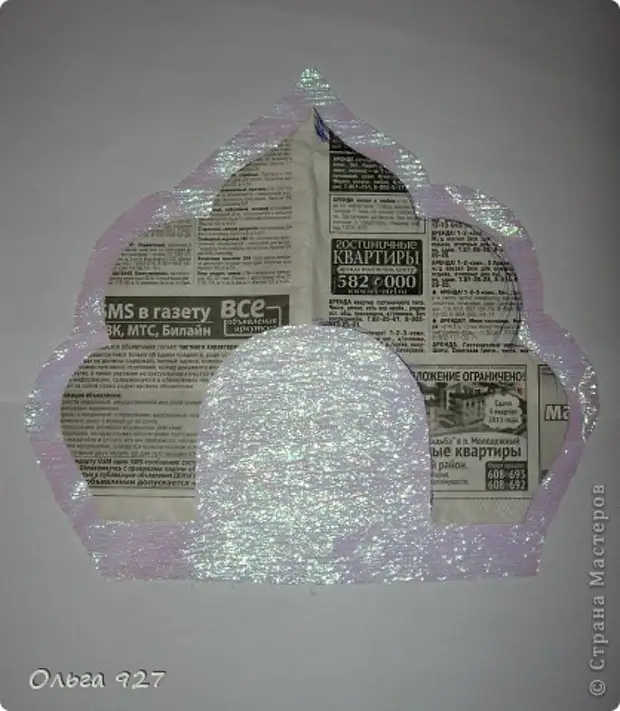

To impose an organza from the inside and, bending the allowances, combine with the base of the kokosnik, but only on the side perimeter. Low left open.
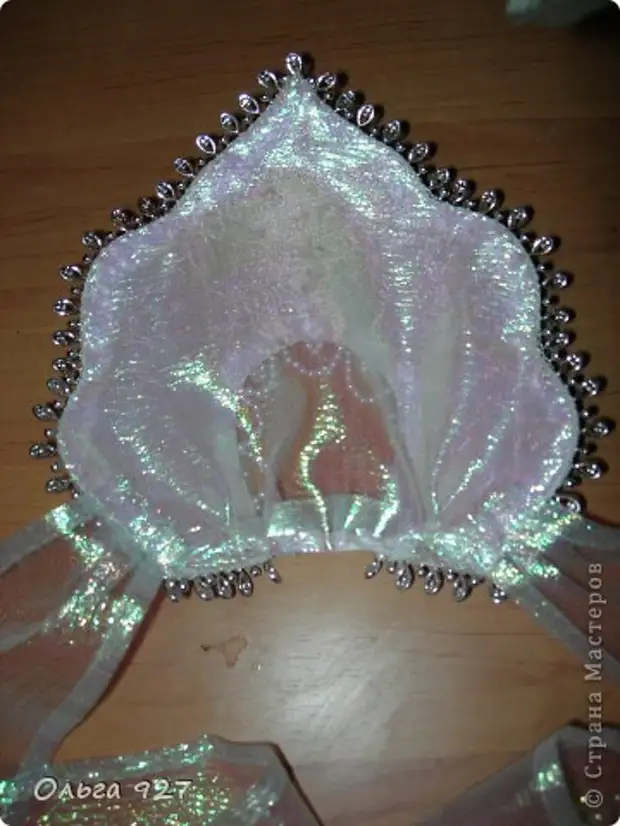
Send the bottom of the organza. Insert ordinary gum. Kokoshnik will hold reliably on the head.

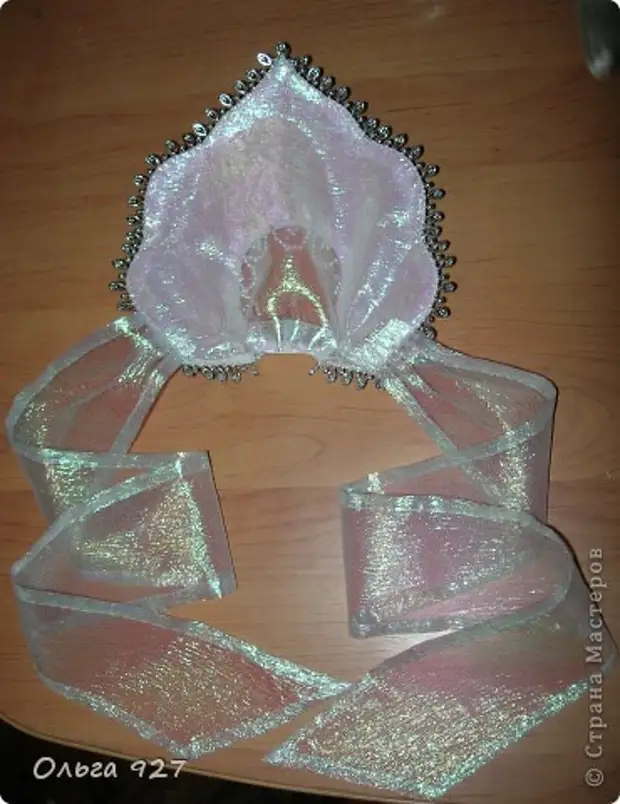
From the same organza to carve 2 tapes of the desired length and width. Project edge ribbons. Send them to the lower side edges of Kokoshnik slightly scabing.
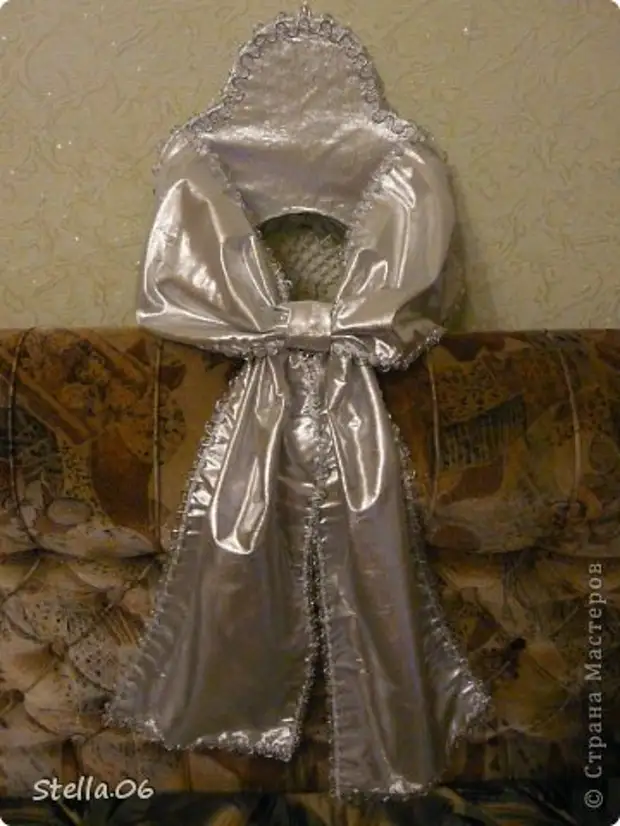
So the finished kokoshnik looks like. View from the back side.
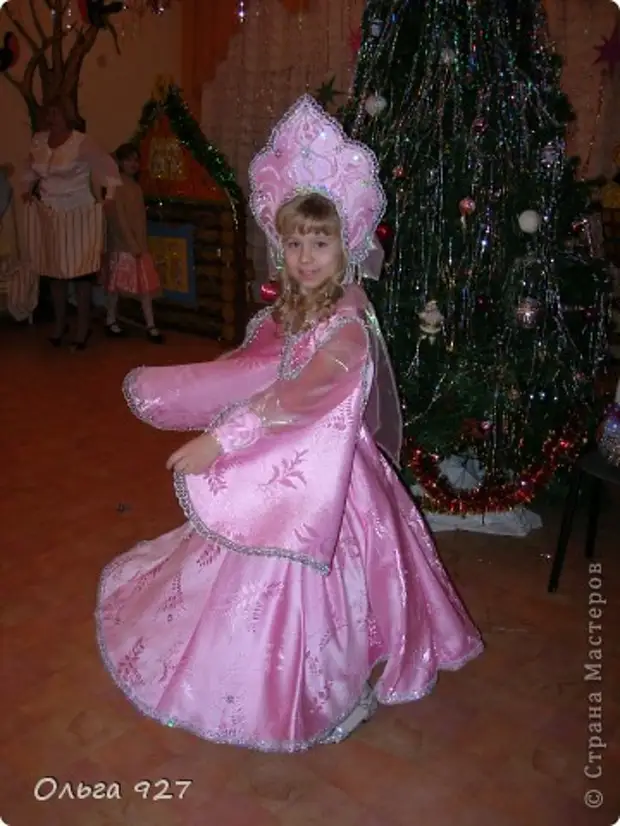
Dress ready-made kokoshnik on the head and tie a beautiful bow. Fix the edges of the bows, grabbing them with small pins (or threads in tone) to Kokoshnik. In order for the bows to be accusing (after all, they are not small!).
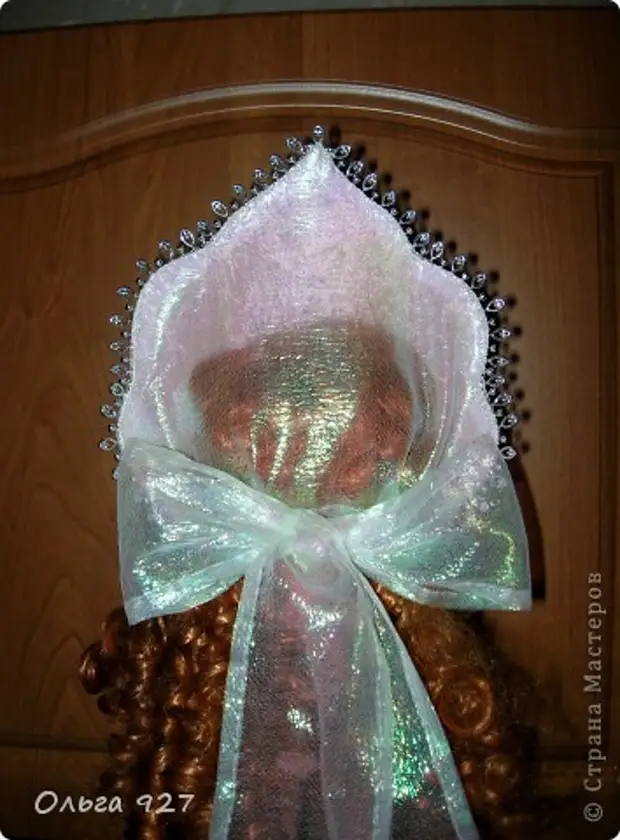
That's the beauty turned out!
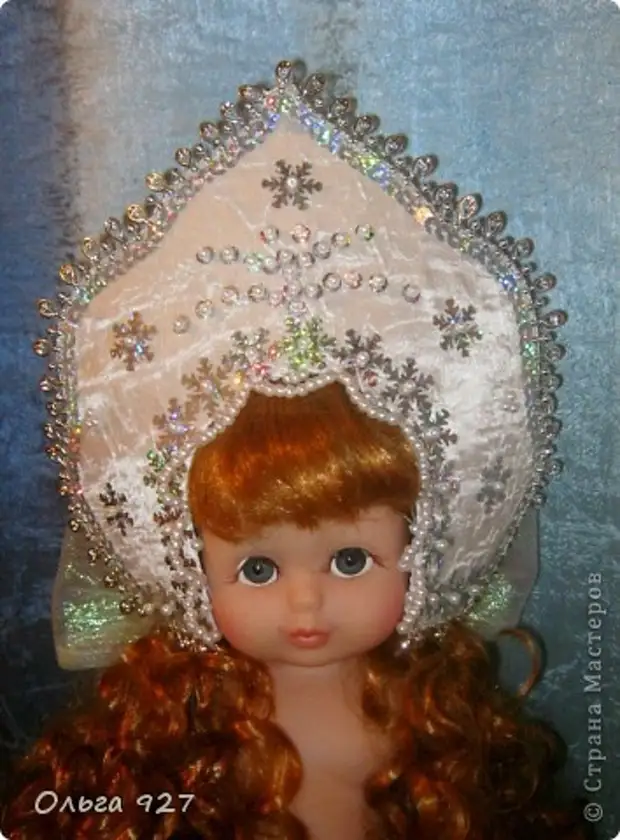
It should be noted that the form of the Konoshnik row in various provinces in Russia differed noticeably - from the pointed to the rounded shape with a crescent. Special coster craftswicers embroidered with gold and silver dear fabric, which was then stretched on a solid base. The lower edge of the kokoshnik was decorated with a grid of pearls. It cost such kokoshniki is quite expensive, so they were often transmitted in their inheritance families.