Good day! The master decided to share with us creating such clocks similar to the old, but from modern materials. The master class turned out bulk, a lot of photos, but I did not dare to share it into two parts. I hope that you read to the end, my dear!
We need:
- Blank MDF round,
- Billet LDSP two-level (edges are treated with PVC edge),
- Metal dial round with Roman numerals,
- primers for porous surfaces and laminate,
- Acrylic paints and enamel,
- acrylic lacquer,
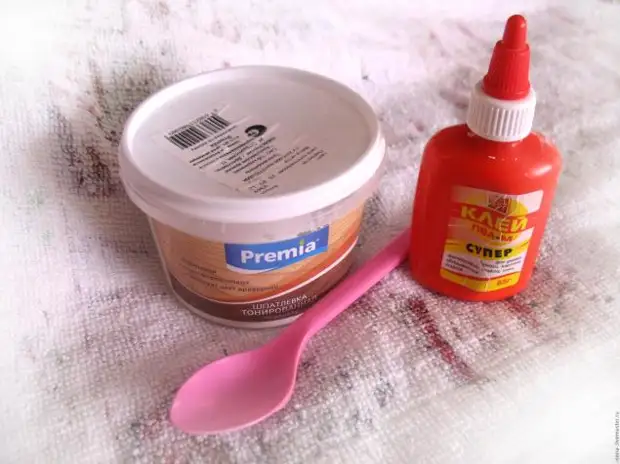
- putty,
- PVA glue,
- Golden beads (plastic),
- coffee beans,
- pencil,
- synthetic brushes,
- Quartz clock mechanism complete with arrows,
- drill,
- self-tapping screw
- screwdriver,
- Adhesive gun, well, and glue to it :)))
- A little alcohol (for Sugrev :)))) ... kidding ... We will apply outside, and not inside.
Work on the clock consists of many layers of primer, paint, varnish ... and a lot more. The drying time of each layer in the MK did not indicate, it is standard for each type of coating, you can find on the packaging of the materials used.
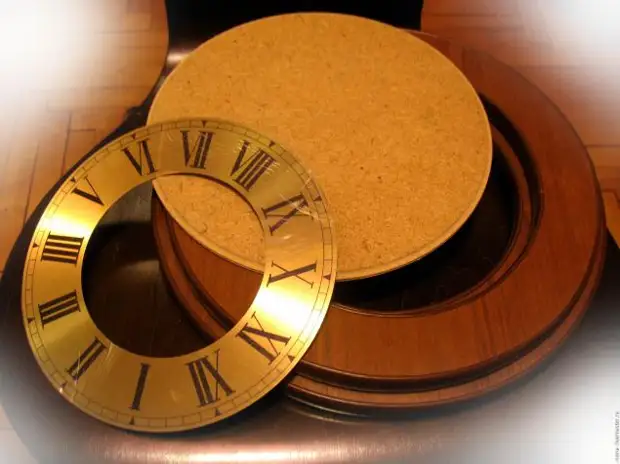
I ordered the billets of MDF and LDSP in a familiar furniture company on its sketches. Here they are beauties, well, and the purchase of a metal dial with them. These will be our three levels at the watch.
We start working with the first level.
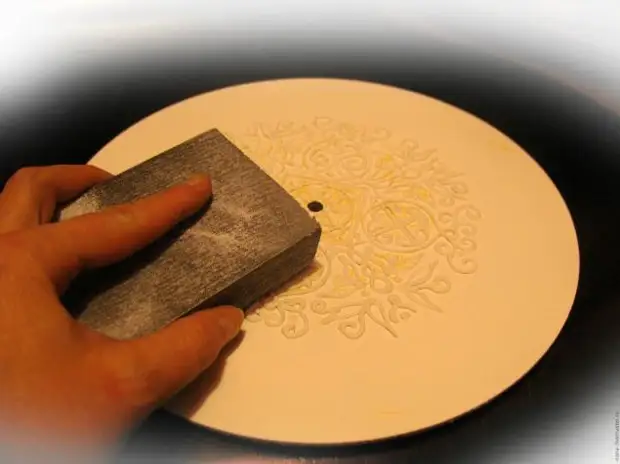
1. Take the workpiece of MDF. Ground it, whirlpool.
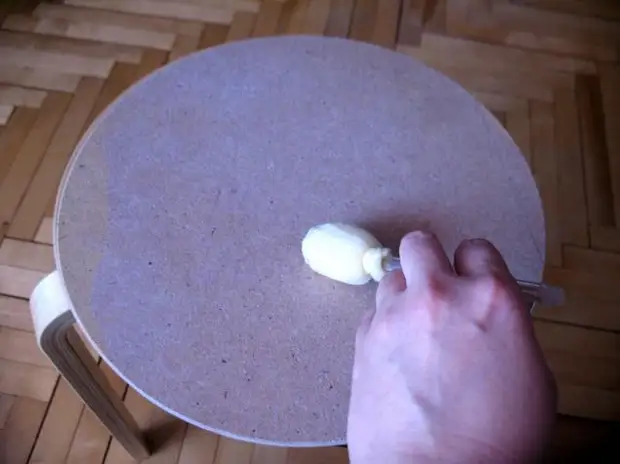
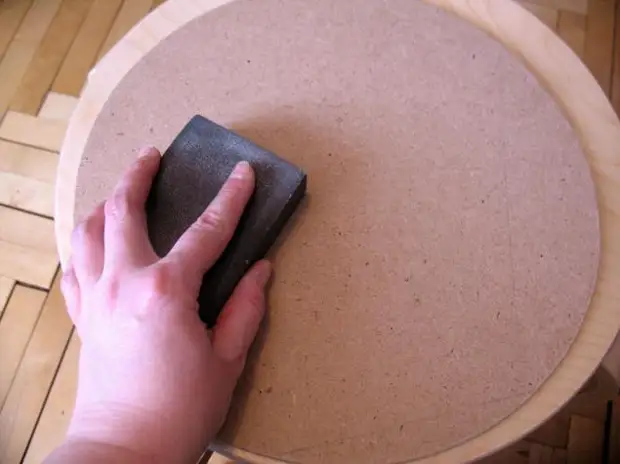
2. Then coated with two layers of white acrylic paint. All layers are enjoyed and whining the shallow skin.
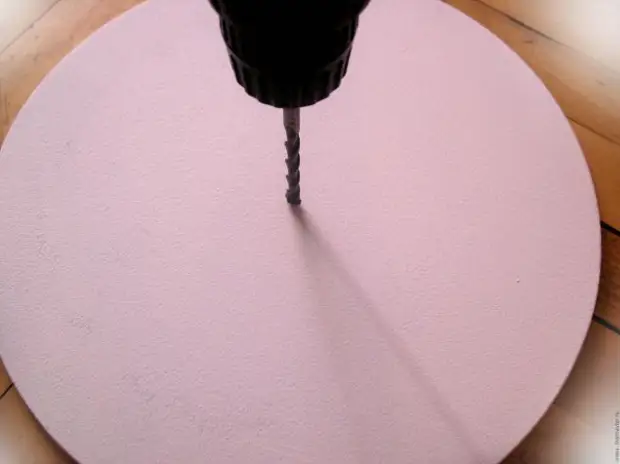
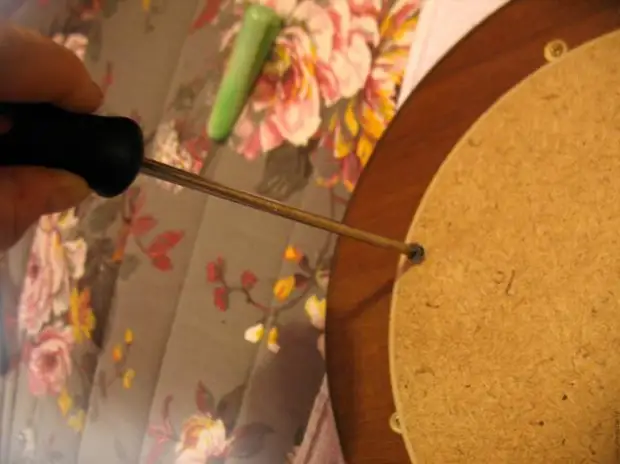
3. After a good drying, mark the middle of the circle and drill the hole for the hourly mechanism.
4. Now the dial is ready for painting. We take the ornament we selected and carry it into the center of the circle using the copy paper.
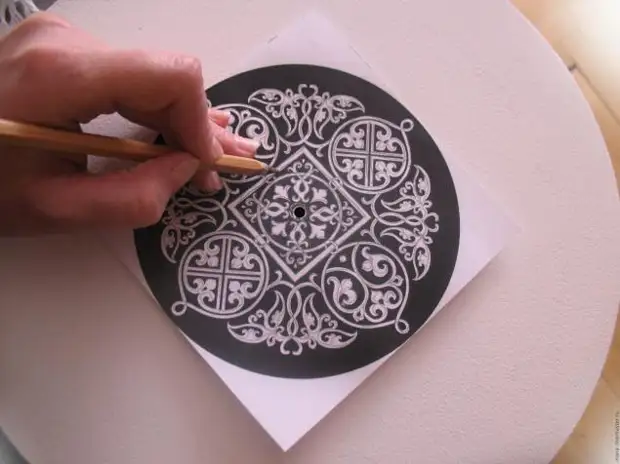
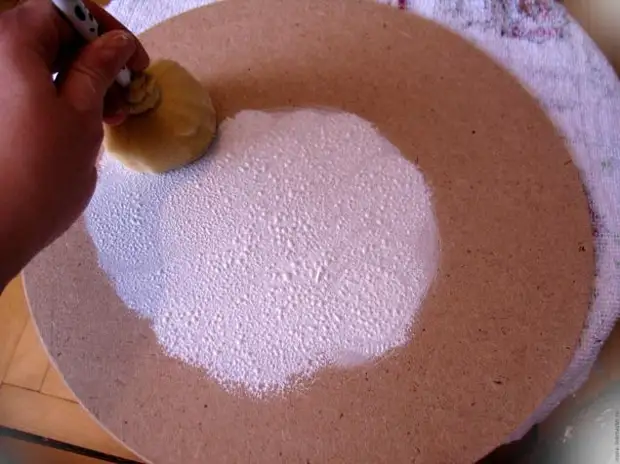
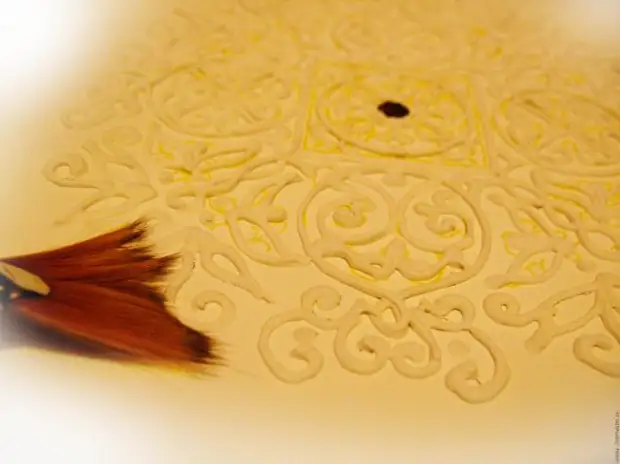
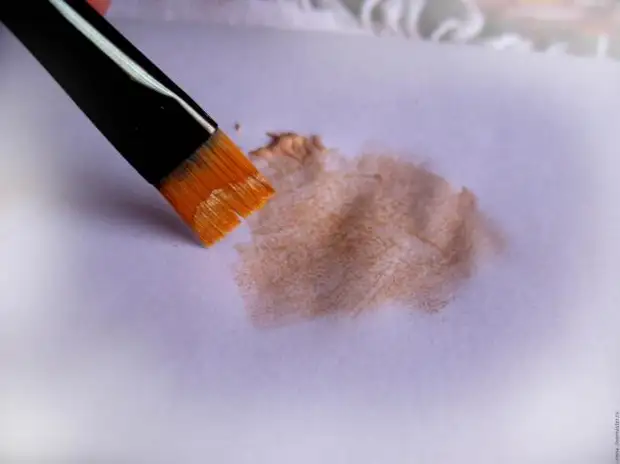
5. It's time to prepare a paste for bulk painting. We mix white acrylic putty with PVA glue to consistency thick sour cream. After that, lay out the mixture into a bubble from PVA glue, or in the other, the main thing is that he has a thin spout. Now you can safely draw!
6. It seemed to me that the drawing was not enough for these hours, and I expanded it, drawing it elements with a simple pencil, after which the additional drawing was covered with a volumetric painting.

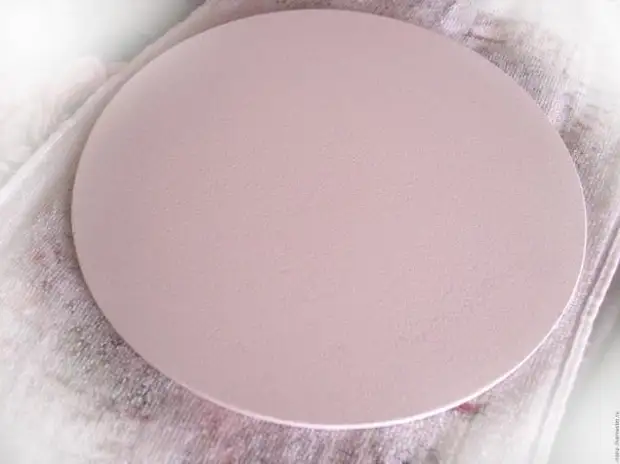
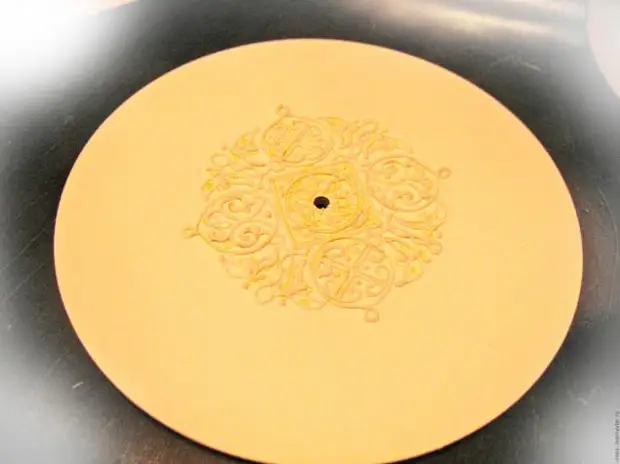
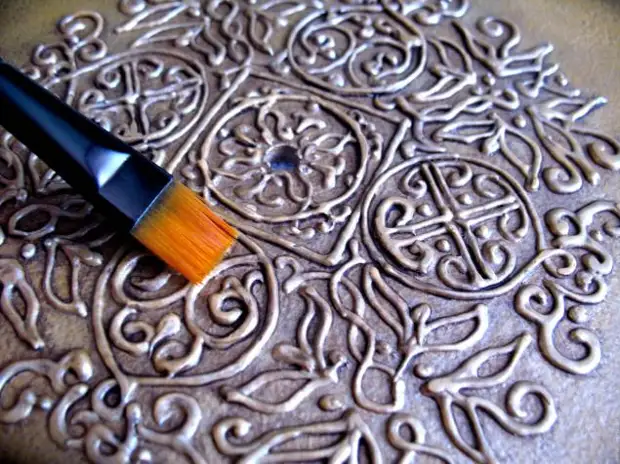
7. Painting is very carefully, after which we are processing a shallow skin to remove all roughness. You can cover with one layer of acrylic varnish for fixing.
8. Drawing is ready for painting that we make a golden metallic enamel. Covered twice, with intermediate drying.
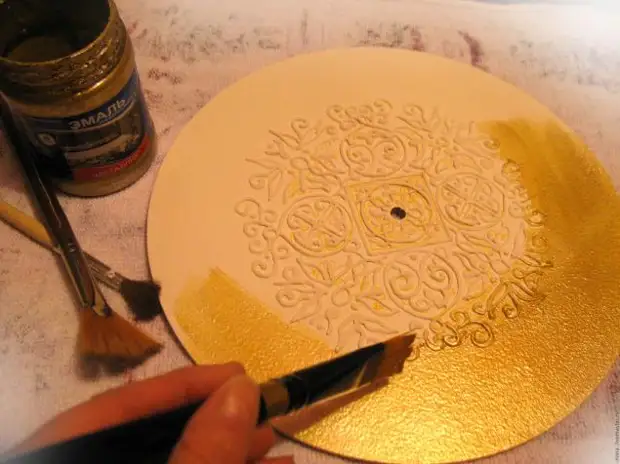
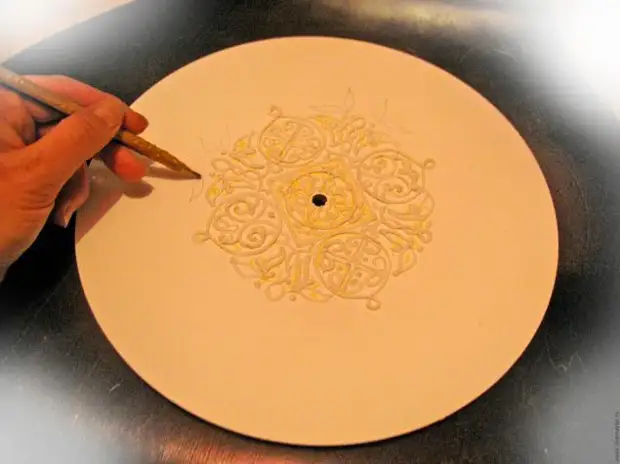
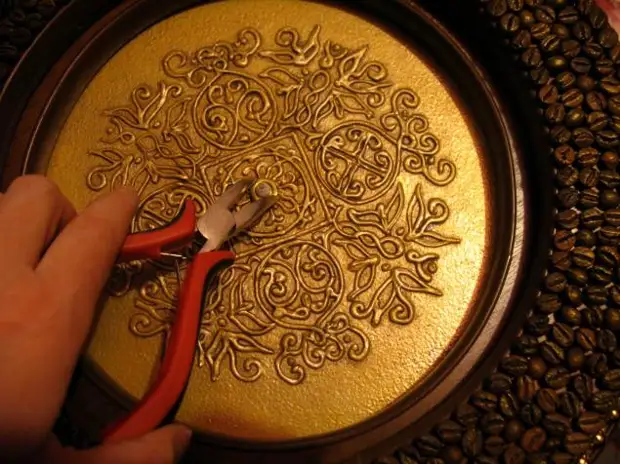
9. Then carefully consider our dial to detect a short-range. They are usually always in hinds of bulk painting. We pass with a brush with gold paint again with circular movements, holding a brush almost vertically surface, and score all the deepening paintings.
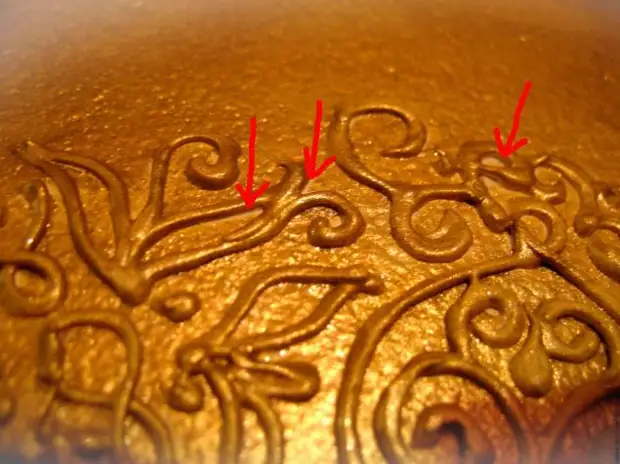
Now everything is in order!
After careful drying, one can be covered with one layer of acrylic varnish. Secure, so to speak, the result.
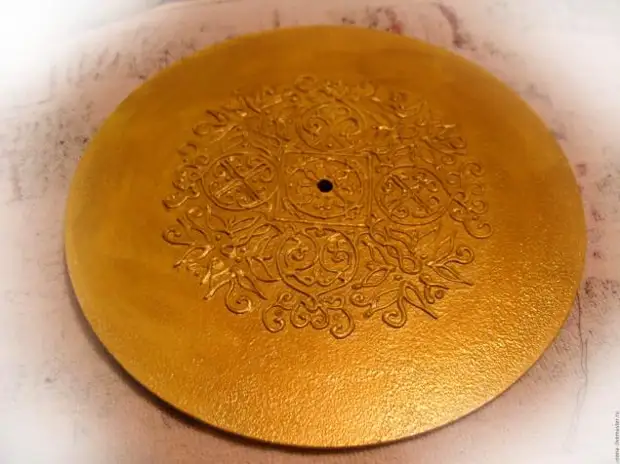
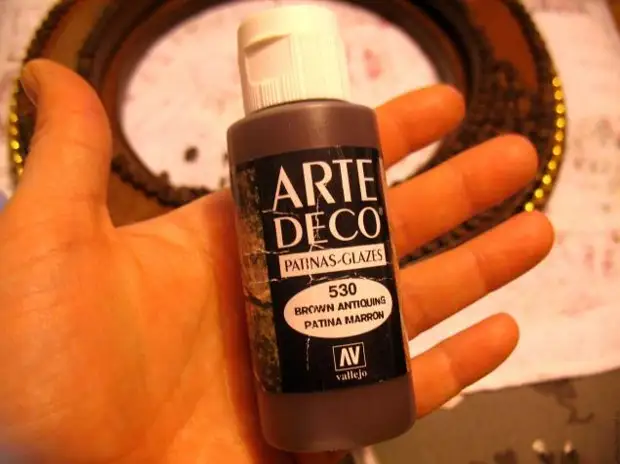
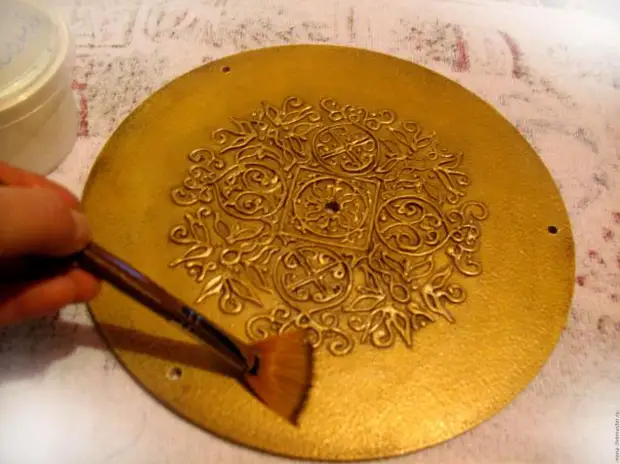
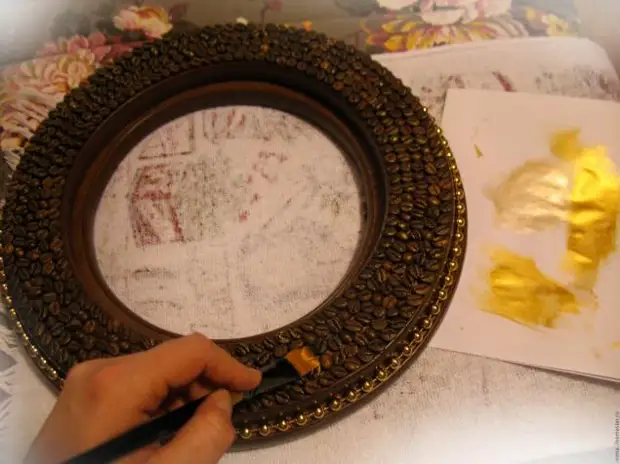
10. Once we make a clock under ancient, the gold dial must be made up, so we will need Patina. I took a brown antique patina. I diluted with water slightly and densedly to the entire surface of the dial, carefully working out all the recesses. Here:
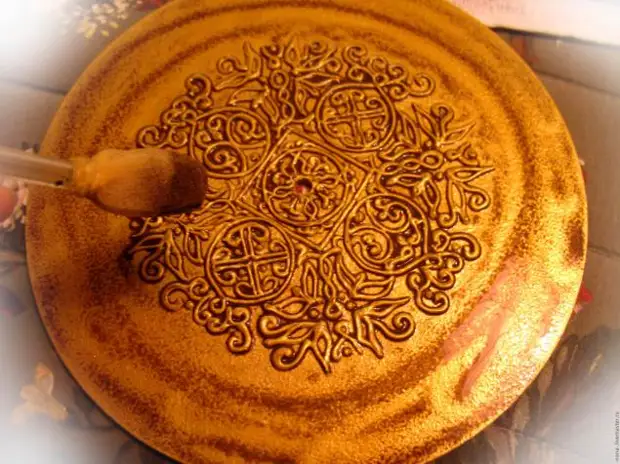
11. Paving a little patina to dry, wipe the soft cloth moistened in alcohol, the entire surface of the clock. Patina remains only in the deepening of the volumetric pattern, which makes the painting more apparent. We are dried and again we apply a layer of acrylic varnish.


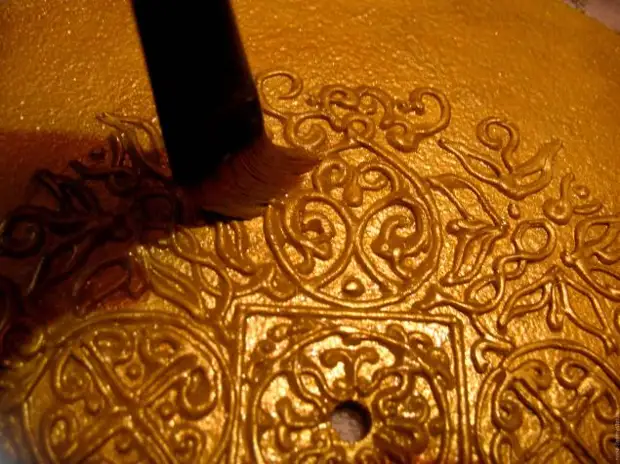
12. To even more allocate the volume of our painting, we take the gold paint of the brightest shade itself, rub it with a brush along the palette before semi-dry state and gently, holding a brush of almost horizontally surfaces, carry out the tops of the painting to cover the thin layer only the surface without affecting the deepening of the painting . Envy.
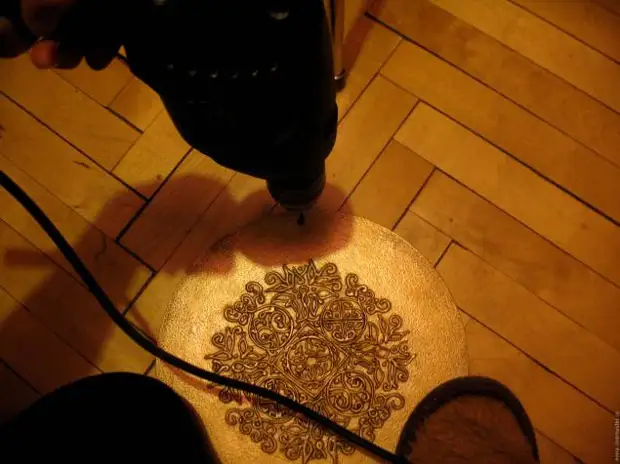
13. Now we need to work again to work again to make holes for fastening the first dial to adjacent. I am located on the floor, pressing the workpiece on one side with the knee, with the other foot in the sneaker (very convenient). When you drill, put under the place where the wooden bar hole will be located - and the floor will not spoil, and on the reverse side of the edge of the hole will be neat (non-torn). Well, now all this magnificence should be covered with the finish layer of varnish (better three) and all this should be dried. The first dial is ready.
We proceed to the next level of hours.
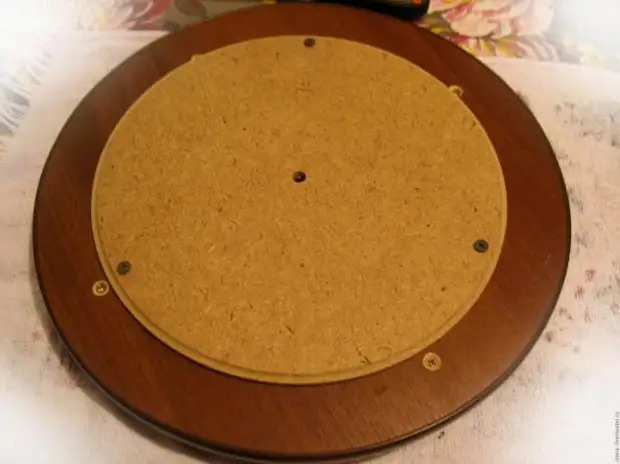
The workpiece of LDSP consists of two round "Branches", bonded by self-draws. Upper (small) "Branches" We will decorate mosaic from coffee beans. For better fastenability of hot glue with the surface of the workpiece, we treat it with a special primer for the laminate, but it can not be done in principle, the hot glue holds well.
Color of the workpiece I immediately picked up dark brown, under the color of coffee, so as not to paint.
A few words about coffee. Working with this material for several years now, I came to the conclusion that for mosaics it is better to take the most inexpensive varieties of coffee beans, because It is in them that the largest amount of solid grains is found. The expensive varieties of the highest class are very fragile and our work is not at all suitable.
14. So, take a pack of grains and move it. Each grains must be changed with your fingers, and if it does not crack, then this is our grain, laying off for mosaic. This occupation can be combined with watching your favorite films (I adore the old Soviet films include).
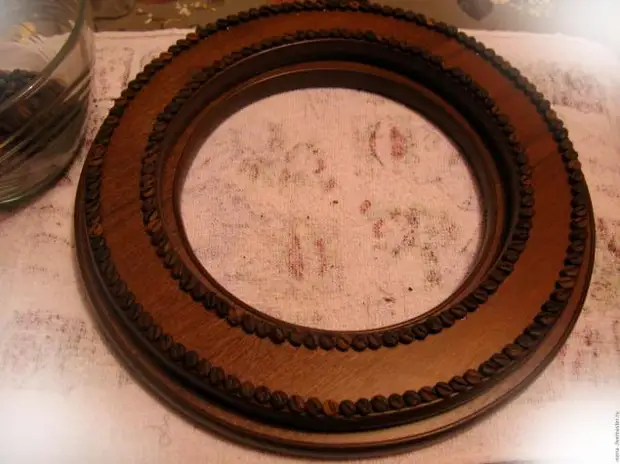
15. Laying the grains begin by the external perimeter of the workpiece. We glue neatly every grain, here you need the skill of working with hot glue. I tried other adhesives - it turns out more dirty, and it will dry for a long time, so the grain shifts are possible when working. In general, he stopped on hot glue :)))
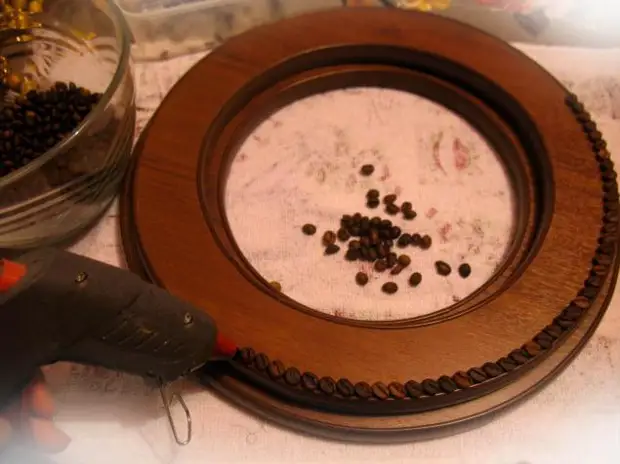
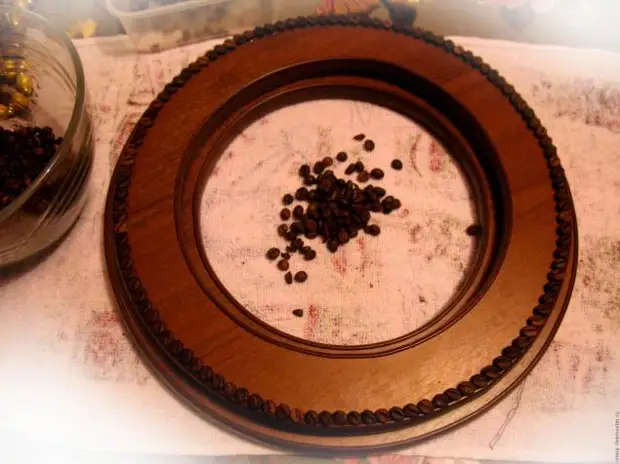
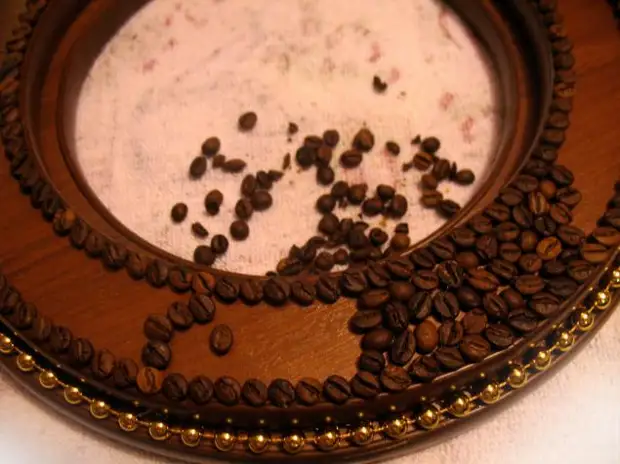
16. Then we go on the inner perimeter, the grains are trying to pick up the same size, the color of the grains is better alternating - from black to light brown, so the composition looks more likely.
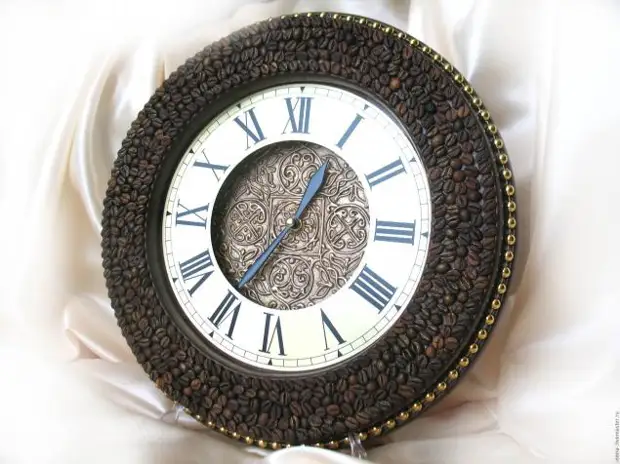
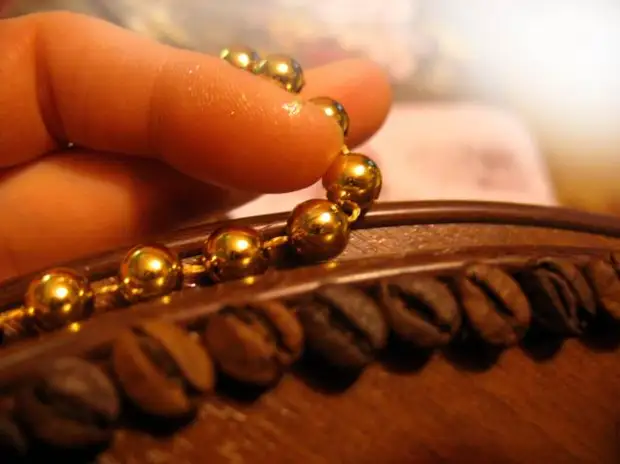
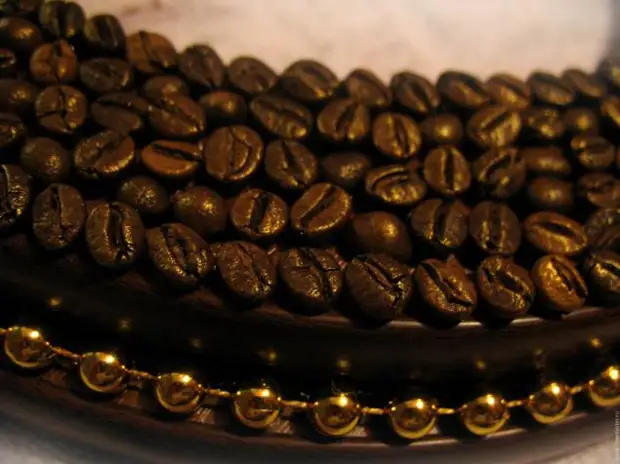
17. Upon completion of the perimeters, I decided to issue the most external perimeter with gold beads. We also plant them on hot glue.
18. Turn on the next Soviet comedy ("Caucasian Captive", for example) and begin to fill in a coffee mosaic to the entire surface between the already two perimeters of coffee grains. Two or three comedies and all the field is filled. Here you can use the grains of different sizes, the main thing is to fill the field to be maximal, then it will really look like a mosaic.
19. The final stage at this level is the coating of grains of coffee "gilding". This time we take the very dark gold paint, and germ gently go through the surface of the coffee mosaic. The grains subtly played in the light, we need it! I do not cover a coffee mosaic with a coffee mosaic - I leave a pleasant coffee fragrance.
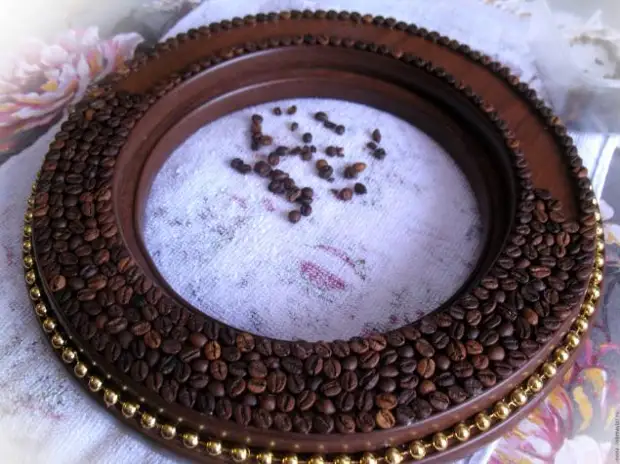
The two main levels of the dial of our clock are ready and can be connected to them.
20. We apply a gold dial of the front side to the involvement of the coffee dial, align, and in the cooked holes we screw the screwdriver screwdriver. Holes for fasteners can be done as much as you like, but not less than three, two - it will not be tight, and hipko :)
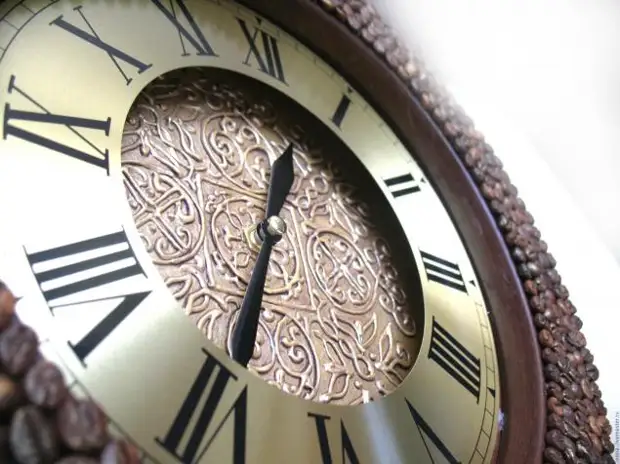
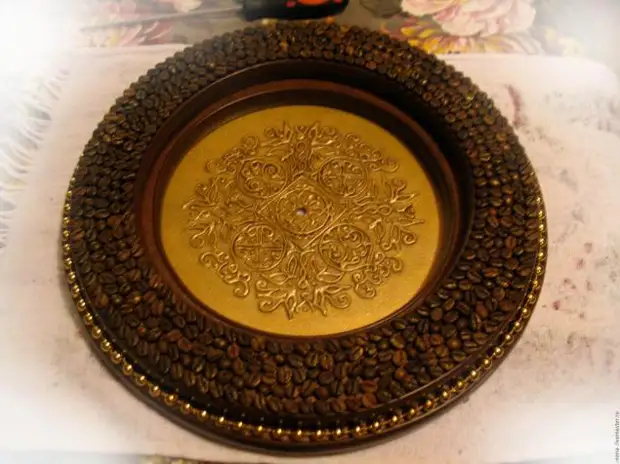
That's what happened! Already similar to a beautiful vintage clock a little.
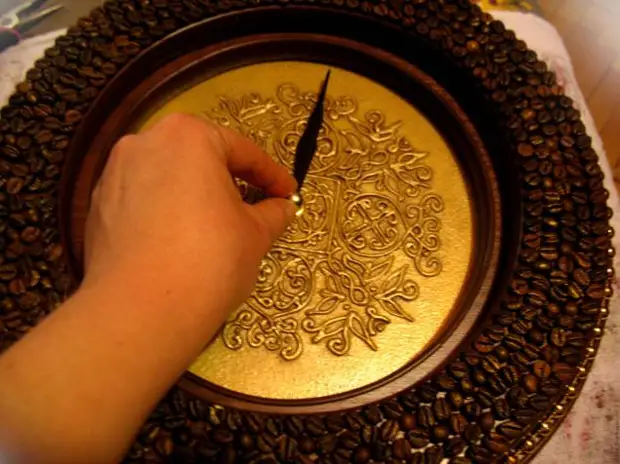
21. Fine a quartz mechanism from the back side by spending a pin to the hole for the arrows. In front tighten with a special nut.

22. Install the arrows are an hour and minute, as well as a golden puzzle from the second hand for beauty. The second arrow did not install, for some reason it seems to me that the old hours of the second arrows did not have. But if you really want, you can install :)))
23. And finally, we establish a metal dial. I put it on the glue, what you like more, it's not fundamentally, the main thing is to keep well.
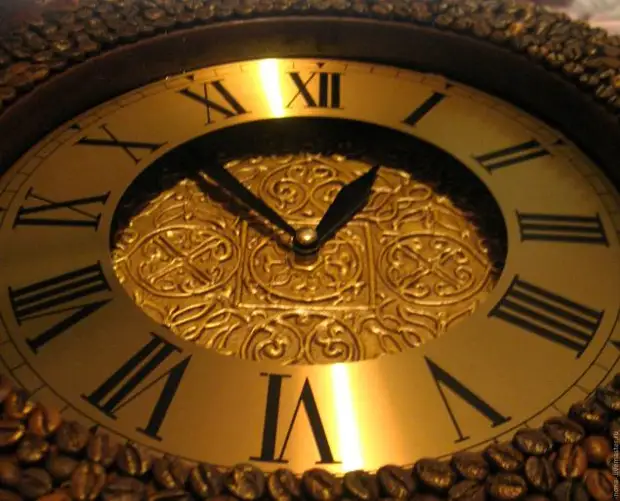
Everything! Watches are ready. Insert your finching battery and you can hang on the wall in the living room, dining room, hallway or office. I think these watches can decorate any room.