It is only to read the post and MK will be long ... And there is nothing to sew here))))))
If the routine was tortured you, wait on everything and for the evening to make themselves a small house, in which it always can always be hiding from problems and fuss!
I already have such a thing, I want more!
In general, this house is good in that it is possible to make it quite simple or more complicated, with many small details or without bottom, with painstaking neat work or in Rag style ... So you can do since I or quite in my own way, bypassing especially difficult Places, he will be good in any option!
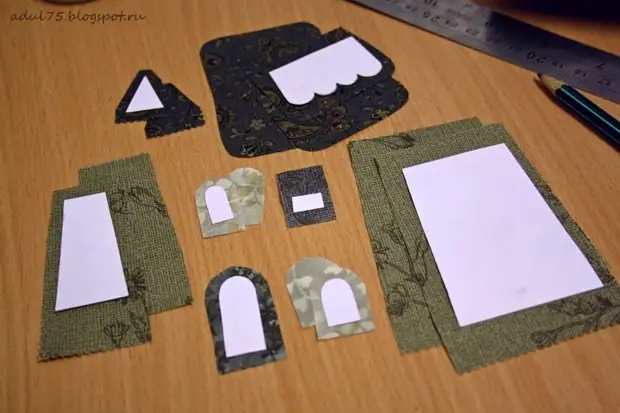
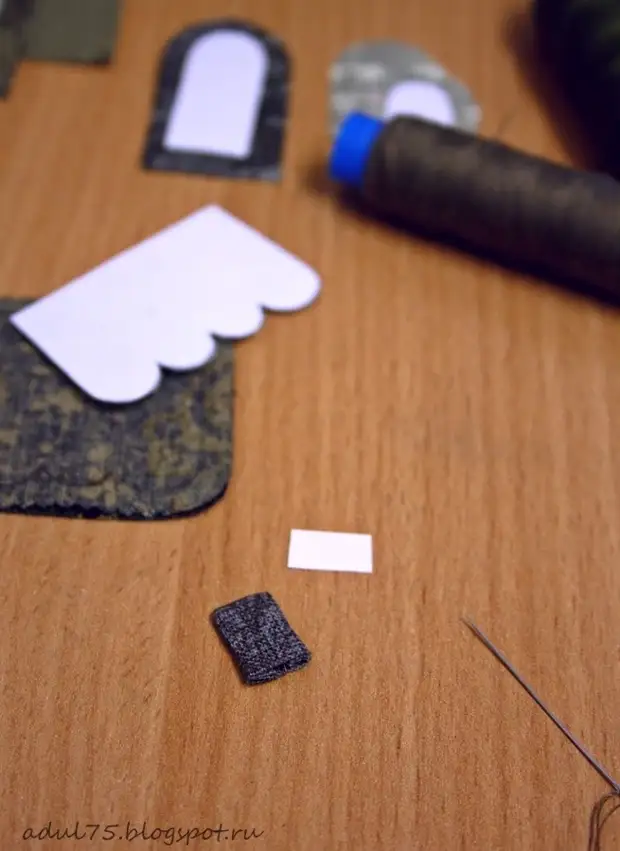
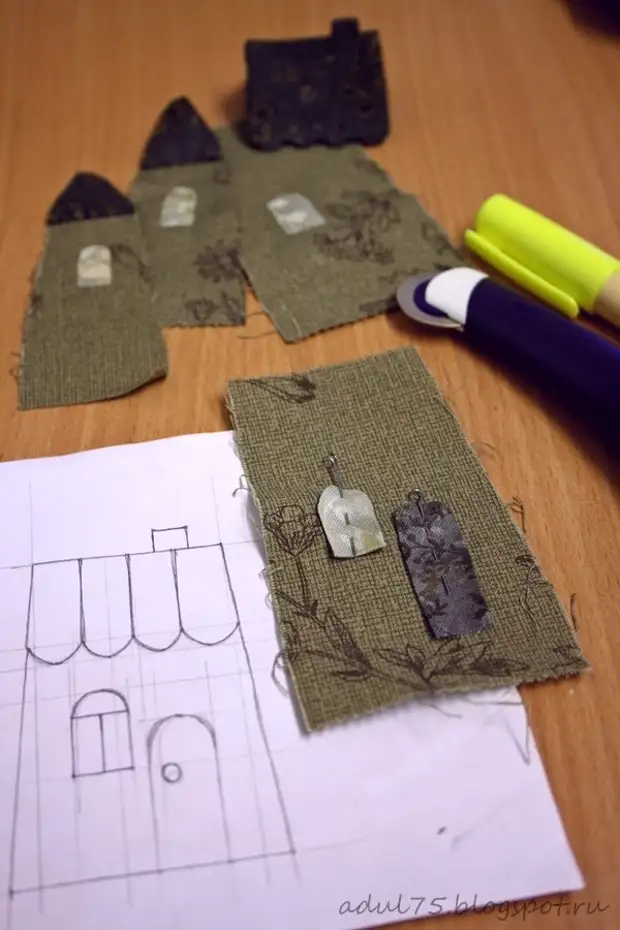
1 - Start with the fact that you will take out all the parts from the fabric in the desired quantity. I will make a roof separately from the house, so two halves of the roof + one common part for the inside of the roof was lit. Windows can also be any amount. Do not forget to make a large allowance from the bottom of the parts of the walls, these allowances then form the bottom.
2 - sew and turn the pipe part.
3 - We take two parts of the roof (halves) and sew on the upper cut, putting the pipe between them.
4 - Now stitched part with a pipe with a third part of the roof "face" inside and flash lying.
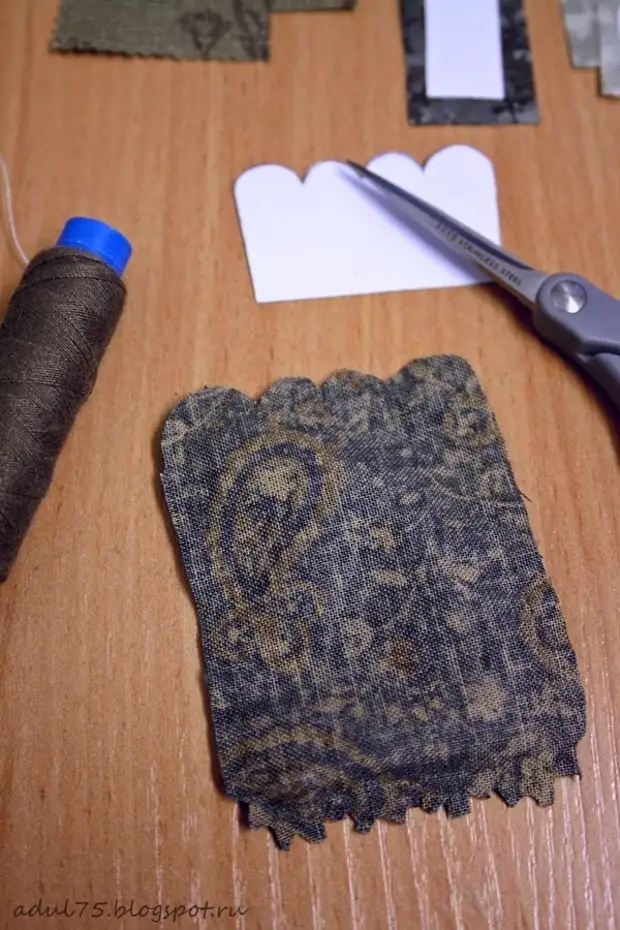
5 - If you make a roof with wavy edges, then you need to handle the edge before turning, so that the festo on the edge of the roof is beautifully turned around. They will make the roof with a straight edge and skip this item.
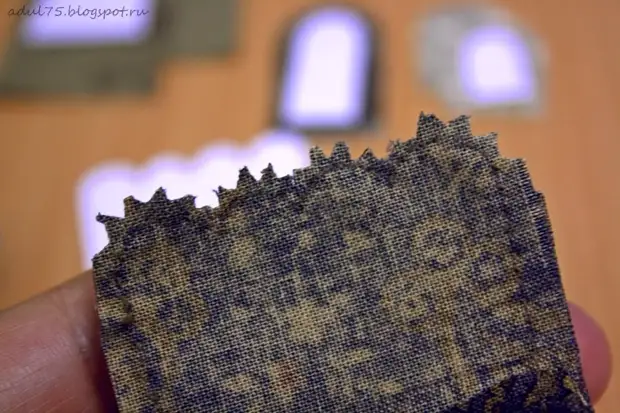
6 - To turn the item, cut the whole part of the across in the middle.
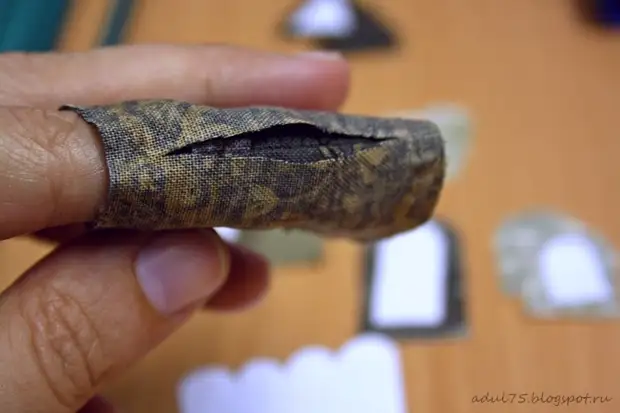
So we turn, carefully straighten all the bends, we do it carefully, so that the strings from the allowance do not stretch out.
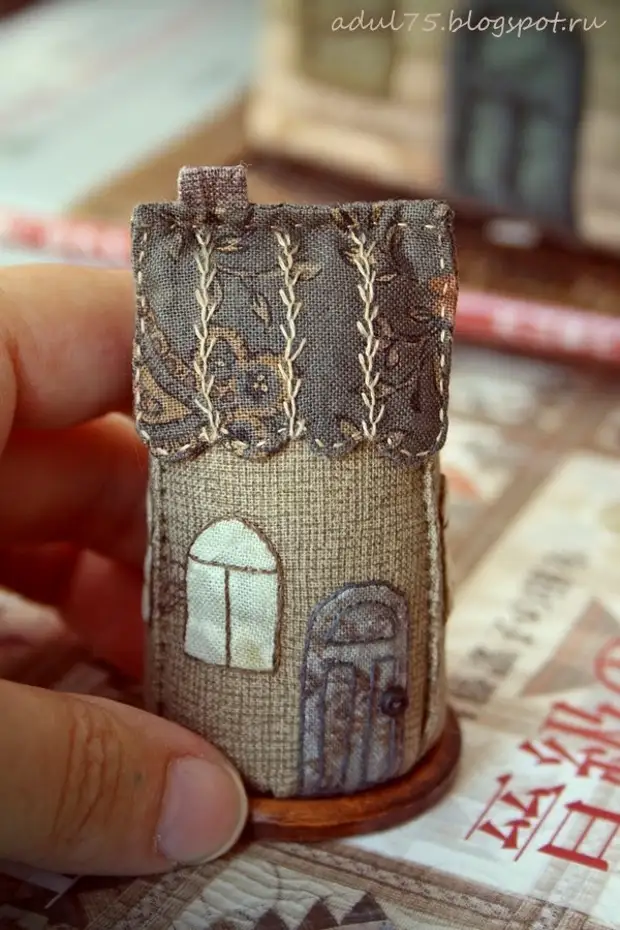
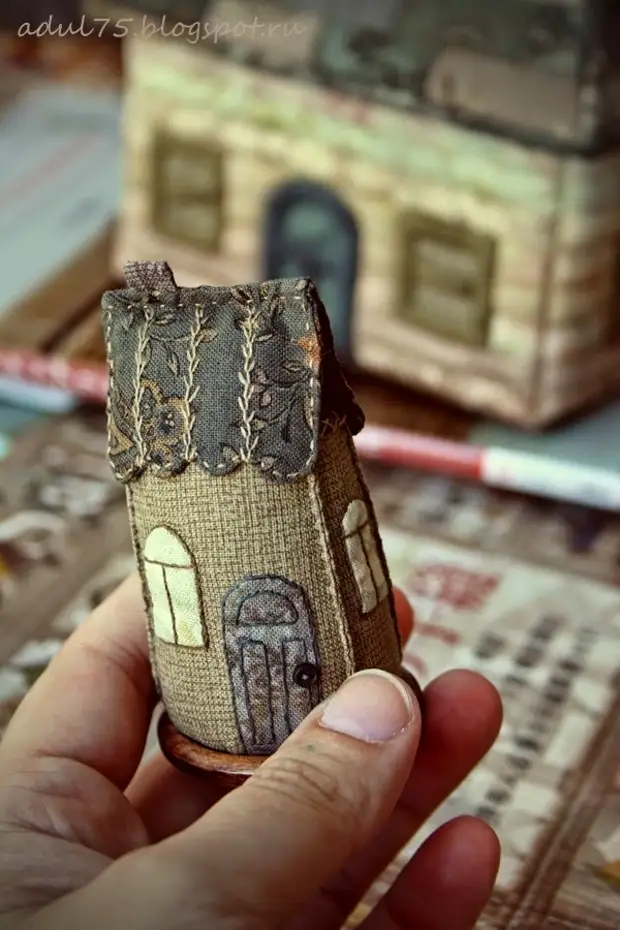
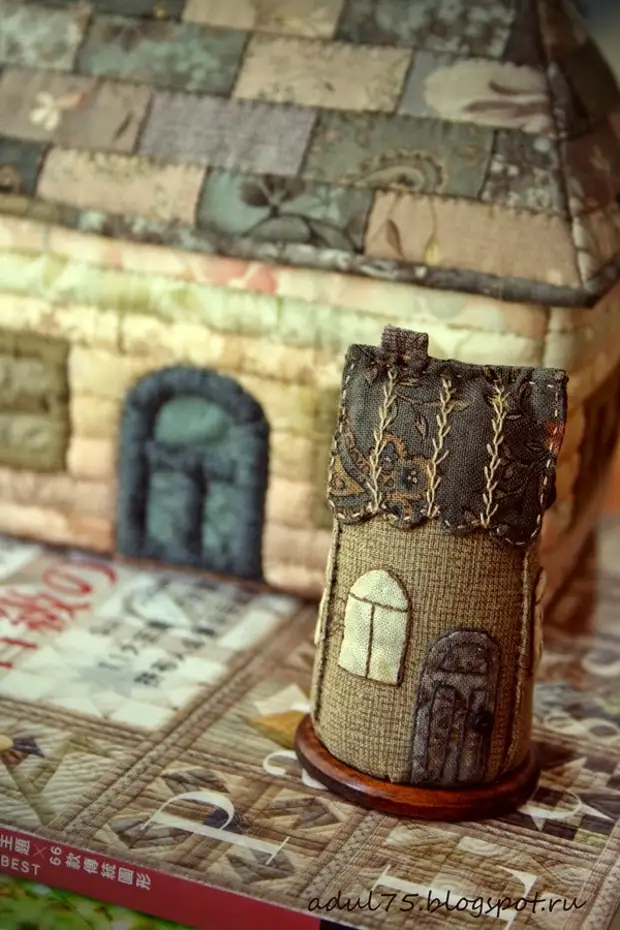
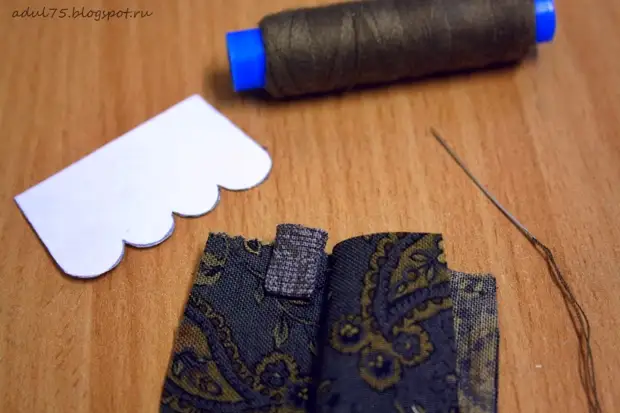
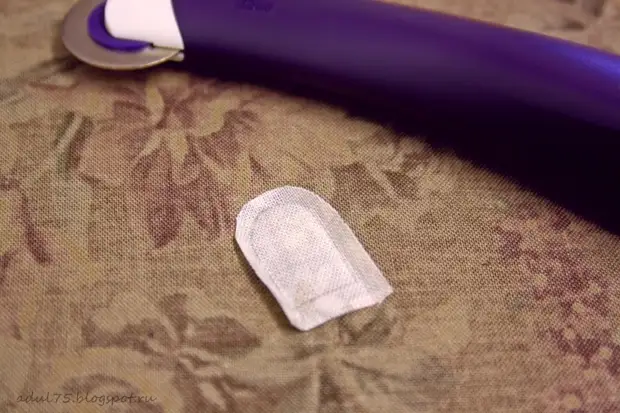
7 - Put the roof and take over the walls. Windows, doors and other small parts can be made by appliqué (in different ways) or simply embroider for example. I chose the applique. Cut the part and on the soft surface "rolling" by the pencil line with a wheel-copier. For this operation, there is a special mat for working with a wheel-copier, it is very expensive, and someday I will have it))) and while I just put down a few layers of rags.
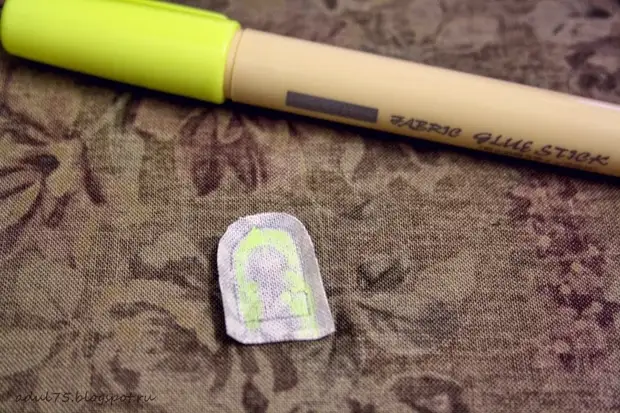
Now we take textile adhesive pencils and scroll in those places that we will "lie" the allowances. This temporary fixation glue. After the wheel, the batups are easily bend in the right place and fixed on glue. Two these devices incredibly facilitate the application process (after I tried to refuse them no longer))))
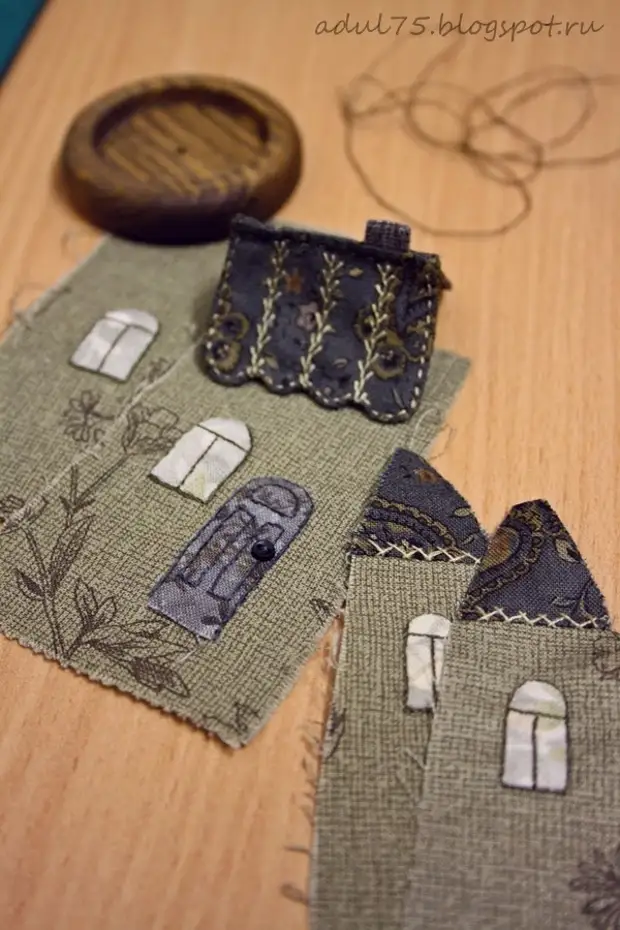
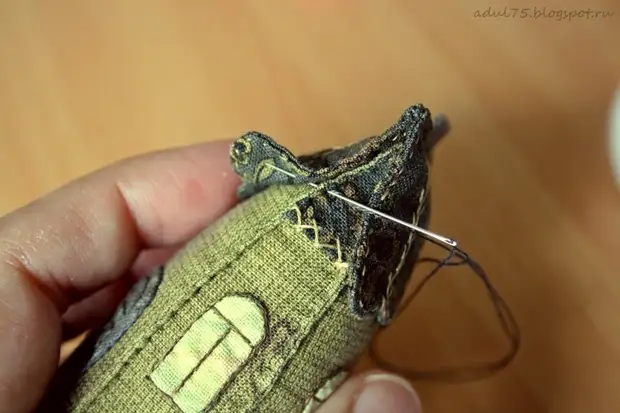
8 - Mold details for certain places and sew them very small stitches.
9 - After all the small details are sewn, you can add all the decorative seams, and you can not supplement))) I used the seams "Forward needle", "sank", "goat" and "twig".
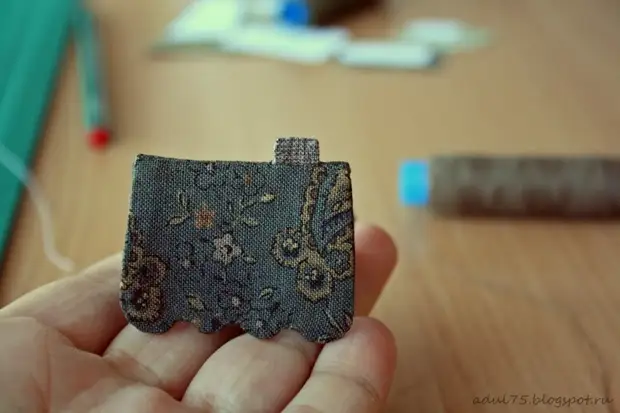
10 - Now sew a house.
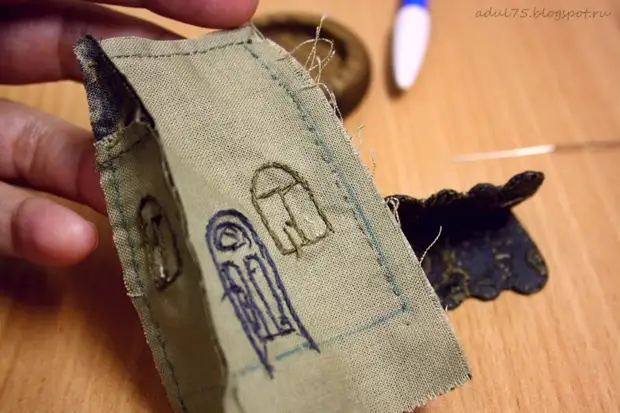
Soak and deposit decorative lines on side faces.

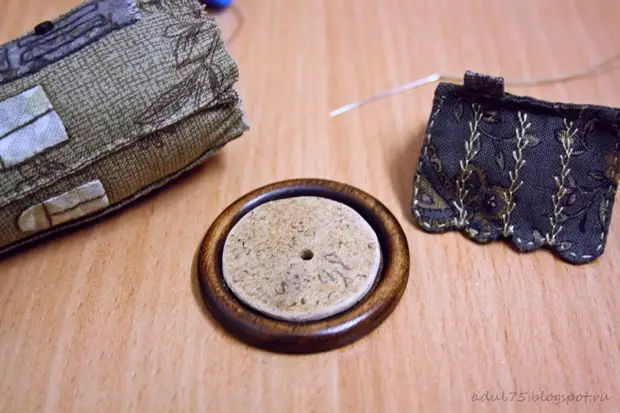
10 - Now a few words about a wooden basis. I had a variant that can be seen in previous photos, but I tried out the house and it seemed rude. Therefore, I made a choice in favor of a suitable button)))
I apologize for the quality of the photo, but nothing can be done ...
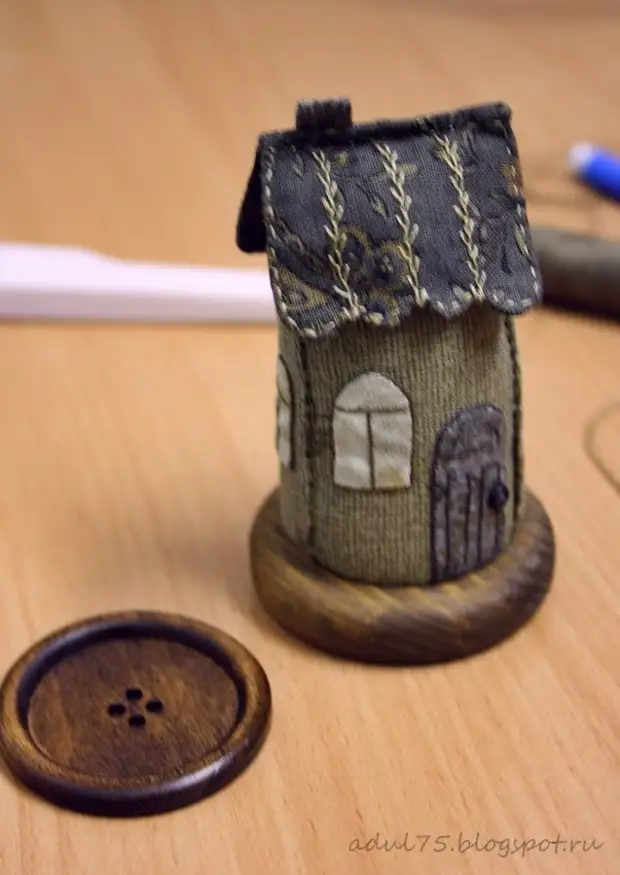
In order to make the bottom, take a thick cardboard, I pore handed the right size disk for Teddy bears. It is necessary that the disk came into the base for the needle is quite free.
11 - fill the needle filler and pull the bottom, putting the disk there.

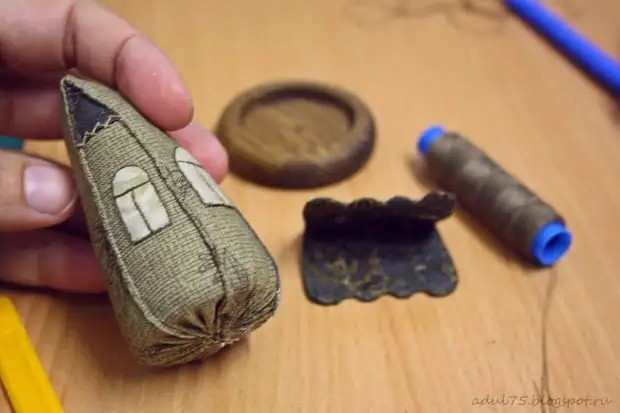
12 - Now you need to glue the needle to the base. I hustically smeared the inside of the buttons with glue "Titan", took the house of Scotch and left for the night.
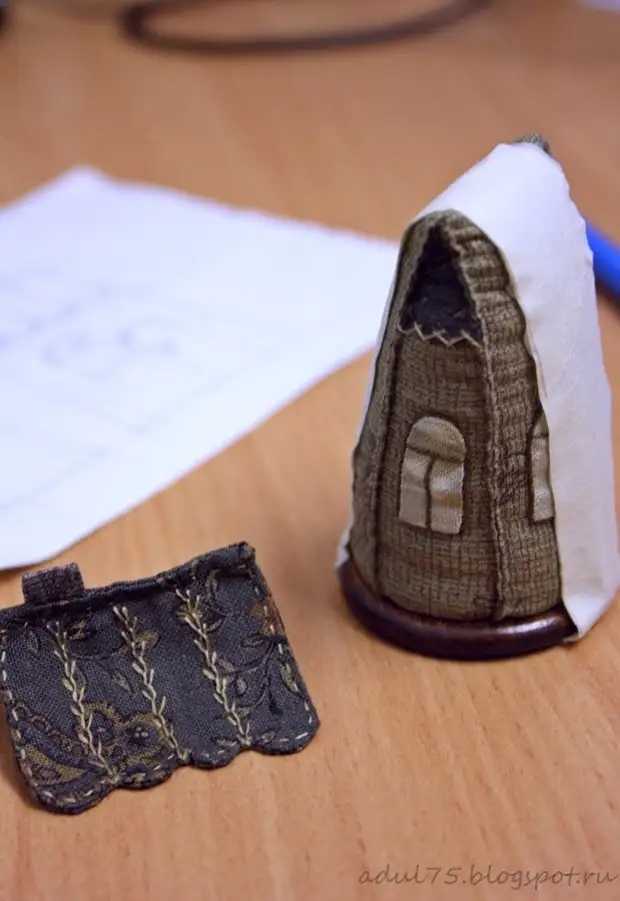
13 - The roof is left. Send secret stitches to side triangles and ready.
Shave, it's fast and easy. In a reward for the efforts, get a very pretty thing that will decorate your needlework))) Shot with pleasure !!