The idea for the alteration of an old sweater in the original designer scarf is always useful, because each of us has a unnecessary sweater, which is sorry for a sorry, and to wear nowhere. It is from such a sweater that we suggest you make an attractive original scarf of the sweaters with your own hands. In addition, it does not take much time.

Required materials and tools: sweater; contrast fabric; sewing machine; a thread; needle.
Start by selecting a sweater. Sweater of any type will suit. It can be a sweater and with 100% wool, and a sweater with the addition of acrylic or other materials. The main thing is that the sweater was soft and pleasant to the touch. Also choose a fabric suitable to a color switcher.
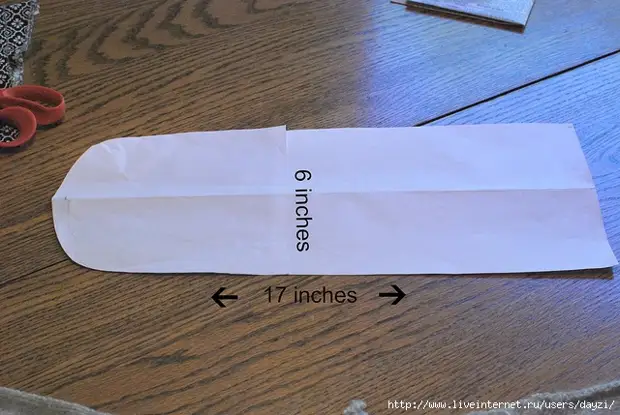
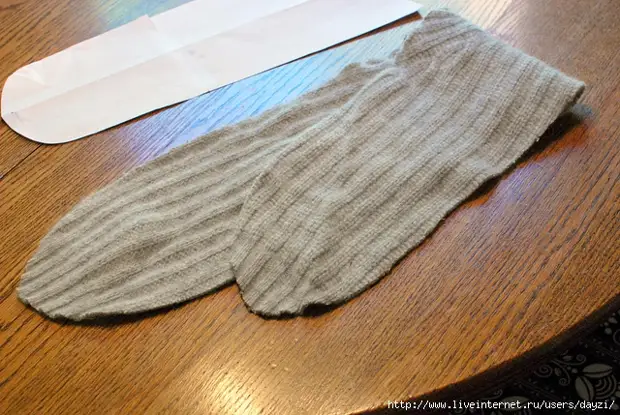
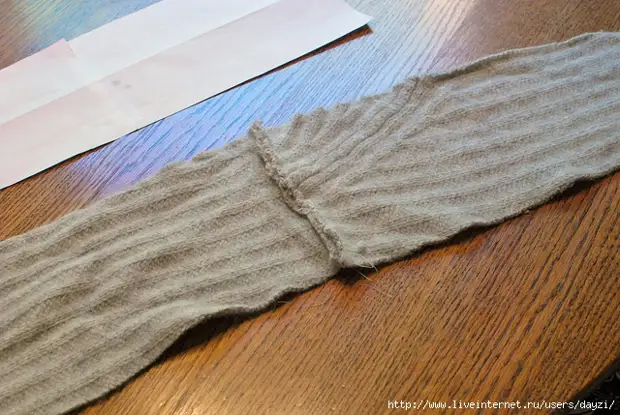
Making a template after you have decided on a sweater and a cloth to sew the original scarf of the sweater, you need to make a paper pattern. A very simple template variant is a piece of paper 15 cm wide and 42 cm long. You can also round one side. If your sweater is a large enough and paper template is easily placed on a sweater, then you just need to cut a piece of sweaters on the template. If the sweater is small and the template does not fit on it completely, you need to cut a template for 2 parts and cut 2 pieces of sweaters, and then sew them.
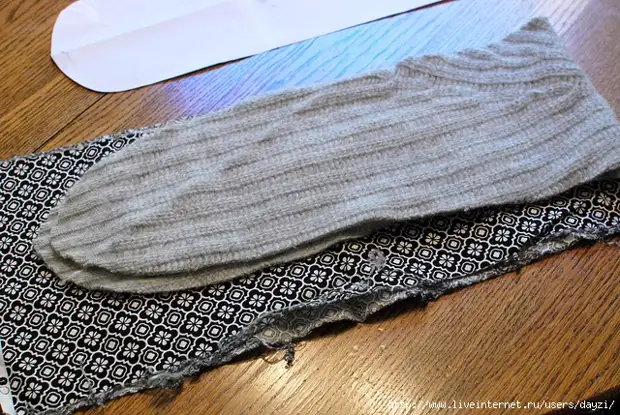
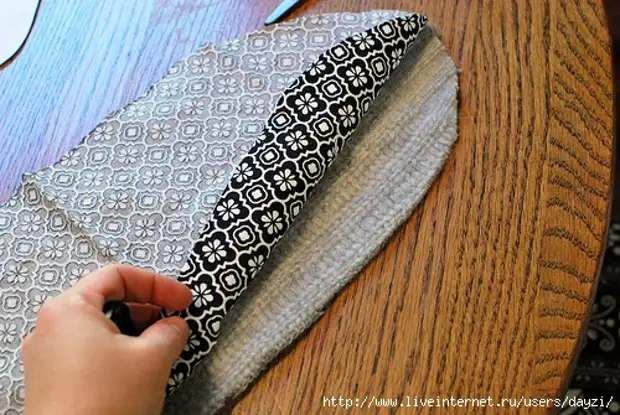
Making a tissue lining after a detail from the sweater is ready, proceed to working with a cloth. Folding the finishing fabric in half and put a piece of sweaters from above to make sure that the tissue lining consists of one piece and no seams on the wrong side of the scarf will not be. Cut the fabric lining a little more than a piece of sweaters, because the sweater can stretch during sewing.
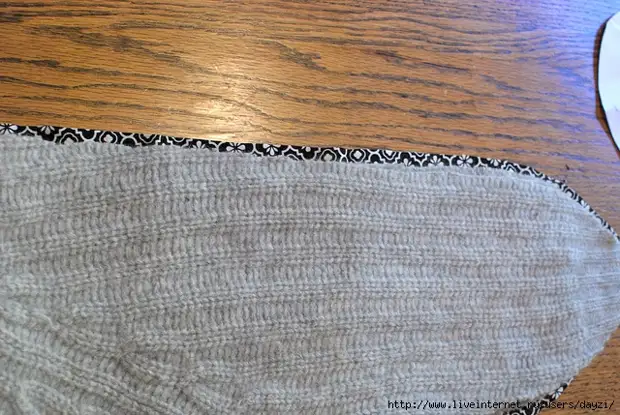
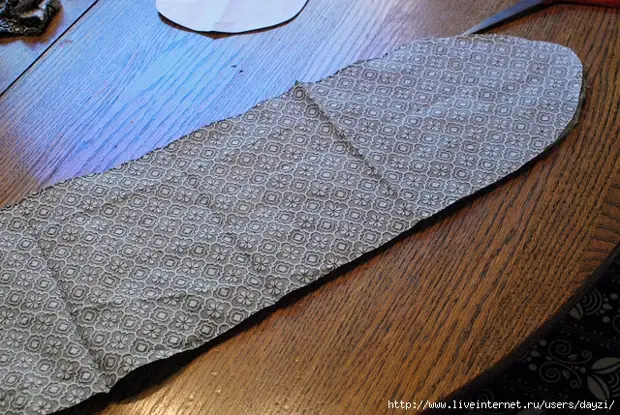
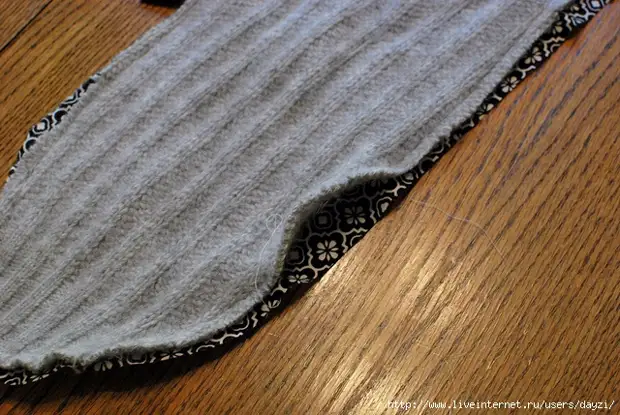
We sew the details connect the fabric and sweater the front sides and cut them in a circle, leaving the gap of about 8 cm. Then remove the scarf through the left hole. You can also flash the scarf in a circle from the front side, for example, manual stepped stitches or any other seam that looks good on the front side.
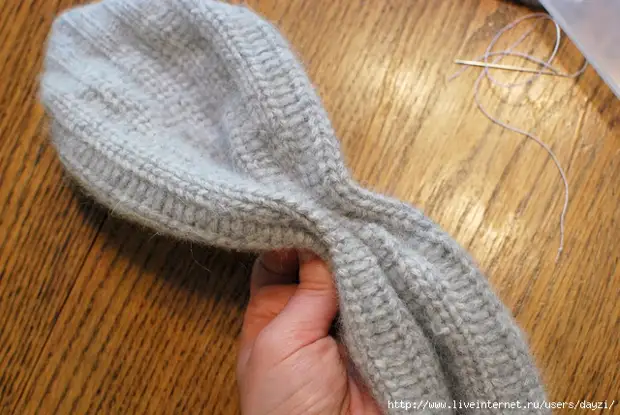
We form the folds. Take the scarf at a distance of approximately 18 cm from the end and squeeze it, forming folds. Make a few stitches to make folds. Similarly, make folds and at the second end of the scarf.
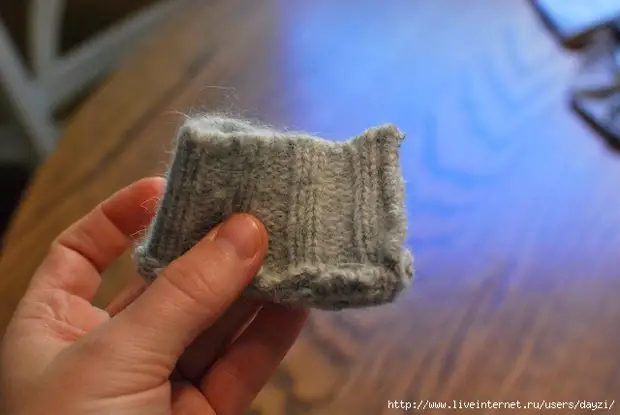
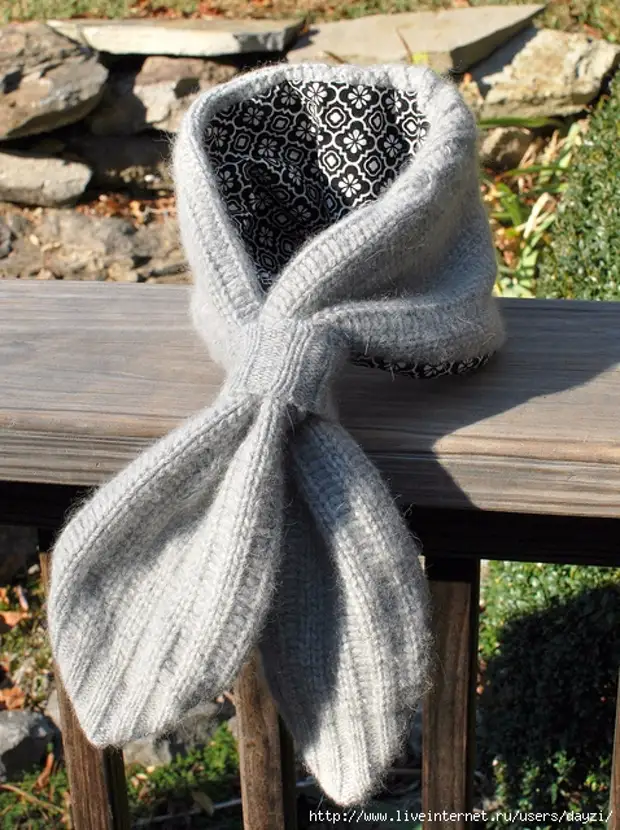
We collect a scarf take a 12-centimar piece of a sweater and scratch the ends together to form a ring. Remove it on the front side. Schedule one end of the scarf into the resulting ring in such a way that it covered the collected part of the scarf. Carefully enter the ring to the selected scarf. Now we put the scarf on the neck and insert the second end of the scarf into the ring. Now our original designer scarf is ready!