
A bed in the form of a house is a dream of a preschooler. You can make it just half a day.
Children's rooms decorated in Scandinavian style are often decorated with beds in the form of houses. In stores and workshops, it costs quite expensive enough, but such a bed is easy to do independently, having even a small budget and modest skills in instrument handling. Show how to make a bed-house for a child with your own hands.
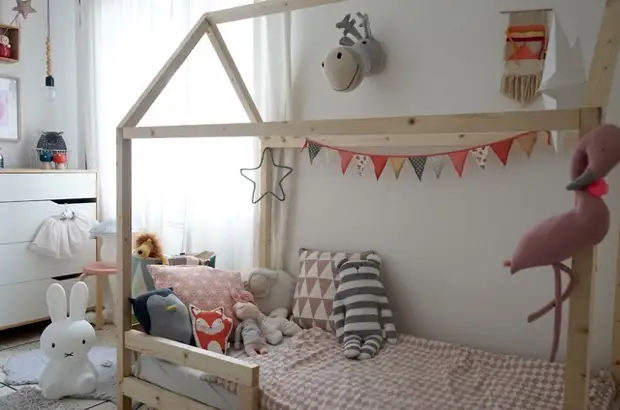
Idea: The bed in this project cost us 100 euros. To reduce costs, use the bottom of the bottom of the old bed.
A huge plus bed of their own manufacture - you can make it unusual proportions, colors, sizes. For example, a bed-house for a boy is to paint in the colors of the sea or make opaque curtains, setting up a full-fledged military headquarters there. A bed for a girl is to decorate with flags and air canopy from a fate or organza.
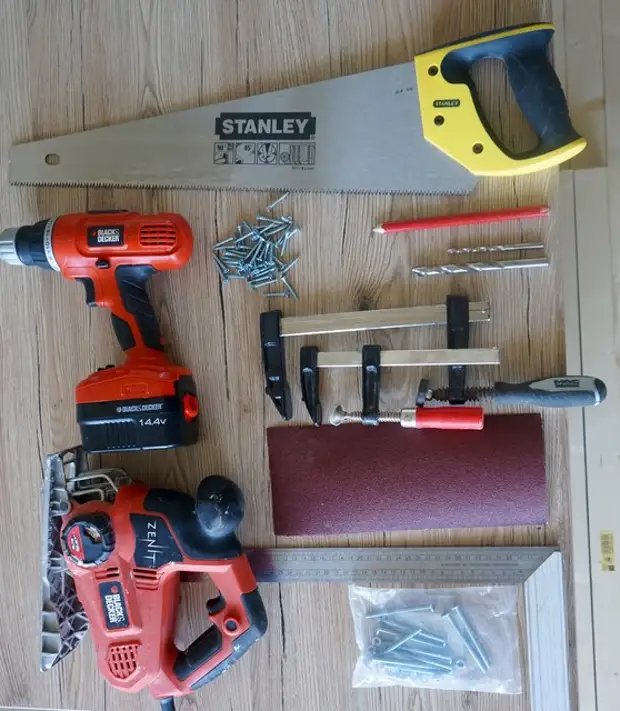
Materials
- hacksaw or electrolybiz, screwdriver;
- Drills 6 mm and 10 mm;
- Pencil, carbon line;
- sandpaper sheet;
- self-tapping screws 4.5x30 and 6x70 mm;
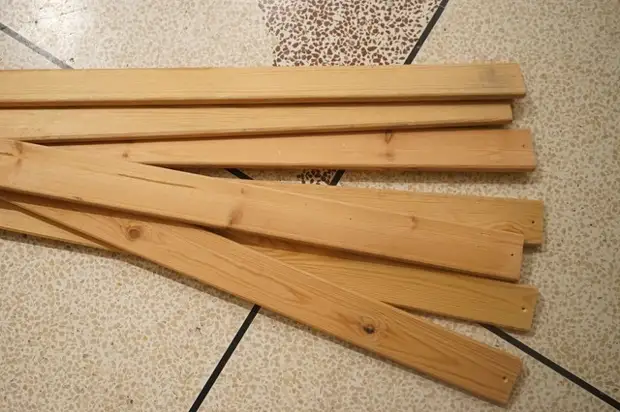
- Lamella (sold individually) or old rush bottom of the bed;
- Glue for wood.
For our design, we used 13 bars with a cross section of 45x45 mm and length:
- 1200 mm for vertical supports - 4 pcs.;
- 820 mm for transverse beam below - 2 pcs;
- 730 mm for roof slide - 4 pcs.;
- 1660 mm for longitudinal roof base - 3 pcs.
For the frame of the roll bottom:
- 2 wooden bars measuring 38x67x1660 mm and 2 flat rails size 9x67x1660 mm.
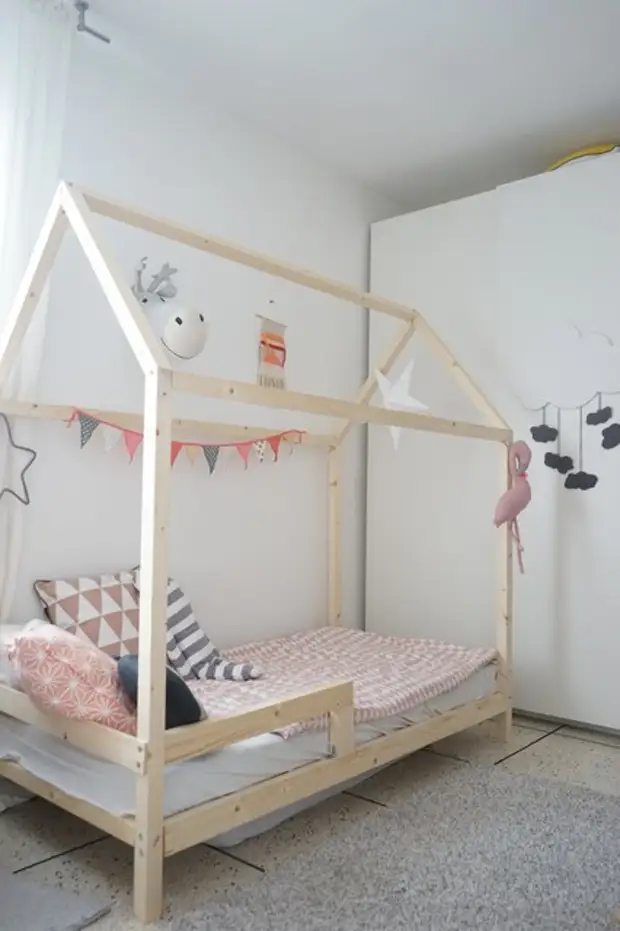
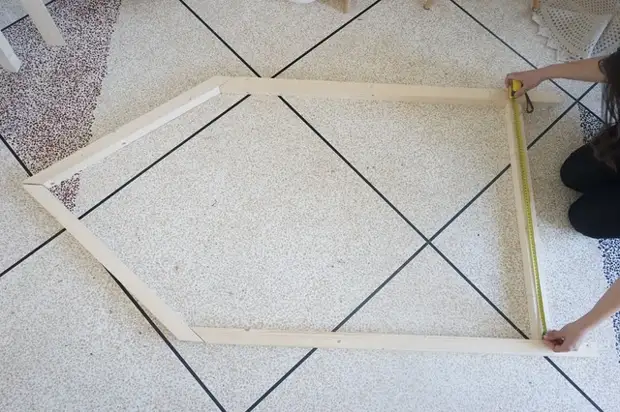
Tip: We made a bed of 178 cm in height, 175 cm long and 91 cm wide (under the mattress 80x165 cm). But nothing prevents the same model under the mattress of 190 cm long - focus on the age of the child.
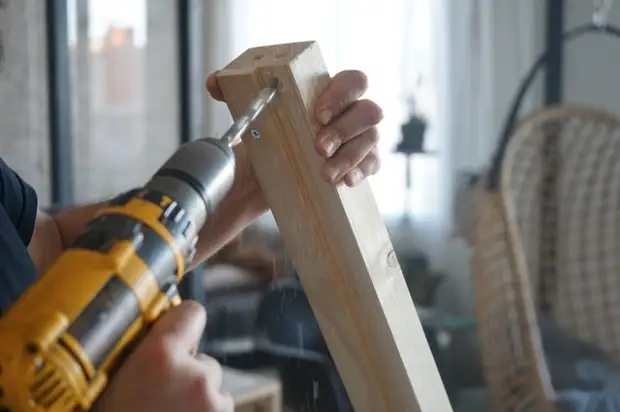
Step 1. Making the walls of the house
We took four wooden bars, each - 1200 mm long. They will perform in the role of supports, the vertical structure of our bed.
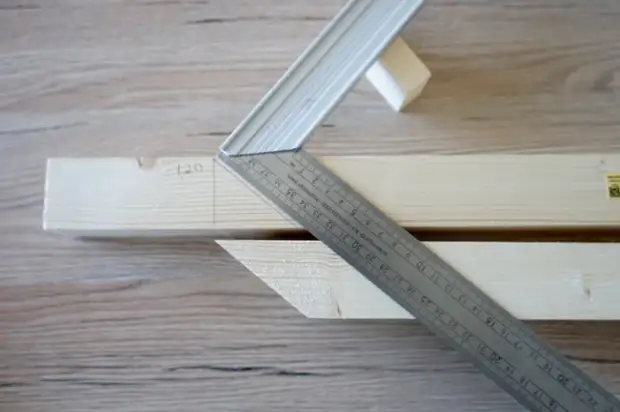
In order for the bartal roof is beautiful, each of the supports need to sprinkle the upper edge at an angle of 45 degrees. At first we planned the cutting line with the help of the square and pencil.
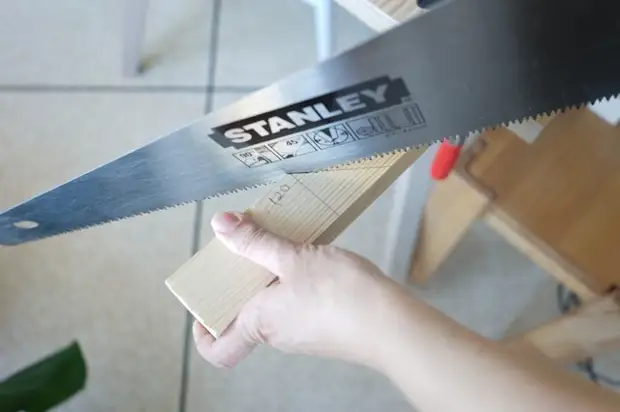
I measured and sawed wooden racks with ordinary hacksaw. But you can search in a shopping or construction store Special cutting device at an angle.
Step 2. Making the roof
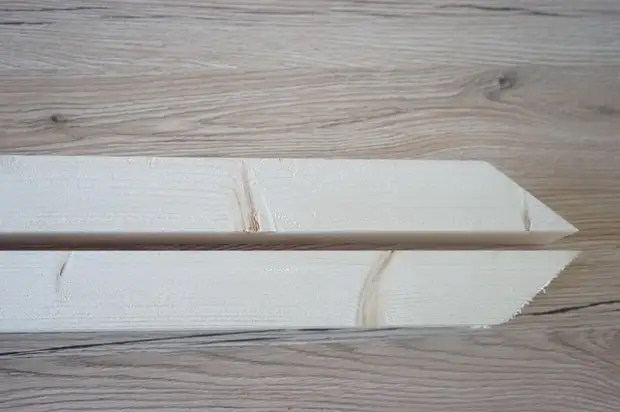
For the roof, take four wooden bars with a length of 730 mm and repeat the same procedure: the outer edge of each bar must be trimmed at an angle of 45 degrees.
Tip: All sections immediately pass by sandpaper.
We collect our house from the cropped vertical supports (bars of 1200 mm) and the roof skate (bars of 730 mm).
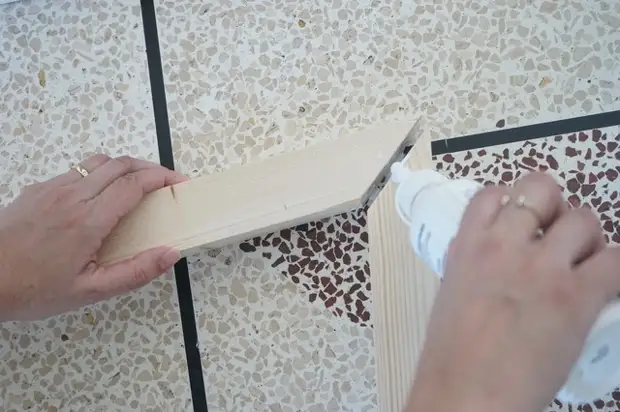
The upper lip of the roof connect with a glue for a tree.
The junction of the roof and the vertical support is sample and additionally fix with a 4.5x30 mm self-press. Screw the screws, retreating from the link of two wooden roof parts 3 mm. Screw smoothly, without pressure so that the tree does not smell.
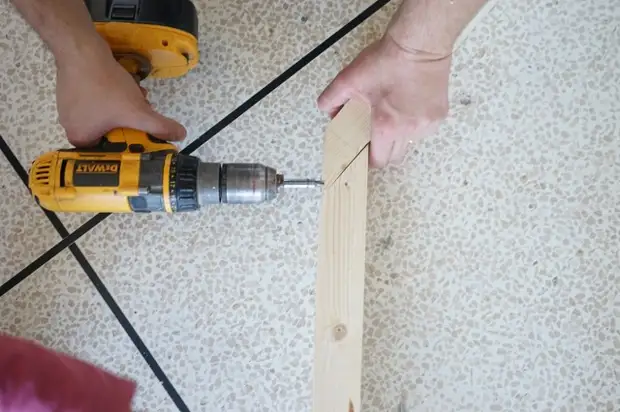
Tip: Use the vice to secure the design while drilling it. Use good drills and try not to drill too fast.
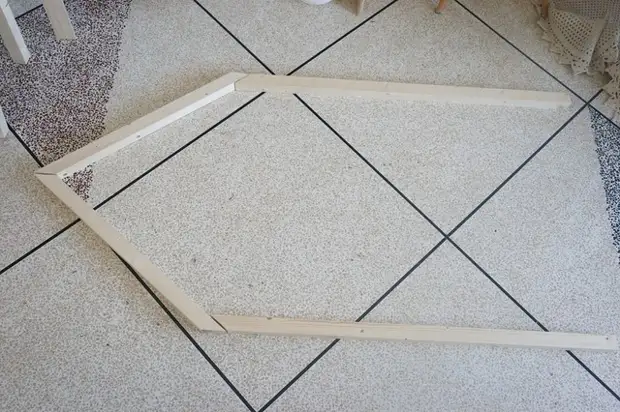
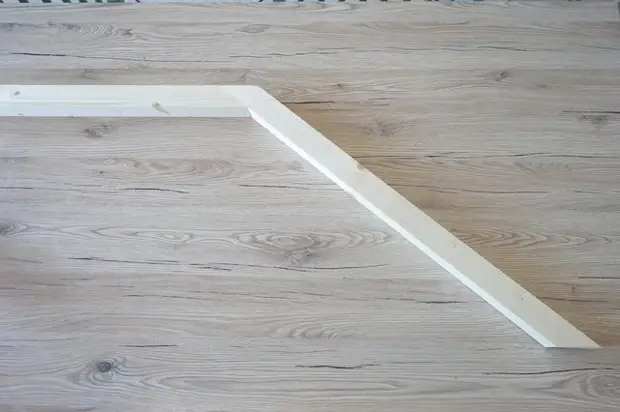
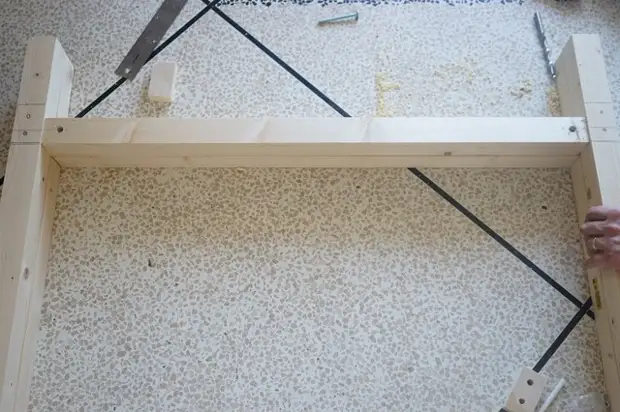
When you screw the two roof strips to two supports, the house frame should be turned out, as in the photo above. Children's bed in the form of a house gradually acquires an outline.
Repeat the same procedure again so that as a result you have two identical frames - the end walls of the bed-house.
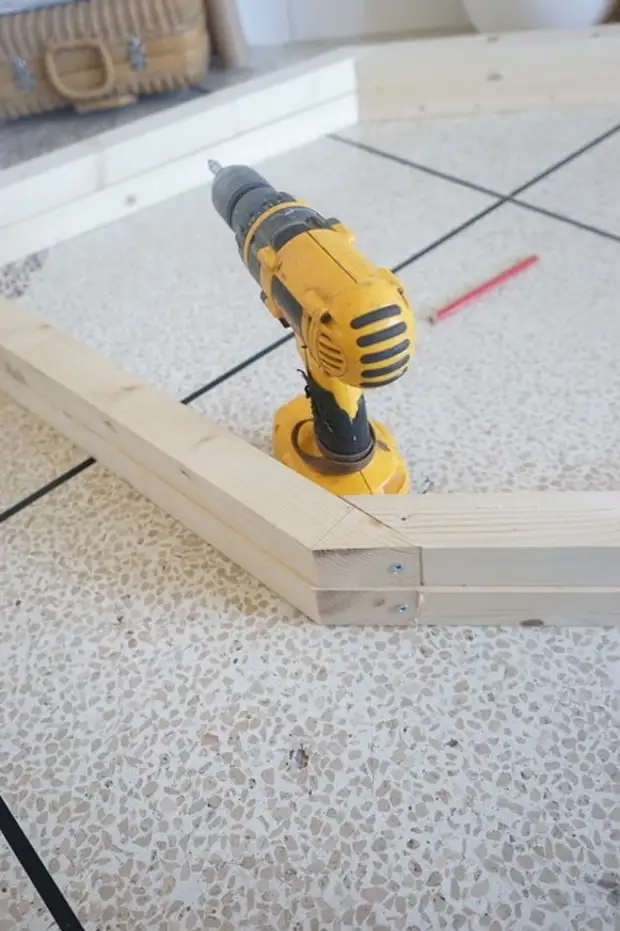
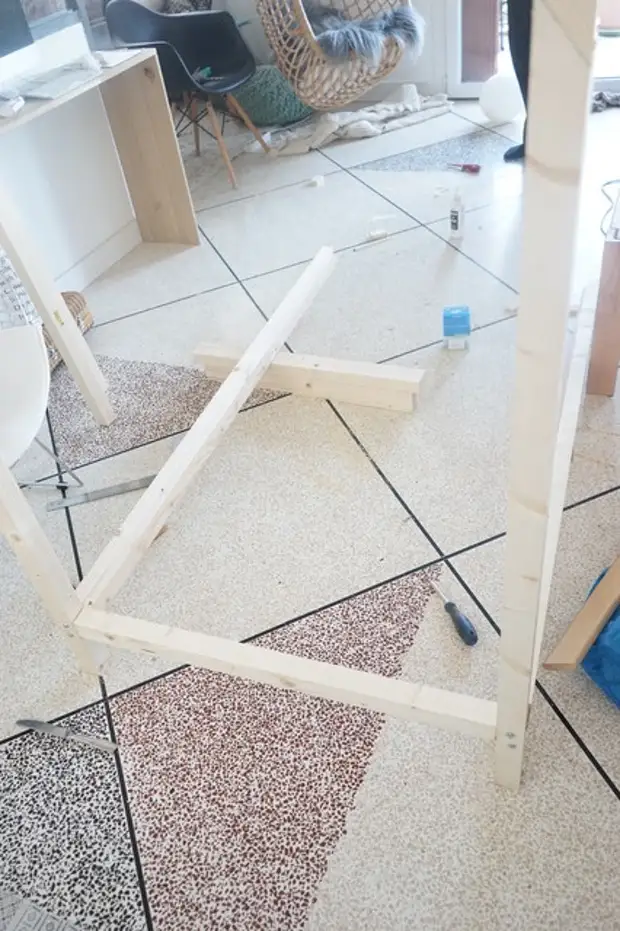
Step 3. Fix the end frame of the crossbar below
To complete the end frame of the bed, screw the bottom of 820 mm at the bottom. This transverse crossbar will keep vertical racks, it stabilizes the entire design.
The distance from the transverse rail to the floor of our bed - 150 mm, as we wanted to make a bed on the legs. But you can make a bed standing right on the floor. Then the transverse rail must be screwed right at the lower edge of the vertical supports, not leaving indents.
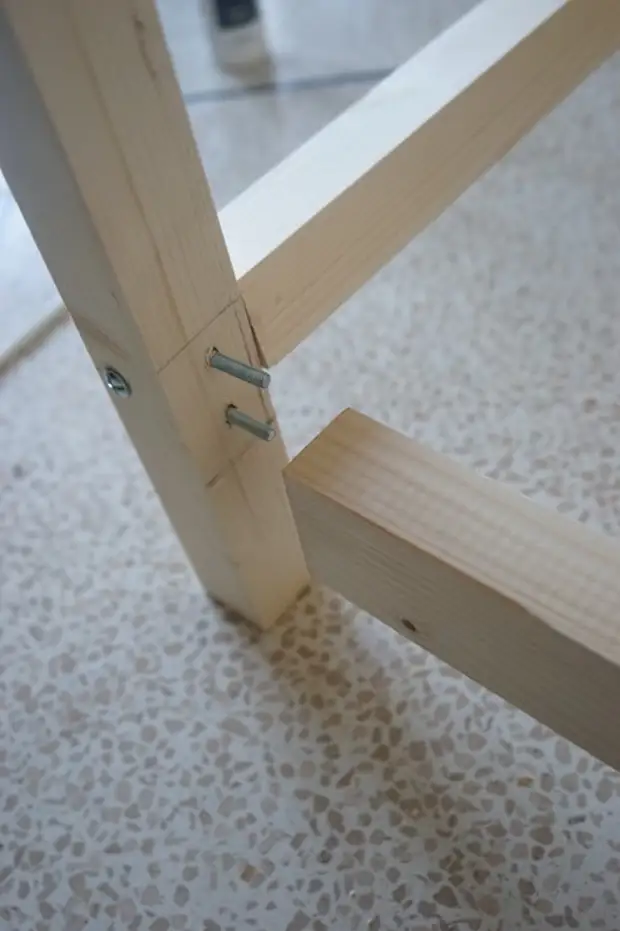
To assemble the bed, we used an eccentric screed of lateral parts.
Important: For this method of fastening should be accurate calculations so that as a result you hit the desired point. If it seems to you too complicated, use self-tapping screws. But in this case, be sure to secure the design with a flat corner of 30x30 mm. So you simplify the assembly and save time.
We deliberately abandoned the usual attachment in favor of the eccentric. I did not want to have iron corners on the bed. Eccentric makes the connection durable, unobtative and implies (in contrast to the self-sufficiency) multiple use.
Accessories for eccentric screed is sold in building stores.
For such a hidden attachment, you need to drill holes in the crossbar of our bed with a 10 mm drill. The hole should be exactly on the middle line of the crossbar and not be through. Its depth is 125 mm.
The outer edge of our hole is located at a distance of 35 mm from the edge of the crossbar (pay attention to the size of the screws that you will use).
Then from the side (exactly in the middle!) Using the drill of 6 mm, drill the hole. It should get into the earned earlier. Insert the screw and secure it tightly with the help of eccentric.
Tip: You can put the wooden parts for conventional long screws, having printed them. But then it is necessary to stabilize the connection with the help of angular brackets.
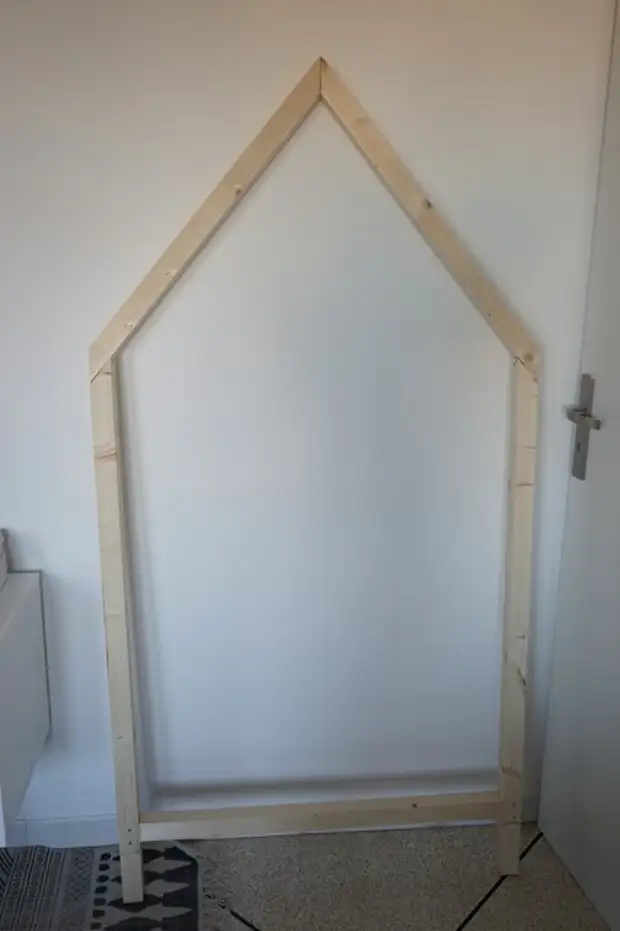
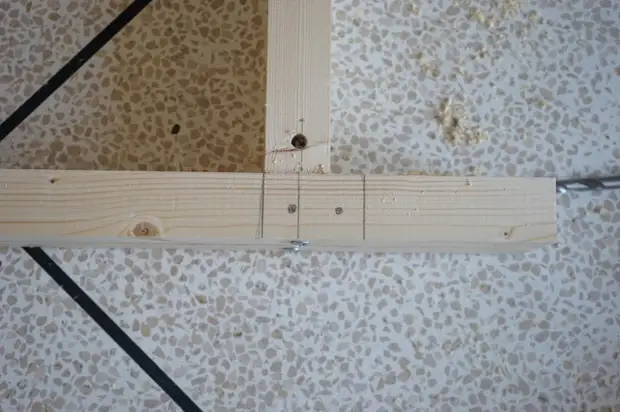
So the face frame looks like in the finished form
Step 4. Assembling the base of the house
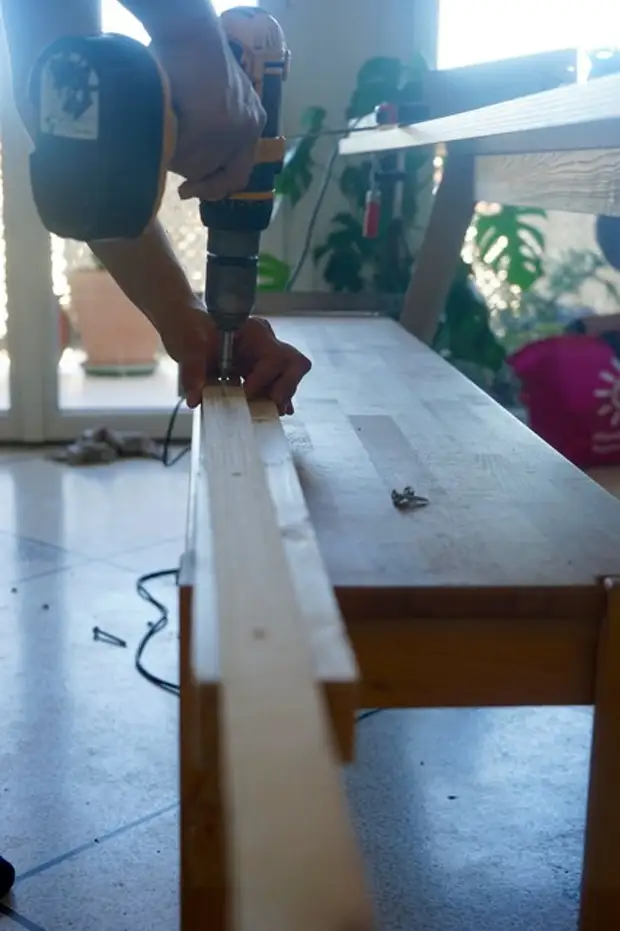
For assembly, you will need two thick bars with a size of 38x67x1660, they will serve as side sides of the bed.
To the inside of the bar need to be screwed thin strips (9x67x1660). Screw the screws at the same distance from each other.
Thin strips will become a frame of the frame on which the rack bottom of the bed will be fixed.
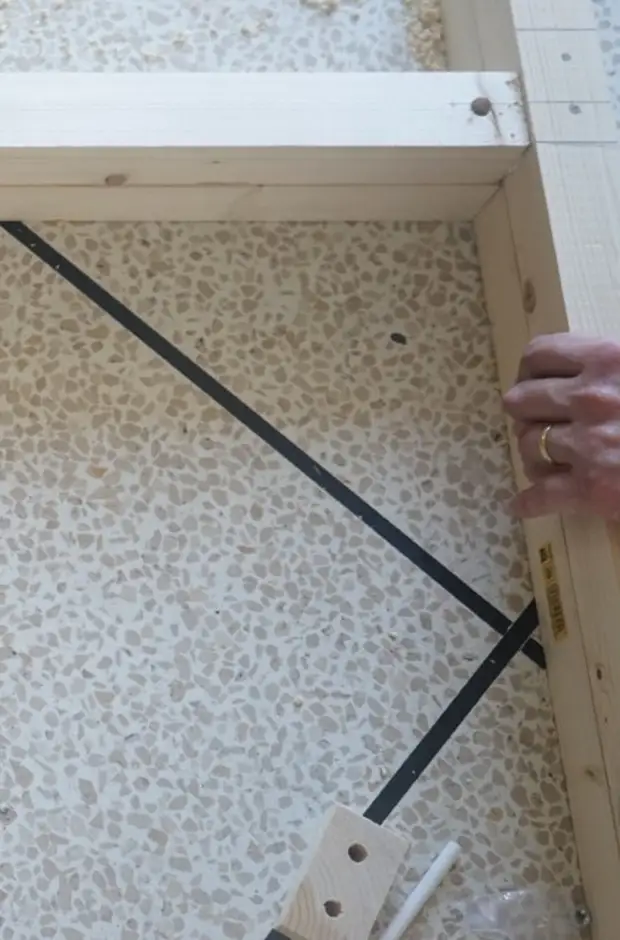
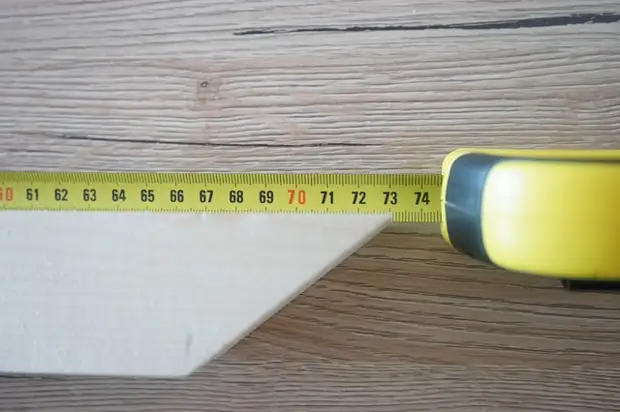
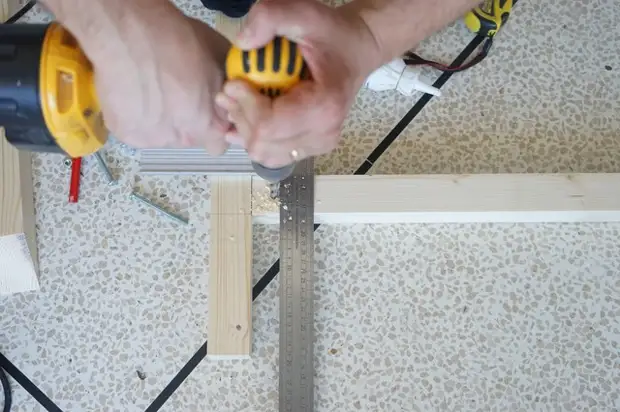
We also collected the frame using an eccentric screed. At this stage, the accuracy of measurements is especially important. Therefore, from a piece of timber, we made a template 6 cm long. The distance between two screws for self-tapping screws is 25 mm. With it, we measured the same holes on the rest of the racks. The template helped out the exact places of future holes.
Using a pattern, mark the location of the holes. Make the mark on both sides of the bed on all four racks.
Top edge of the template combine with the top edge of the transverse crossbar.
In the points noted, drill with a drill 6 mm through holes.
Repeat this operation four times: so you connect all four vertical racks with bed side sides.
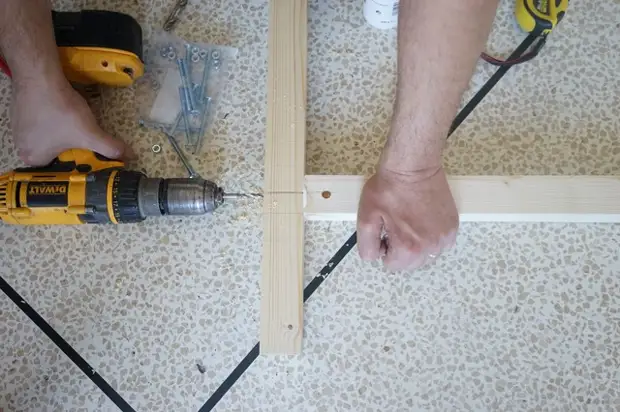
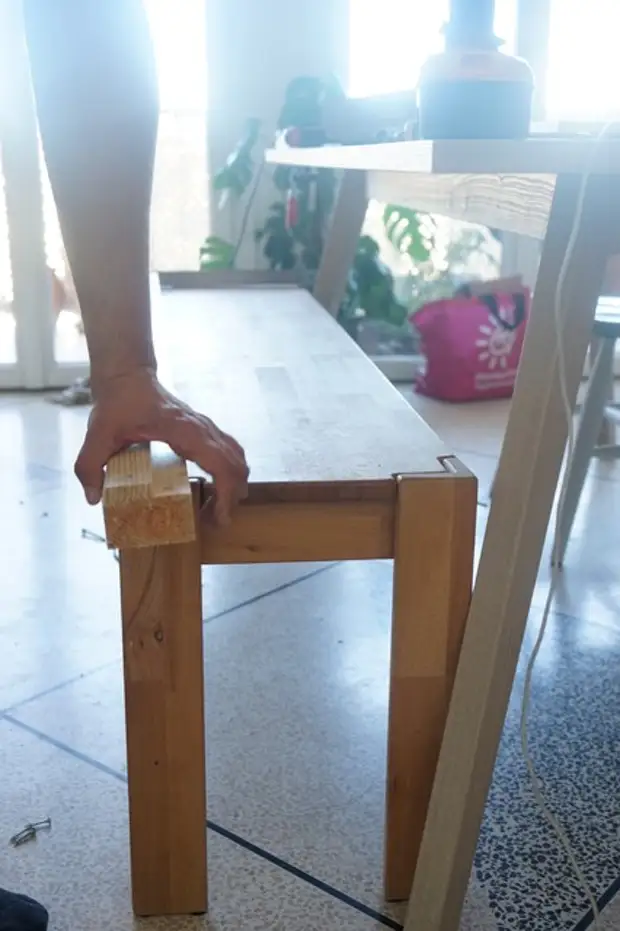
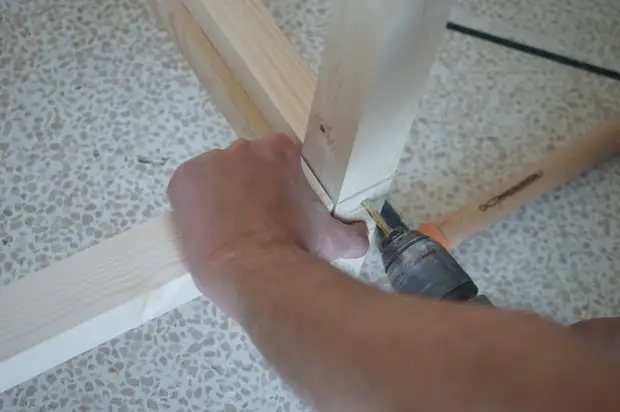
For clarity, I took a photo from another angle to be clear how to connect two wooden parts with each other.
Mark on the inside of the longitudinal rack the place of the opening for the eccentric. Drill it with a 10 mm drill.
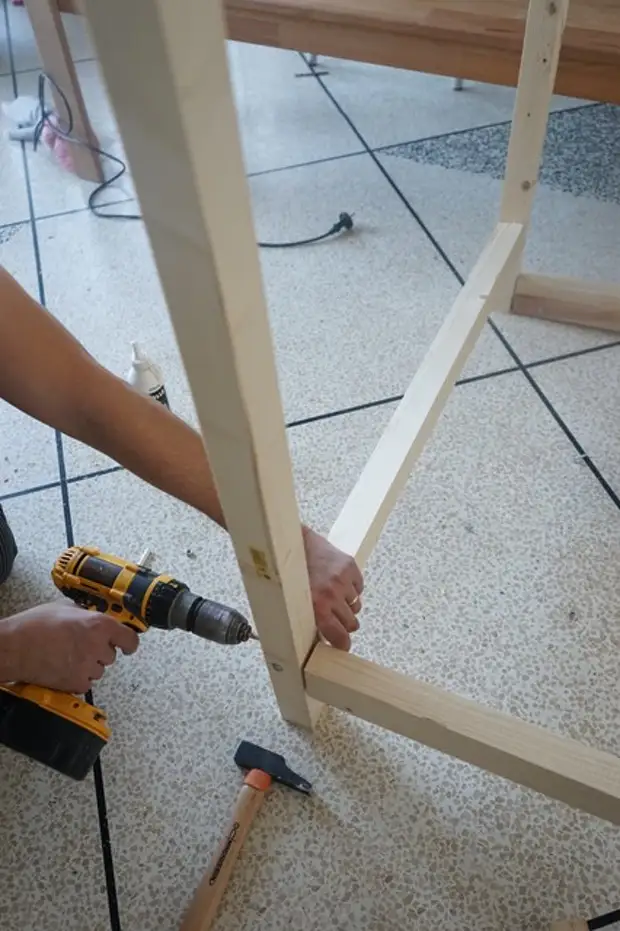
From the outdoor side of the vertical rack, tighten long screws (70 mm).
They must smoothly enter the prepared holes and connect the vertical support and the lateral detail of the bed. You can additionally smoke the connection locations.
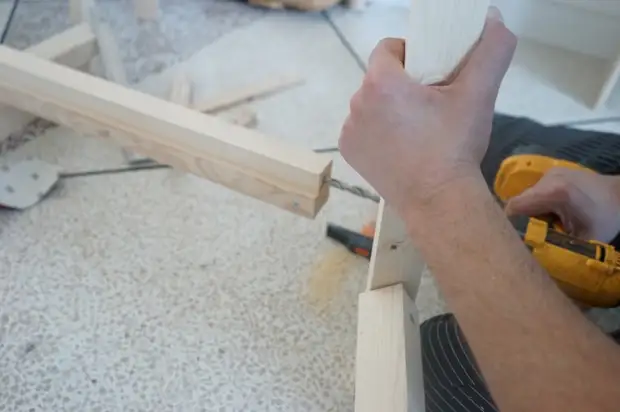
Then we insert an eccentric to the bottom holes and tighten the bolts tightly.
Repeat the operation to connect both frames with the side sides of the bed.
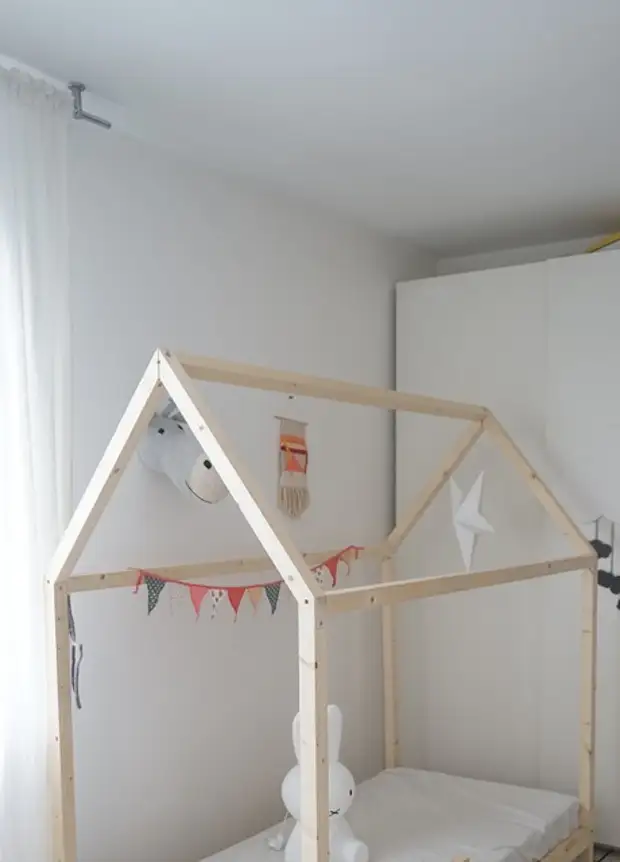
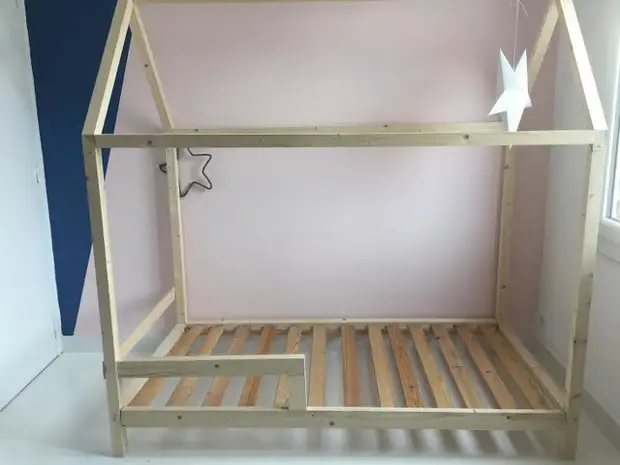
Step 5. Collect the framework frame
We have already attached the sides of the bed to the end of the house. Now you need to secure the design using the three longitudinal roof parts.
Take the bars with a length of 1660 mm. Three longitudinal beams will be the same length as the sides of the bed. Beams can be fixed again using eccentric, or with self-tapping and adhesive. In the latter case, do not forget to strengthen the bed of angular fasteners.
Step 6. We make a crotch bottom
Reiki we took from the old bed. But you can buy new slats in a construction store. You can even find the finished rush bottom and put directly into the skeleton of the bed. This option is suitable when the bed and the mattress of standard sizes. For example, in IKEA there are suitable patterns of a rack bottom for baby beds.
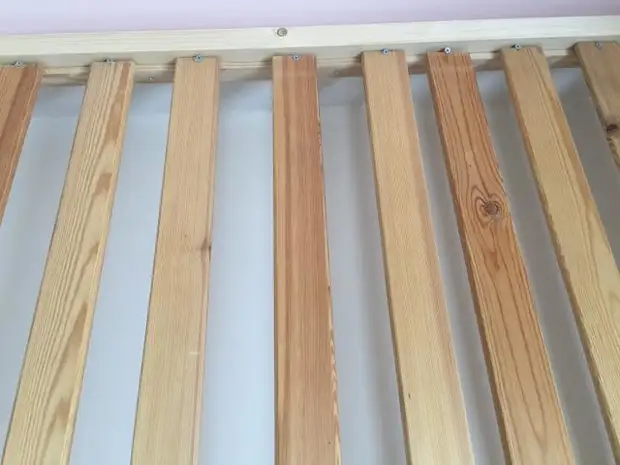
Screw the rails to flat plars, the latter are attached to the side sides of the frame. Tighten so that the screws are not visible outside.
We left the interval between the planks of 70 mm, for the manufacture of the RECT bottom, we left 13 rivers.
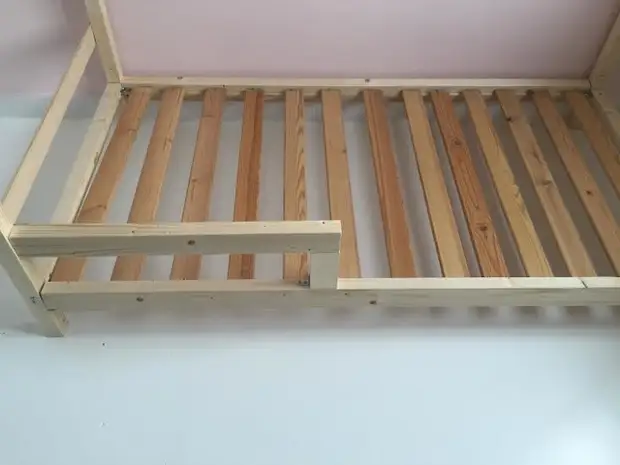
From the remnants of lamellas, we made a safety side. He was collected using angular brackets. Skip this step, if the baby's side is no longer needed.
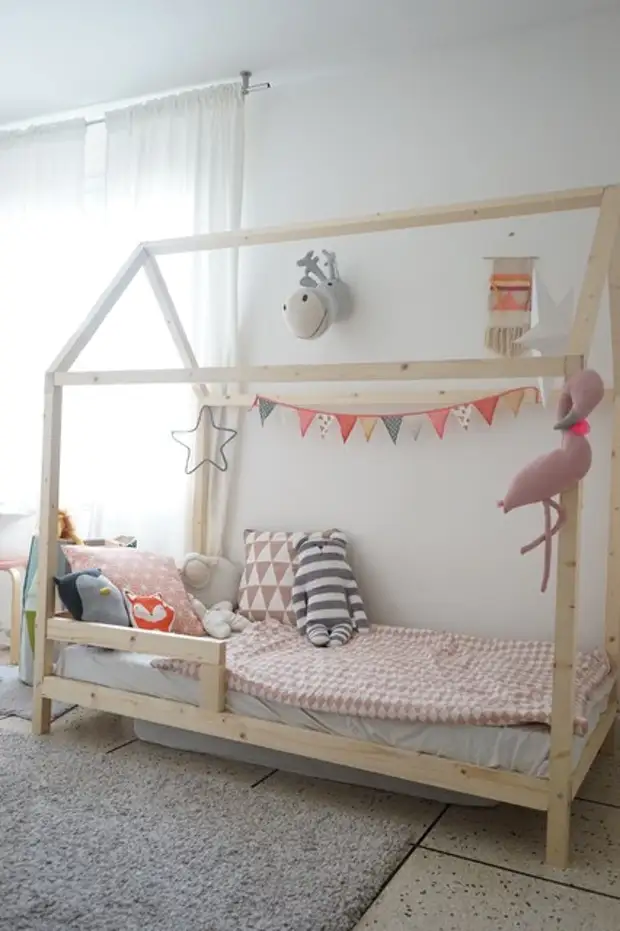
And now the work is finished! We have half a day made a bed-house for a child with their own hands.