what we need:
- 3 types of fabric that are beautifully combined with each other (better contrasting: bright, dark and something with an interesting pattern);
- ruler, knife, mat for patchwork;
- button;
- cord.
Well, hours of 4-5 hours.
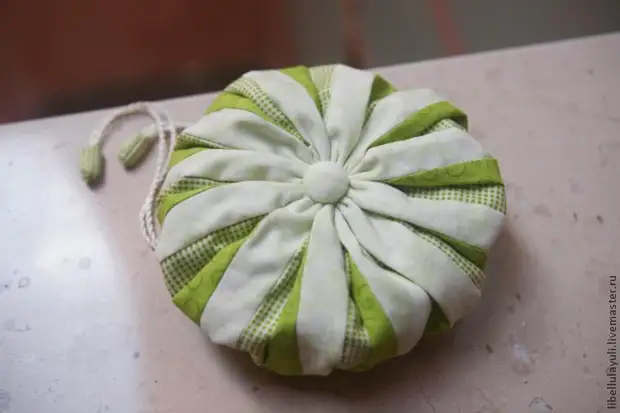
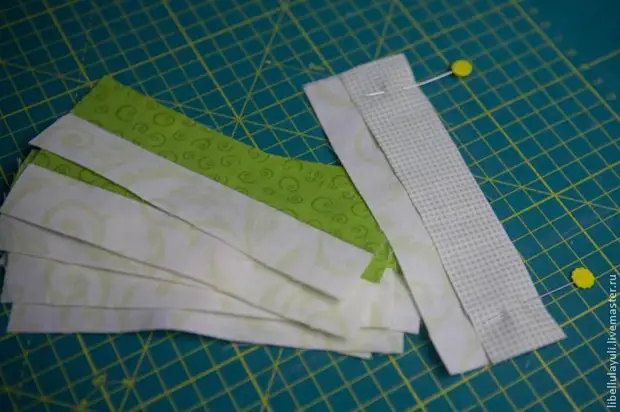
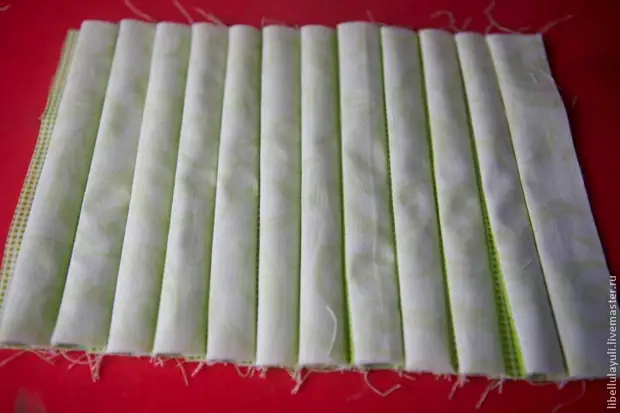
Cut from each type of fabric to 12 strips of 1 1/4 "x 6" (3.4x15.5 cm). We apply stripes to each other and determine, in what order they will be interconnected in the finished product. I liked the option presented in the following photo:
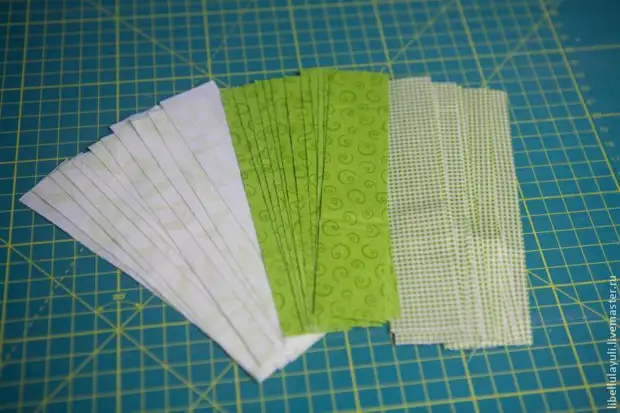
Attention! Note that the checkered fabric lies my third, it is it that will almost not be seen that it will not be seen (but it attaches a special highlight) in the finished product. So, before moving on, you need to make sure that the fabric you want to see in the foreground in Omiage, and what fabric to hide into folds.
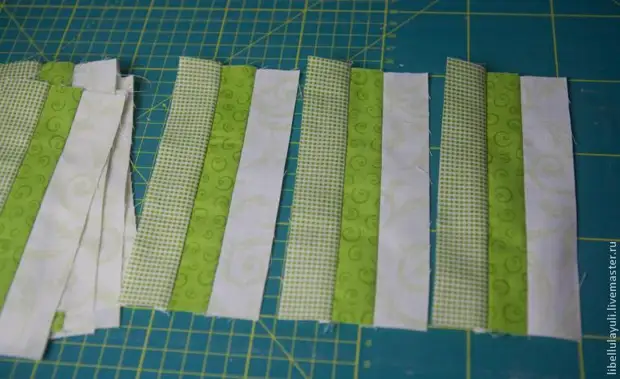
We sew all these strips among themselves in the following order: the first type of fabric, the second, the third, again the first, etc.
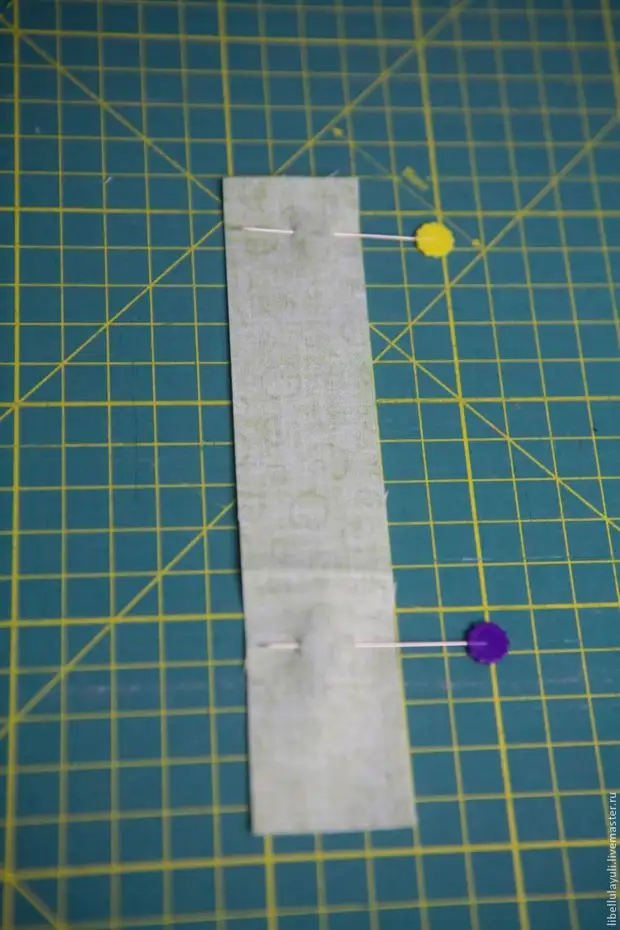
Before making a line, connect the pillars with pins perpendicular to the future seam (classical Patchwork rule), that is, like this:
We sew with a standard allowance in patchwork sewing 1/4 "(0.6 cm):
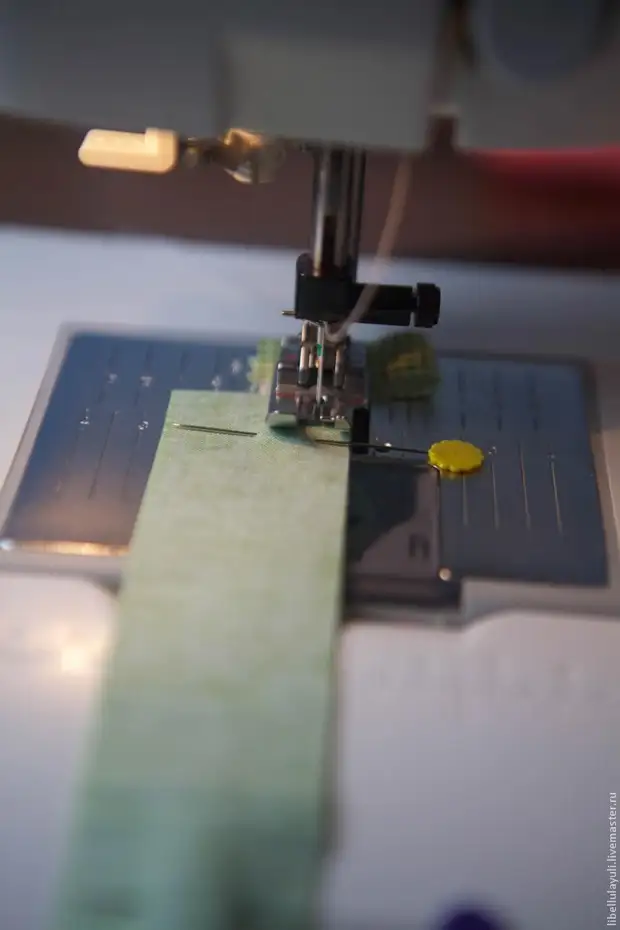
Who only starts their acquaintance with Patchwork, I will tell you a couple of secrets: we sew everything without lines, one pair of flap is laid down after another (that is, in one chain), and at the beginning I always put a small piece of fabric from which I start sewing (in the photo above It can be seen), all extra threads remain on this flap.
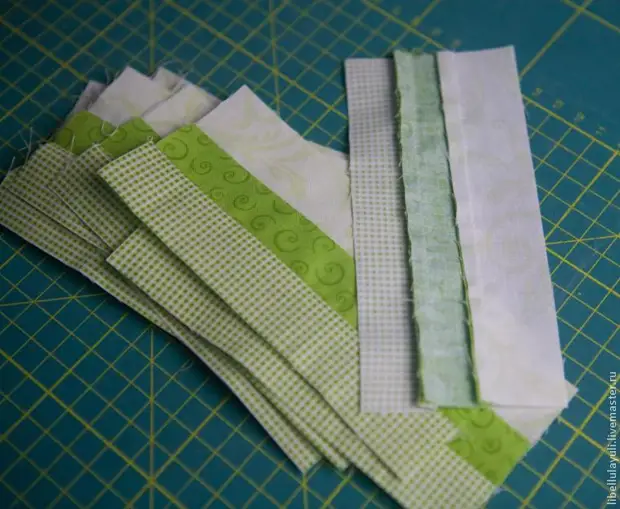
I first sewed with two colors with each other, there were such rectangles. Then she sewed the third type of fabric to each such pair, again all the pins in advance by pins:
We start all the allowances in one direction.
And we sew all the resulting flaps in a single order in one lane.
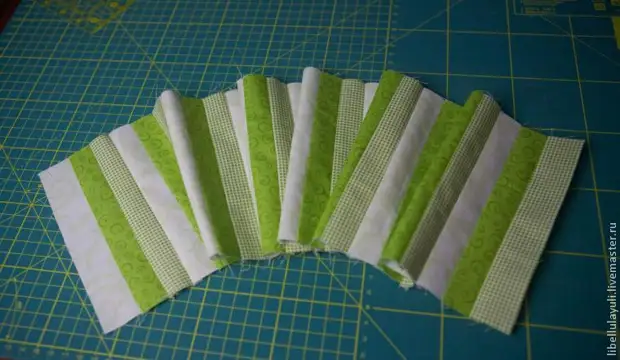
This is such a beautiful snake it turns out:
And now the most magic of your little Omiage will begin. :)
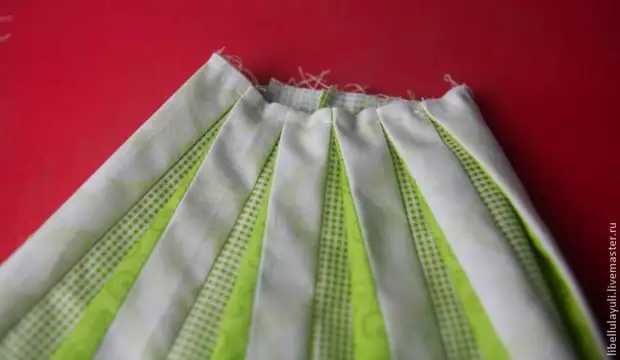
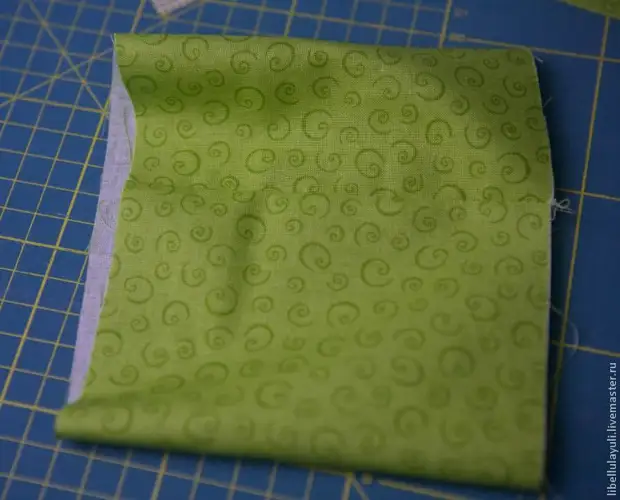
We put all the stripes here in this way:
That is, I wrapped the flap with a dark green cloth, and only bright fabric remained on top. When you do, in the process will come a clearer understanding where to wrap.
Attention! The photo shows above that I performed it with a single strip - but it is only for a photo. This stage needs to be performed with a closed band. That is, first sew the last and first strip so that it turns out a ring from the flap and then we collect all the strips from above, overlapping one to another.
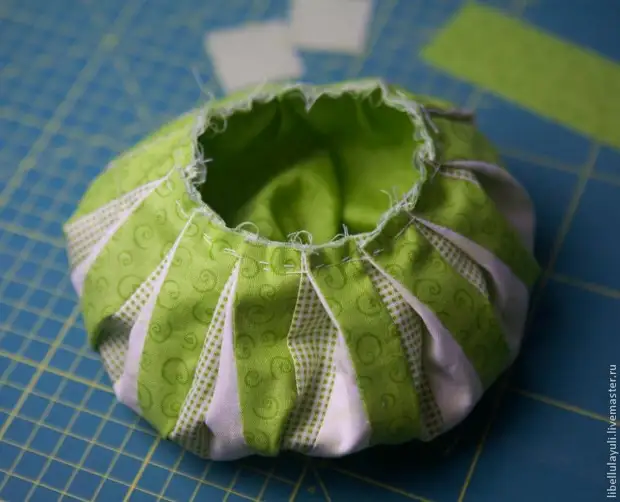
We estimate the resulting folds here in such a skirt:
Next, you need to perform the same only in the opposite side from the other edge of Omyaga, again, sweeping the folds:
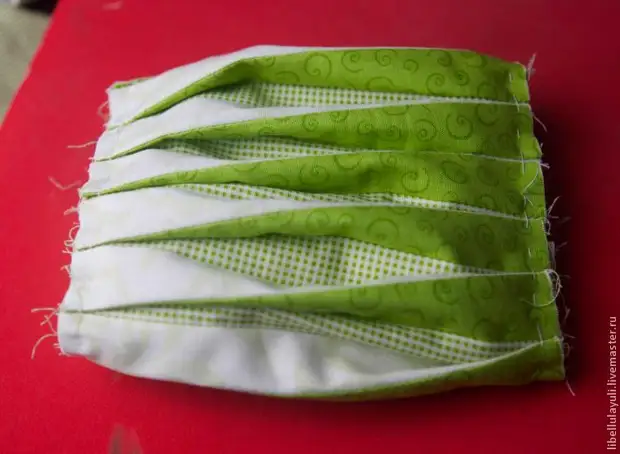
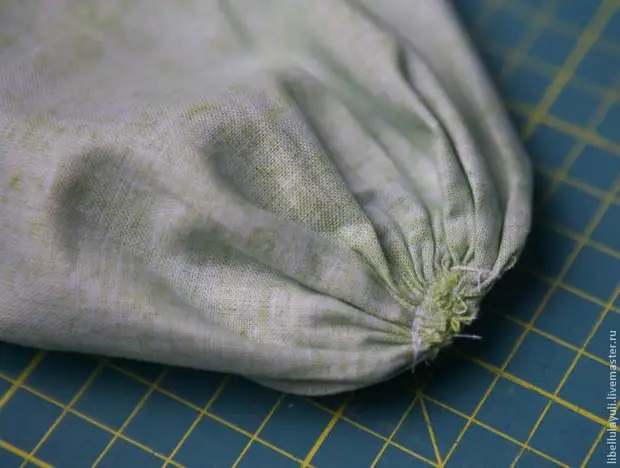
Now the bright fabric is shown out. We choose which edge will be the bottom of Omyaga. I first wanted to make a dark bottom, then changed my mind. As a result, I had to remove the nodes on the surrender with a light side and tighten the thread:
For accuracy, the bottom shelter has further sewed more tightly.
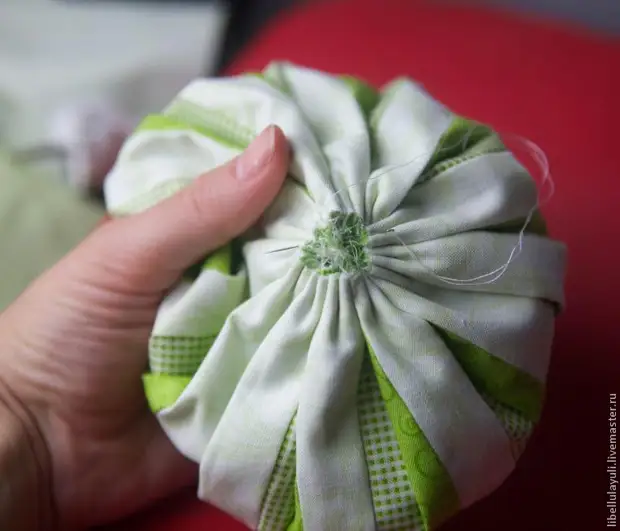
When she sewed Omiyaga for the first time, my perfectionism did not give me peace, and I delayed this edge three times, I blurred and re-tightened. So far I did not understand that there is such a thick accumulation of material that well, it's impossible to tighten perfectly ideally. And when an attachment added at the next stage - everything fell into place, and the button hid all the roughness. So in this moment do not torment yourself - they tightened more neatly and go ahead to the next step! :)

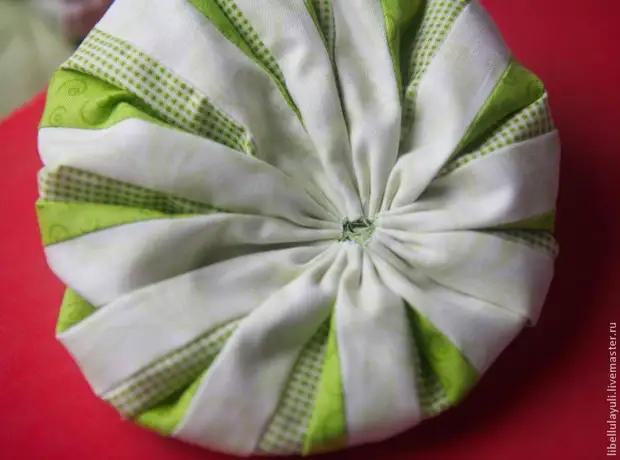
I made a bug from the dark fabric to my first Omiage. This time, I needed to make an intention to make it bright, but the Button shields ugly through the fabric, and therefore I took this special button for tosing. By the way, it is very convenient and finally used at least one of its long-term reserves. :)
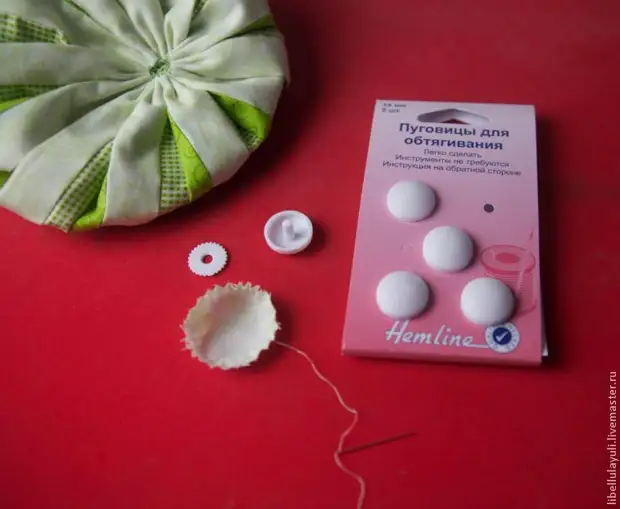
If your fabric does not shine, I propose in the absence of such special devices - just use the usual button of the desired size (it is better to take the middle, if it is too small - the edges of the fabric or stitches can be seen).
Here is such a beauty turned out:
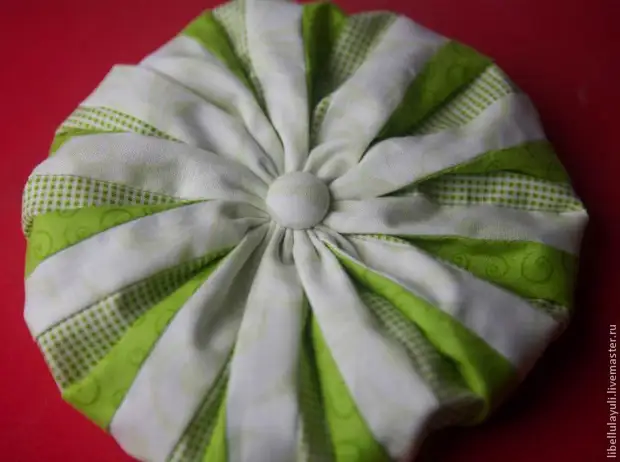
It was possible to go and more, with this little a little had to do to hide all the ends into the water. But this button for tosing was my biggest, so without options.
Next, you need to carve out and sew an internal part of Omyaga:
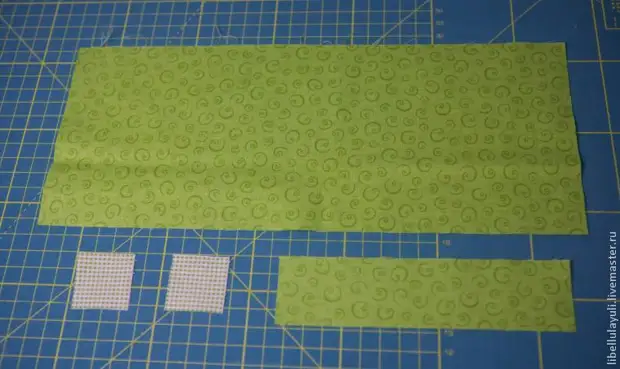
Desgress:
- For an inside with a cloth of 5 "x12" (12.8x30 cm);
- For edging 2 parts of 1 1/5 "x6" (4x15 cm);
- For the edge of the cord of 2 squares with a side of 1 1/4 "(3.2 cm).
We stap the band for inside into a single ring, that way:
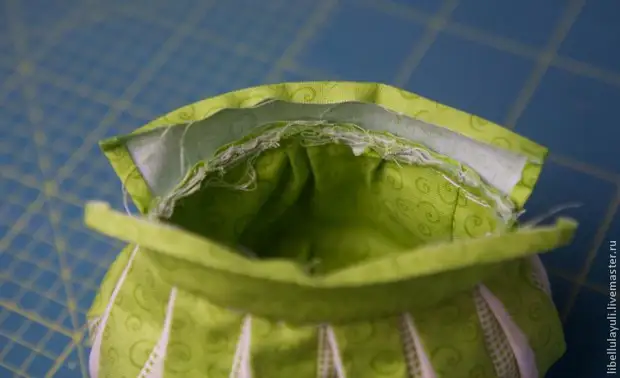
Then we are tightened and fastened with the inside of the seam on one side, so that the bag is, it's somehow something like that:
Insert the resulting pouch inside Omyaga himself:
We fasten on top of the front and purl part of the oomyaga with membrane stitches and prepare edging. We start in two carved rectangles from each edge of about several millimeters on the wrong one.
Make this hedgehog. :) It is necessary to attach edging by pins to the very edge of Omyaga:

Send the typewriting to Omioga and the opposite free edge of the edging starting at about 6-7 mm on the wrong one as follows:
Watch the edging inside Omyaga and sew the secret stitches on the hands. Next, take the lace. And here I honestly do not remember what length. Shels Omyaga and two months ago, and already flew the figure out of the head. Try to take two lengths of 75 cm.

Now attention! You have two inputs for the lace (we define them as on the right and left):
Now you need to take the first lace, hook a pin and turn it throughout (!) The perimeter of the edging and pull out next to the entrance (let's say on the left), from where they started. Then we take the second lace and drag it through the right entrance through the entire perimeter of the edging and pull out the right. As a result, the edging inside will be a double cord. And when they donate from different sides for the tips of the cord, it will be closed Omyaga.
By the way, my familiar needlewoman (Italian) uses an ordinary invisibility instead of a pin, it is thin and quickly manage to turn the cord. So if there is no pin, use the invisible!
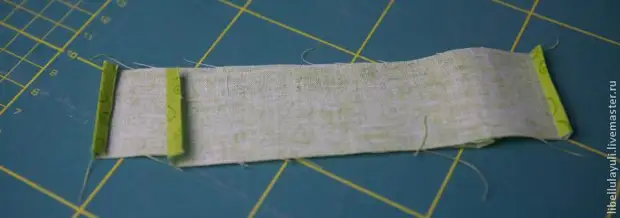
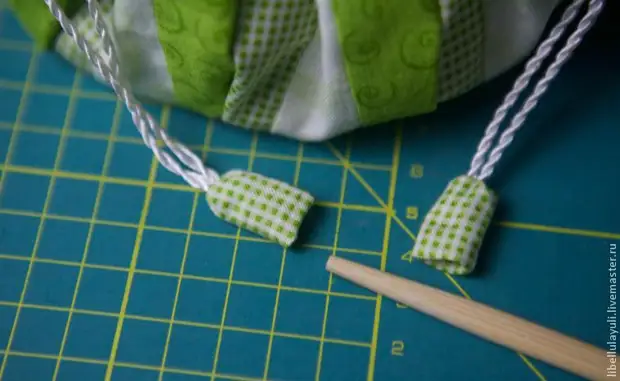
Now you need to decorate the cords of the lace. We fold the filled squares halve (inlet up) and attach pins to the cord tips:
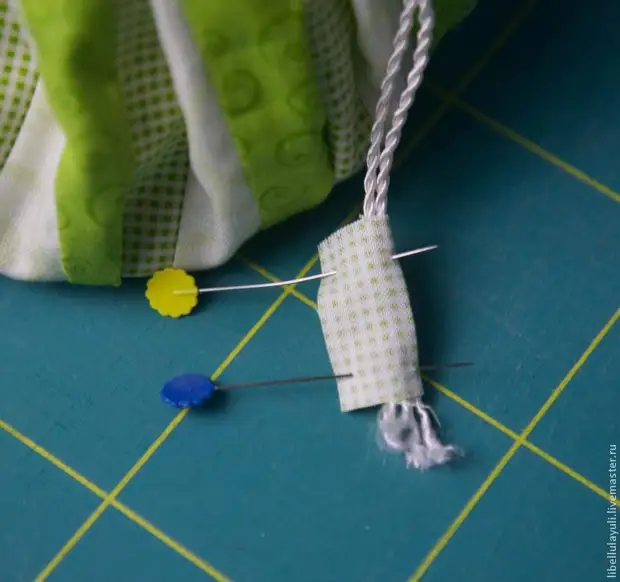
We sew on your hands (I first stitched on the typewriter, I thought faster, in the end I had to redo it). We sew a long edge of the rectangle (in the photo below - the seam on the right). Next, you need to pull the short edge of the rectangle and sew it to the cord here in this way:
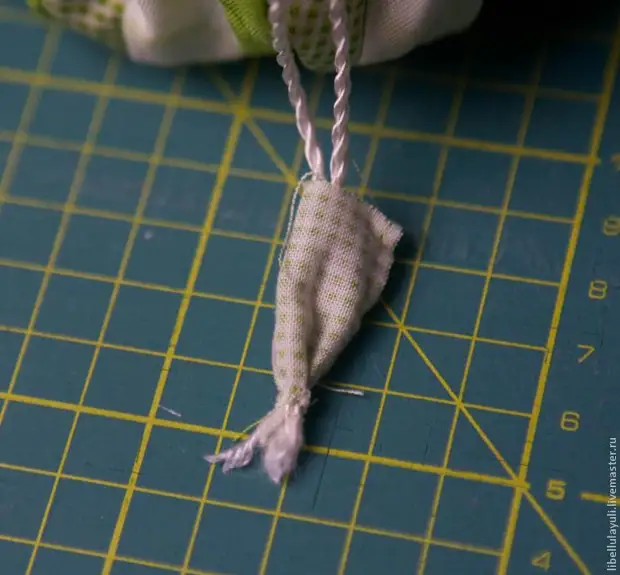
Next, we turn out the outside and the edge we bring inward into several millimeters with the help of a Chinese stick:
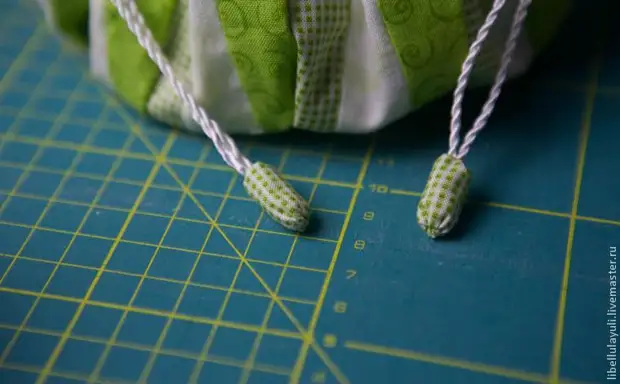
Tightened stitches tighten the edge, and here are such boutons at the edges of our cord:
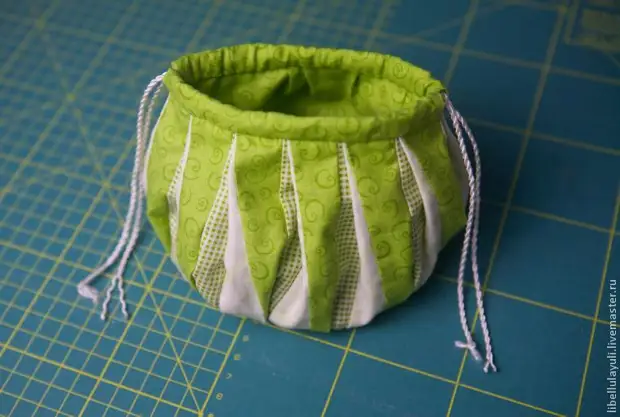
Congratulations! Omyaga ready! You can admire the resulting beauty!
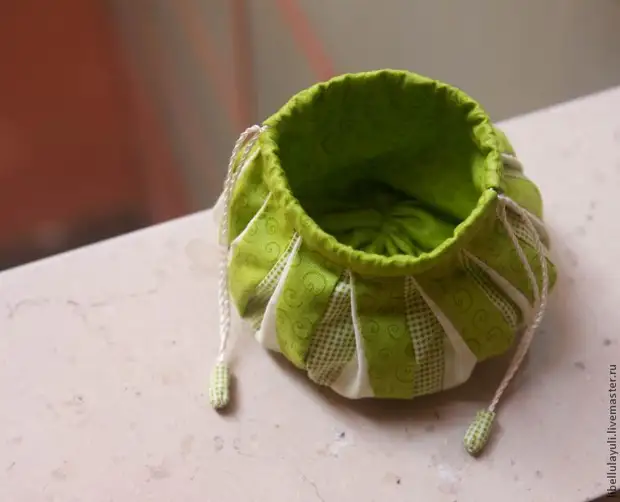
How I like the view of the bottom! It turns out very mimishno. :)