
This material sent us Julia, Thank you very much! Very interesting, accessible to understanding the article with a detailed description and phased photo.
Before starting work, we define the width of the top of the sleeve. To do this, measure the width of the shoulder at the scene of the arm and clavicle. We obtain a certain number of centimeters and calculate the desired number of loops to start work.
In my case, the product is associated with columns with Nakud (see Fig. 1).
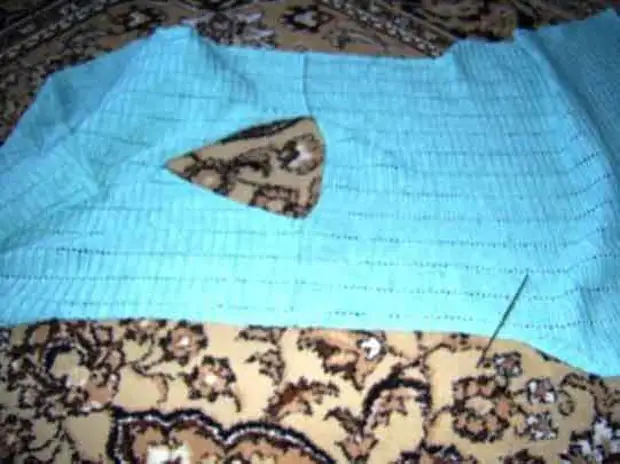
Fig.1
From the same column with an attitudes of the base (on the shelf and the back), I blew up 2 columns with a hook for a sleeve. Thus, we recruit the first row of sleeves. Moreover, the first half of the loops knit on one cloth (for example on the back), and the second half on the other (on the shelf). For a uniform increase in the width of the sleeves, I added on each side of 3 new columns without Nakid. That is, if the first row consists of 30 st. C / N, then on the first canvas knit 15 st .c / n, and on the second - 18 s / n (see Fig. 2).
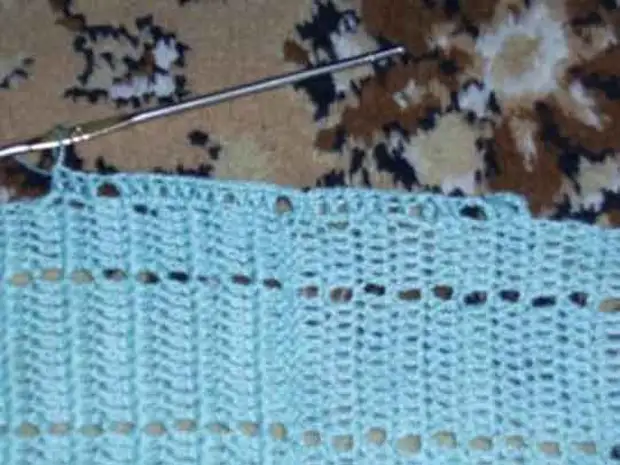
Fig.2
Then made 3 air lifting loops and knit the second row (see Fig.3).
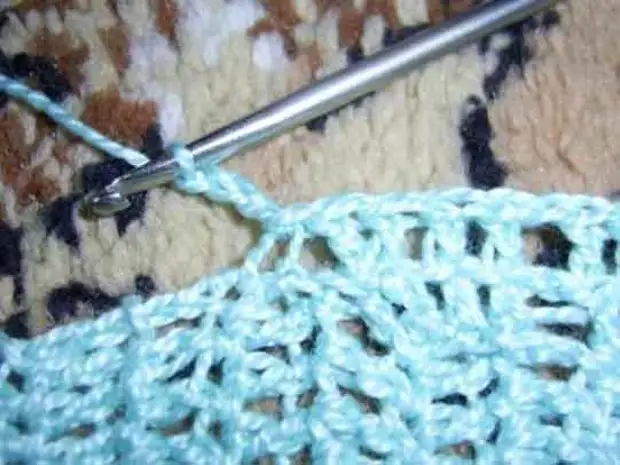
Fig. 3.
At the end of the second row, this picture is obtained (see Fig. 4).
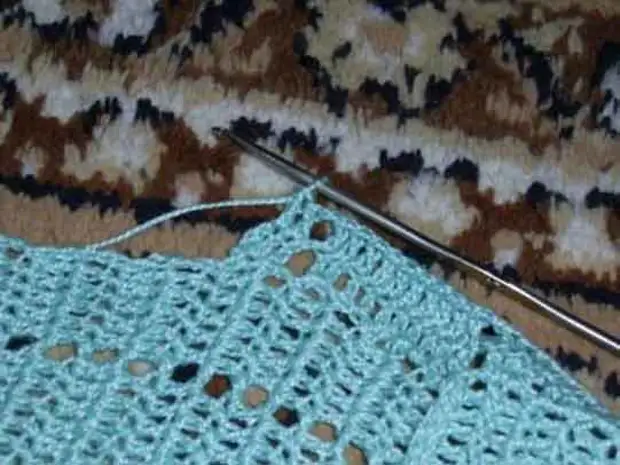
Fig.4
To prevent the formation of the step before knitting the next row, I make a hook on the hook and introduce it into the last air loop of the rise of the previous row (see cris.5).
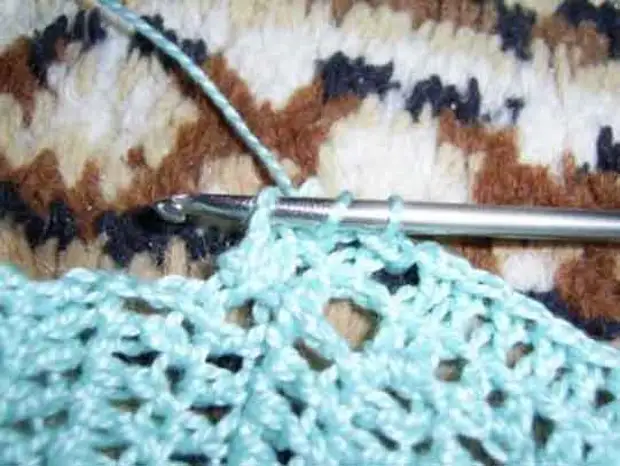
Fig.5
Do not touch the hook on the hook, enter the hook in the base (shelf or back) (see Fig. 6).
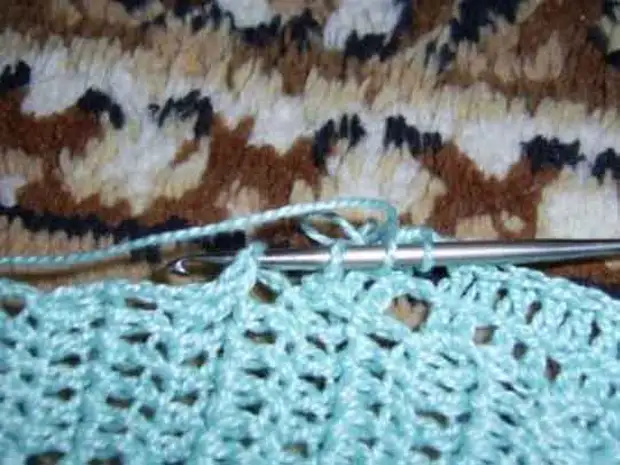
Fig.6.
On the hook, thus 4 loops are located. For the first two, I check out as a column without Nakid (that is, I stretch through the loop through them). Next, I have a column with an attachment and add 3 more columns with an attachment to the base (see Fig.7 and 8).
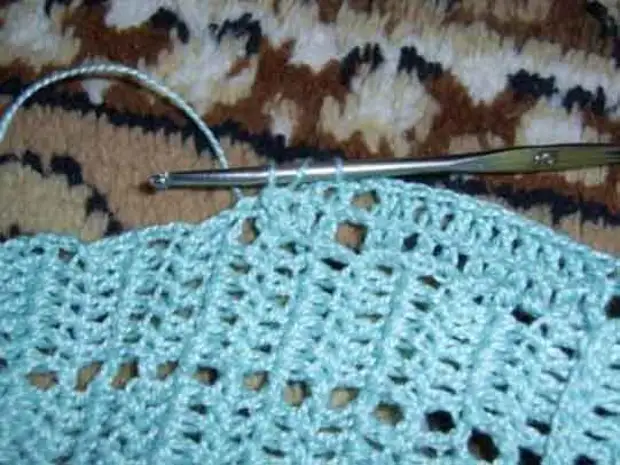
Fig.7.
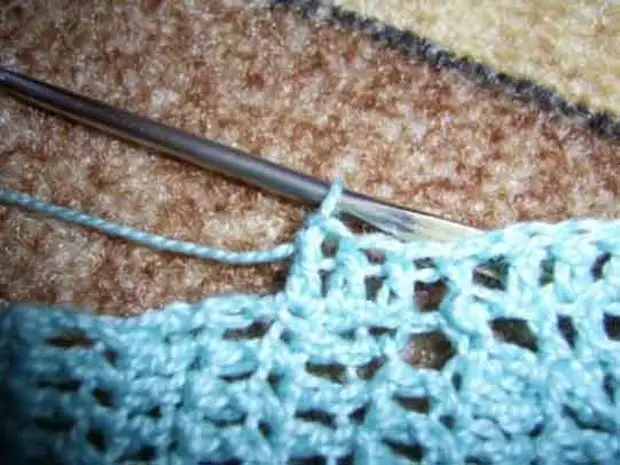
Fig.8.
In order to start the next row, there are still 3 connective columns and make three lifting loops (see Fig. 9).
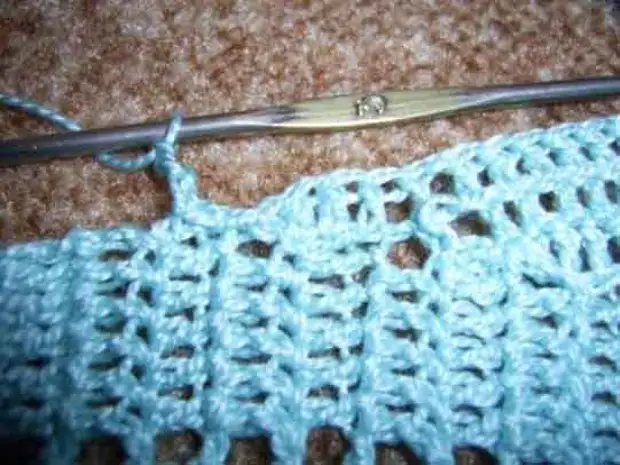
Fig.9.
Next I knit a new row and repeat the above operations at the end of the row. Thus, I get this picture - Figure 10.
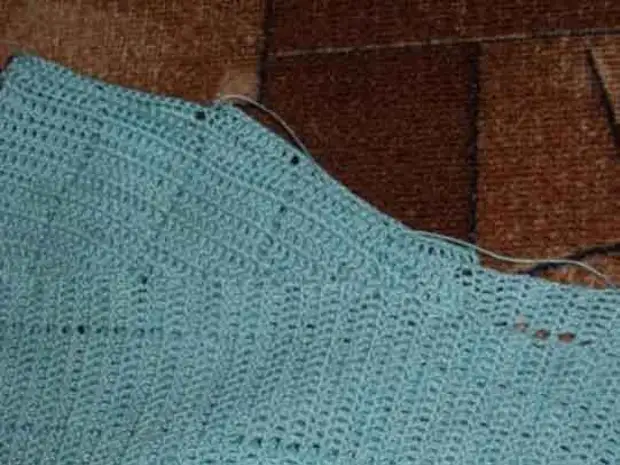
Fig.10.
After the knitting comes to the end of the height of the armhole, along the horizontal sites of the armor, I knit columns with Caud in circular, thereby getting a sleeve without a seam. The transfer of columns for the narrowing of the sleeve is carried out on the bottom of the sleeve, which is in the axillary zone.