
How to make an inexpensive greenhouse from cardboard boxes, one of the visitors of the site shared with us. The author lives in the northern region, where the garden season is very short and that the vegetables have managed to mature, their seedlings must be originally grown in greenhouses. Of course, seedlings can be bought on the market or in specialized stores, but it will be expensive, and "savings should be economical."
Why a greenhouse from cardboard

To build a full-fledged greenhouse, you need to have a lot of money and enough space in the garden plot, but not everyone has these resources. Of course, it is possible to grow seedlings on the windowsill, but this is not the best idea. For seedlings, certain conditions needed, in particular the maintenance of high humidity, which will not be better affected by the preservation of the windowsill, and on the terms of living in the apartment.
The greenhouse from cardboard boxes is simple in manufacture, inexpensive, allows you to provide the necessary microclimate for seedlings and does not affect the temperature and humidity indoors where you live. This is the perfect option for those restricted in the means and has a small loft.
What we need

Carton boxes. The author of the idea just asked in the next store to give him a few cardboard boxes left after unpacking the goods.
Polyfoam, which he also asked in the store of radiostovarov.
Scotch and tape.
Packing transparent film - you can take a food film. The author used the film he removed from plastic windows with a construction dryer.
Scissors, a paper cutting knife, a glue gun with rods, a pencil and a ruler.
How to make a greenhouse with your hands from cardboard boxes
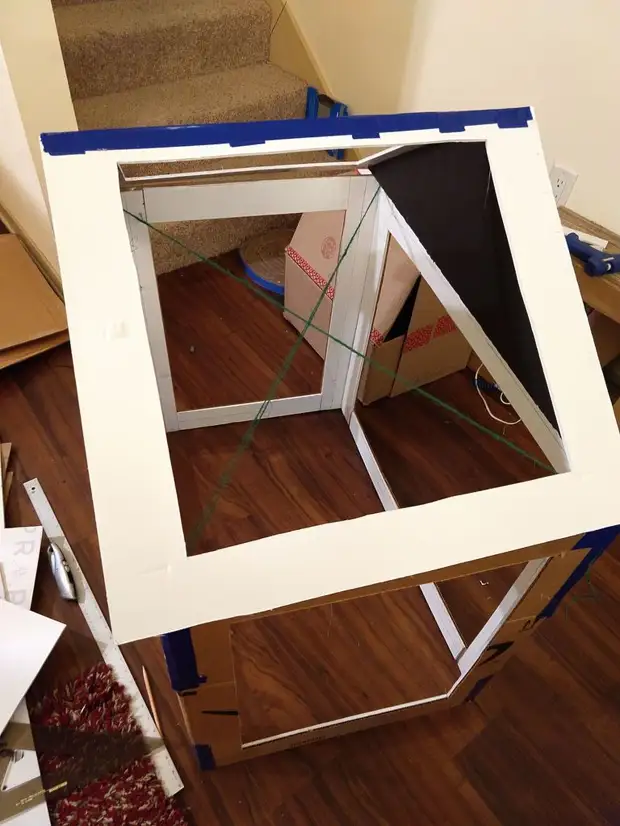
When we have everything prepared, we can start making mini greenhouses. In general, the size of the greenhouse can be different. The author did it in size of the box. But if you wish, you can simply buy a very dense cardboard and make a greenhouse of a greater or smaller size.Step 1 - strengthen the corners of the future greenhouse
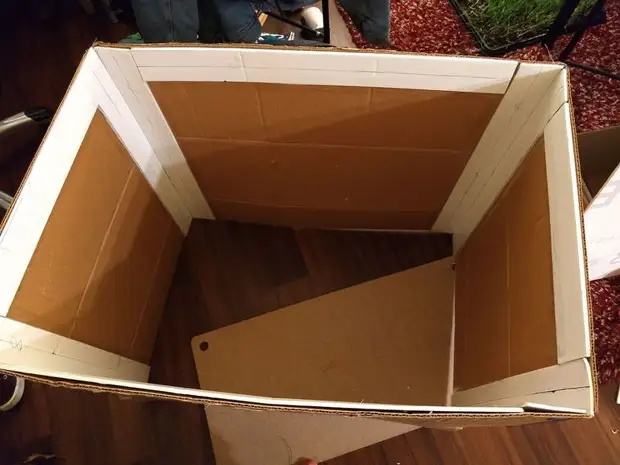
This stage of work can be skipped, but at the excavated idea of the gardener, the cardboard box was not very dense and it was decided to strengthen the angles so that they would not fall apart.
For these purposes in the corners and top side of the box, we glue the box with a glue pistol strips of foam. The width of the strip can be any, the author decided to make every angle into two line widths.
Step 2 - Strengthen the design

The second stage, as the first, can also be skipped, but the man seemed that the design was still shaky and for greater strength he pulled in the upper part of the greenhouse woolen threads in the form of the letter "X" (x). After that, its design has become thoroughly strong.
Step 3 - cut the carcass of the greenhouse
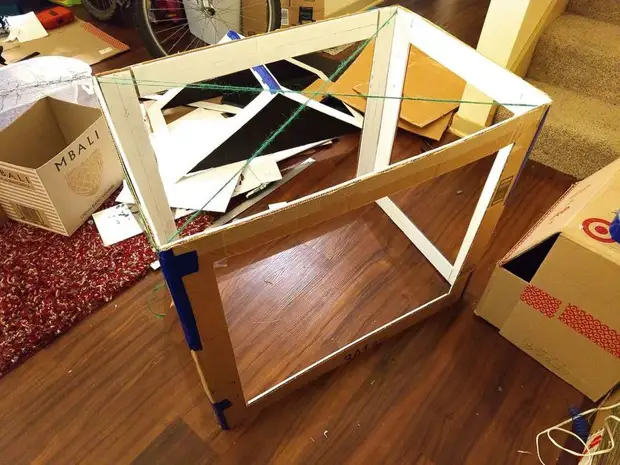
Strengthening angles The author used as a reference point for cutting the frame. To progress even more, from the outdoor side, it strengthened the tape.
Step 4 - Make a roof for greenhouses
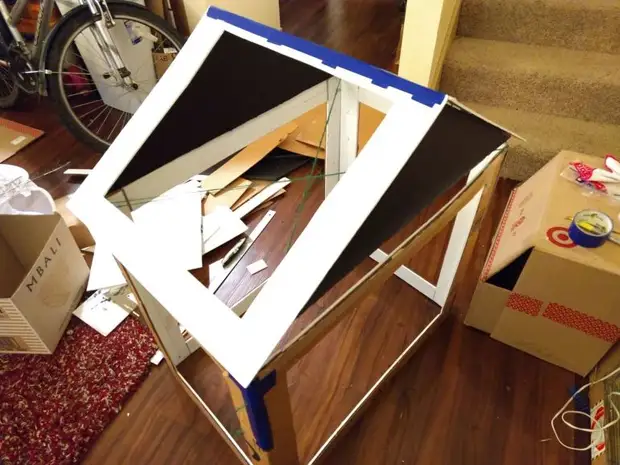
This stage is necessary for those who have cats, like the creator of this master class. Many representatives of the Feline family love to "attack" on any seedlings, sleep on her and just chewing juicy shoots. A similar roof in the form of a house protects the plants from the encroachment on them from the restless pets. If you make a flat roof, then the cat can just lie on it and under the weight of its own weight fall down.
We also make the roof from the foam, we install it with the help of a glue gun and strengthen the tape from the outside.
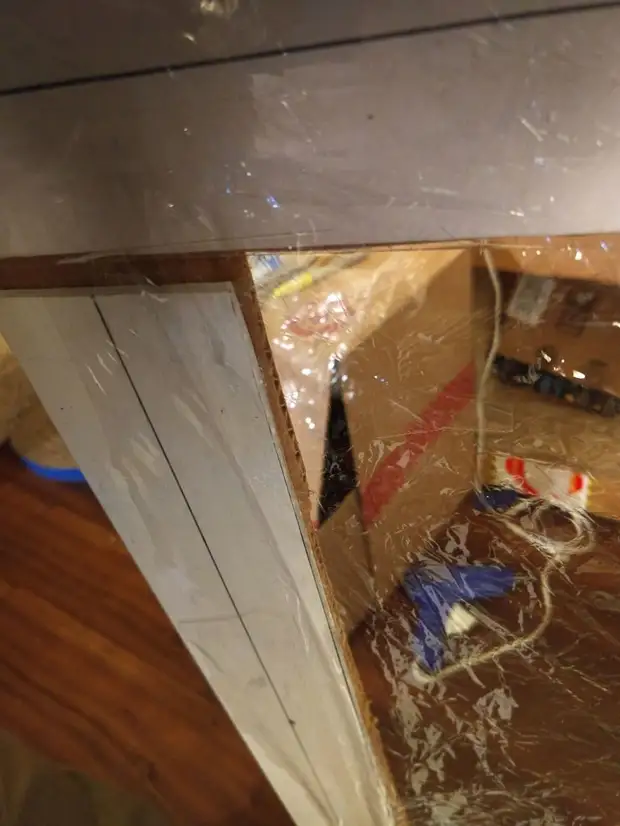
Step 5 - equip windows from film
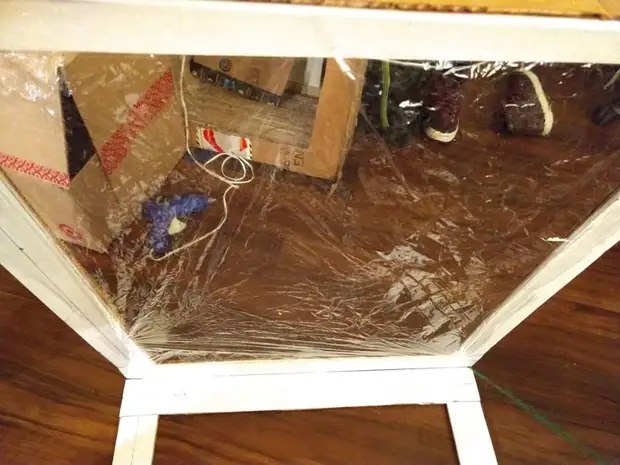
This is the easiest stage. Cut the film to the size of the lateral sides of the greenhouse and glue it from the inside of the frame with the clergy pistol.
Step 6 - Install a greenhouse
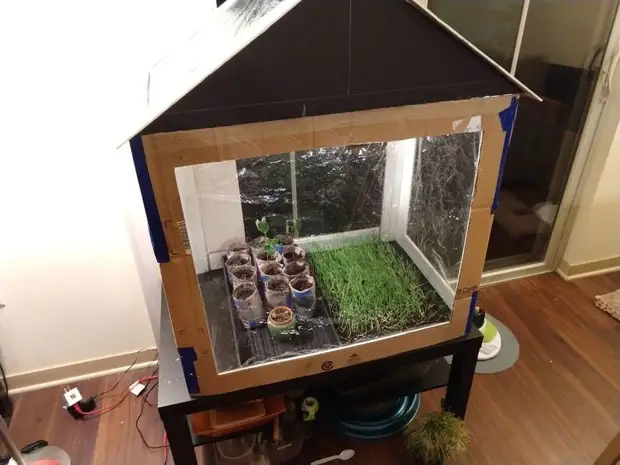
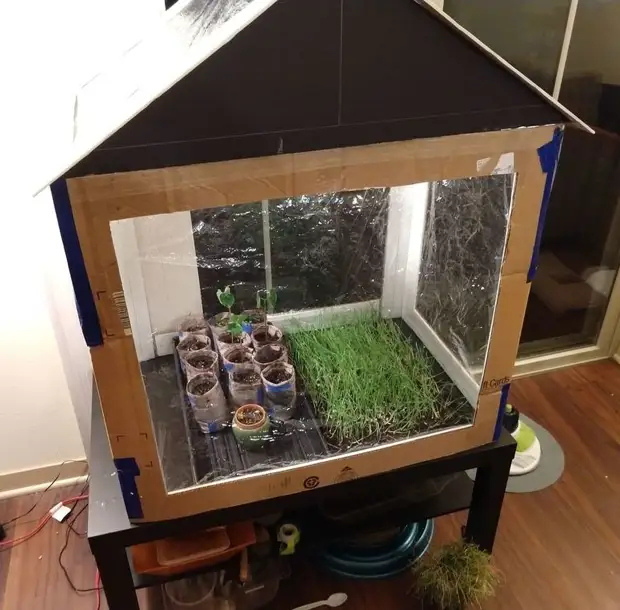
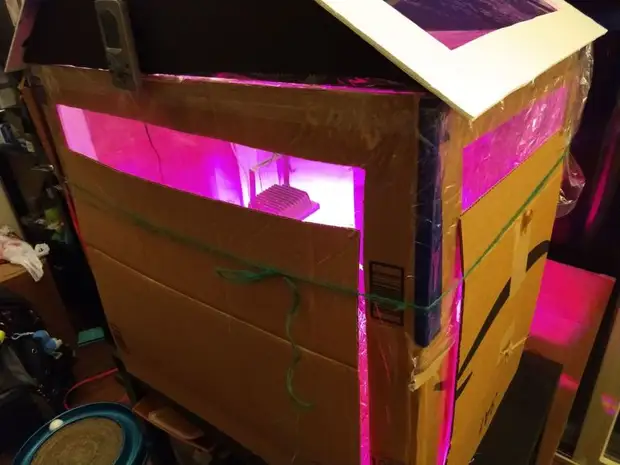
Actually, our greenhouse is ready, now it is necessary to find a place where to install it. The gardener, shared with us, decided to put it on the coffee table.
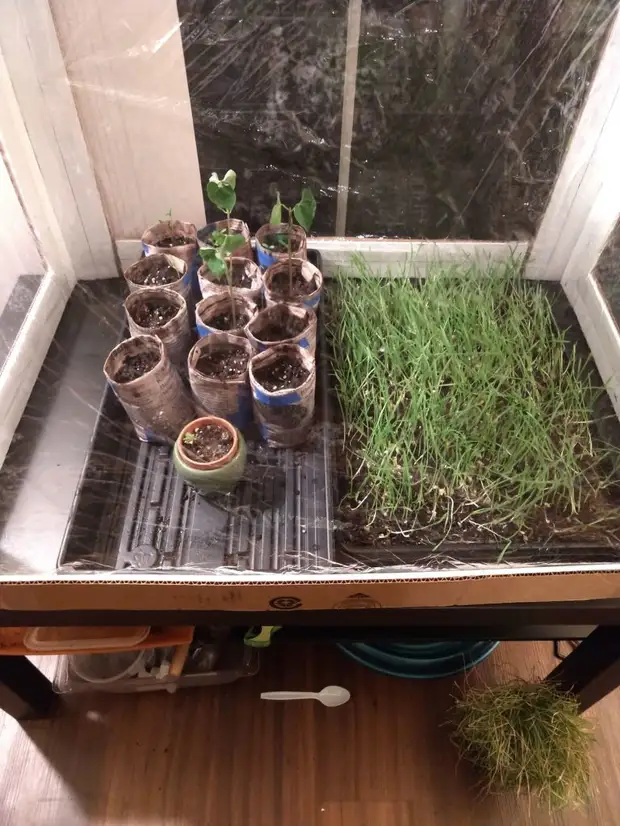
It is also desirable to add several LED lamps to the greenhouse, as the winter day is short, and a longer lighting period is needed for seedlings.

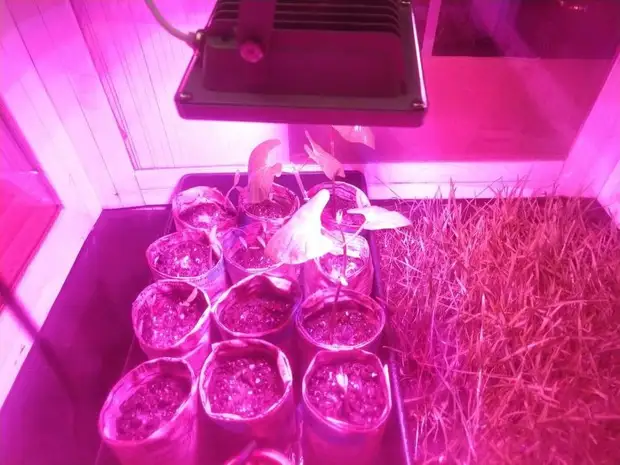
As you can see, the author of the master class already has three legume plants, and rapidly growing marigolds. Peppers and tomatoes also begin to germinate. In another tray - drinks for his cat. Since at night is still pretty cool, it is advisable to remove drinking boils overnight in a greenhouse.
Addition
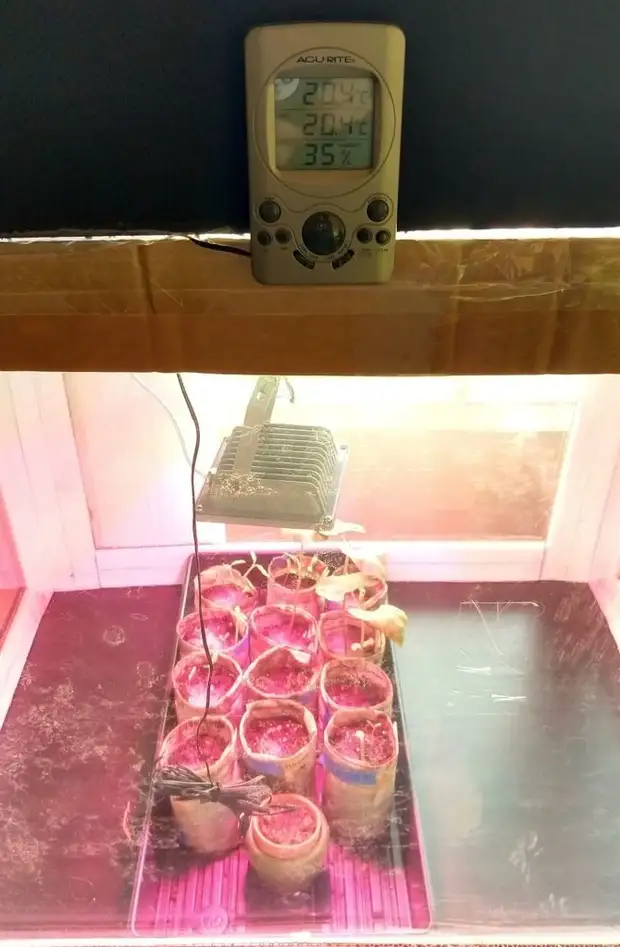
In principle, on this greenhouse is fully ready. But you can still "pamper" seedlings and add a device for measuring temperature and humidity, as well as a 12 W LED lamp, which is included for 10 hours per day. For example, at first the author's idea was the FCL lamp at 13 W, however, because of its toxicity and the need to constantly venture the apartment she did not like.
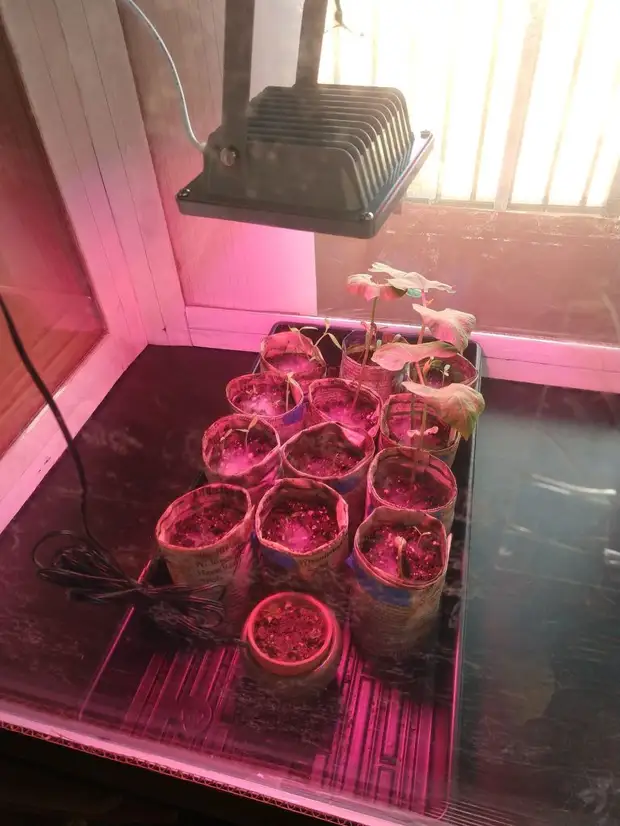
Also, if you wish, you can save the inner surface of the carcass greenhouse by reflective material, such as aluminum foil. But even without her seedlings feels very good. You can see that the inventive gardener also has several succulents and a couple of new plants, which are just starting to germinate.
By this master class, two users of the site made greenhouses. Look at what they did:
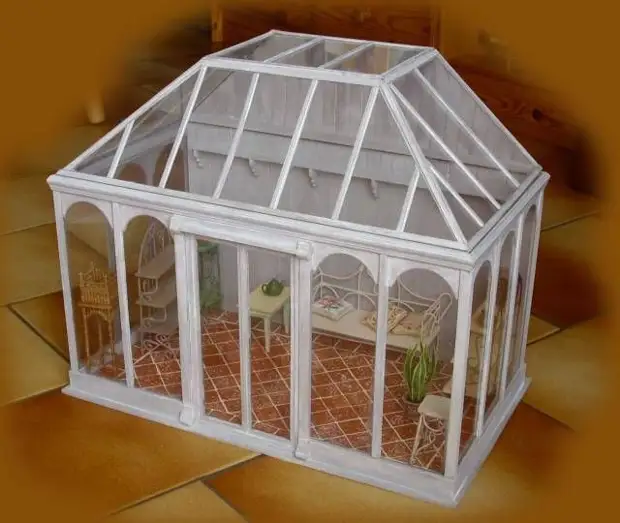
Osman decided to make a whole home for his doll on the master class of the greenhouse.
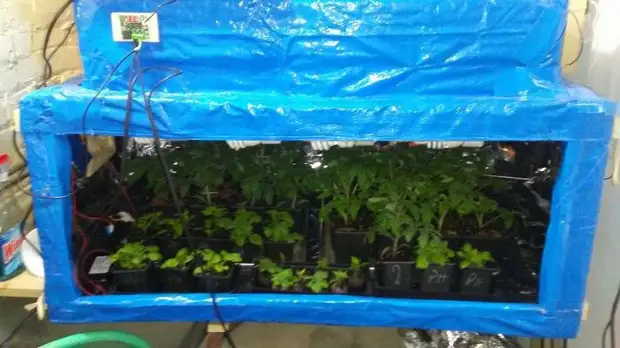
Male from Toronto made a greenhouse for tomato seedlings and some other plants. As seeding seedlings are already very big. The greenhouse is made of cardboard and saved inside the foil. Outside the tarpaulo is covered.
How do you grow seedlings?