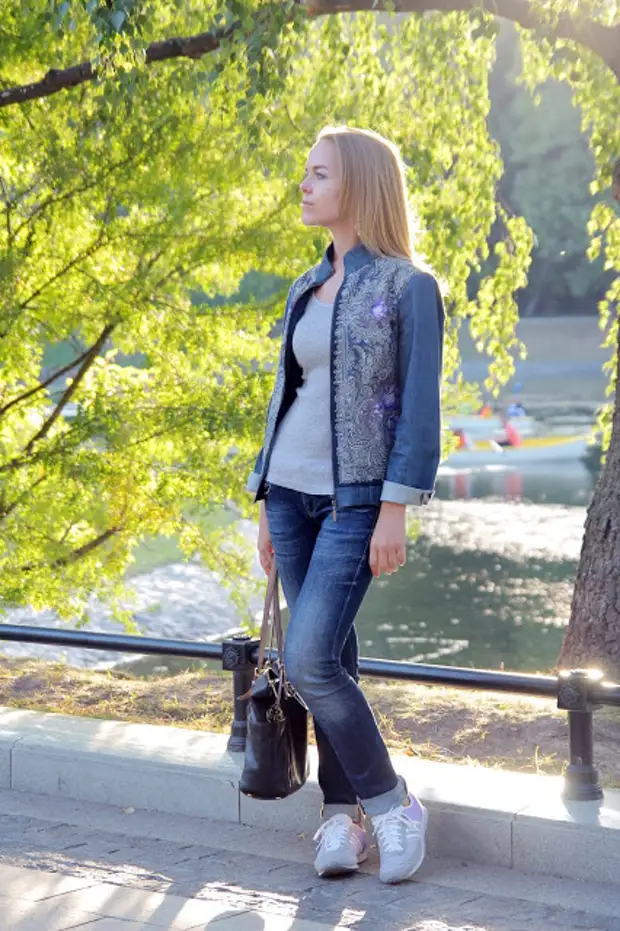
I suggest you see how to sew a jacket-cosuhi from an unusual fabric - from a Pavloposad handkerchief.
This concern appeared thanks to the cooperation of my blog with the online store of Pavloposad's headscarves, which provided me with substandard flaps for experiments in the sewing of the clothes.
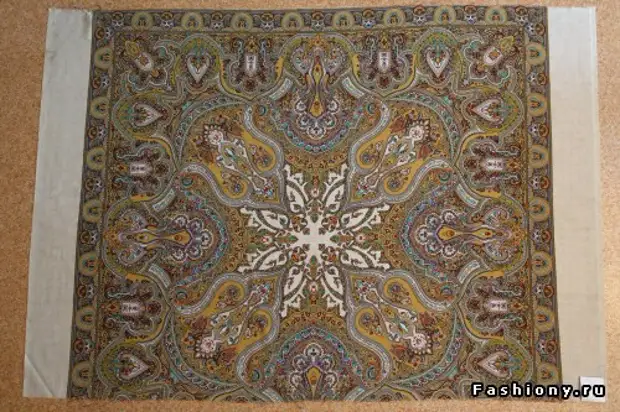
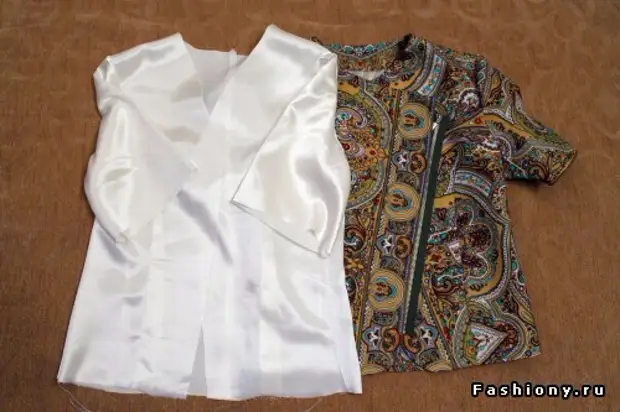
Here you will see a handkerchief in green colors, in which there are defects in staining, noticeable to a professional. By the way, a white ornament, resembling a circle that successfully places on my jacket's back, was to be dark green. But I really like that he did not paint, so the scarf looks more air. From this handker, I sewed a summer jacket-crucose.
I decided to sew a model with short sleeves, adding it a rough zipper. As a basis, I took the pattern from the magazine Burda No. 11 for 2005. Model 117. In addition to the main tissue, I needed: glue on a tissue basis, another adhesive, as well on a tissue basis, but for a palp fabric, lining fabric, detachable zipper .
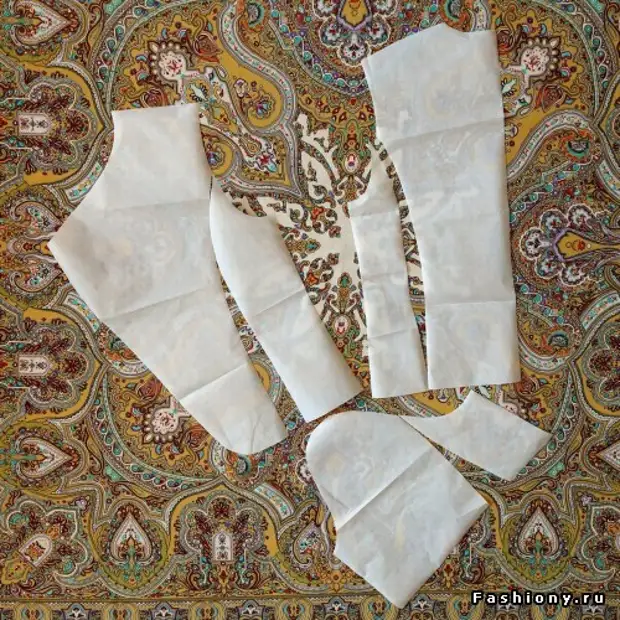
When sewing from the headscarves, the preparatory stage occupies a great time. It is not very simple to cut out of the header, you need to smooth it perfectly, decompose, carefully cut out, observing the symmetry of a small pattern. Then it is necessary to smoke with a thin glue, since the handle canvas is very loose. Picks, the welds and the slapping of the backrest of the future product, I re-sampled glue for the palp fabrics so that they keep the form better.
I am very worried and twitched the pattern for a long time to successfully position the following parts on the scarf: shelf 2 parts, backrest 1 part with a fold, weld 2 parts, sleeves 2 parts, backrest 1 part with folding. The same details of the lining fabric, excluding the weld and the sprinkle of the back. In the photo you see the pattern of the jacket, which involves embossed seams. But considering the difficult circumstances of cutting and combining the drawing, I decided to make reliefs as an extract. To do this, I combined the tops of the shelf details to get a deep swap. Similarly, I acted both with the handle. On the back, I combined the items so that the inner sweep was turned out. This allowed me to ration to use my flap and keep the beauty of the handker drawing.
Sewing products:
I have a brief description, but I hope it will understand those who have even a small experience in sewing.
First you need to combine and stacking outlets, backrest, sleeves, shoulder, side seams and sleeve seams. Then, enter the sleeves in the jacket. At each of the stages of the sewing, I tried very well to disappear seams. Similar actions with cut parts must be done with the details of the lining fabric.
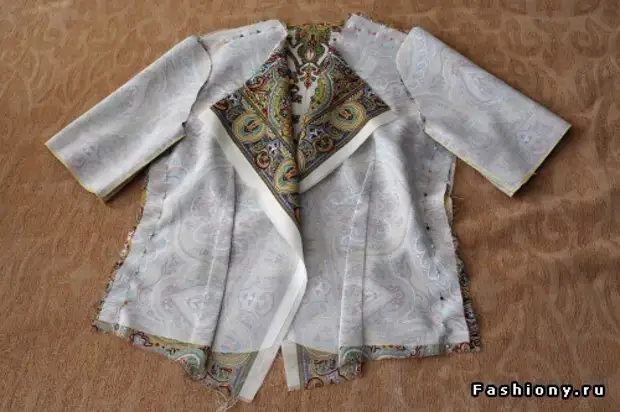
Then, sew among themselves the elevation of the reference and the backbone, which is then applied to the main part of the jacket and sew to the main product. Unscrew the fit on the front side and sip. Sew the bottom of the future koshuhi and the length of the sleeve.
Next, sew lining to the product, imposing it by the front side to the front side of the edge of the jacket wrap. Then unscrew and put in the jacket. Send the length of the sleeves and the lining length to the blindfold, I did it in the manual.
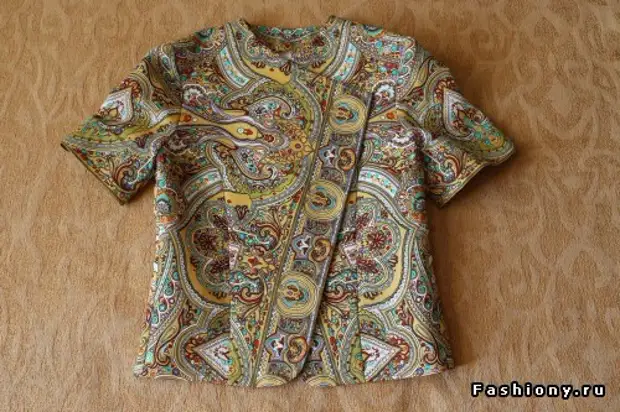
The whole jacket on the edge of the neck and the shelves stop. Zipper I decided not to sew the scarf into the tissue, but sewed on top of the product with a double line. Jacket is ready.
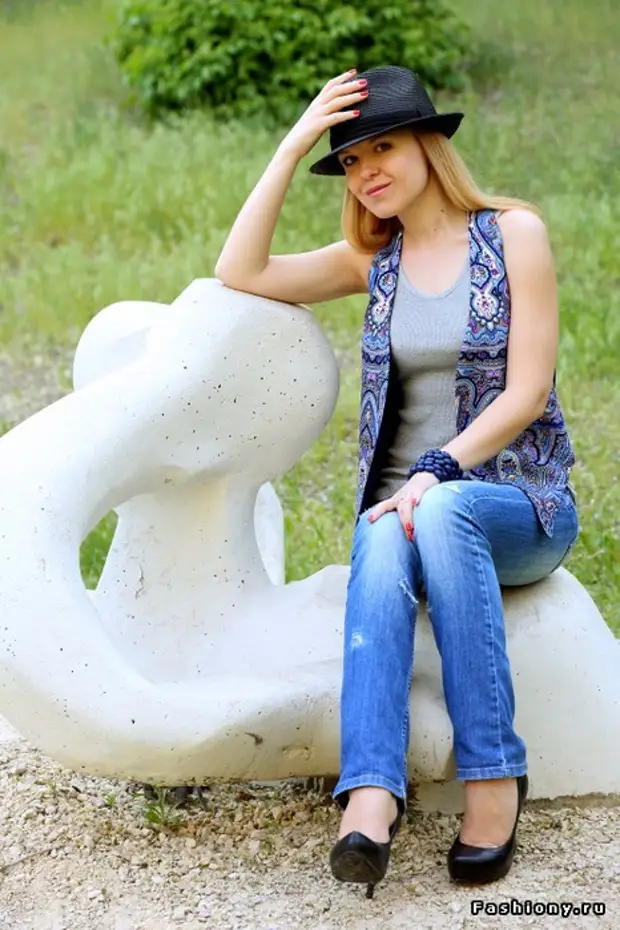
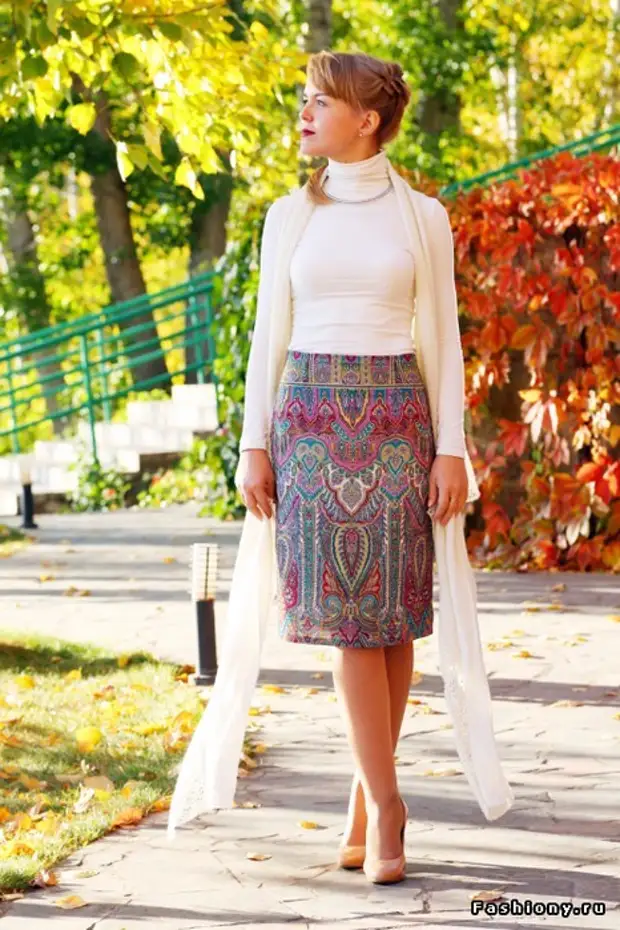
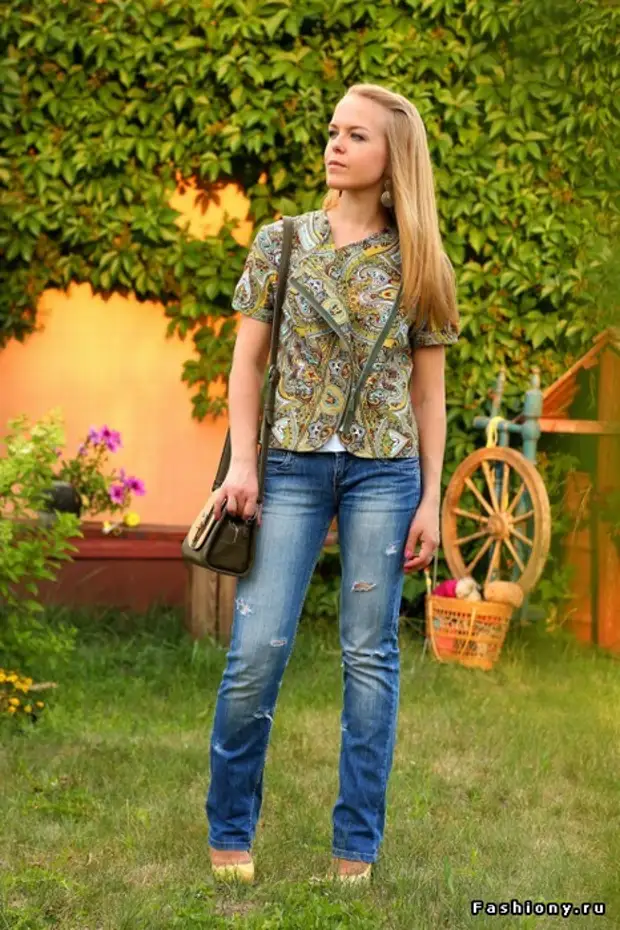
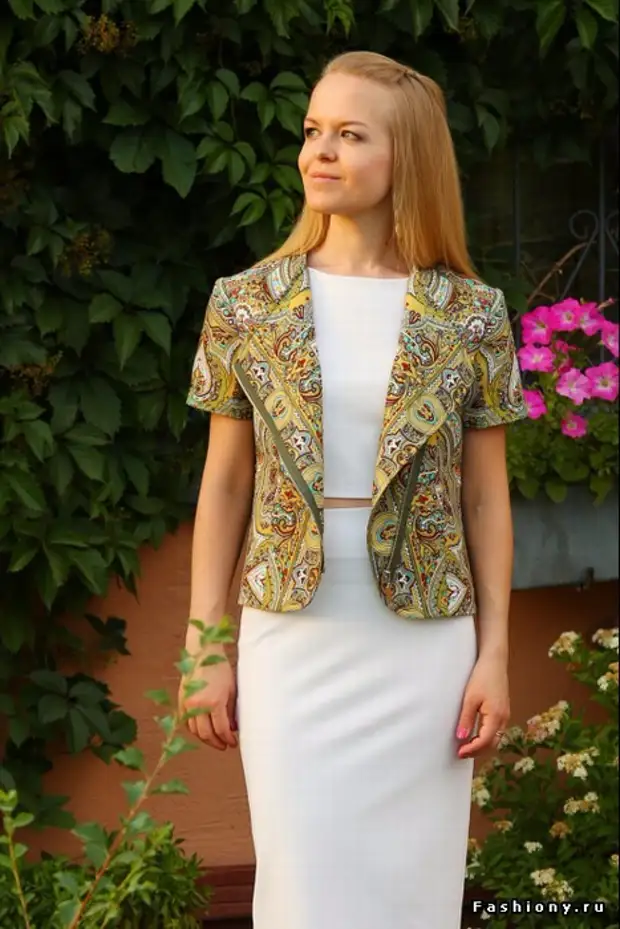
I put on my crucoul with this summer and with jeans and with a suit consisting of a short top and skirt.
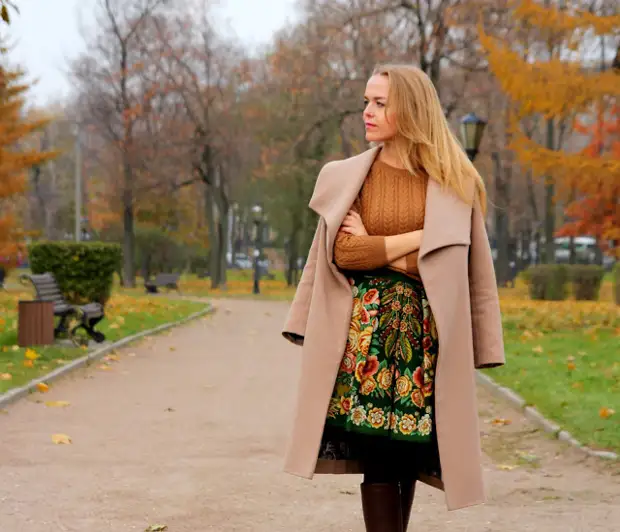
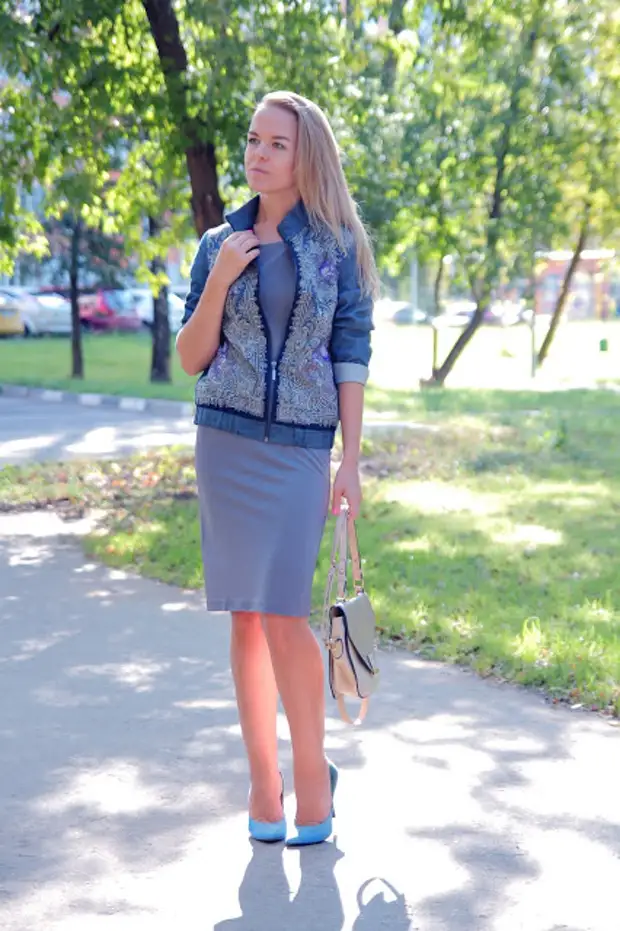
This is not my first product from this material. Before that, I sewed vest, skirts and bomber from the handles.