

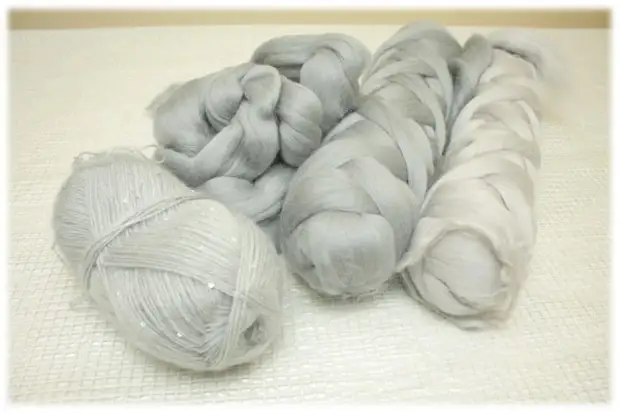
At the initial stage, it is very important not to rush into the outer with your head, but to try different combinations in advance, put small samples from various types of yarn, evaluate the result and choose the most suitable option. We want to get very thin, air, soft, easily draped by a canvas; Glittering in the sun with bright sparkles of sequins.
For a new model, we use about 200 grams of wool Australian Merinos of Italian production of Tonina 18-19 microns and one metro station (100 grams) of the following composition: 67% acrylic, 11% polyester, 9% wool, 8% mohair, 5% sequins.
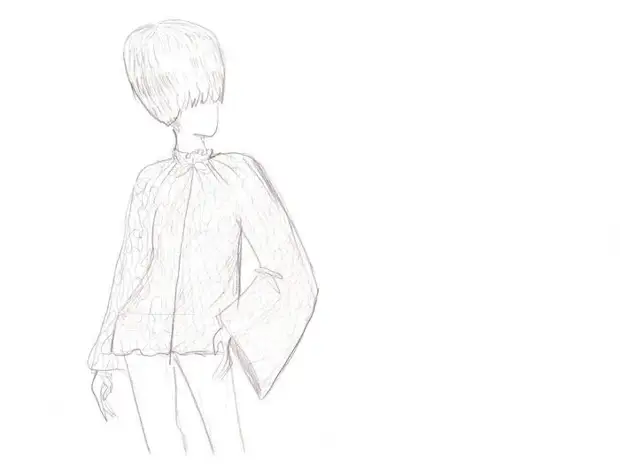
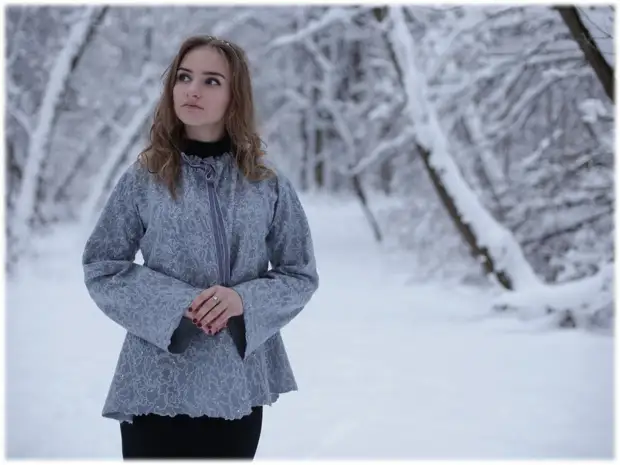
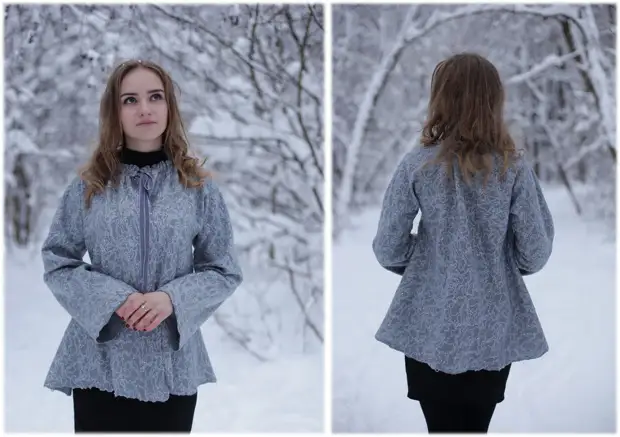
Our new idea is a short free jacket, with anted silhouette, wide sleeves and folds. Such a universal style is suitable for women with different types of figures.
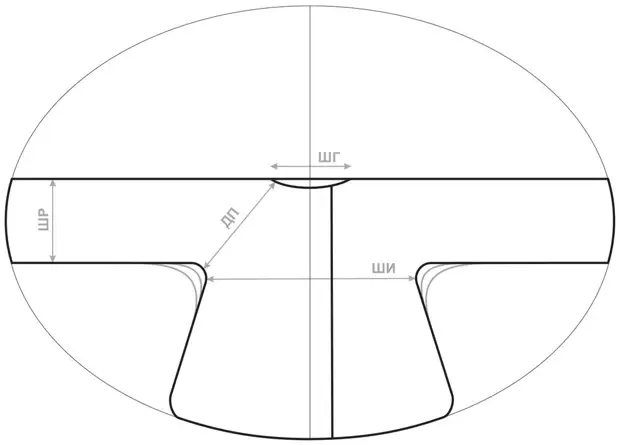
The pattern is as simple as possible, but it takes a lot of space, so if you are constrained in the room, you will have to lay the fur in stages. Visually it was inscribed in oval of 220x160 cm; The main parameters - remain unchanged. We regulate the dimensional row, only by changing the DP parameter (the length of the armor of the regulated line), if necessary, you can lengthen the pattern, based on the calculation of 1.5 * di (product length). The line of the side of the side is drawn at a distance of 10 cm from the middle of the transition, SH (the width of the neck) is 20-25 cm; SC (sleeve width) - 30 cm; Shi (width of the product) - 75 cm.
We construct the pattern on a bright plastic film Tonina 120-150 microns, cut out the template and release the workspace for wool layouts.
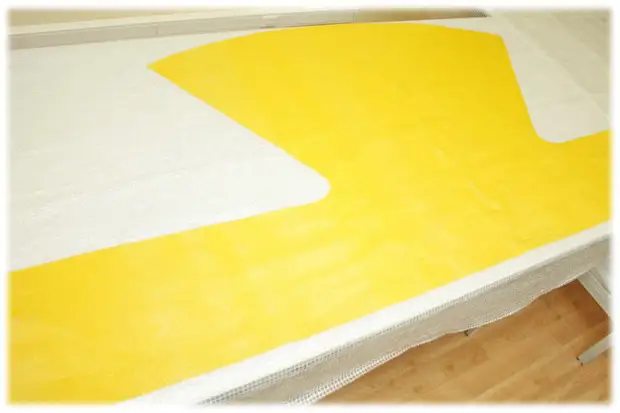
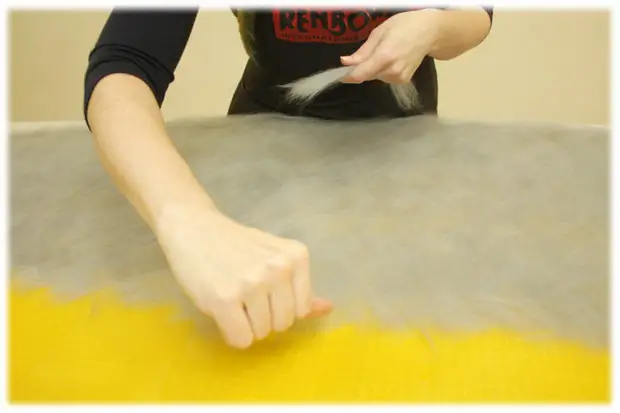
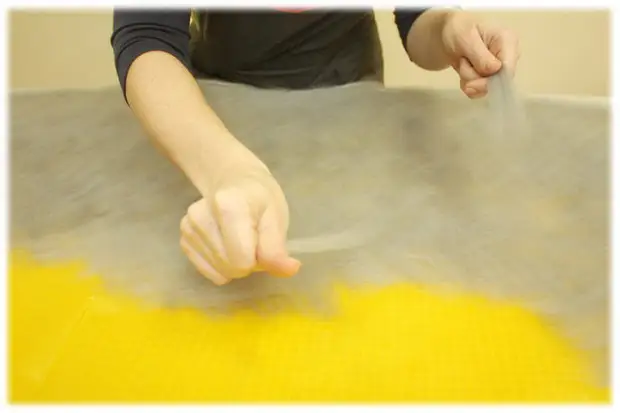
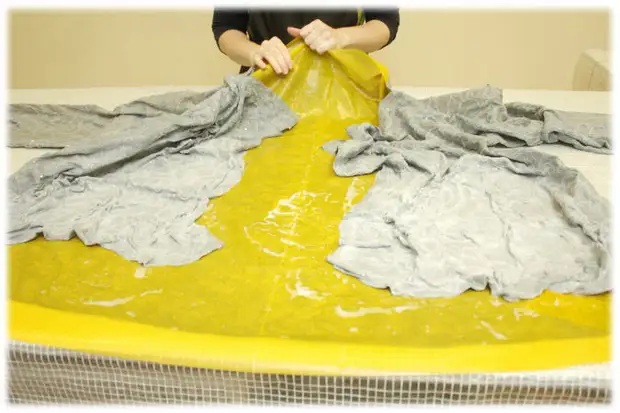
After such a thorough preparation, the work itself is going fast and fun. We start with the wool layout over the back detail. Basic scheme: Parquet layout with an additional stabilizing layer along open edges of the product (at the bottom, the edge of the sleeve, shelves and the neck). This is a kind of layout of wool diagonally, but strands are laid out not by rows, but alternately: cross-cross, very thin strands - because in our model felt is only the basis for fastening the threads.
You do not need to be afraid of lumen in the woolen canvas, only obvious holes should be avoided. We offer before the layout, split the material on the piles, according to the table of the approximate consumption of the wool, shown at the end of the master class.
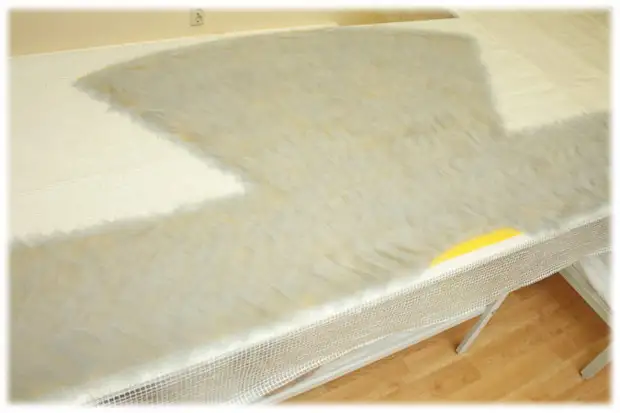
Punches on the envelope are 2-3 cm for the edges of the template. After completing the layout, carefully wet the surface with warm soap water so that the fibers do not scatter in different directions. Valya residents use a special diffuser; You can take a conventional plastic bottle, drilled in a cover with a plurality of fine holes.
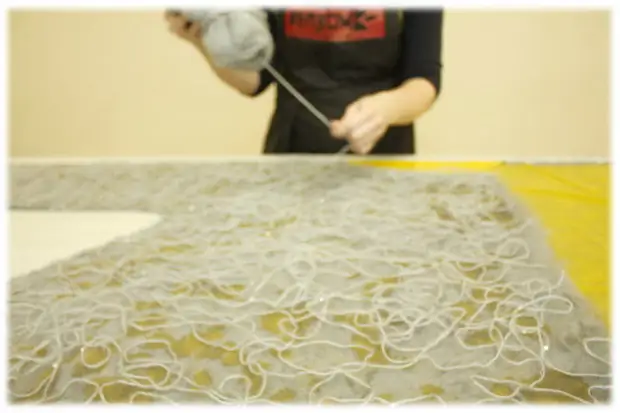
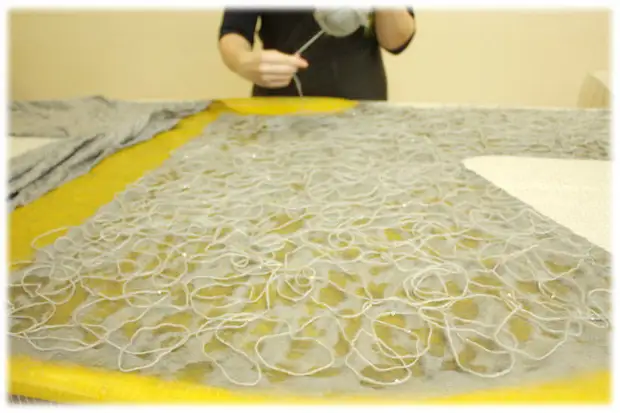
We decide the yarn threads on the surface of the template chaotic way, but not too tight - do not forget that the wool in the process of felting gives shrinkage and our drawing further contested even more. For convenience, it is necessary to pull the thread from the middle of the Moke.
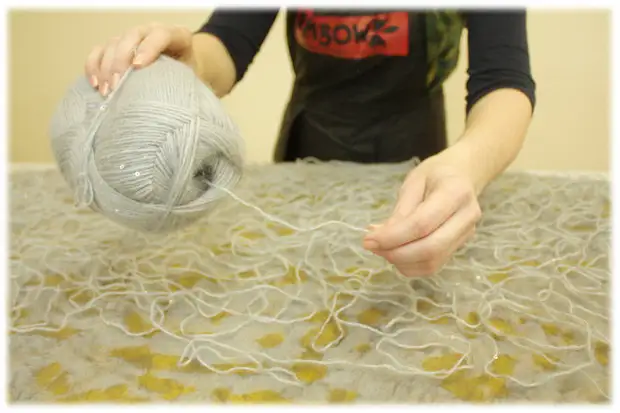
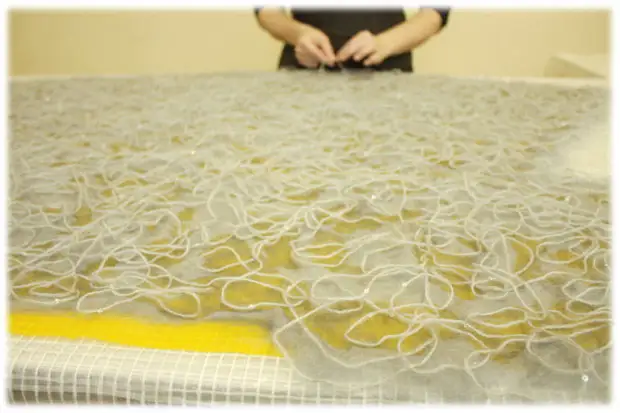
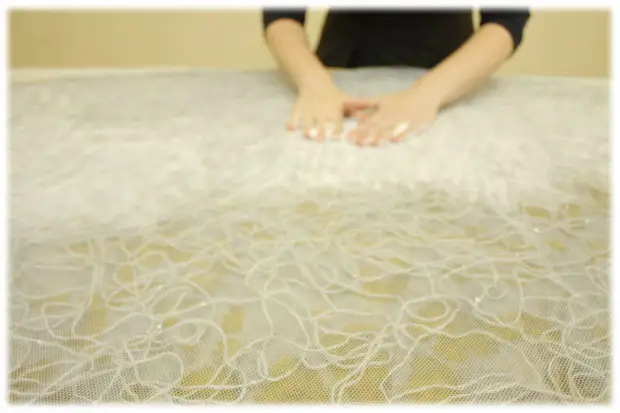
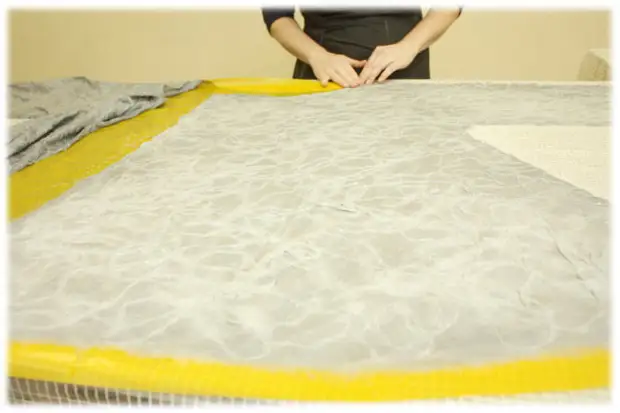
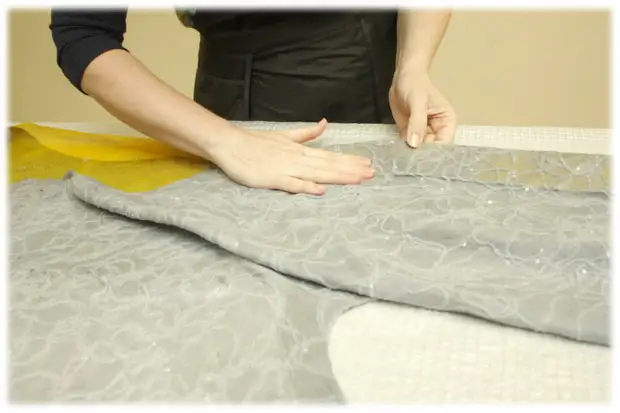
Cover the surface of the template with a mesh and carefully rub it until you feel that the fibers of yarn and wool clung to each other. As we have a very thin layout - shrinkage is happening very quickly.
I turn over the template and continue the layout of the shelf part. Initially, we take injections from the back on before, laying out the stabilizing layer along the edge, then we decide the fur and yarn in a similar scheme.
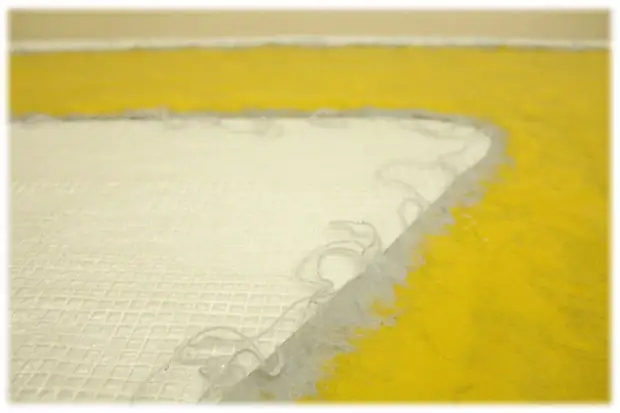
Wet, we carry out until the part of the shelf can be beaten without fears to the side; After that, we continue the layout of the second part of the shelf in the same way.
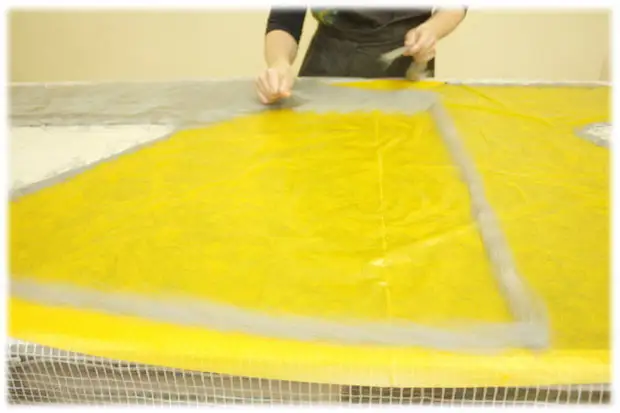
We continue to carefully pull the jacket until the product becomes closely in the template. Special attention is paid to the sections of the fold, we carry them out in the plane to avoid the occurrence of folds and chances.
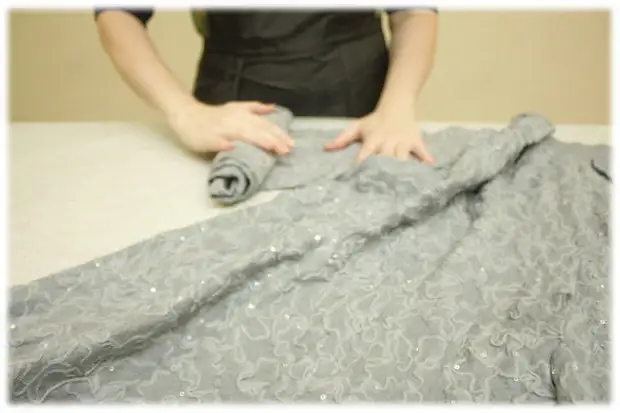
Gently remove the template (it can be used repeatedly, in other projects and when stored in folded form it takes very little space); Then continue the intense felting process, having squeaked the product on a ribbed surface, throwing up, kneading like the dough; Rolling out in a roll in different directions - in length and width.
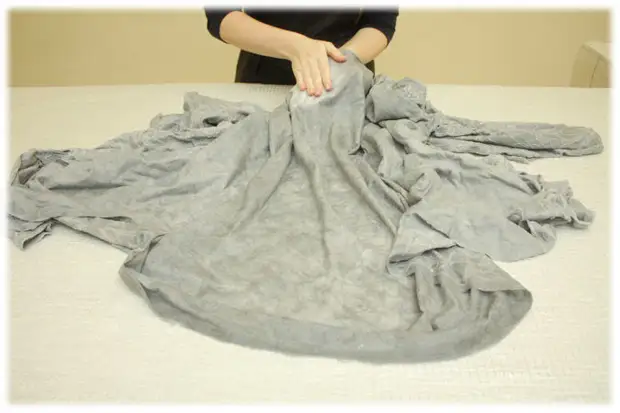
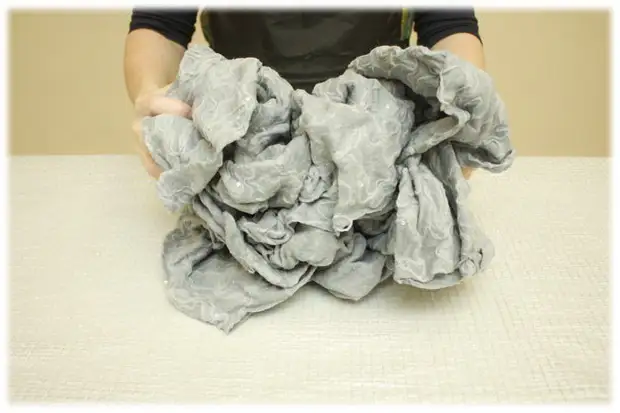
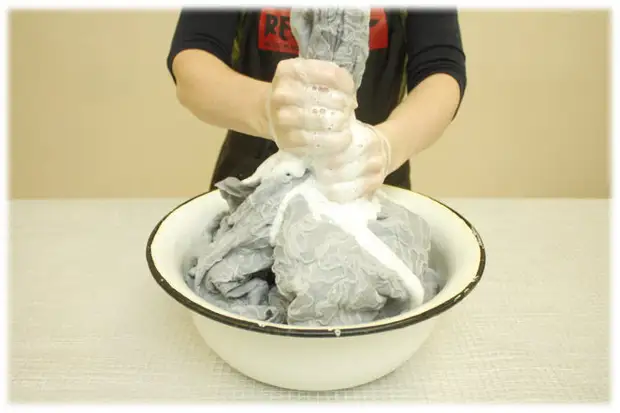
We press, we put a jacket in warm water, we continue to felting, adding fresh soap. Shrinkage occurs very quickly, so you should not be very cured, check the size of the product from time to time. Make sure that the sleeves and shelves were the same length.
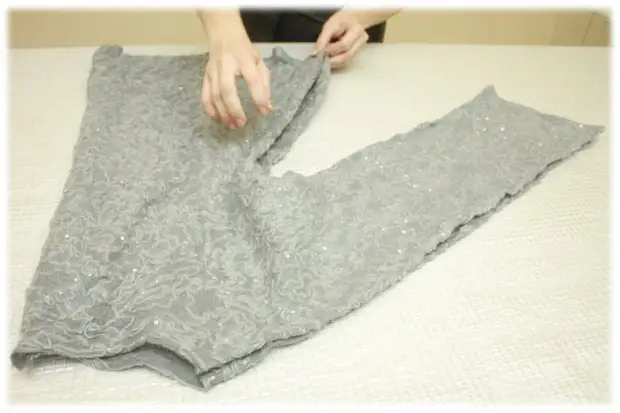
Take a thread with a needle and tighten the silhouette along the throat line. When drying, felt remembers the attached shape. Jacket free cut, so it is not necessary to seen it on a mannequin, it will only be enough to level the edges and pull the folds.
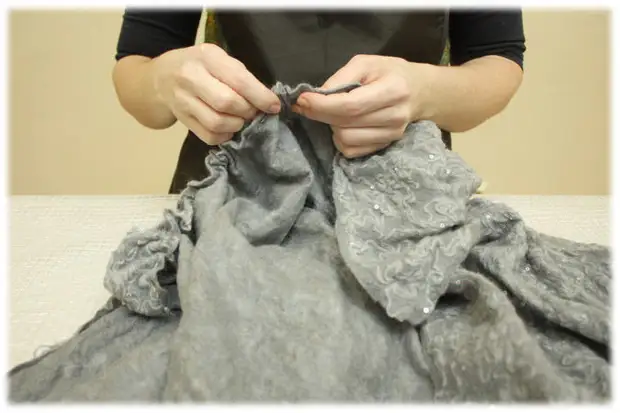

We roll out the sleeves if you need to pull them a bit along the length. We leave the jacket on the shoulder or dummy until complete drying.
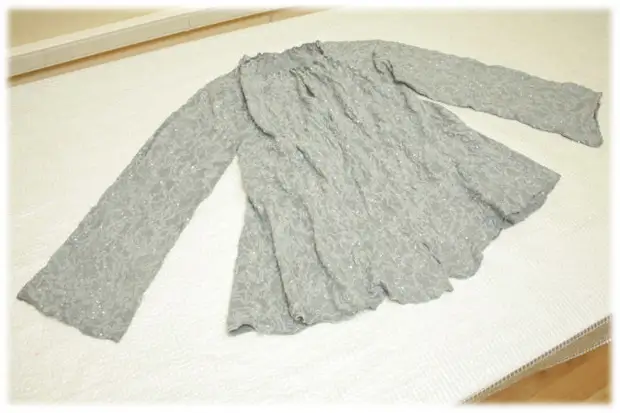
We finish work on the jacket, laid along the neckline of the ribbon for the rigging; We used velvet to avoid slipping.

Of course, walking in the winter forest in a light cape still zyabko, but as in a fairy tale, you can find frost, which heats and tighten our beauty with a warm coat.
It was a New Year master class from the "crow's nest", we congratulate on the holidays of all our readers and subscribers; We wish in the coming new year of peace and happiness, love and prosperity, health and inexhaustible inspiration for creativity. Our workshop thanks Marina Glotov and Victoria Women for help in preparing a master class.
To new meetings in the new year :)