
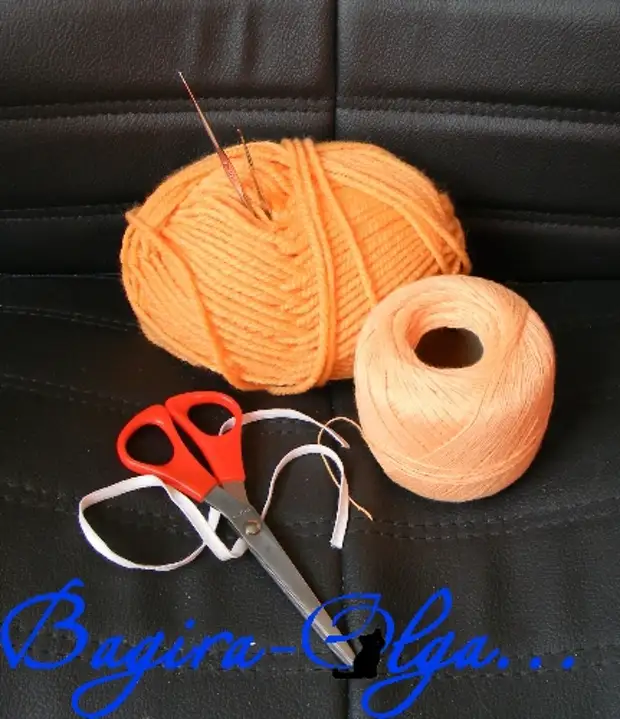
Materials:
1. Thick thread (wool 50%, acrylic 50%)
2. Thin thread (x / b)
3. Ruban
Instruments:
1. Hook
2. Scissors
So, we take thread, hook, scissors, doll and patience! =)
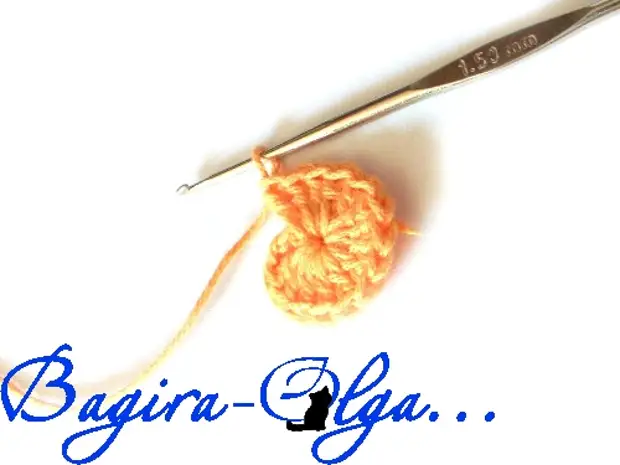
First knit the hat.
3 Air loops connect to the ring.
In prior to this ring of 16 columns with Nakud.
We connect to the ring and knit the following row ...
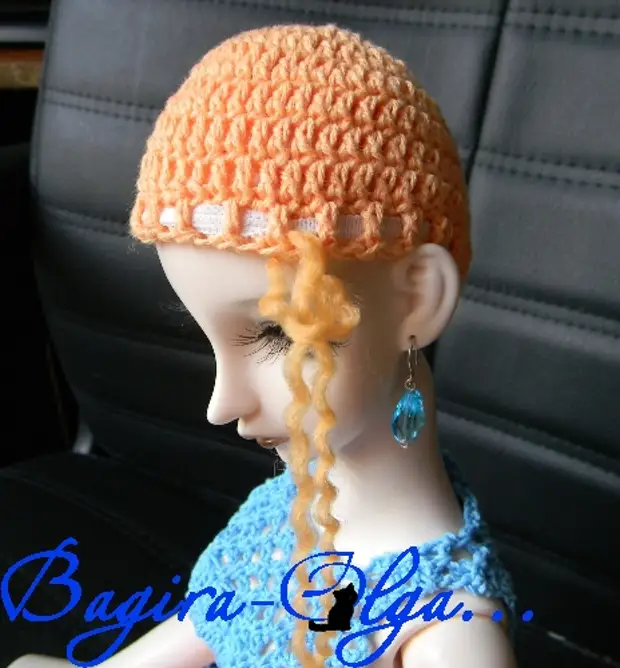
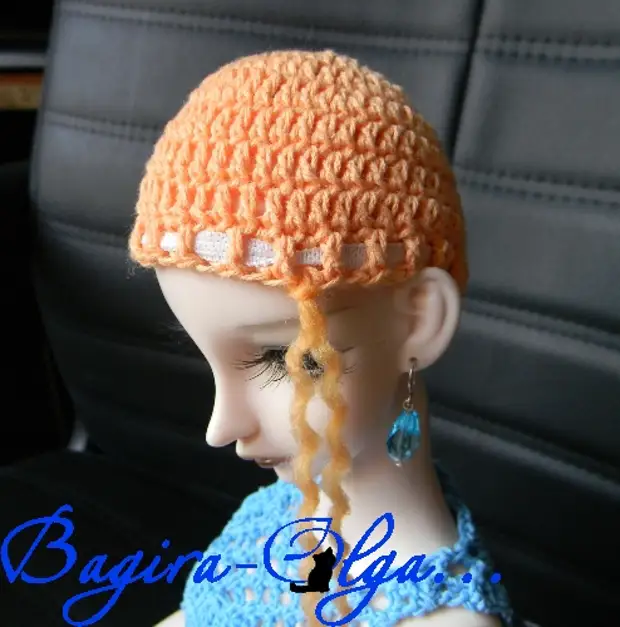
So, the hat is ready.
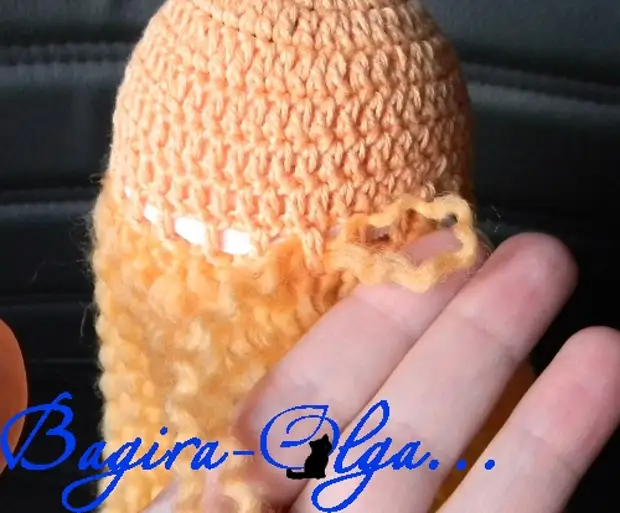
In the lower row insert the gum, selling it "snake" between the columns.
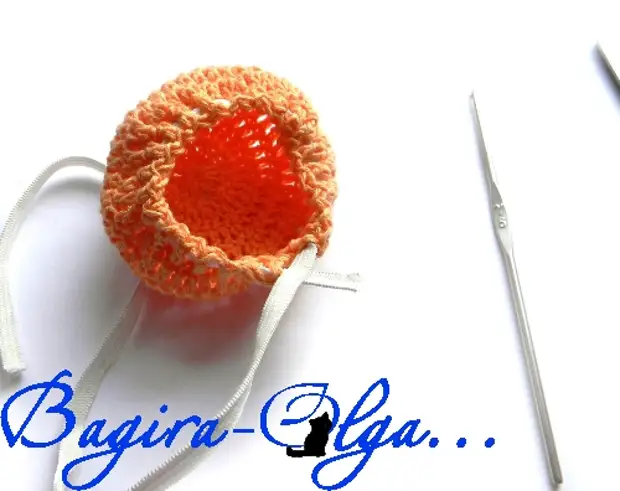
We tie the knot and hide the ends.
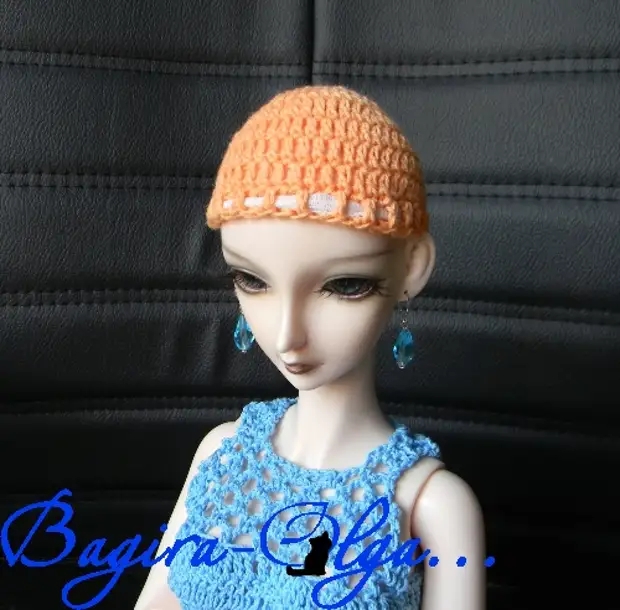
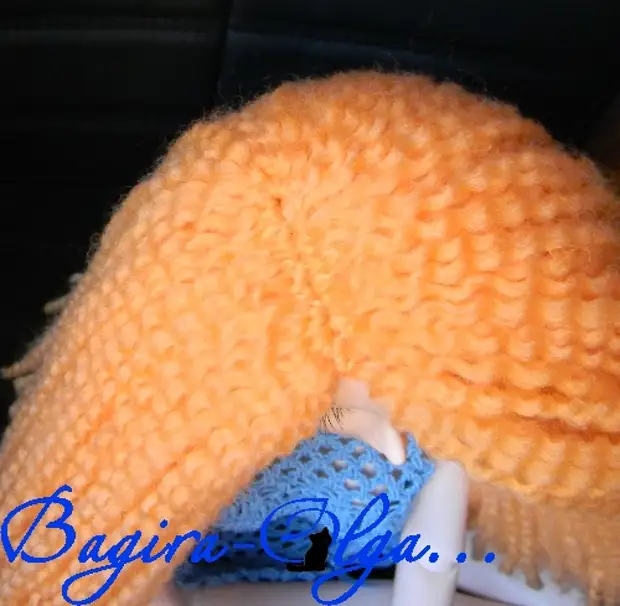
Wear a hat on a doll.
Now we take a thick thread and pretend the length of the "hair"
Measure the double length (the length of the "Volos" is a thread folded in two)
Cut the sample and cut the thread on the pieces.
(I first cut about 30-40 pieces, and then I cut 5 threads as necessary)
Attention: one thread is always kept not involved - this is your sample!
Next, fracture on the components.
(my thread was in 3 additions - I dismissed it for three threads)
Because The process is long and interrupted for tea, the Internet and the phone - I advise you to dissolve all the chopped threads on the fringe - because They can confuse.
I dismissed 5-10 threads as needed.
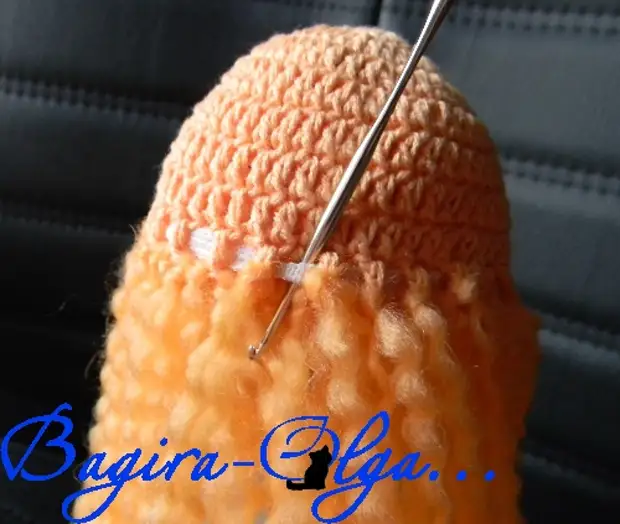
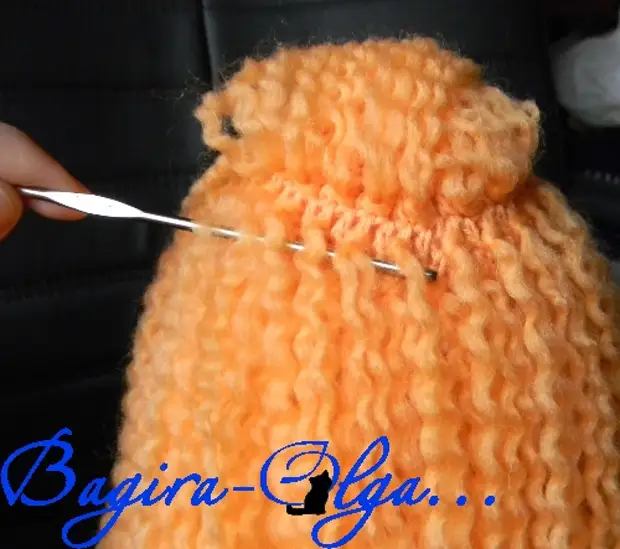
We begin to fix the thread from the bottom row.
So that you can raise your hair up - it is worth making the edge of "hair growth" and the sample is beautiful!
Cunning: Insert the hook from the bottom up and pull out the loop (folded thread in half) - down. I miss the tips in the loop and delay (do not pull a lot in the ends or the middle - it is better to take the most close to my head, so that the thread does not break or stretched)
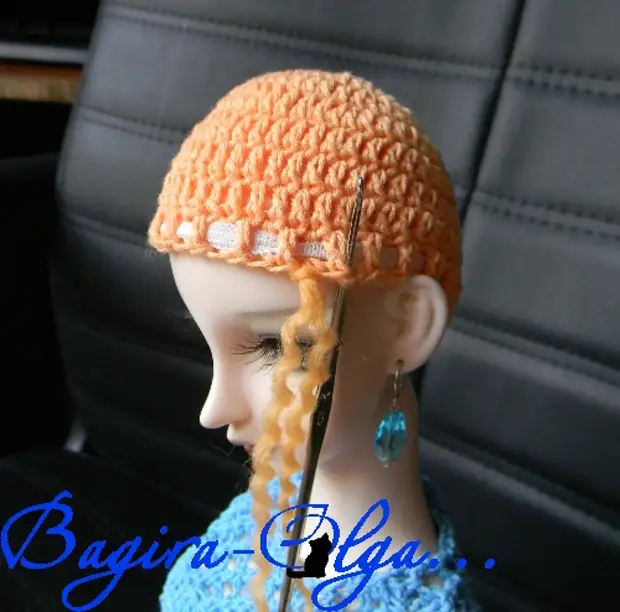
The first row is better to make the most dense.
The following rows can be trained "hair" through the column - so the hair will not work too voluminous.
Important: An elastic band also needs to be hidden into a thread so that it does not accidentally transluce.
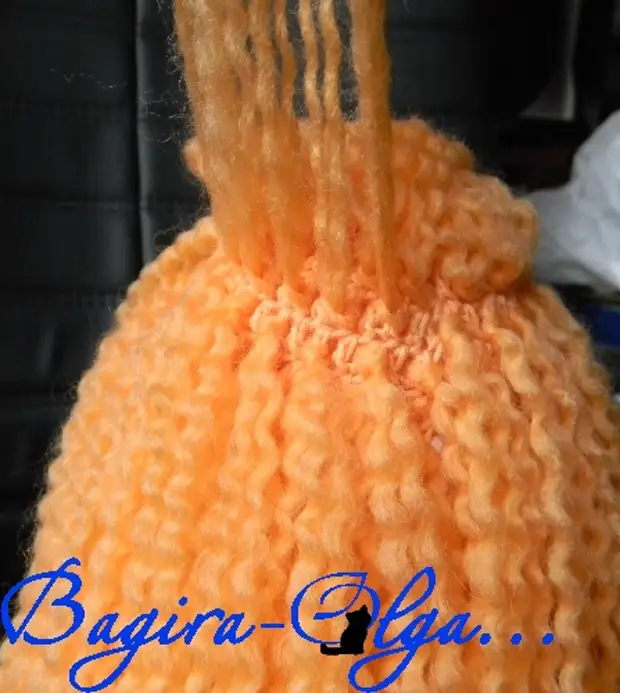
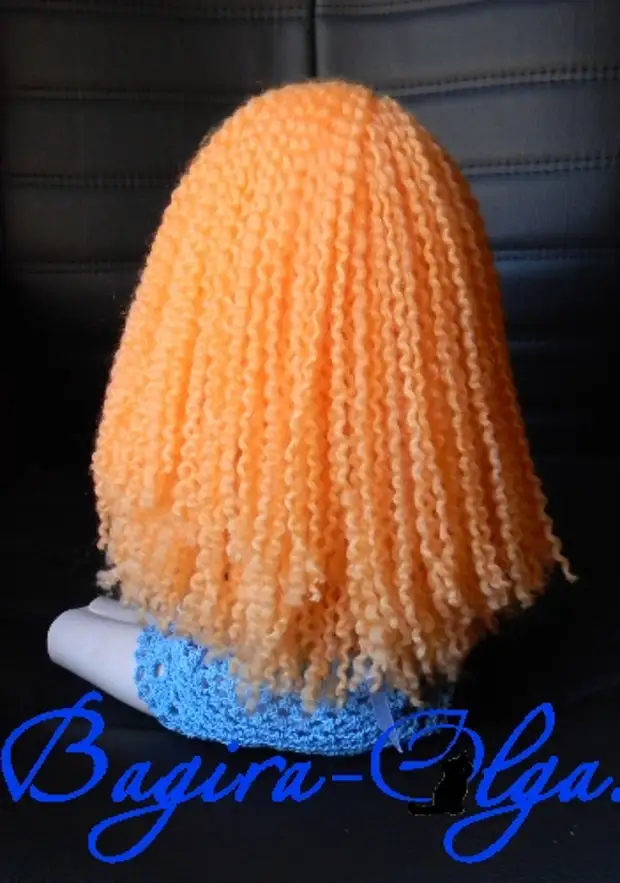
When 3 rows were done - you can start the laying - we denote the sample and gently, one strands (better than the other side of the hook) shift the threads on the side.
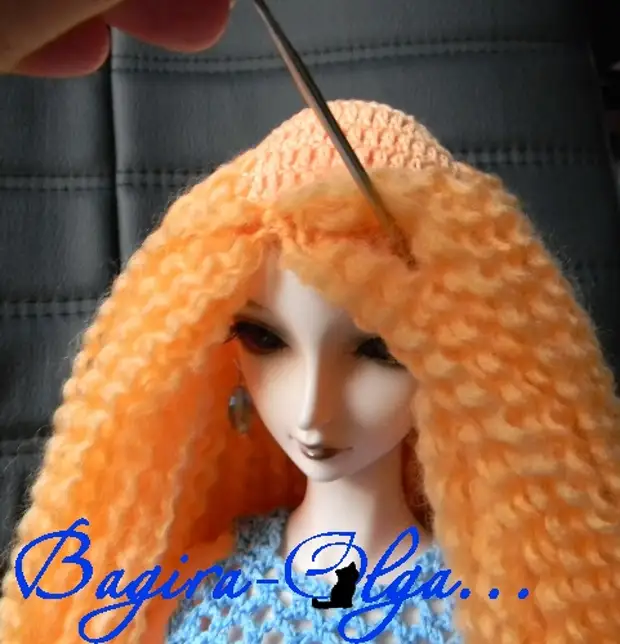
(shacking such a wig can not be combed)
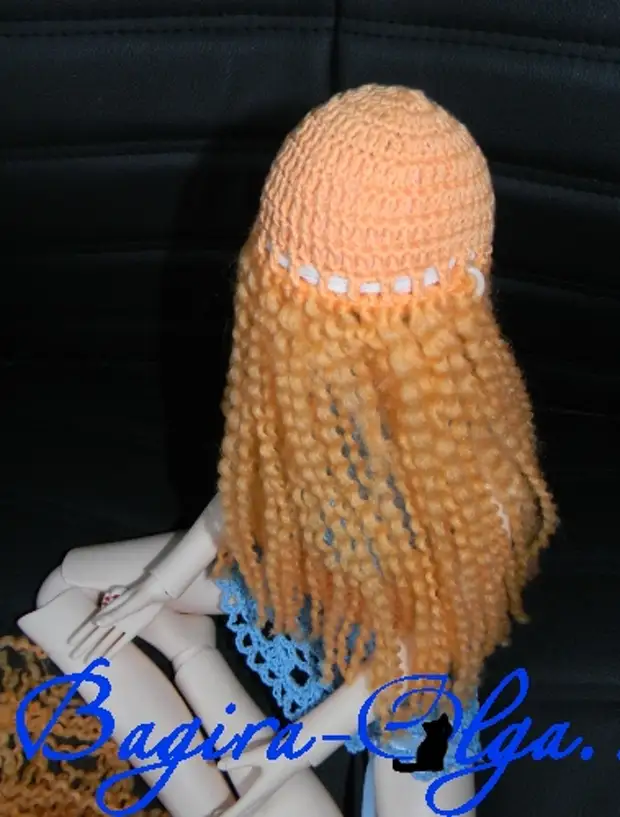
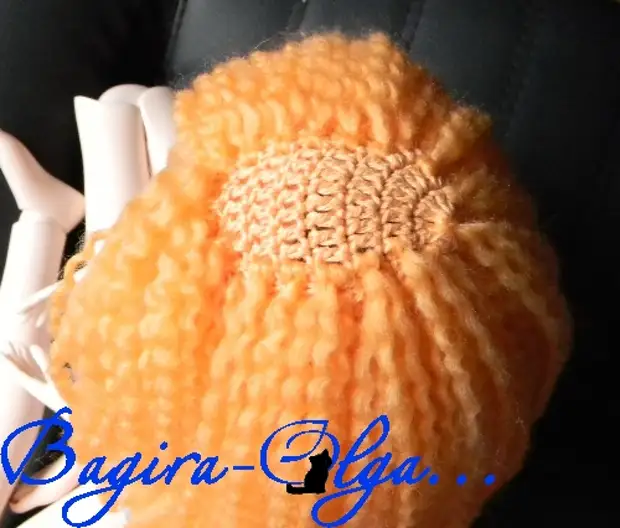
We continue to flush the whole head - leaving the top.
(It is better to do it at the last moment and in every column - so that there is no lumen of the knitted cap.)

I made a head through the column and in a checkerboard order.
Gently lay the fixed strands into the hairstyle.
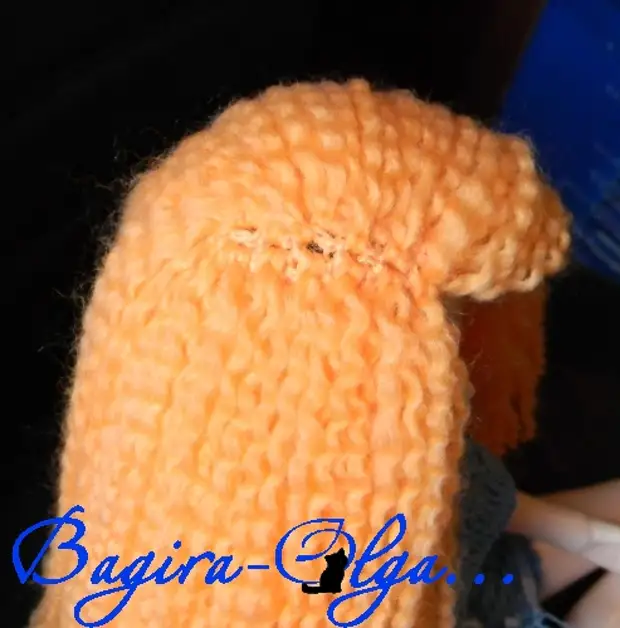
We put the most painshore on the test - a hook stick from the probor to the ear. (so the loop hides under the thread and it turns out a beautiful sample)
So, recent preparations and styling.
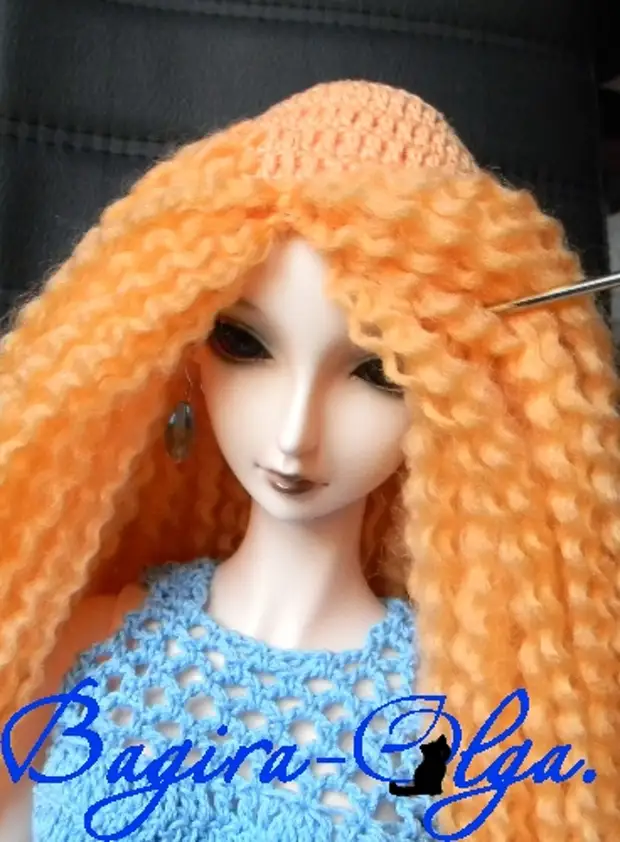
Now we move to the hairdresser!
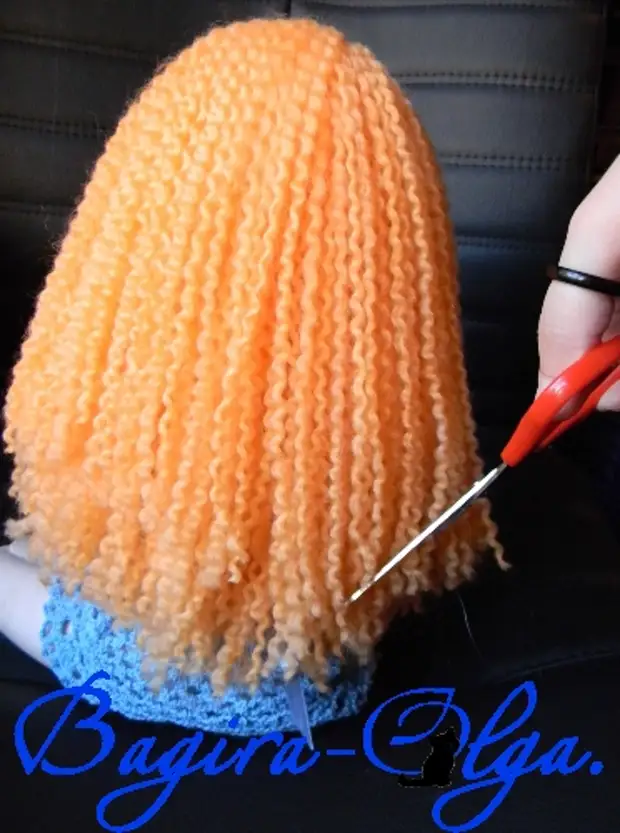
We take the scissors and flatter the tips of the ward - you can make a cascade (like mine) and it is possible and the strict line (but then it is better that the sample is direct)
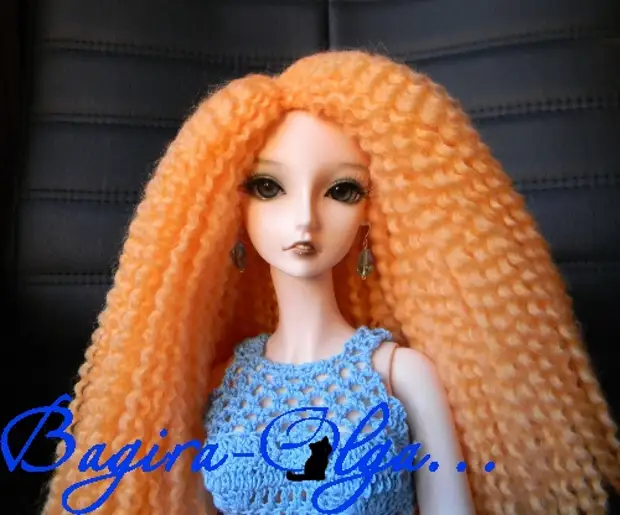
EVERYTHING!
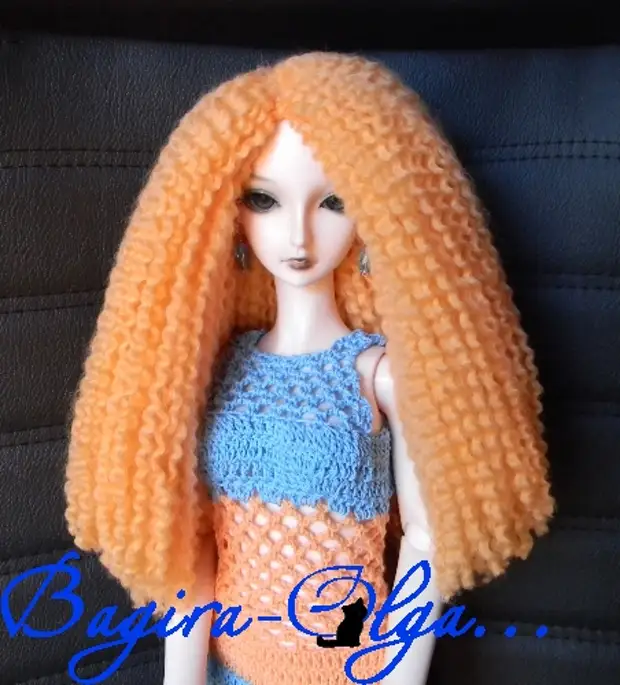
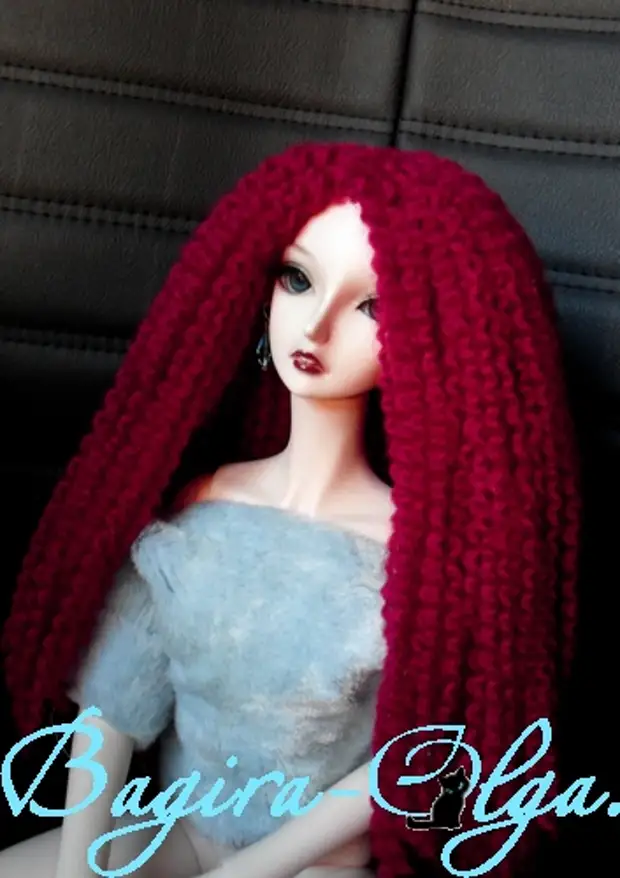
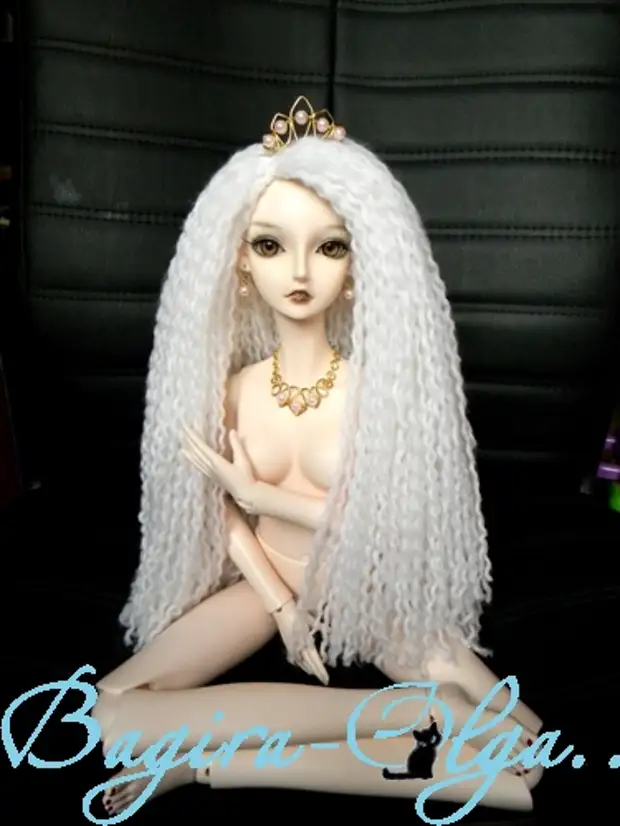
Your wig is ready!
A source