
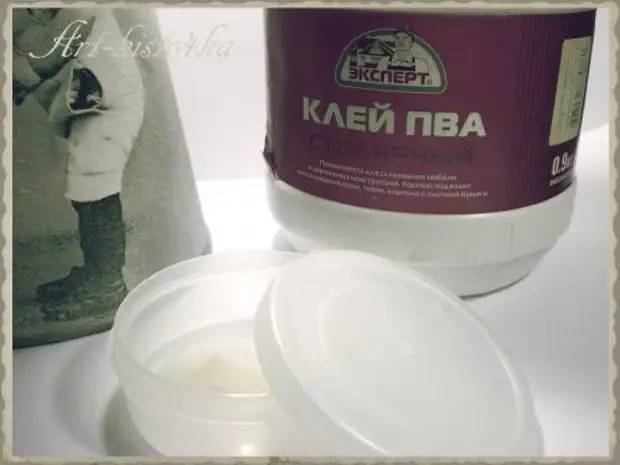
We will need: PVA flour and carbonaceous glue (better joiner, since it is more thick, unlike the stationery. But if you do not have it - use the usual glue, just need flour more)
In a comfortable container, it is better if it is with a lid, mad a flour (I took a teaspoon) and add gradually glue. We wash the thick sour cream to the consistency so that the mixture is drawn, but did not flow.
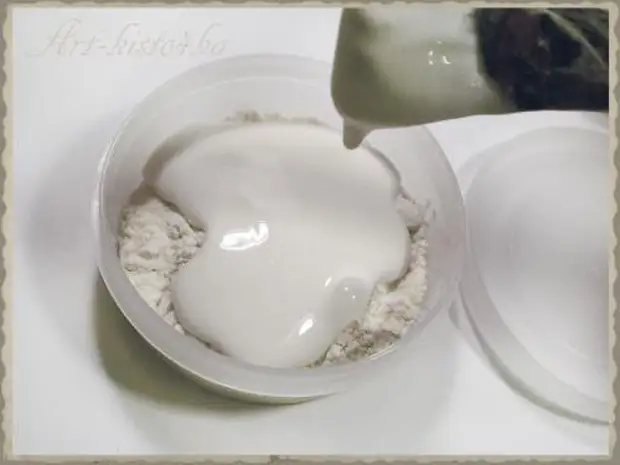
I add flour must, it creates filling and density and will not allow drawn elements to fall after drying!
Important! Our home bulk gel will not be transparent. In this case, I need only a volume of painting.
We apply our 3D gel to the surface with a thin brush or a wand with a pointed end (it can be toothpick, a nail stick, a stack for modeling) in this master class decorate a metal jug, with use
3D 3D gel homemade manufacture and decorative emails of handmade from a cold porcelain.
")
The master class is designed for the average level. It is important to have the following skills:
The ability to primer metal, experience in gluing napkins to the bulk surface.
Materials:
-Akrile paints, acrylic varnish
- PVA, flour
- decoptee decorative elements (flowers, buttons, textiles, natural materials)
-Bust, scissors, sponge, wooden or plastic wand with an acute end.
-Metallic blank for decorating
-The conjure the surface of the workpiece (the alcohol is medical, glass washing liquid)
- Got the picture: pull it out with your hands from the napkin.
If this is 14 part or 12 part - we tear the edges with your hands. Do it in order to
When sticking the border, the napkins were not visible.
")
-Rugging the workpiece with acrylic soil or acrylic believes. For primer, we use a sponge or a wide brush.
")
-Cerivate the drawing on PVA glue
")
- choose the necessary shades for the background, and score the background and details of our workpiece.
")
- Great surfaces can be painted with sponge, small parts and hard-to-reach places Tin with a brush.
")
-If you need a smooth transition from one color to another or stretching tone within the same color - to do this most convenient with a sponge.
")
- There are two ways to work: "Wet" and "dry".
In the first case, different shades are recruited on the two sides of the sponge and are neatly applied to the surface. The paint in the sponge is mixed and the transition from one color to another.
In the second case, first paint the background with a middle tone. After drying with a sponge, we apply shades lighter and darker. We recruit the paint from one edge on the sponge, the color stretching takes place inside the sponge itself from saturated to barely noticeable.
It is important to do everything neatly and not in a hurry. If you have never used a similar way to a sheet of paper, for example. Ladies can always be fixed after drying paint ..
")
- After the background is applied, proceed to the preparation of our 3D gel.
")
-Thow we need this: PVA flour and joinery glue (better joiner, since it is more thick, unlike the stationery. But if you do not have it, use the usual glue, just need flour more)
In a comfortable container, it is better if it is with a lid, mad a flour (I took a teaspoon) and add gradually glue. We wash up the thick sour cream to the consistency, so that the mixture was drawn but did not flow.
I add flour must, it creates filling and density and will not allow drawn elements to fall after drying!
")
-Name our 3D gel on a thin brush surface or a wand with a pointed end (it can be toothpick, nail stick, stacking stack)
")
-Name carefully, so as not to hurt the already applied patterns of the pattern, as the gel does not dry immediately.
")
-Important! Our home bulk gel will not be transparent. In this case, I need only a volume of painting. If you need a transparent gel-tighten factory.
")
- After applying, we wait when the gel will dry.
")
- Funeral to dry the elements do not recommend, it will take about 15-30 minutes for drying. Depending on the thickness of the elements.
")
-What looks like the volumetric elements after drying.
")
Now proceed to paint the volume ornament.
")
- These are all the same acrylic paints.
")
- It is possible to emphasize the volume of paint: apply glare, make deeper shadows under the elements.
It all depends on your initial idea and fantasy.
")
-Come at this stage will want to complete the work and cover it with the finish lacquer. It seemed to me not enough, so I decided to use an additional decor: Flowers from a cold porcelain.
In your case, it can also be bugs, textiles, beads, natural materials.
")
Before gluing flowers, the workpiece is covered with varnish.
Minimum three layers of varnish. It is better to make layers thin and apply them more than the opposite!
")
-Lak you can dry in a hairdryer or put into the electric oven to the smallest temperature. This is if you need to save time. If you are not in a hurry, wait until the varnish dry himself.
")
- Now, when lacquer dry, glue flowers.
")
For gluing it is better to use second glue.
")
- Apply the glue to your decor, and grasp it strongly to the surface, hold for a few seconds.
")
-Nash a pitcher is ready!
")