


To make together two boards with pins along the entire length, aligning the bottom and top.

Between the pins, at a distance of 15-20 cm make the chalk marks, opposite these chalk marks, on the other hand, put the chalk marks.

For household bathrobes, I recommend using witnesses, they are softer, I did not find it, I had to take the tractor plastic. Attach and stick the lightning face to face, so that from the top of the cutting line of the collar or hood to the first zipper was 3-4 mm.

Whatever in the end result, Lightning did not get a wave, slightly will give the board. Plot pin, slightly shifted the board and again put the pin and so until the end of the zipper.

To sew a narrow or single-faced paw, retreating from the links of 2-3 mm, as it moves to remove the pins.

Unscrew the lightning stock on the wrong one. Opposite the chalk lines of the board put markings on the zipper.

And combining the chalk lines of the zipper and the other side of the journey of lightning.

Check, the lower and upper edges of the sides, which would be on the same level. Rent a zipper on the wrong one and give a finishing line back from the bend at a distance of the width of the foot.

Top to fasten the lightning line of the hood and shelf.

From the wrong side to impose an inner collar overlapping the line and fasten the pins. From the front side to give a line moving along the seam of contraction.

Replacing lightning The bathrobe produced, quickly and with minimal financial losses.
Replacing lightning in a sweatshirtReplace lightning In the sweatshirt is not difficult, but there are several tips that need to be considered.

Look at the zipper, you may need to change only the runner. Do you choose a similar zipper in color, length and quality. Do not hurry to disappear zipper, look at Framework, it is better to expand the lightning only on one side of the earner new, "Pack" and take on the second part. If you forget how to insert it, then before your eyes there is an example.

Carefully reflect the zipper.

Remove all the lines that keep zipper, here a photo of a hood.

Guided by the old zipper shorten the new, if required. Print to the jacket from above and below. In order for lightning after the sweeping, there is no wave, we must have a fabric. As in the photo - lightning in the tension.

Print over the entire length evenly distributing landing.

Install a special laptice for lightning and give a line by zipper.

Now it is necessary to make control tags with chalk or pinch pin at the level of pocket and belt. Laying zipper and transfer checkmarks on the other side of the zipper. Print zipper combining checkpoints with pocket and and belt, give a line.

Take a check, button zipper. The pocket and belt line should be on the same level.

Print and tape from the wrong side of the zipper, if it was. At this stage, one line is enough closer to zipper, the second strand ribbon will keep the finishing line.

Now fill the zipper on the wrong one and give a finishing line from the front side, try to fall into old holes.

From the bottom to fill the tape that it would not be seen from the cut and reach the end to the end.

Top "pack" zipper. Connect the shelf and hood, cover the ribbon and restore the finishing line from the front side. It is difficult to explain here and show, especially since the processing of the hood connection with the shelf there is enough. Here you use the data advice above, breaking the memorize as you did it.

Replacing lightning In the sweatshirt at home is made.
MK stitching clasp "Lightning".
This MK for beginners and experienced dressmakers can not read it.
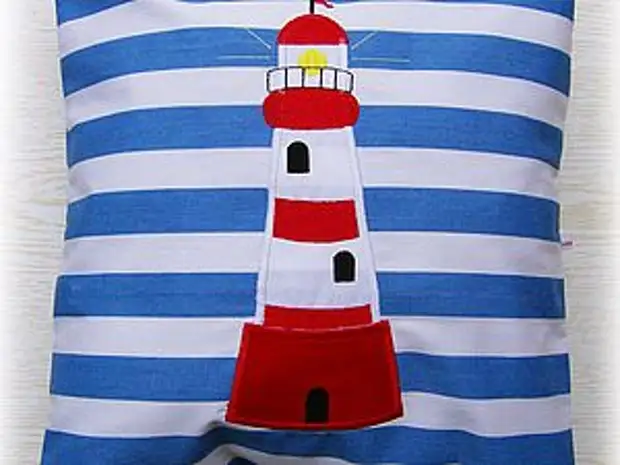
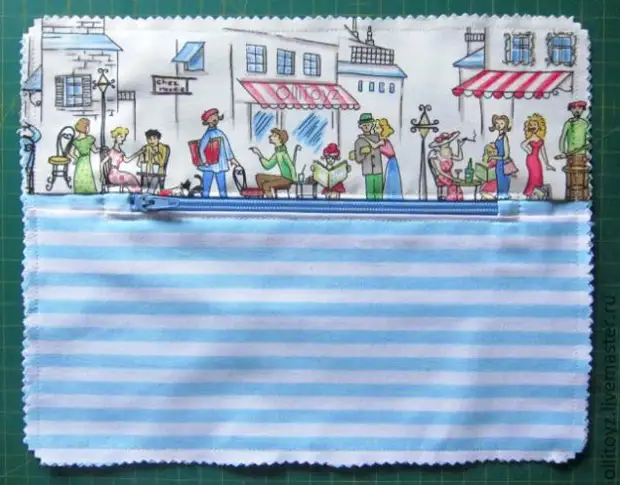
There are many different ways to cross the snake. I want to show you one of them on the example of pillowcases on the pillow. It is simple and does not require any special devices.
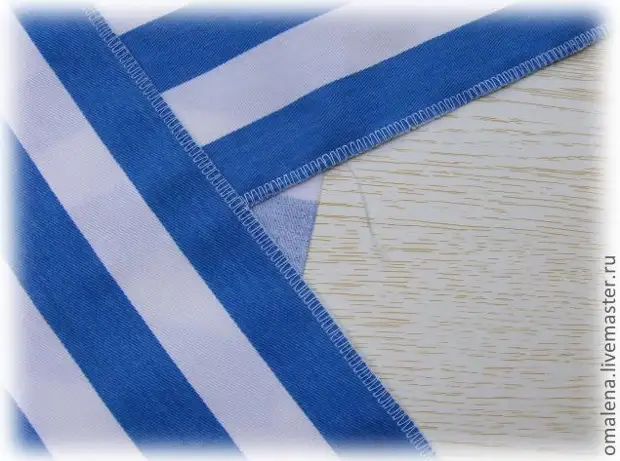
To begin with the edge of the tissue of the zig zig zag.
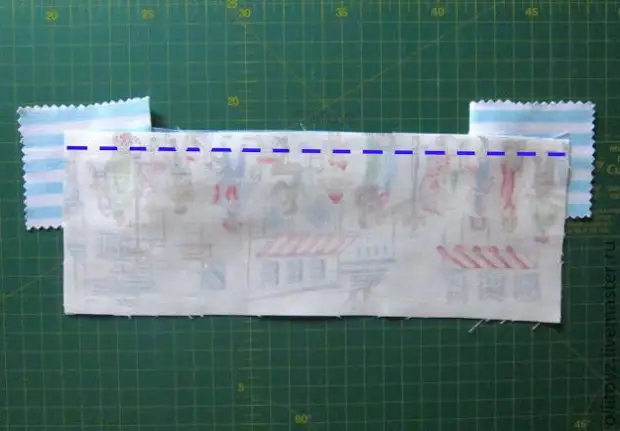
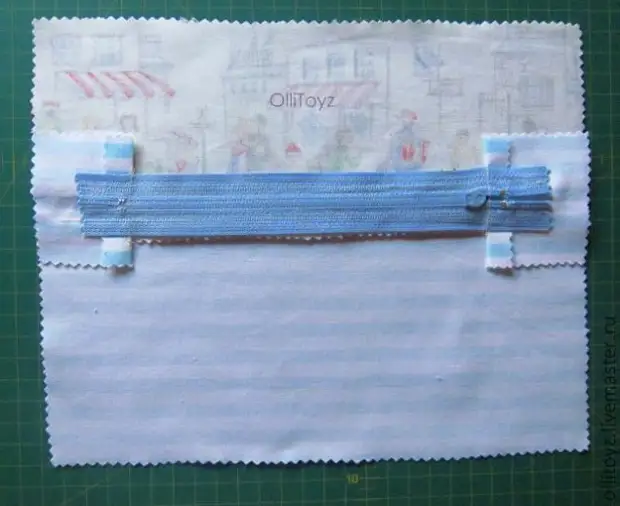
Moving the edges of the fabric facial side together and try our snake. At the beginning and at the end of the snack stuck needle.
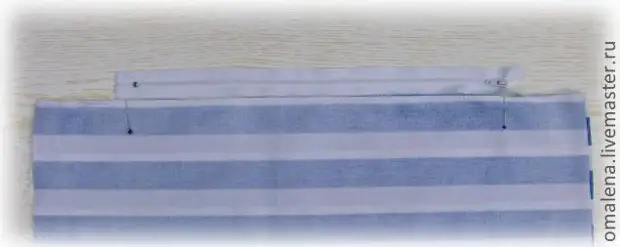
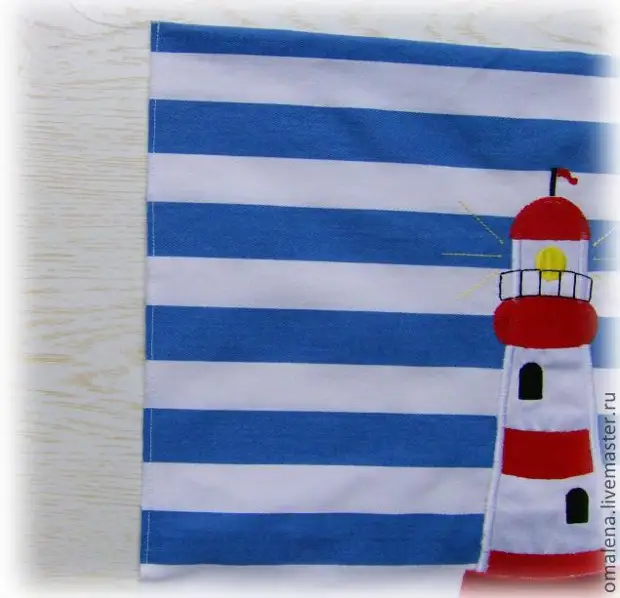
Now we carry a line, retreat from the edge of about 1.5 cm, so: from the beginning of the fabric to the first pin to the normal line (2,5mm long), make the leaf (a couple of stitches in front of the stitch-back), then exhibit the length of the line 3-4mm and strister Before the second pin, we again make the leaf, go to the normal length of the line and strister to the end.
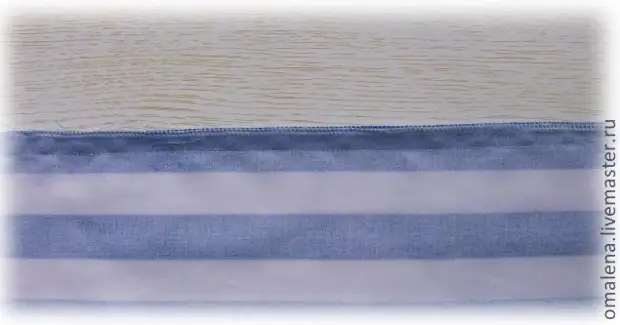
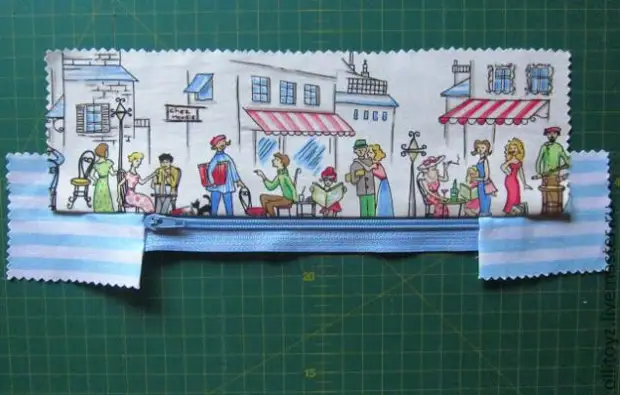
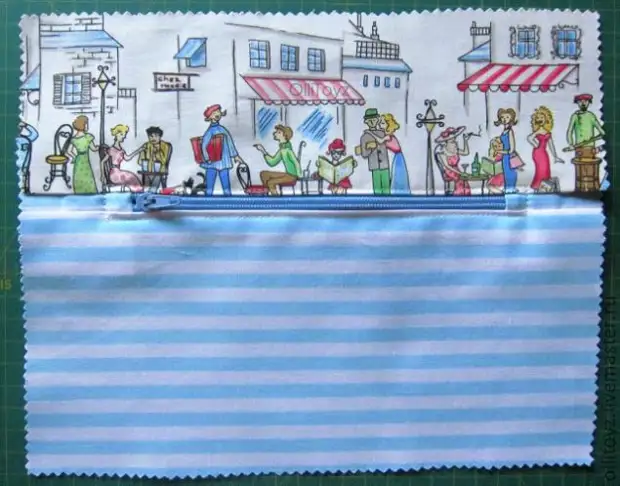
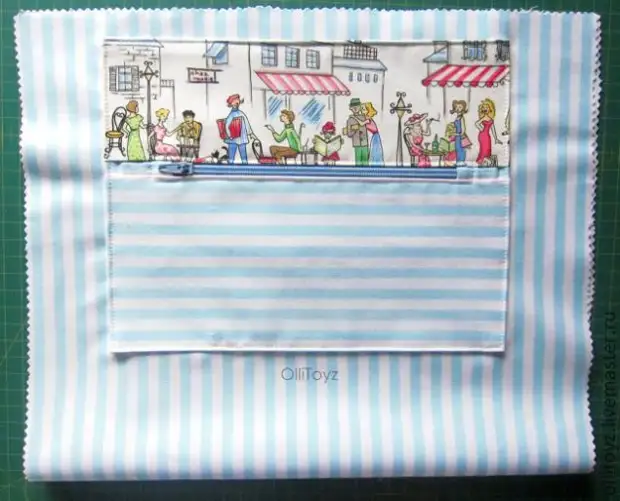
We decompose the allowance on the seam, smoothing it and rush our snake with the involve side by the pins. Be careful! Snake must lie "face" on the fabric.
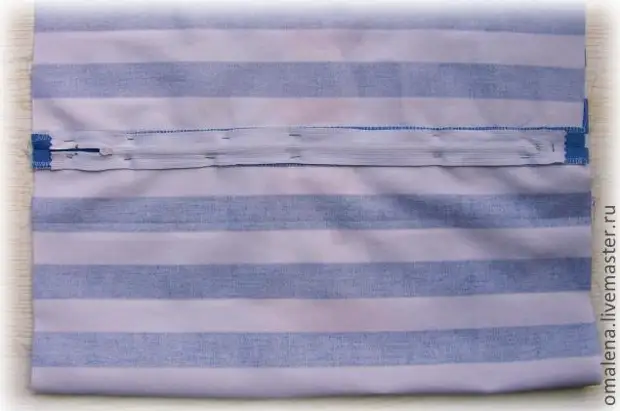
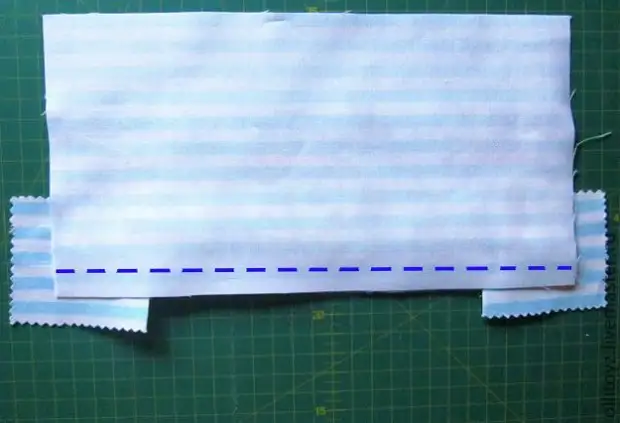
Here it looks like wrong
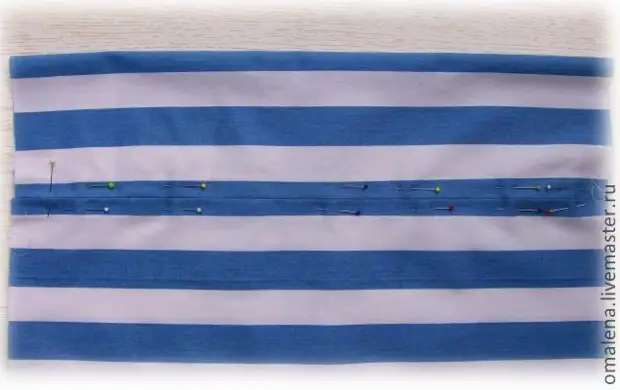
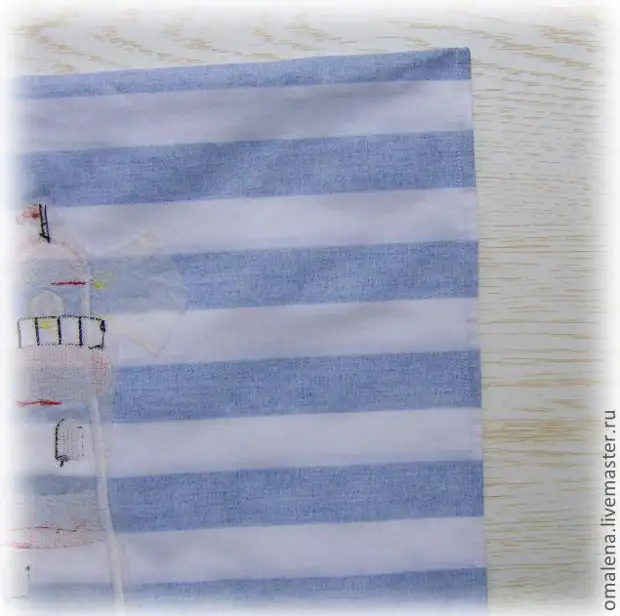
And here is the face.
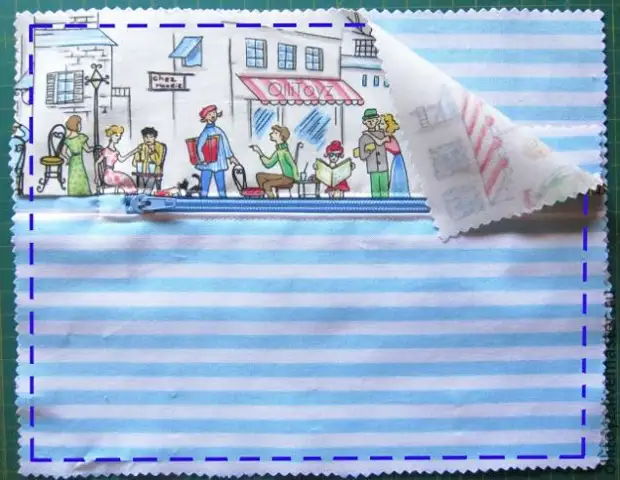
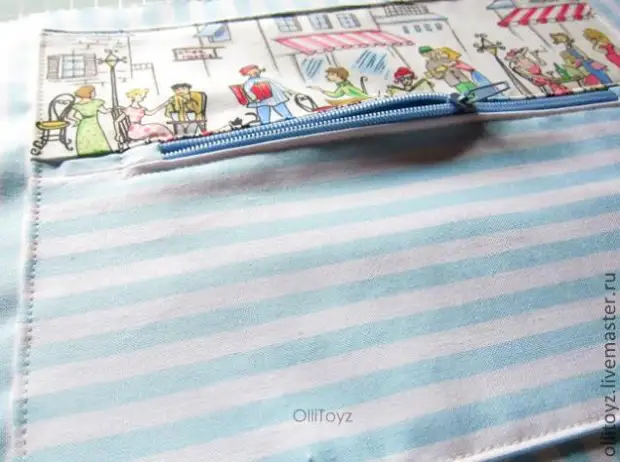
We shoot the frame around the snake. You can translate the needle to the leftmost position, then the line will fall closer to the snake.
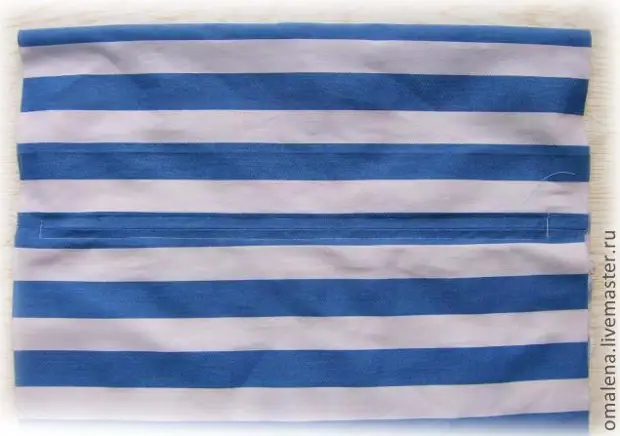
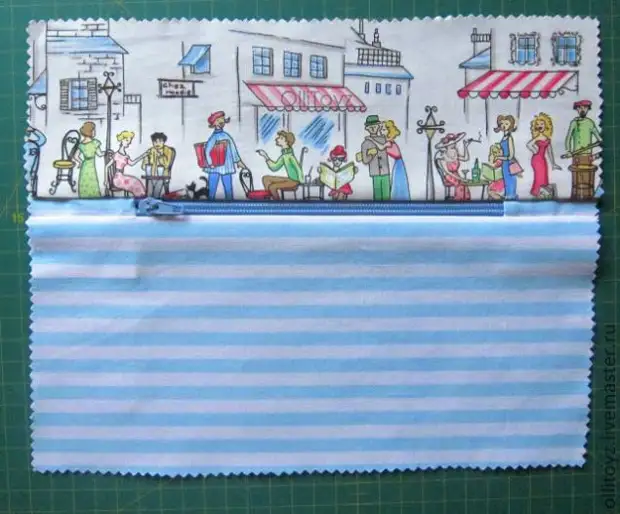
We override the line that is in the framework, from the leaf to the leaf, the place that we rocked with long stitches.
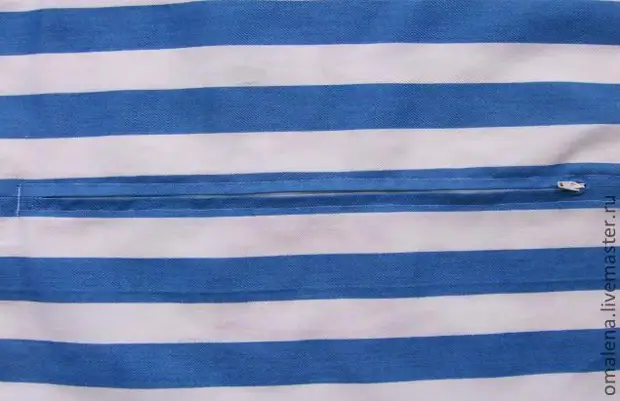
That's all! You can read.
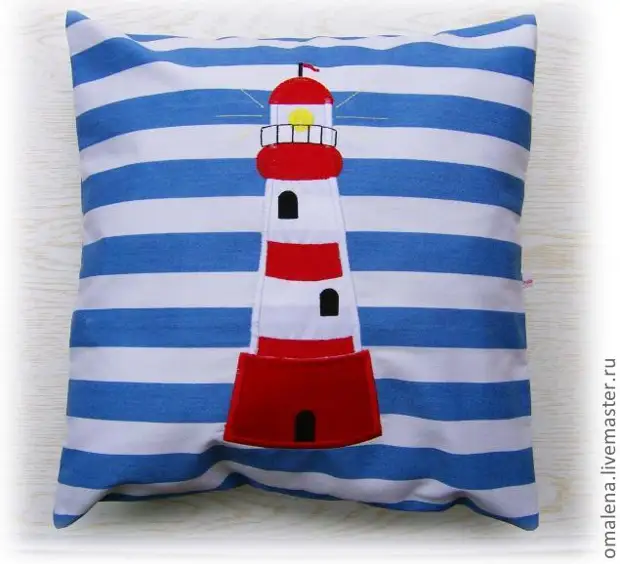
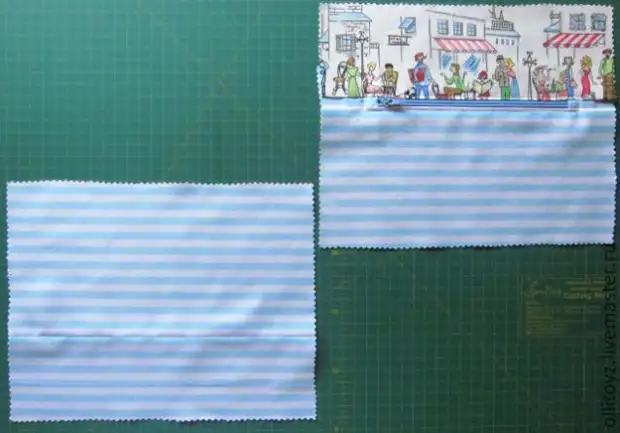
Now you can finish our pillow. To do this, align the side sections, compare the side seams on the front side close to the edge (3-4 mm). Miffinate everything, cut off all sorts of threads.
Soak on the wrong side and spend once again. It turns out on both sides of the neat seam.
Treat the entire pillowcase on the front side.
Here is such a pillow with us.
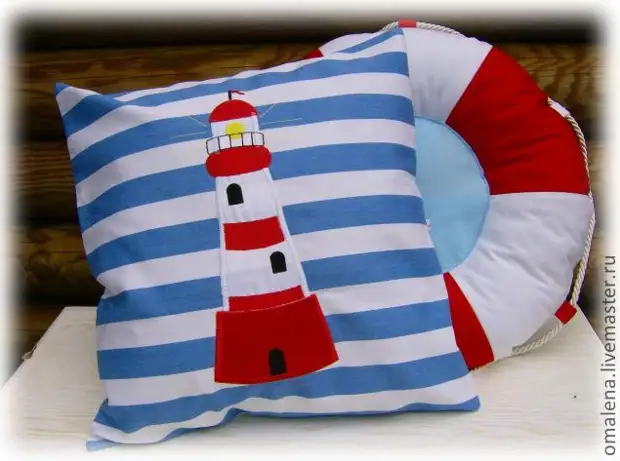
Good luck!
Lightning pocket
In the bags, I make false pockets, such a design seems to me more reliable and if the pocket breaks (you never know, then this trouble will not affect the lining of the bag.
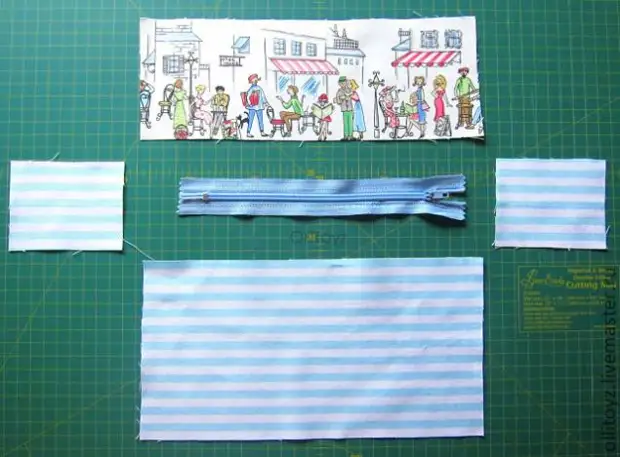
I cut the details of the future pocket. Bottom, top and two sidewalls.
Sew the sidewalls to zipper, running the runner to the middle of the zipper

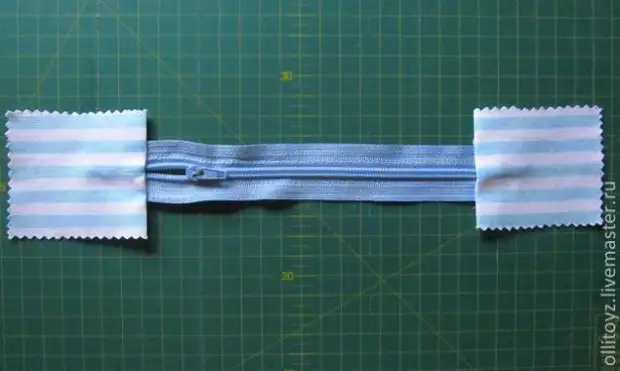
To do this, change the paw on the laood for lightning, this is
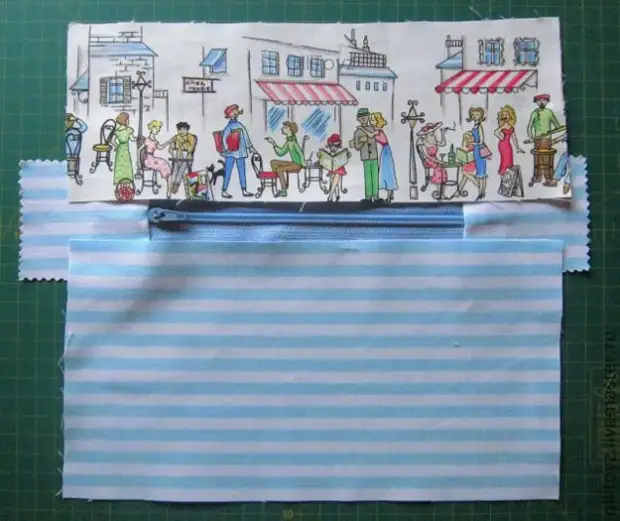
Apply the top of the pocket to the front side to zipper and deposit the line
Stretched, revenge
Make the same with the bottom of the pocket
Stretched, rejuvenated, cut off all unnecessary. It turned out
And with the offline it looks like this way
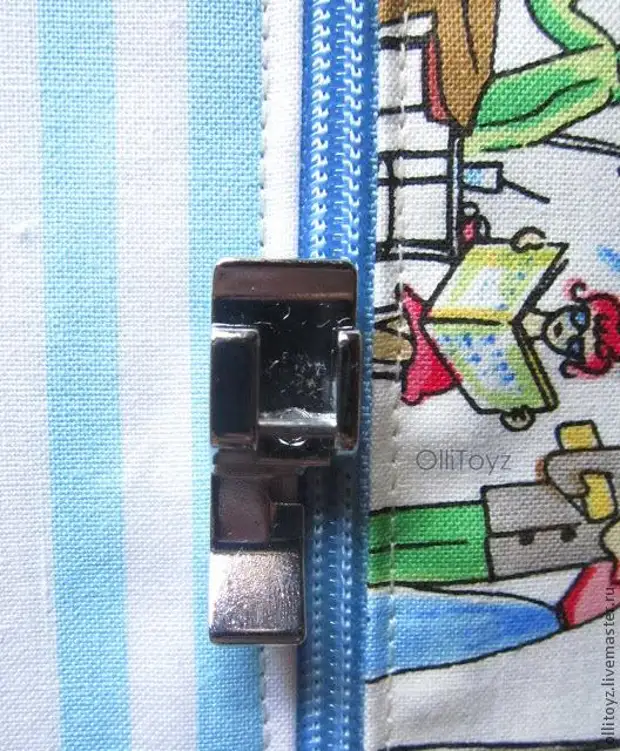
Now it is necessary to pave a decorative line along the lightning perimeter
The facial part of the pocket is ready. I cut the inside of the pocket.
We form a pocket. We fold the front and inner part of the pocket with each other (the end of the front part lies on the facial inside). Around the perimeter laying the line.
Cut the corner and start the edge of the pocket inside
We left the pocket to the lining around the perimeter, retreating from the edge of 2-3 mm.
Pocket - ready!
Let's think that we need.
If zipper broke, then it is necessary to replace it urgently.
Well, or not so urgently. But if the thing can still serve, then you need to do it.
How to replace zipper?
I needed to replace zipper on the jacket.
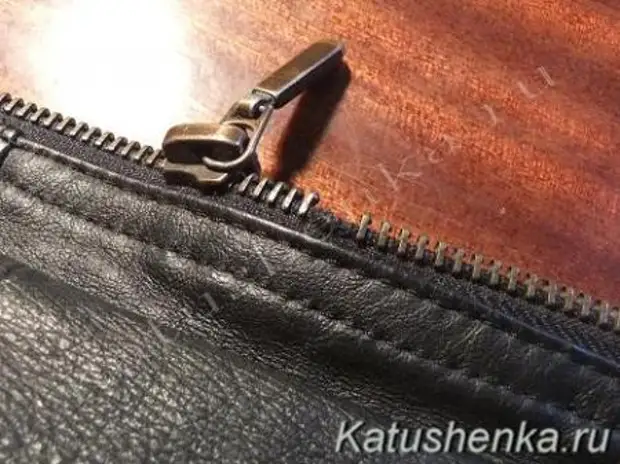
Leather jacket. In such a pretty problematic to enter zipper.
So I thought, I thought and invented!
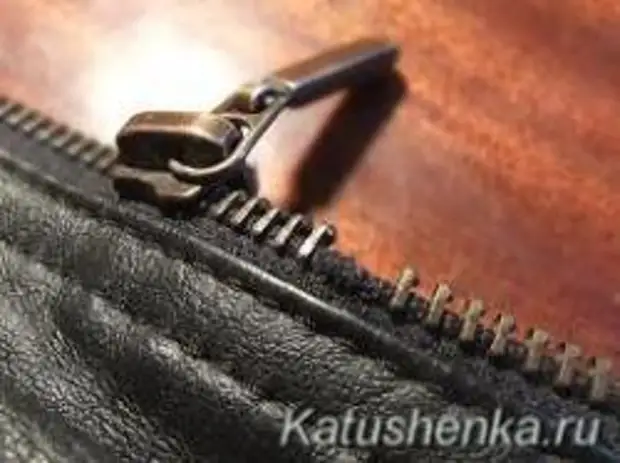
I decided not to disappear zipper, but to sew a new one under the old one.
It turned out very quickly, simple and original.
Sewed a new zipper under the old retreating from the links so that the slider could move freely.
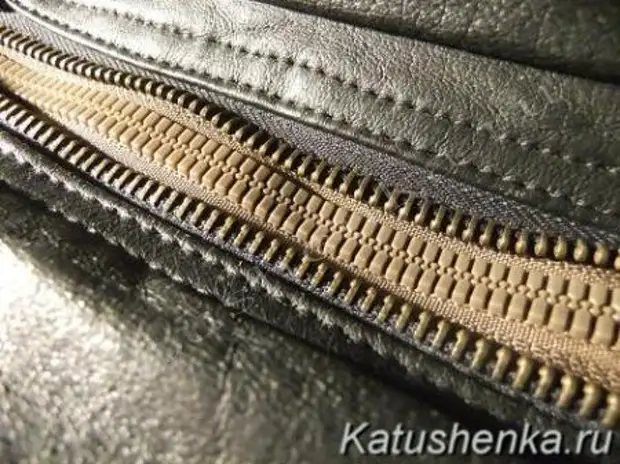
The fact is that I had no opportunity to sew her on the sewing machine - it was necessary to sew it manually.
I can suggest another icekee of zipper - you can do it as well as I, but only cut off the zipper links.
Such here is a method of sewing.
And what - quite original happened