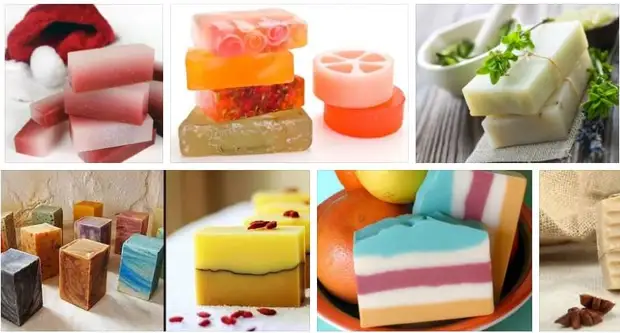
In soap, it is important not only to be able to make soap itself, but also invent something original and unusual. So, for example, soaps in the form of cakes will be an excellent and unusual gift for who loves sweet.
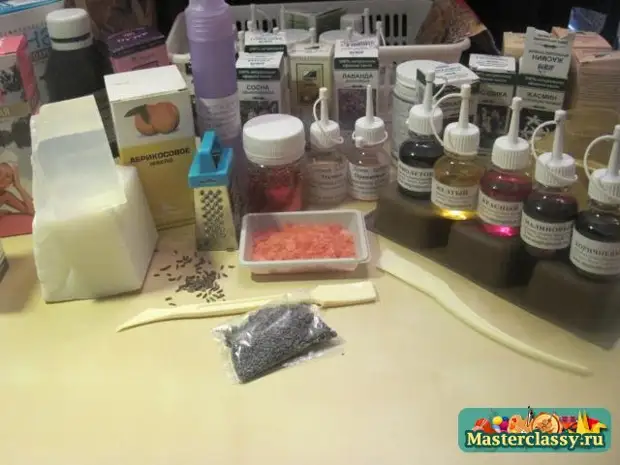
To create such a soap, you must have the following materials and tools:
- soapy base - transparent and white;
- Base oil - apricot;
- liquid for removing bubbles;
- dyes - purple, orange, yellow, red, raspberry and brown;
- raspberry flavor;
- Various decorations for future sweets - poppy, cumin, bath salt;
- knives for plasticine;
-Sellites for future soap sweets;
- a glass of heat-resistant glass or a different container that will not be deformed when heated;
- Baking molds.
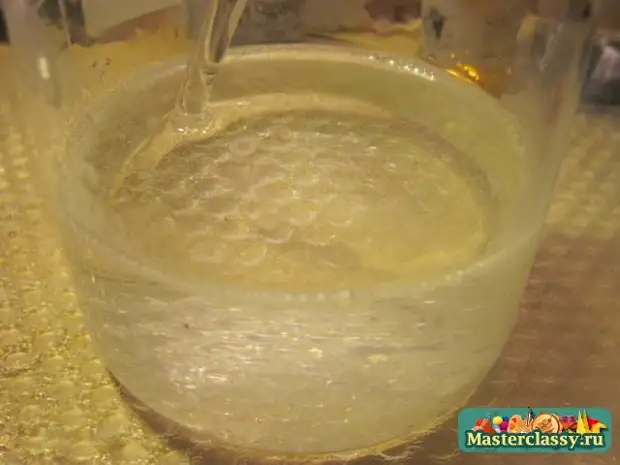
The soap base is crushed into cubes and soil in a water bath. It can be made from any small pan or bucket, pouring into the water capacity. This container put a glass with a crushed basis for soap. After some time, the base will become liquid.
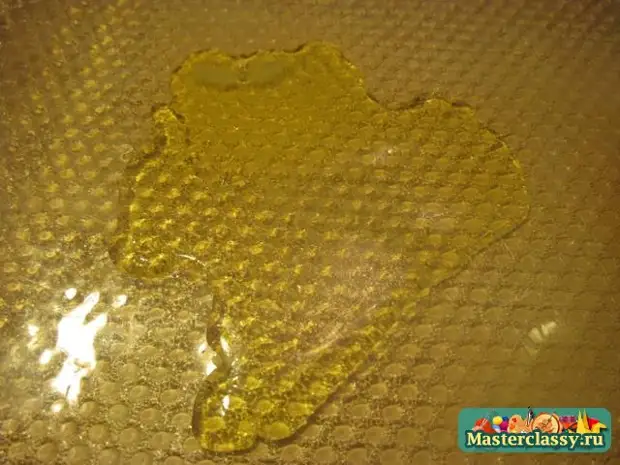
Add fragrance in the liquid base, some base oil and the brightest dye - yellow.

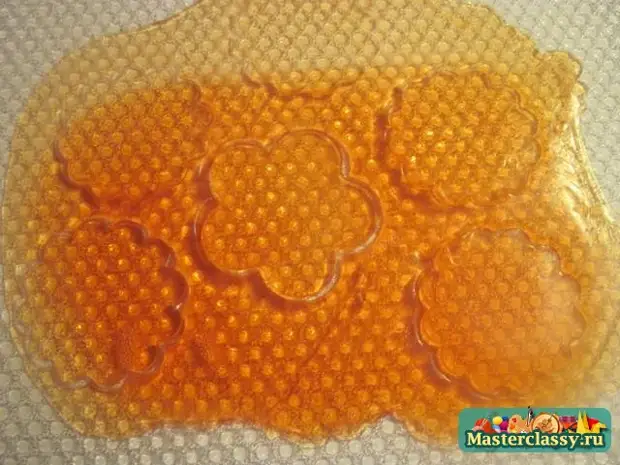
Spill a little liquid base on the table or on the film for hot.
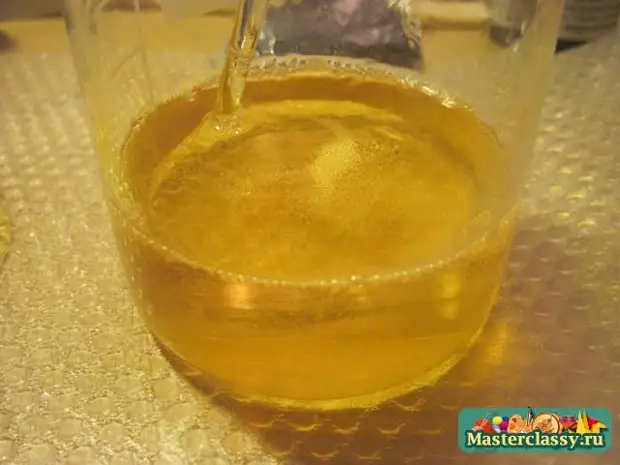
The remaining liquid base is added orange dye.
Also spill it on the surface.
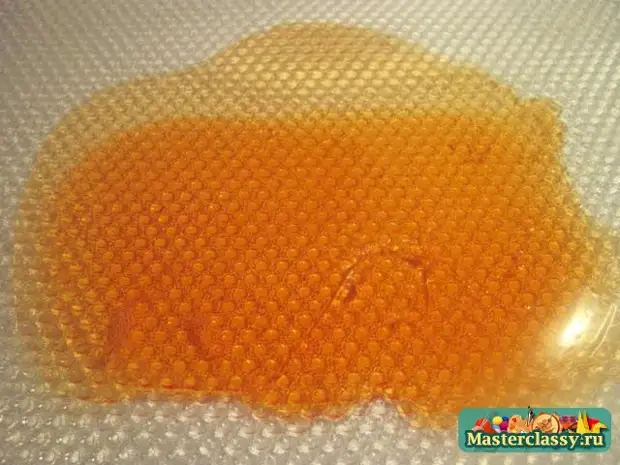
With the help of baking molds cut out of the frozen, but still soft bases, various ornaments.
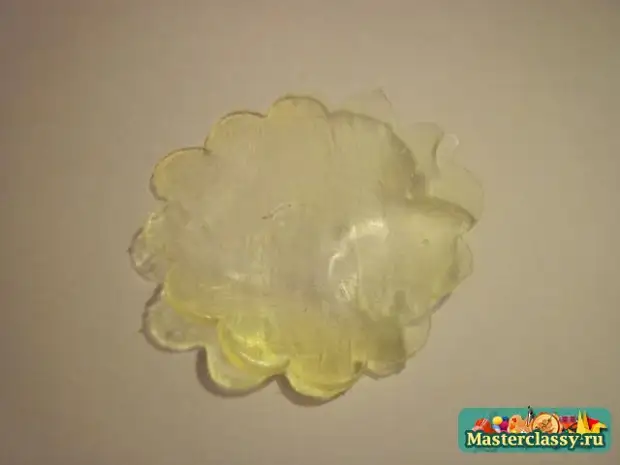
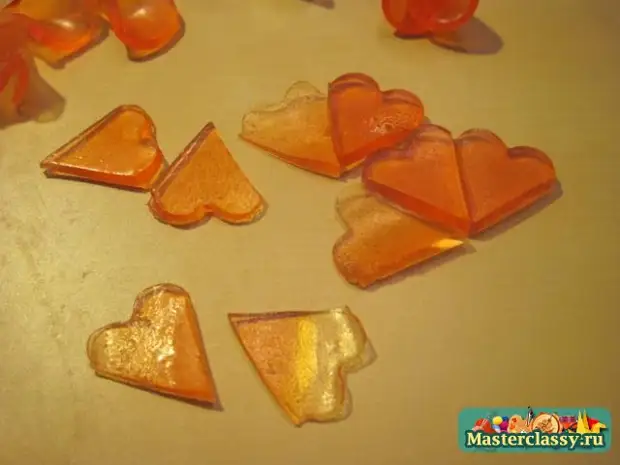
Ready ornaments cut or twist.

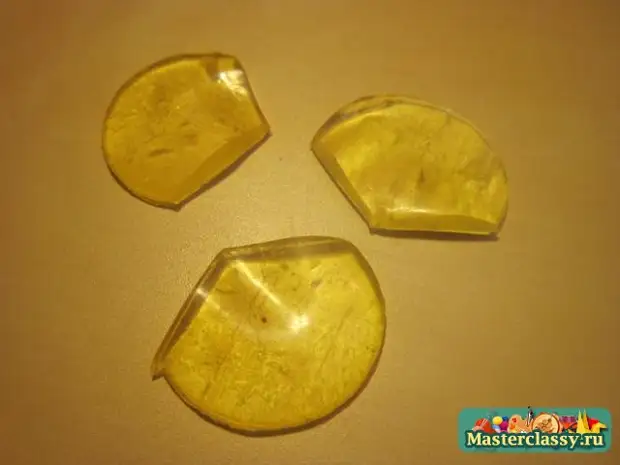

Separate elements can be used in different ways - you can cut them in the form of hearts.
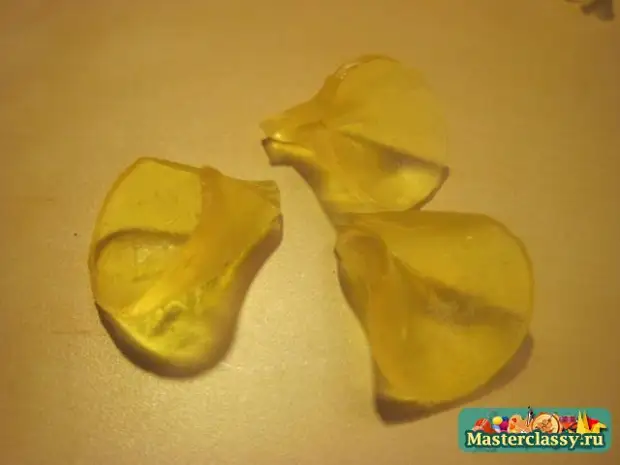
And you can cut in the form of petals.
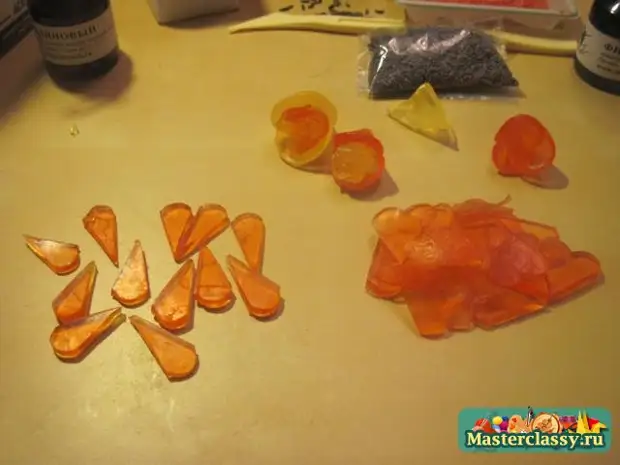
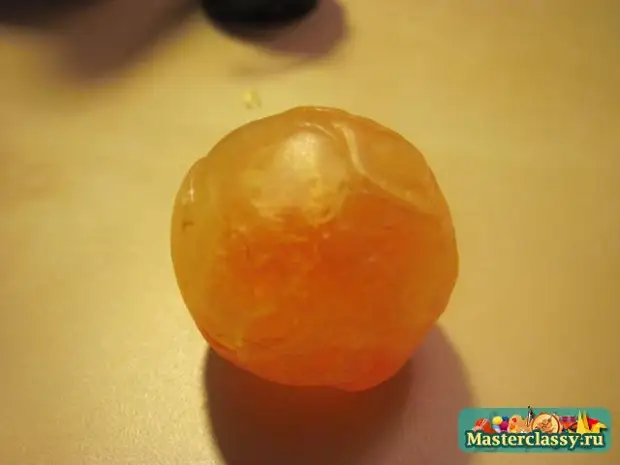
The remains of the soap base of different colors roll into the ball. It will come in handy for the design of the finished soap.
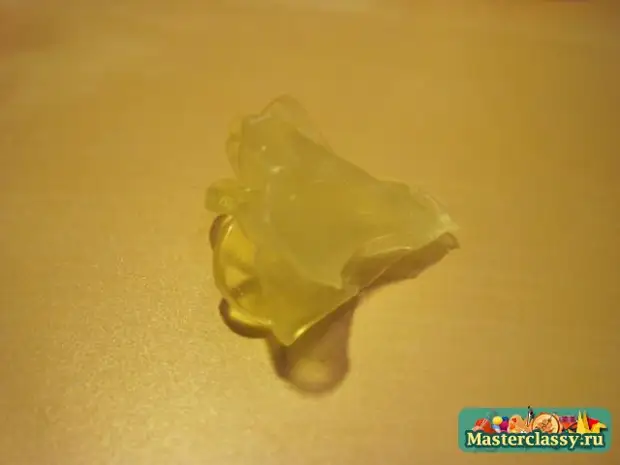
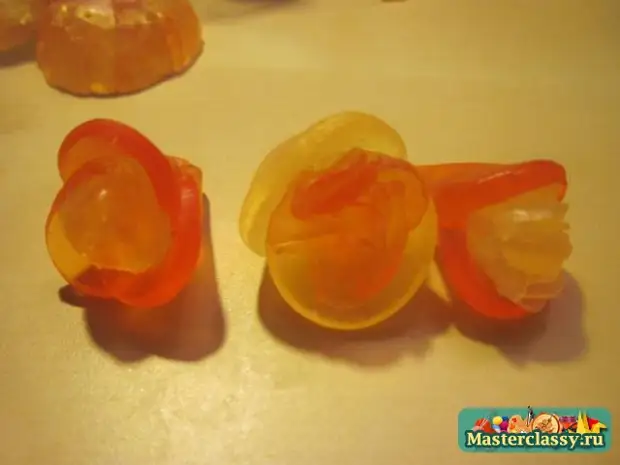
Of the petals and the remains of the soap base, the balls rolled into the balls can make small flower buds.
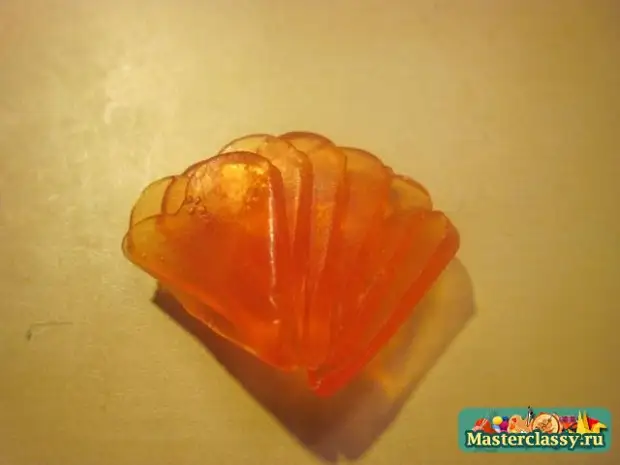
From separately taken several hearts, we make a small fan.
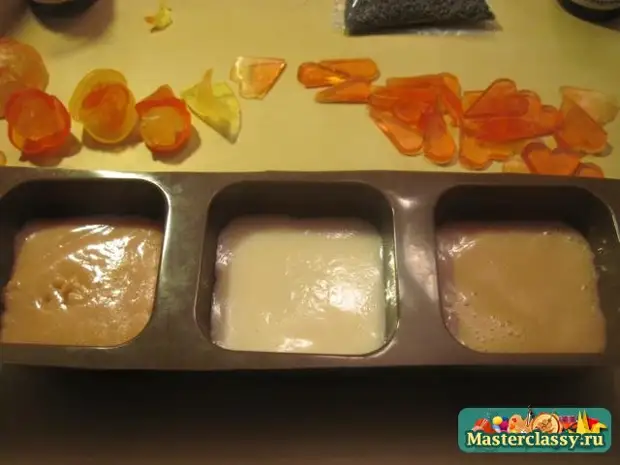
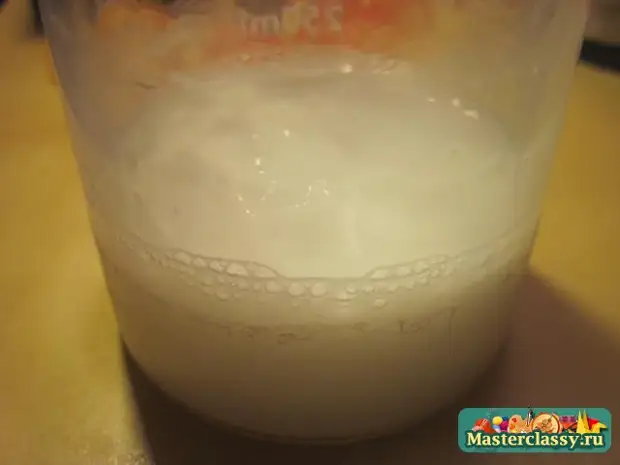
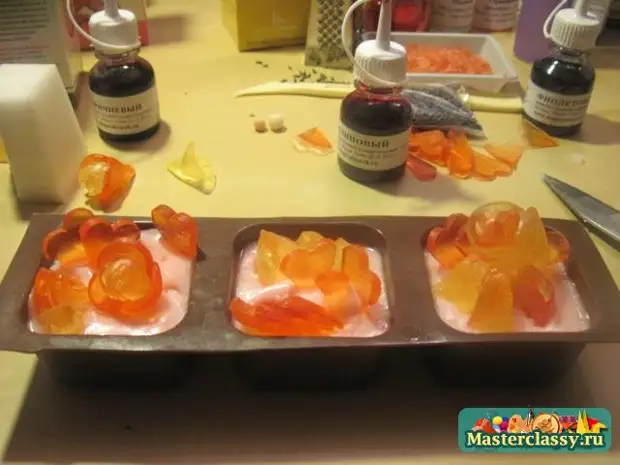
Now proceed to creating the basis of future cakes. White base is crushed and brought in a water bath to a liquid state.

At the finished base, add basic oil, flavoring and to start a little brown dye for the color was slightly beige. We pour a third of this foundation in the middle compartment of the mold for soap. Then, add more dye to the remaining foundation to achieve a chocolate shade. The remaining foundation is fluent in the remaining shape compartments.
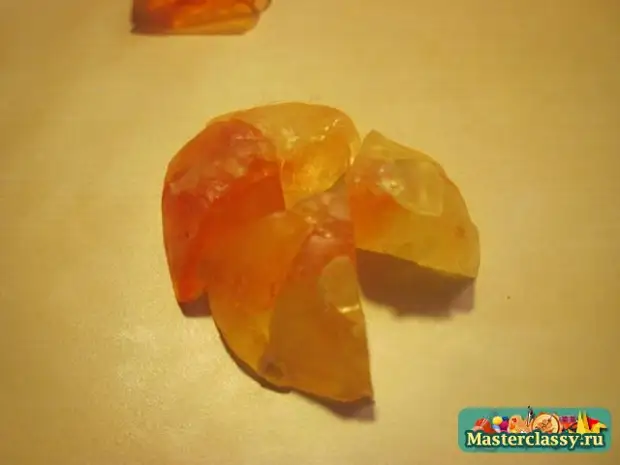
Make the mandarin slices from the soap ball - cut it first into two parts, and then half divide on the slices.
Again the white soapy base.
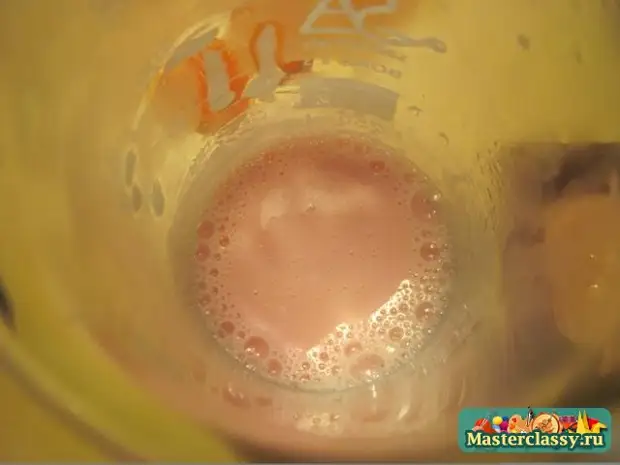
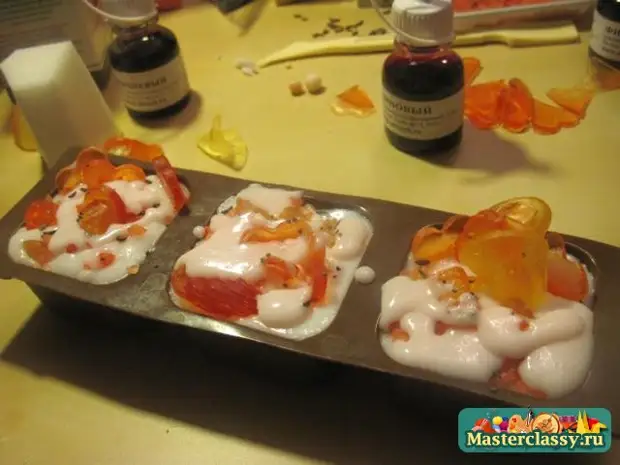
And now add raspberry and red dyes to get pink.
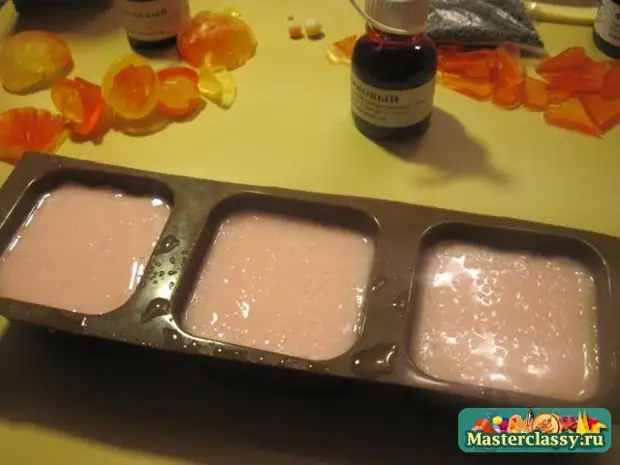
Before poured by sprinkling on the layers of the solidified "chocolate" base fluid to remove bubbles. Then poured the pink soap base.
In another liquid pink base, we place a piece of jewelry for cakes.
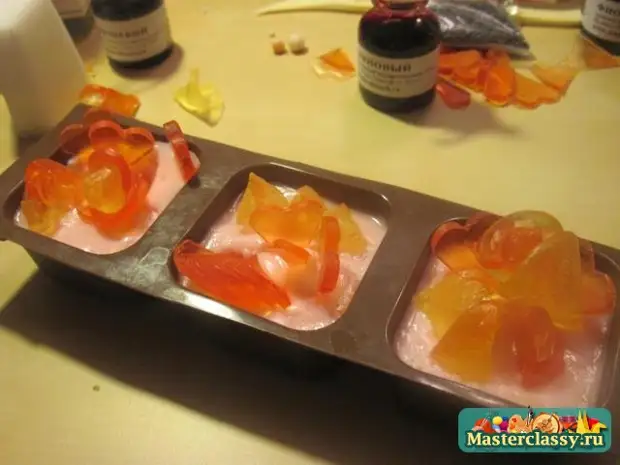
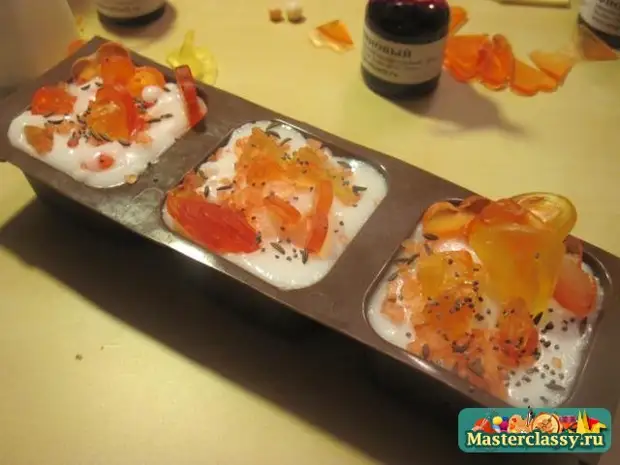
Soil a little white base and pour a small layer on top and immediately sprinkle with various decorations - Mac, Tmin.
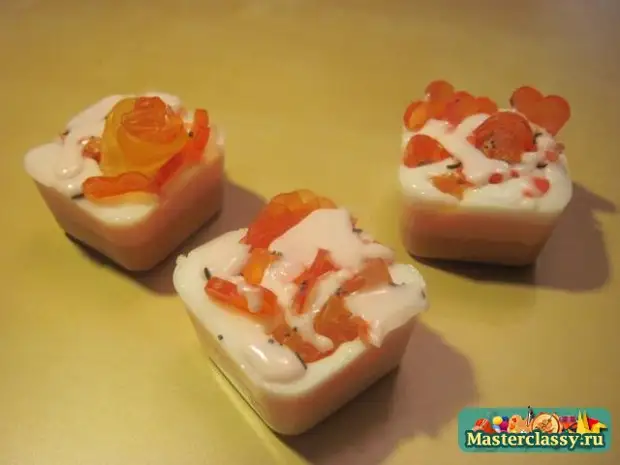
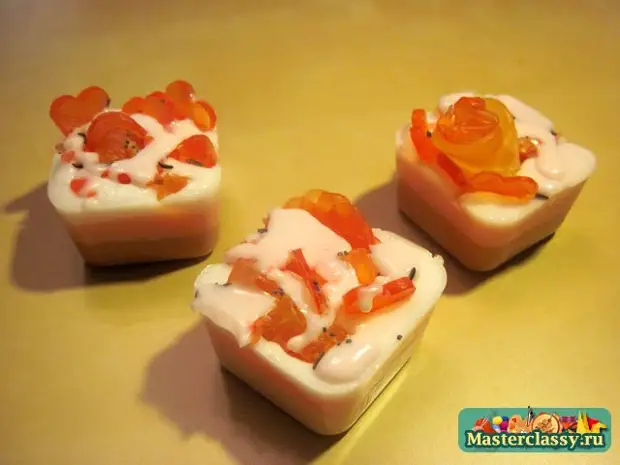
The finished soap put in the refrigerator for 5-10 minutes. Then we get the finished soap, carefully squeezing it out of silicone molds. It turned out such a wonderful soap. In one approach, they succeeded at once. 3. They can be supplemented in a set or separately as souvenirs.