

So, proceed:
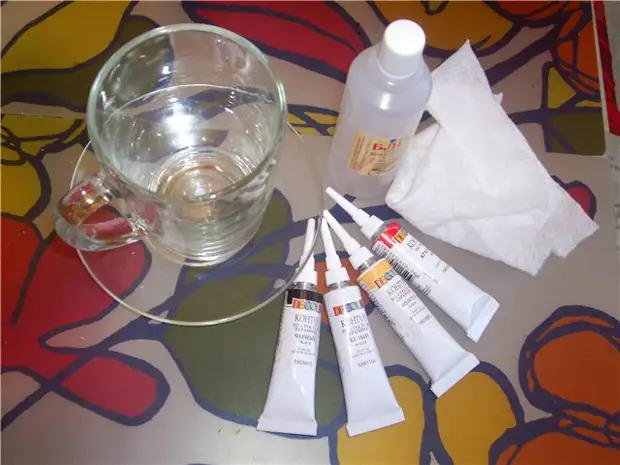
1. We will not need expensive materials, everything you need - a mug, a saucer (bought in m-not start on the HBC), the contours of the glass and ceramics you liked the colors and, perhaps, everything, the napkin can and a piece of plastic or paper as Chernovik. The contours are sold in all art stores, stand from 90 rubles / piece.
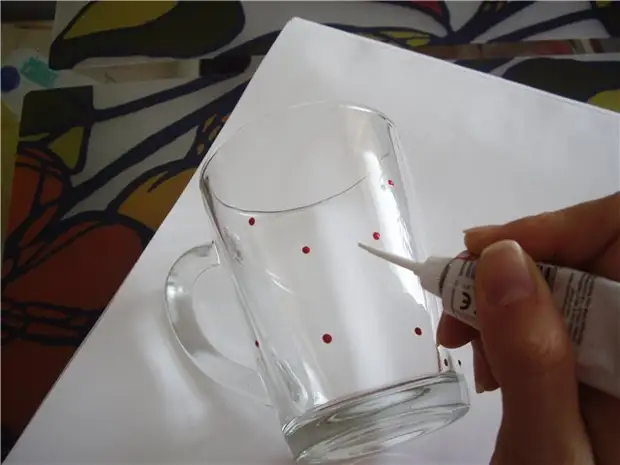
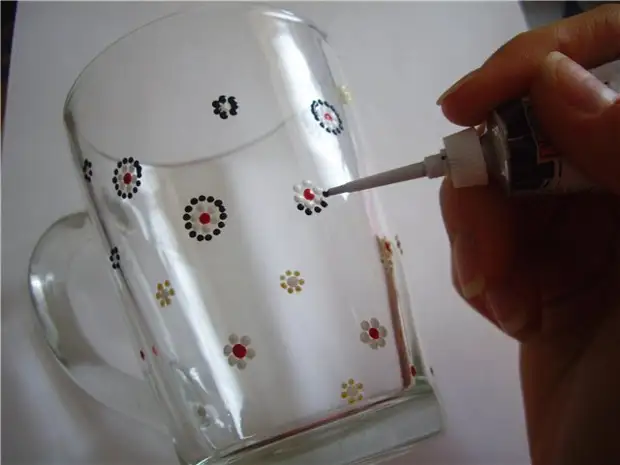
2. Take a mug and degreased it (wash with the Fairy, the fluid to remove the lacquer). Open the outline and lay the first dots on the circle. The contour is kept perpendicular to, do not give much, otherwise it will follow too much paint. Before drawing on a circle, practice on the draft. It is desirable that the point come out with a roving, but if this does not come out, not trouble, there will be several hundred such points, therefore, in the total mass, many shoals dissolve. First, we will draw on one side of the mug to keep it in a horizontal position and do not lubricate, then we smoothly move on another.
3. This we outlined the middle of our floweries, if you can call them. The next stage, draw the first flowers. Let's symmetrically put on both sides from the center on the point, and relative to them are still two on each side. Hold your hand on the weight, otherwise weak the finished dots! It is desirable that the points do not connect to each other. If something happened not so, you can always deprive the incomprehensible area with a knife, a needle or a nail after drying (about 30 minutes), not a hobby of a good plot.
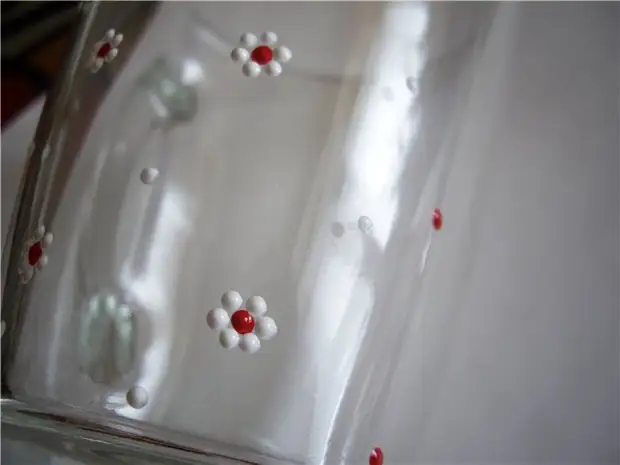
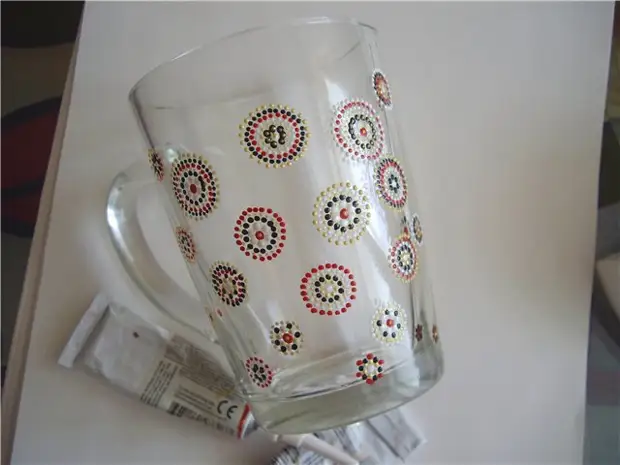
4. Let this part of the work eating minutes 15. The next stage we make the second circle of contrasting color. It is desirable that the dots lay down like a chess, but if it does not work - nothing terrible.
5. So, circle behind the circumference, we type the mass. Color schemes can be different, alternate colors as you like, more effectively, when there is a contrasting, of course.
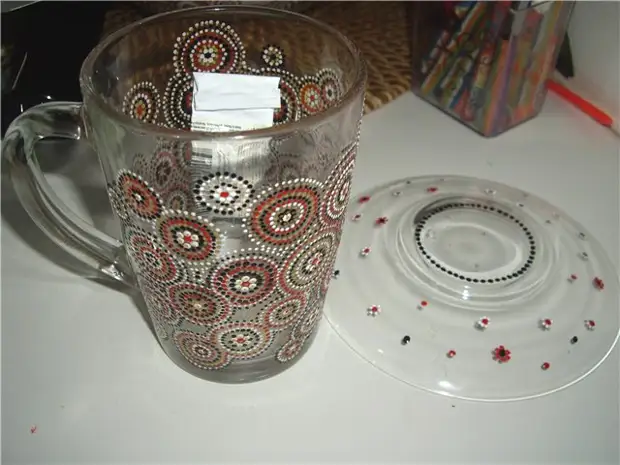
6. We take a saucer and draw by the same scheme, but on the back. Even if the circles are not quite correct, nothing terrible, it is handmade! Finished things put in a cold oven at T = 130 a year for 20 minutes. We leave it in the oven to complete cooling.
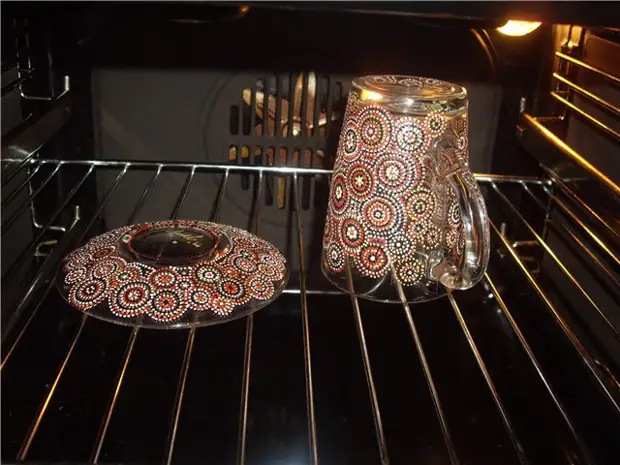
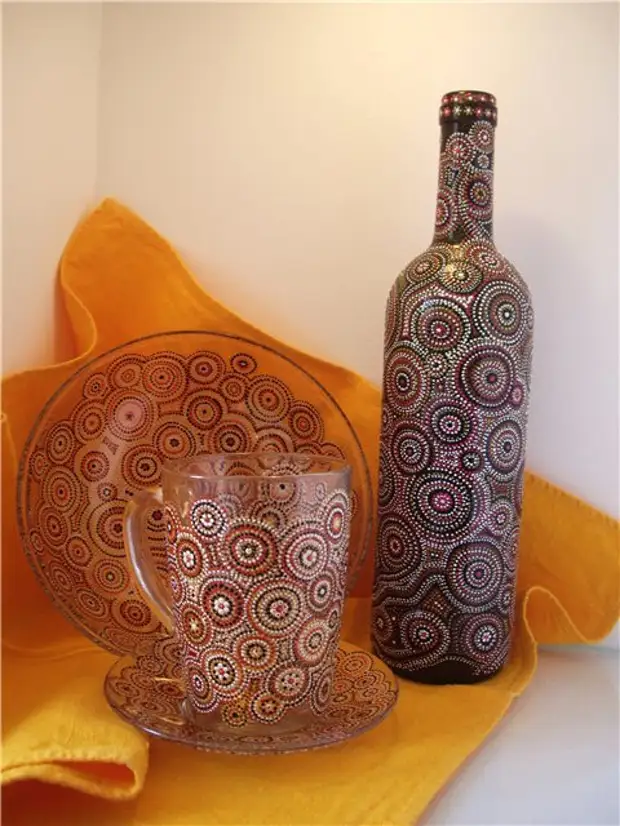
7. Something in this spirit should turn out in the end. In general, the contours are not intended for baking, but how much I did, everything turned out fine. If you really want, there are special contours that are called "for baking". If you make a vase or a bottle, you can cover with varnish, I do not advise the circle, then drink it later. And it is desirable that very close to the edge, where we touch the lips, the points were not pressed.
Ideally, in time for all this with little breaks, the day of 3-4 (works in the evenings) will leave, but it all depends on your patience, and try to work in a well-lit place, the work is quite tense and painstaking.
Thanks for attention!