

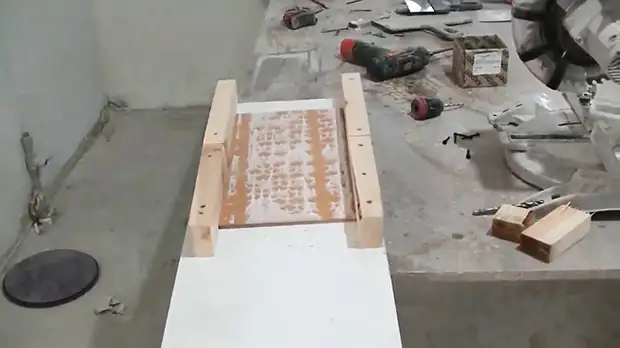
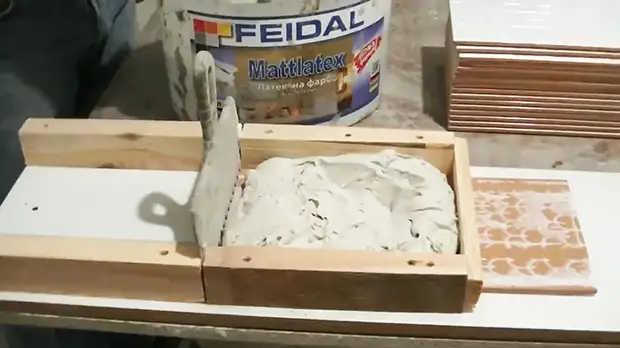
Making a fixture for masonry by tilebell a pair of rectangular bar and a piece of chipboard.
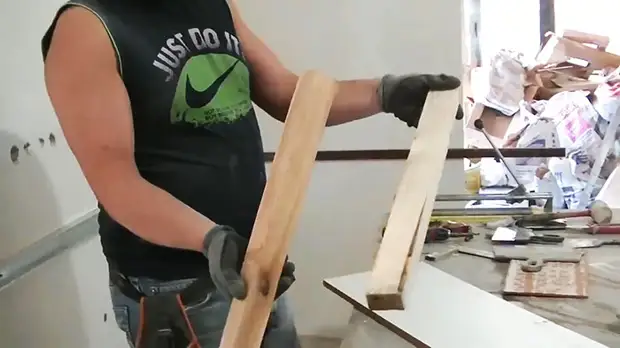
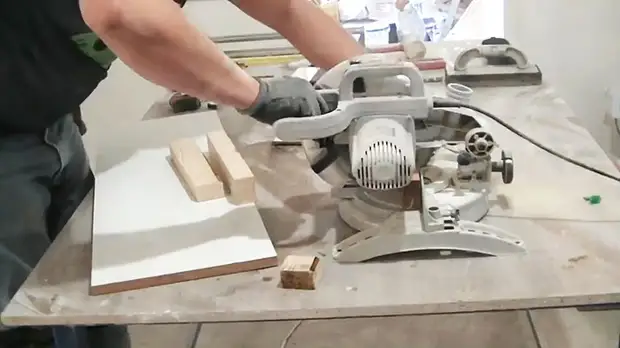
Brous saws on an equal 4 segment of approximately 30 cm long. Can be ordinary hacksaw.
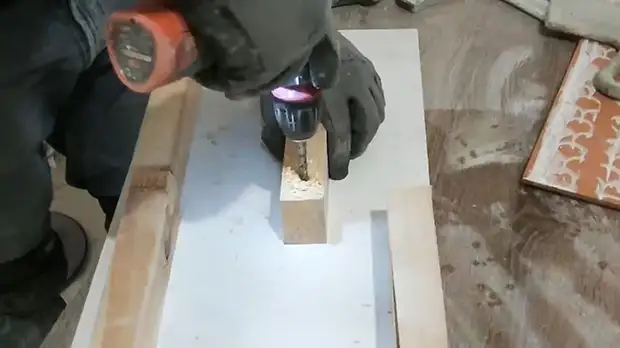
Next, it is necessary to fix the segments on the chipboard. To make it with self-draws, drill 2/3 of the length of the drill bar, the diameter of which exceeds the diameter of the screw screws.
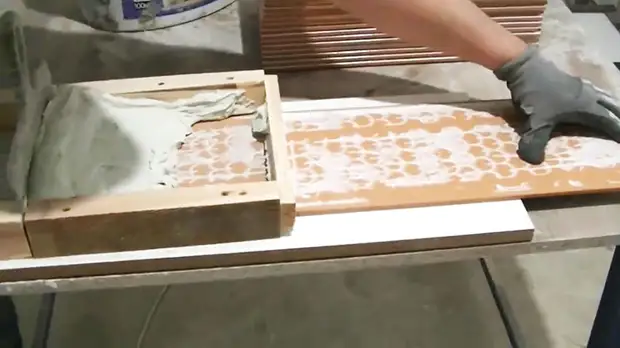
Now we put the tile on the sheet of chipboard, and on the sides first screw in two bar.
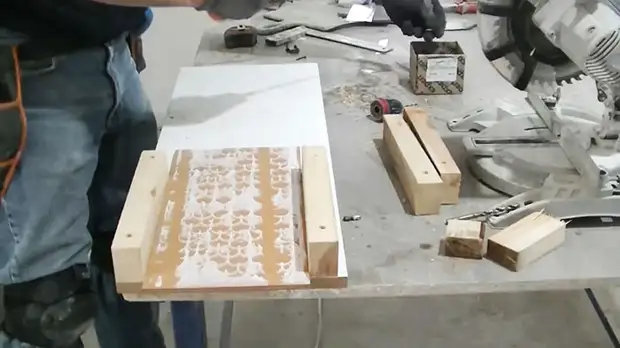
The tile must move freely between them without jams.
Then, we attach two more brus along the movement of tiles, but we make the allowance in the location of the bars.
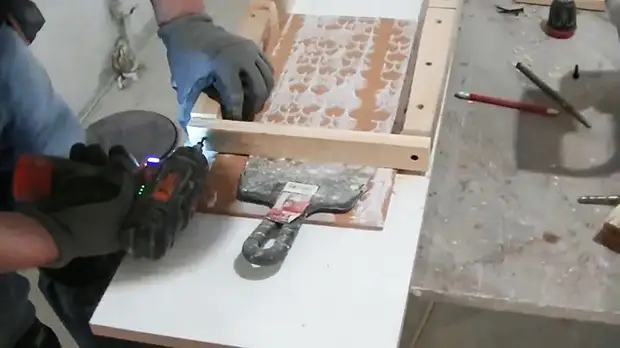
We establish a toothed spatula for applying glue on the tile, in the intervals between the docking of the rails.
How to use
We mix tile glue and impose it to the device.
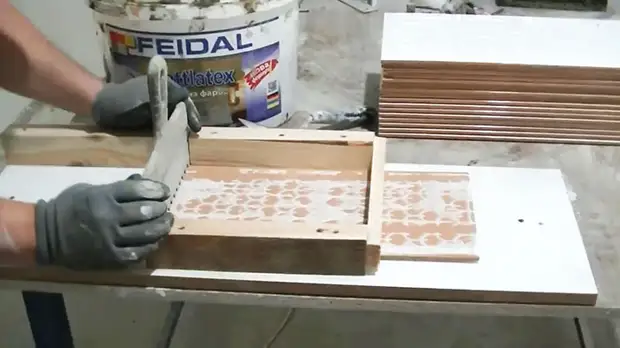
Pushing the tile that is inside another tile with a side.
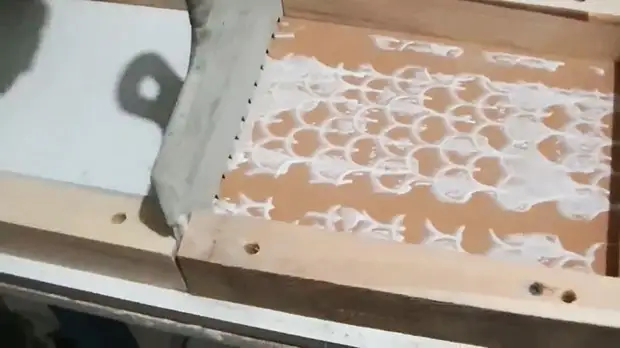
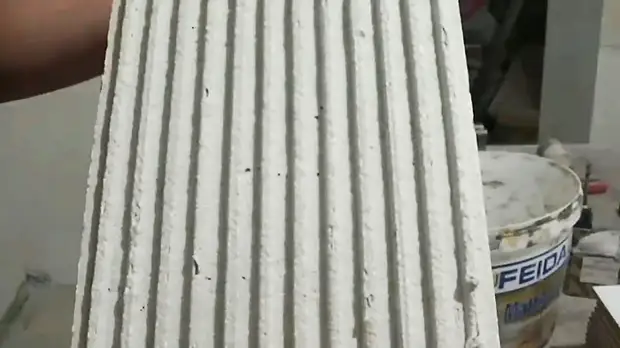
As a result, a tile with an adhesive glue layer comes out from Toron along the entire length.
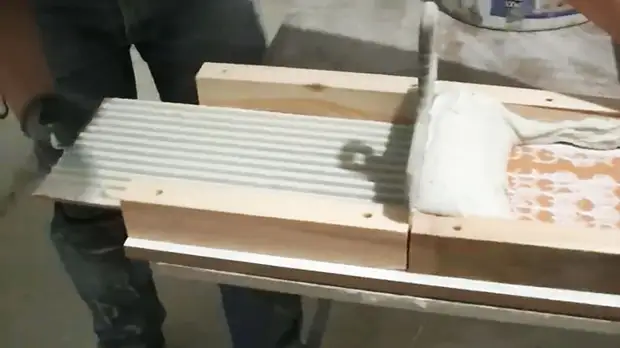
Just perfectly from all edges.
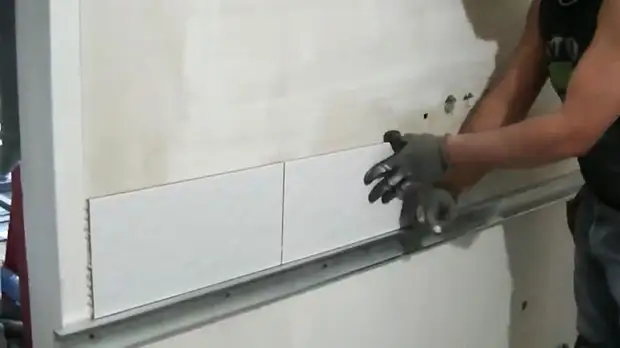
It remains only to stick the tile on the wall and repeat the action.
Depending on the dimensions of your tile, one boot of the solution is enough for 3-4 pieces. But no one bothers to make the edges of the adjacent higher, thereby increase the accommodated volume.
Outcome
If you take into account the nettime, which is given to the masonry itself, without marking and supporting works, then thanks to the use of this simple device it is possible to reduce this time at least 2 times.
Also, the quality of the application of glue will be much higher, as there will be no empty zones at the edges.
