


Master class on the creation of a table in the style of Shebbi chic


We present to your attention a master class on the creation of a desk in the style of Shebbi Chic from the designer Marina Ivashkin
Hello everyone, I am Marina, a mother of three children, a designer and an amateur of interesting alterations. I want to share with the world debut in the upgrade of furniture and limitless joy in connection with this.
The fact is that I always liked the old, "Babushkin" furniture or as they say furniture with his own unique history.
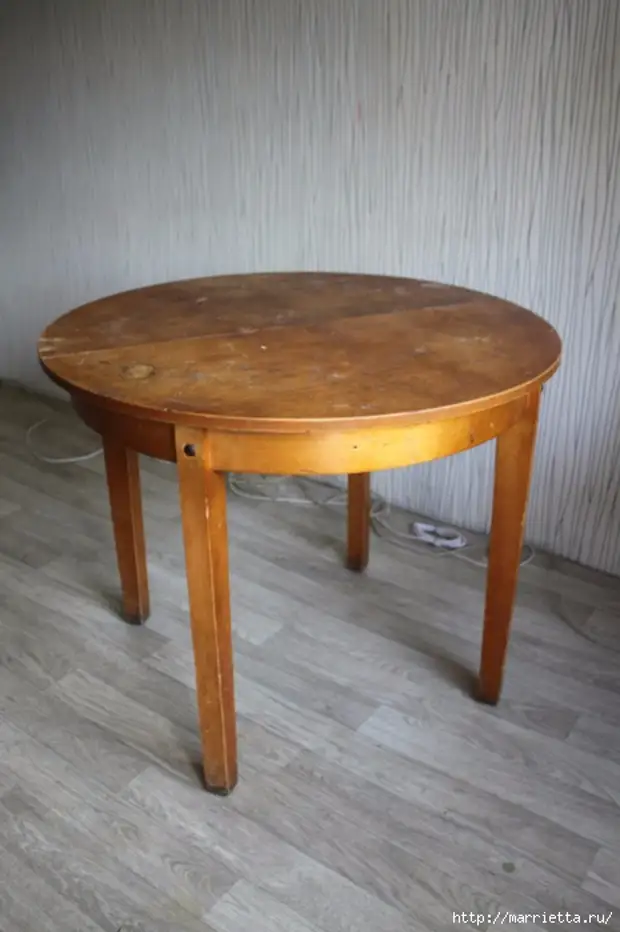
We in the family in the country, probably, like many, stood round, folding table. Very comfortable and cozy in itself, but over time, lost sight, becoming battered and untidy. I have long been "burned" hands to update it and then the hour has come. My brother with dad on the occasion even gave a grinding machine.

Next, I will try to write a step as everything happened.
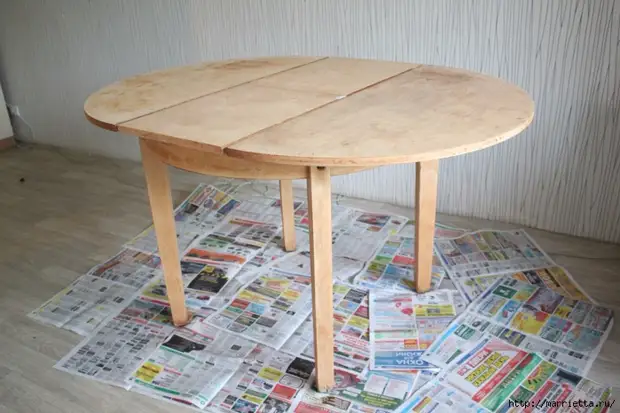
1. The first thing is the desk (unscrewing legs). We are taking care of the blcon or street, because garbage and dust will be abuse. We take a grinding machine with a large sandpaper and remove all the varnish. Next, the shallow sandpaper we clean up to a smooth condition.
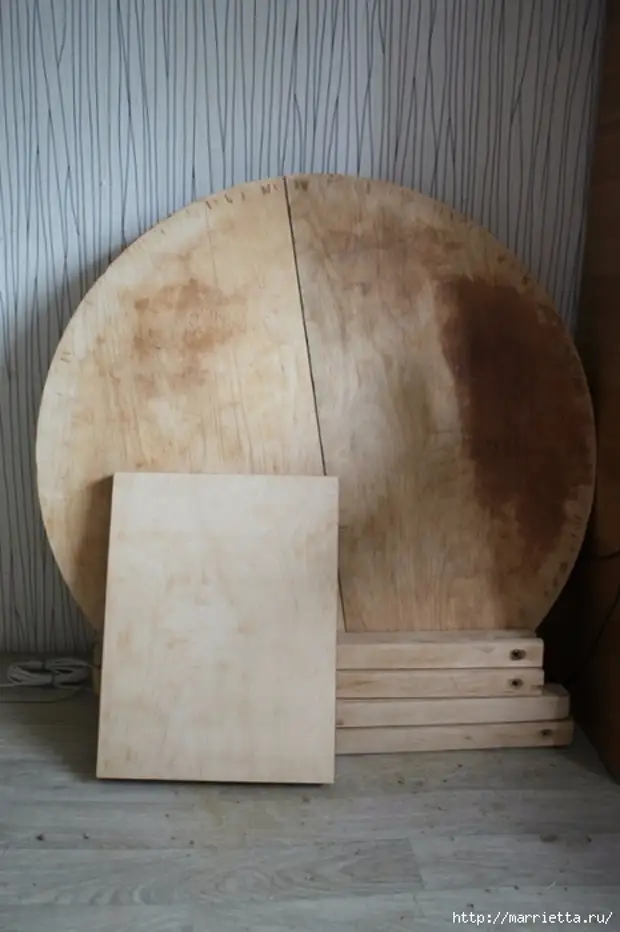
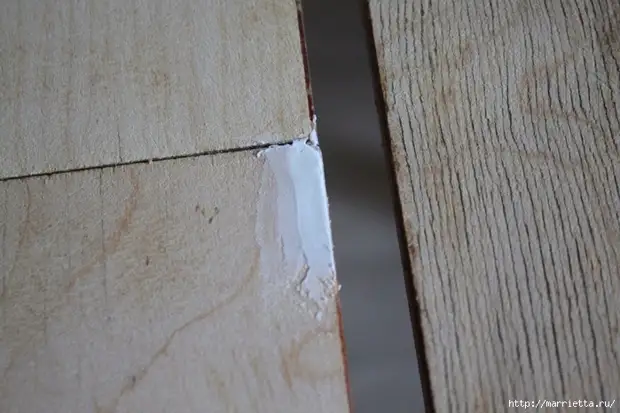
2. Next we collect back. Close up chips with a putty on the tree.
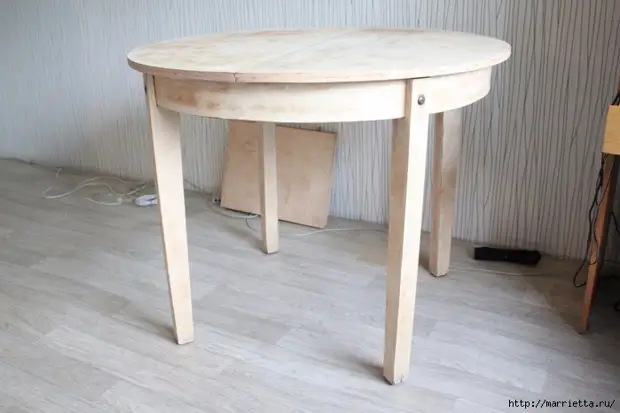
3. Apply to the primer so that paint lay better. Let me dry, it took 2 hours.
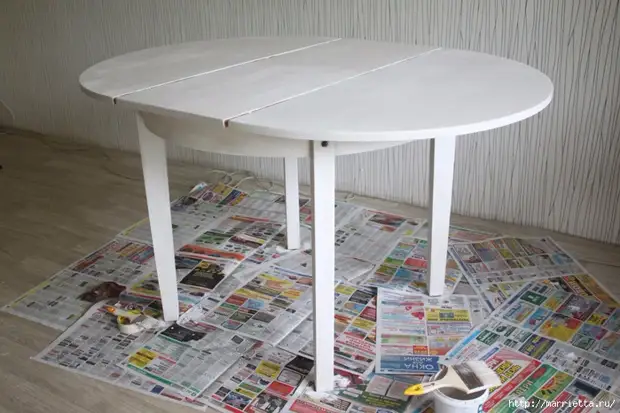
4. Here it begins the most interesting and fascinating. Painting!!! I bought a simple interior acrylic white paint. True brush, I took in an art salon, a big flat bristle, as simple painting brushes climb and leave the garbage. And this is not very nice. Apply the paint into two layers, there is a 4-hour table between the layers. It is important that the paint is good to dry, otherwise under the layer of varnish, it is ill to be ill.
5. We take a shallow eye and grind the table manually, in some places the paint to the tree, as the Shebbi style requires. Next, we take place once again a large skirt, adding scratches and irregularities.

6. The next stage is a lacquer coating. I bought the lacquer brand Tikkurila called Kiva. He lies greatly, does not smell and does not yellow. We apply it to a thin layer, followed that there were no ilk and uneven transitions. Let's give lacquer dry (3-4 hours). The hook is lightly the whole table, in order for the next layer of varnish "clinging" for the previous one.
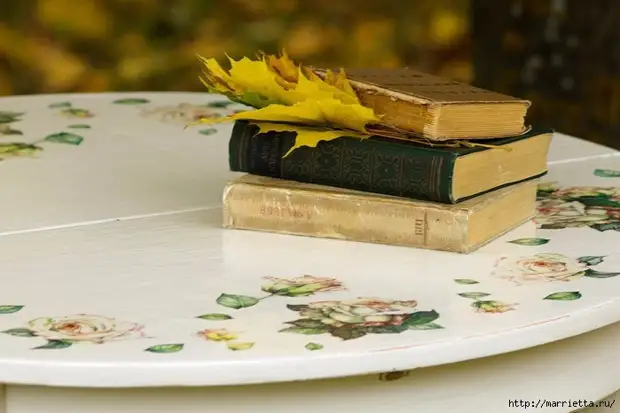
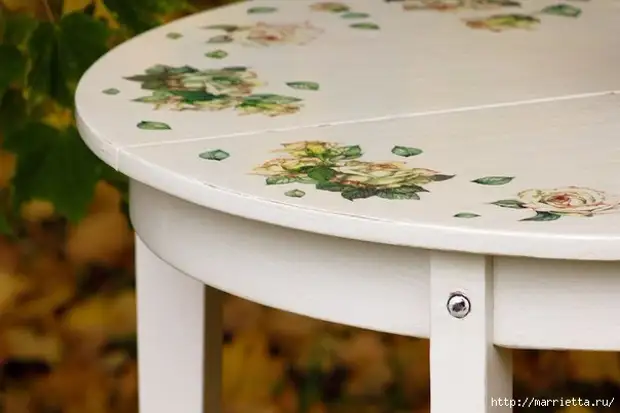
7. Applying a decoupage. I have long selected suitable motives for my table and finally stopped on a decoupage card with roses. Bought 2 pieces. Singing the items, we have on the table as you like. So that everything happens neatly and symmetrically, with the help of a pencil and linetics, we make barely prominent marks. How to glue ?? There are many ways. I chose the applying of glue from the middle of the motive in different directions in a circle using a fan synthetic brush. Small elements glued with a small bristle. With a decapient card, it is easier to work easier than with napkins for example, it does not break, it does not stretch and if the folds appear to be easily removed, just by rejoicing the motive of a little bit. Adhesive for special glue for decoupage, although it is possible to use PVA, but heard that it can give yellowness with time. We leave the decoupage to dry and then be sanded with fine skirt.
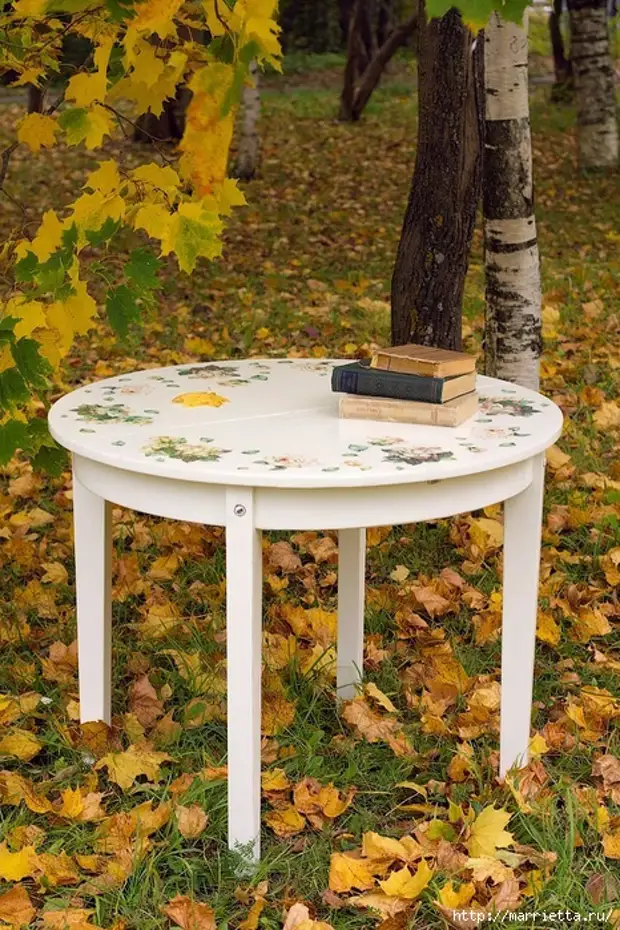
8. Finish !!! We prepare the table to the finishing varnish. We wipe the table with a rag for dust, removing the garbage. IMPORTANT, after applying varnish, do not walk around the table, do not open the windows somewhere half an hour so that all sorts of garorind do not fit. We apply 2 layers of varnish, not forgetting between layers run through the table with a skin.

Experiment and fill your interior inspiration